Today we will be learning how to add sun rays in Photoshop! This effect is both quick and easy. And the best part? You’ll end up with your very own custom sun rays Photoshop brush. Let’s get started!
Prefer video tutorials instead? Check out this new video from the Envato Tuts+ YouTube channel:
How to Add Sun Rays in Photoshop
Step 1
First, let’s create a sun rays Photoshop brush. Create a New Canvas set to 3000 x 4000 px. Fill the canvas with black.
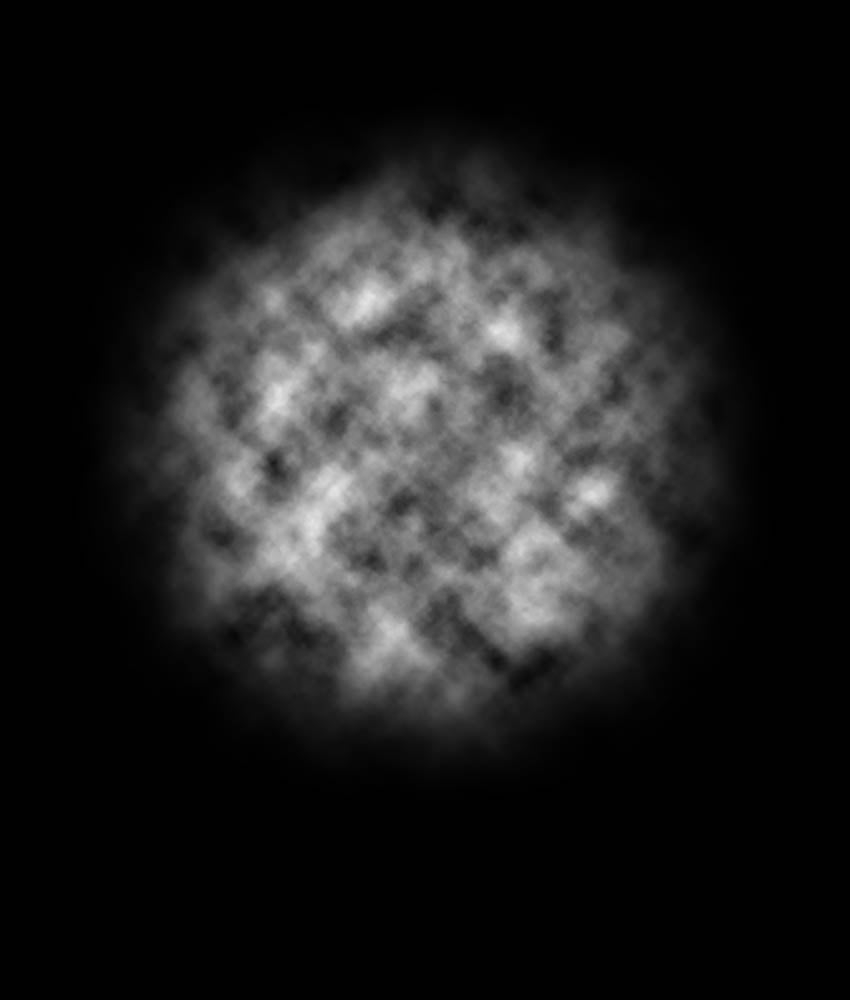
Select the Elliptical Marquee tool with a Feather set to 200 px. Create a circular selection in the middle of the canvas.
Create a New Layer and go to Render > Clouds. Duplicate the cloud layer twice and Merge all three cloud layers together. This will make the clouds seem brighter.


Step 2
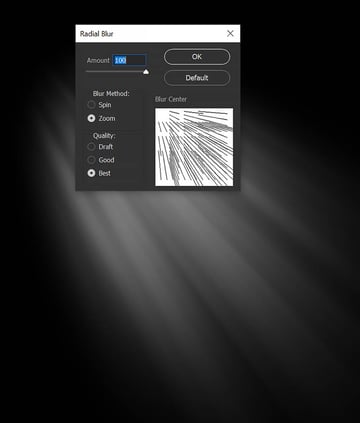
Go to Filter > Blur > Radial Blur, changing the settings to what you see below.
If the rays have too much texture, apply another round of Radial Blur. You can also experiment with Motion Blur.


Step 3
Duplicate the layer twice, and merge all three layers together.
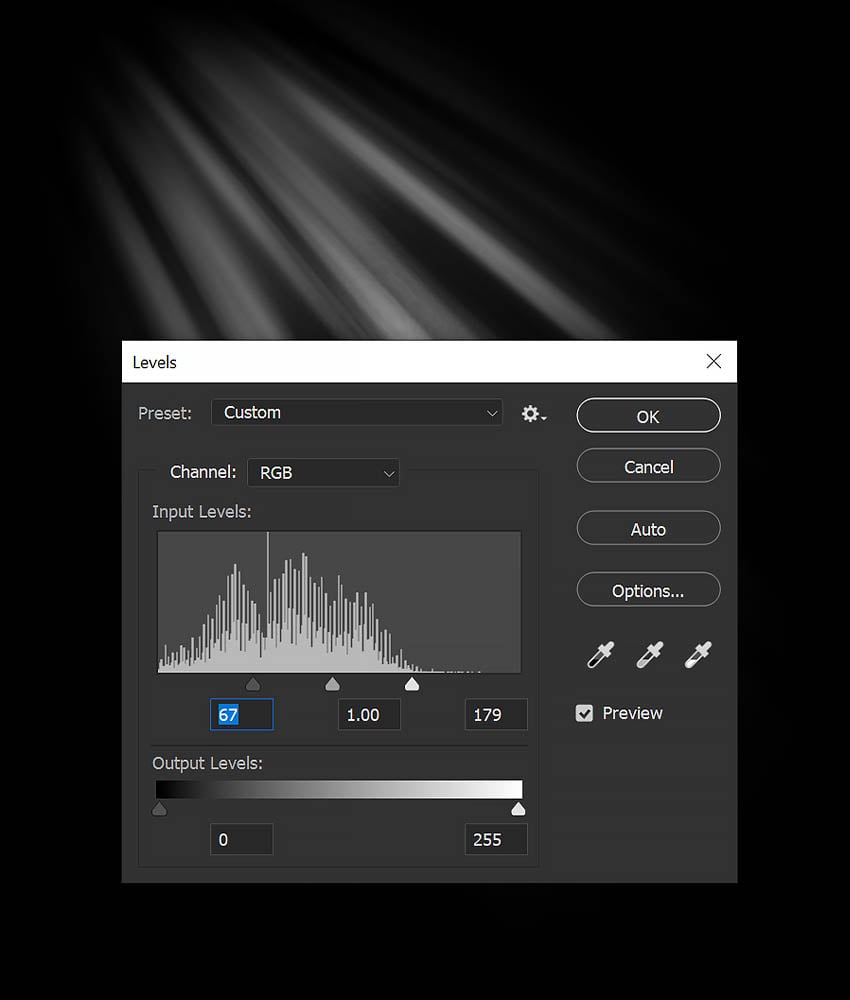
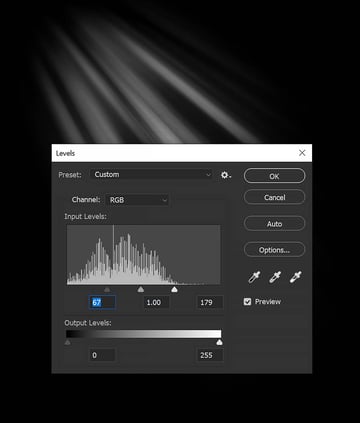
Next, go to Image > Adjustments > Levels and set the levels to what you see below. This will help define the light rays.
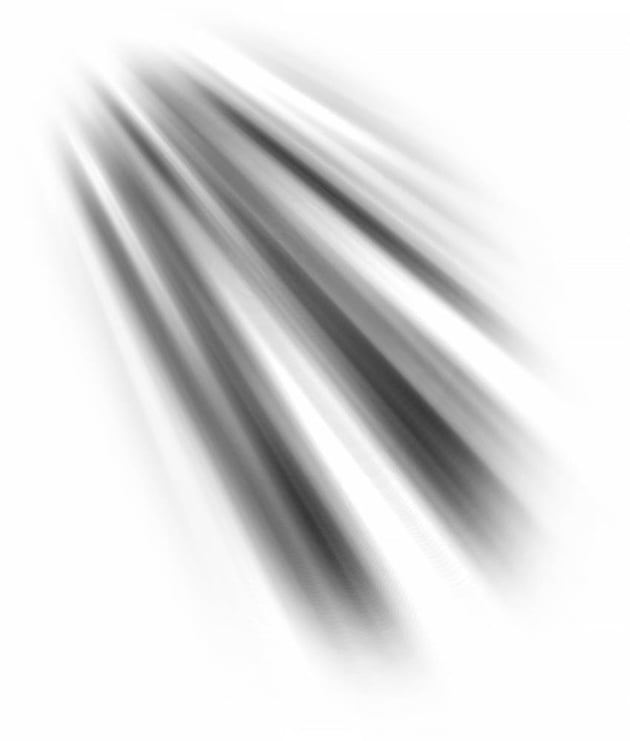
Merge all layers together and Invert the merged layer using Control/Command-I. Go to Edit > Define Brush Preset. Name the brush “Sun Rays.”
You can duplicate the layers as many times as you need until they appear bright enough.


Step 4
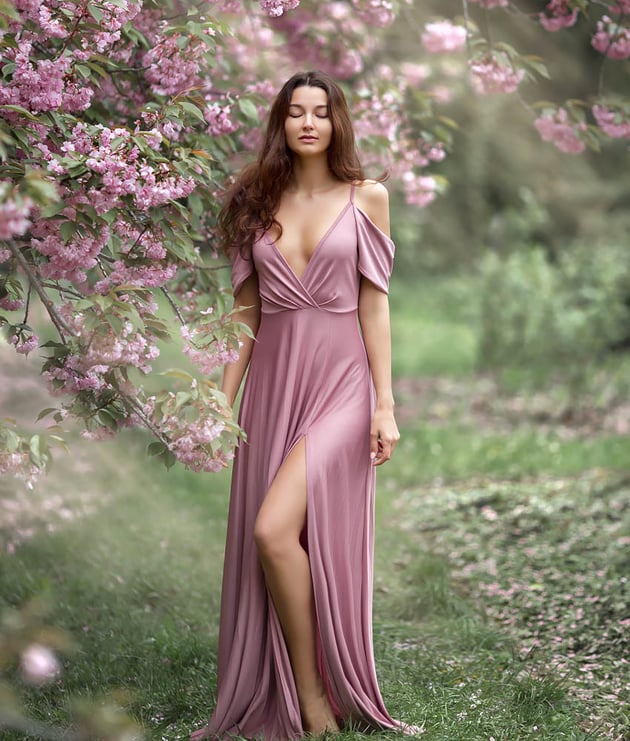
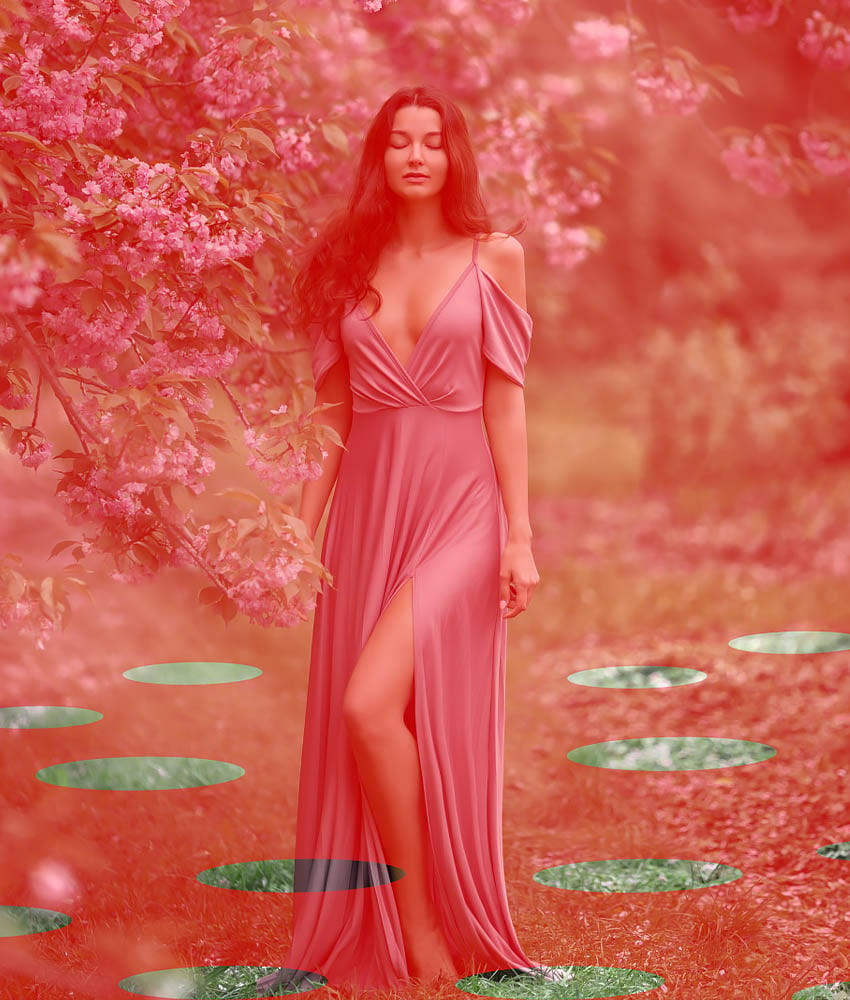
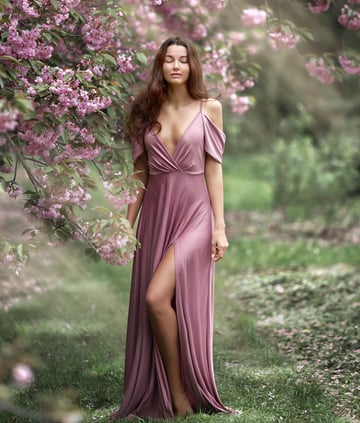
Extract your subject using your desired method, and create a New Layer below them. I used Select Subject and a Layer Mask.
Set the new layer to Screen and stamp your sun rays behind your subject. I used a pale orange #ffe5b7 shade. Bring the layer’s Opacity down to 60%.


Step 5
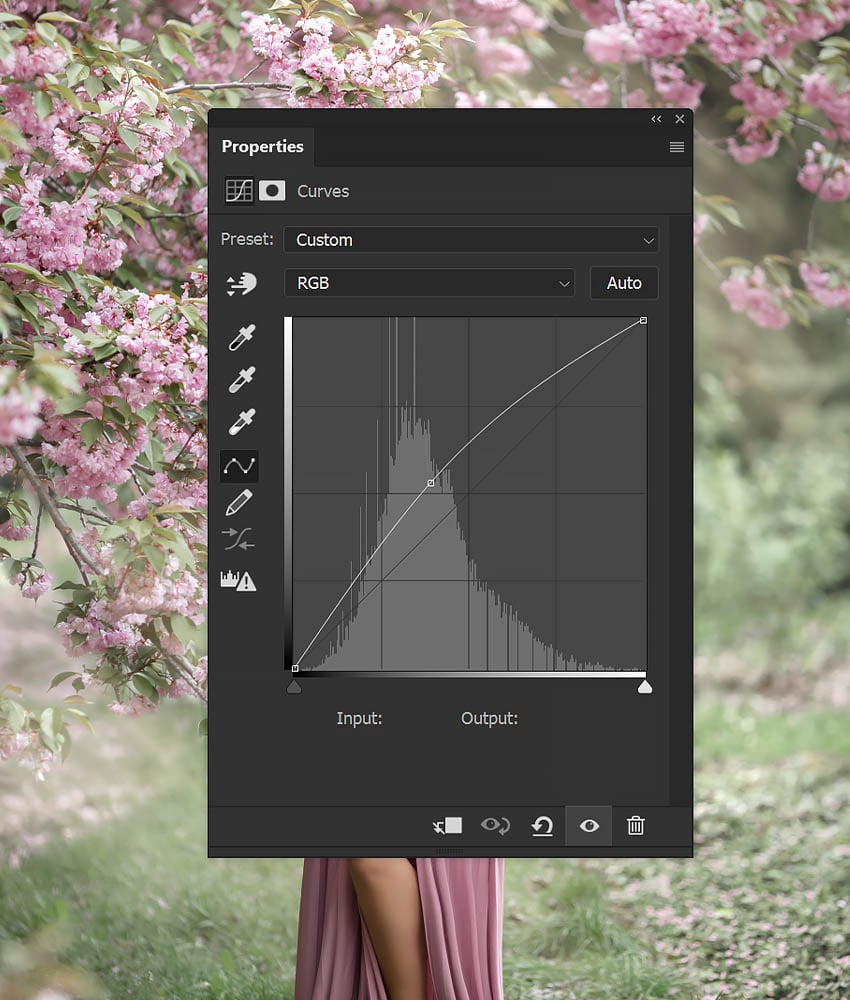
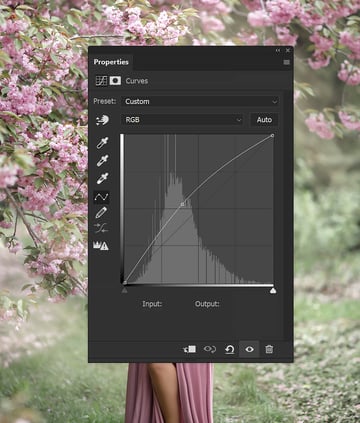
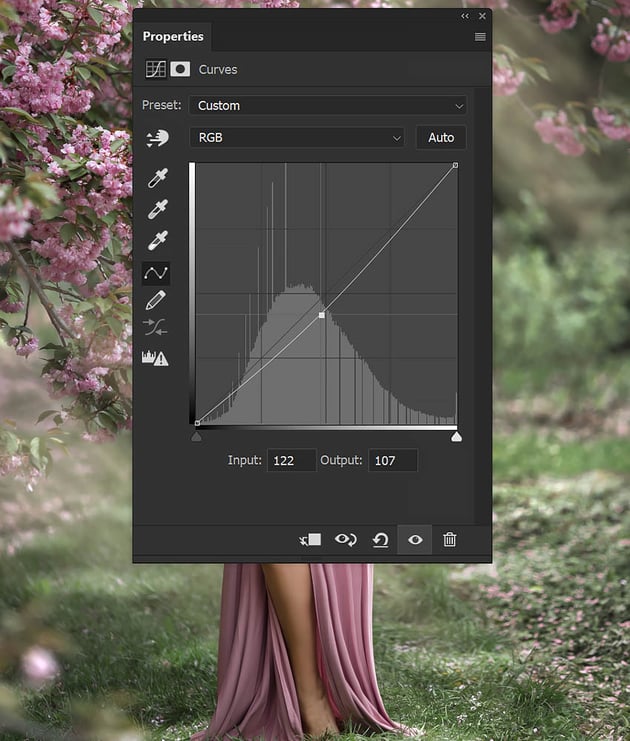
Create a Curves adjustment layer, bringing up the midtones as you see below. Fill the layer mask with black.
Use a default round Brush to paint white dots on the black mask. Use the Transform tool to flatten the dots and match the perspective of the grass. Try to create different-sized dots.
Below is the mask view so you can better see my layer mask.
You can also hand-paint the dots. They don’t need to be perfect circles—in fact, it’s better that they aren’t. You can also use a brush with a leaf texture to create an even more realistic effect.


Step 6
With the layer mask selected, go to Filter > Gaussian Blur and set the Radius to 25 px.
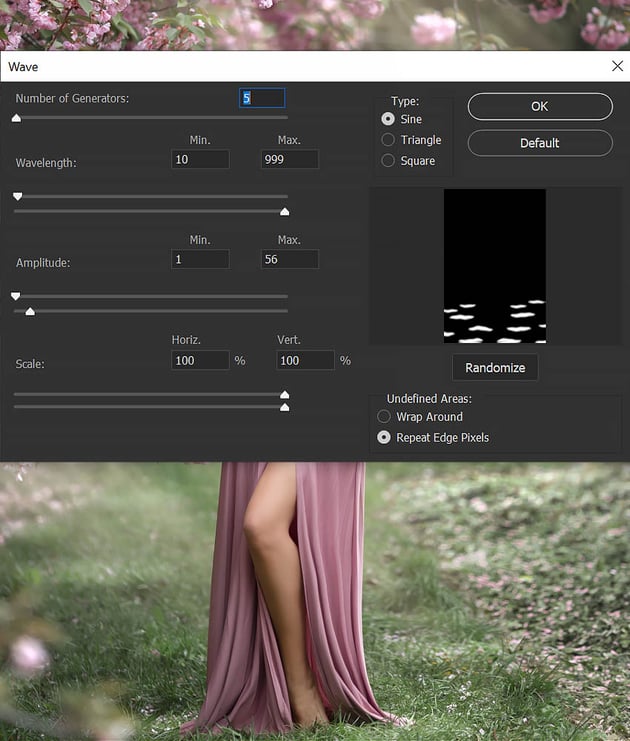
Go to Filter > Distort > Wave and set it to what you see below.


Step 7
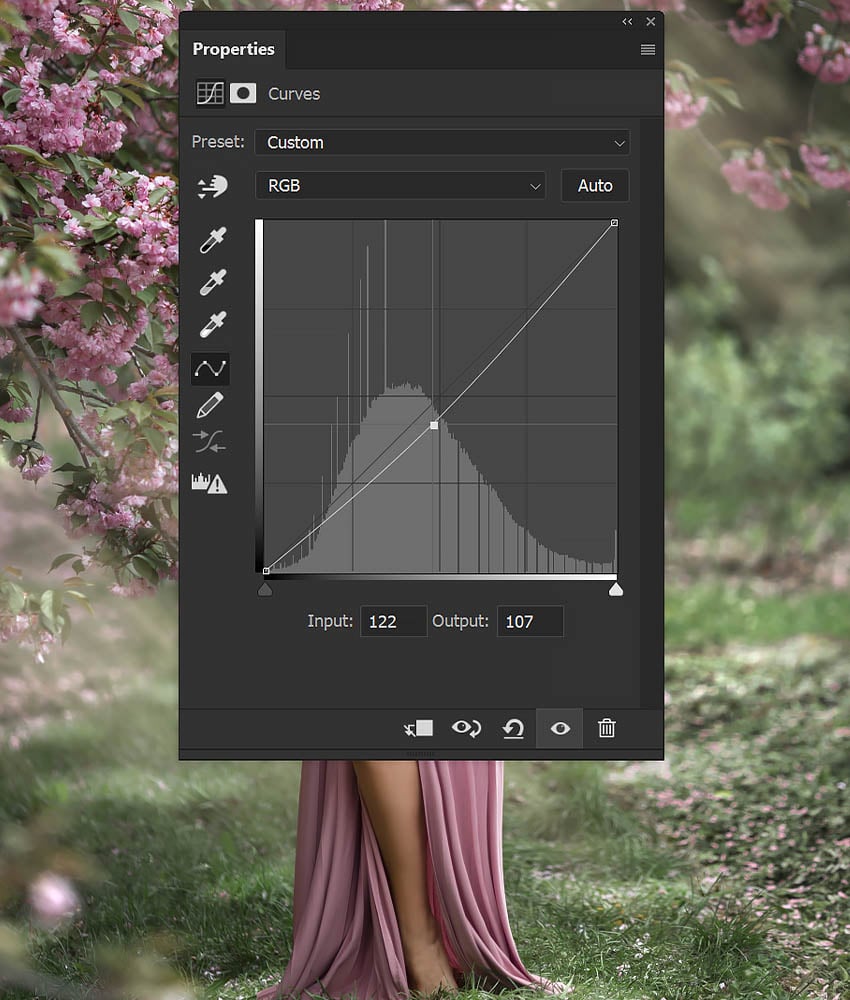
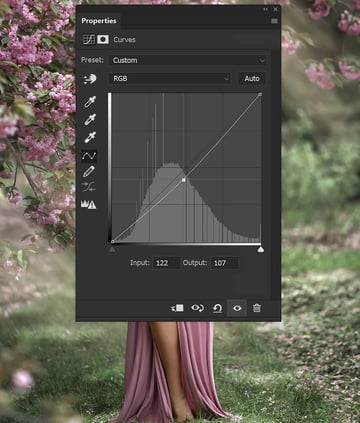
Duplicate the Curves layer and Invert the layer mask using Control/Command-I.
Change the Curve anchor so that you’re bringing down the midtones.
Step 8
Finish by bringing both shadow and some sun rays using our new sun ray brush Clipped into the subject layer.


That’s How to Add Sun Rays in Photoshop!
That’s how to change the weather in Photoshop. Going from dull to a sun-filled sky, even with the sky showing. The sunny ray Photoshop brush we made is incredibly versatile. Use it in portraits like this, landscapes, or even as a spot light brush for other light-beam effects.
Need More Photoshop Weather Effects?
Wondering how to change the weather in Photoshop? Sunny ray Photoshop actions, brushes, and overlays are the best ways to apply Photoshop weather effects an an image quickly. Let’s look at some of my favorite Photoshop weather add-ons from Envato Elements.
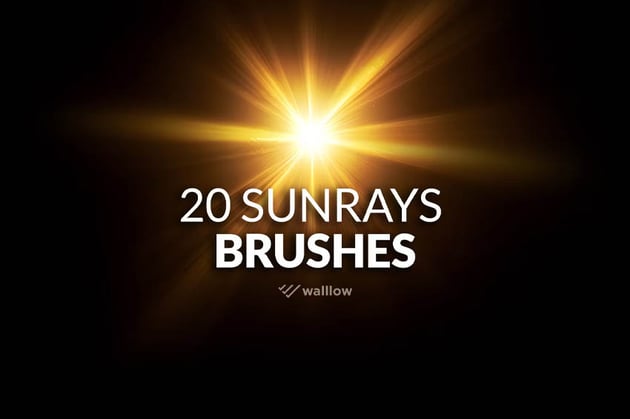
20 Photoshop Sunlight Brushes (ABR)
Although we’ve recently mastered making our own sun ray brushes, let’s skip the steps and snag these 20 brushes to speed things up! With high resolution and various sun ray styles, they’re ideal for adding a touch of light and drama to your photos or designs. Get an instant sun flare Photoshop effect today.

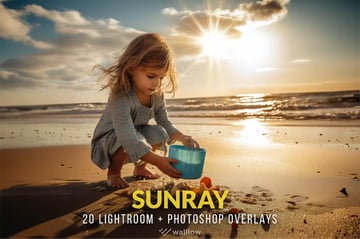
Realistic Sunlight Overlays PNG and JPG (PNG, JPG)
These sun ray Photoshop overlays are amazing. Enhance your photography and graphic design with this versatile collection. Crafted for various creative needs, they offer realistic sun and beam light effects. This premium bundle includes 20 high-quality overlays in JPG and transparent PNG formats.


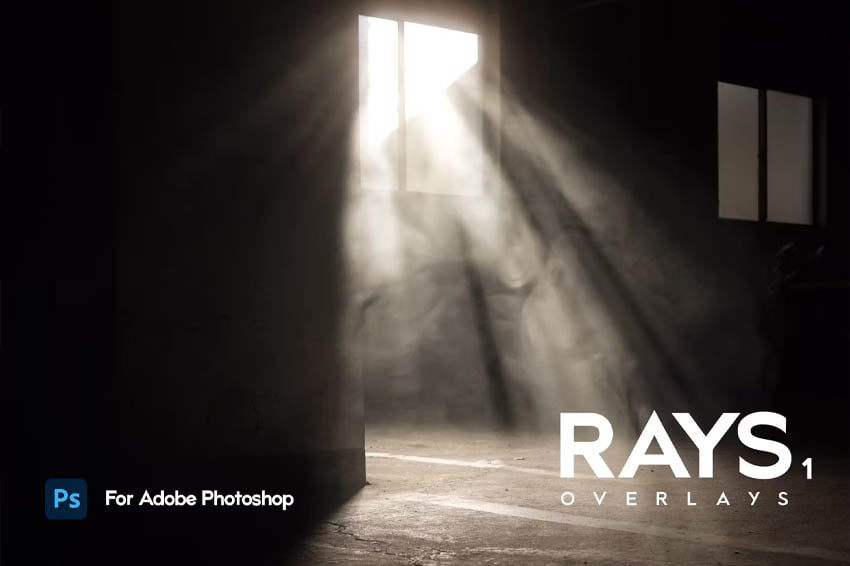
Rays: Ultra-Realistic Overlays for Photoshop (JPG)
These sun rays give an added drama to images with just a click of a button. Easy to use and high resolution, they’re perfect for photographers and graphic designers alike. Not only do they add depth and dimension to images, but they also give them a unique, subtle touch.

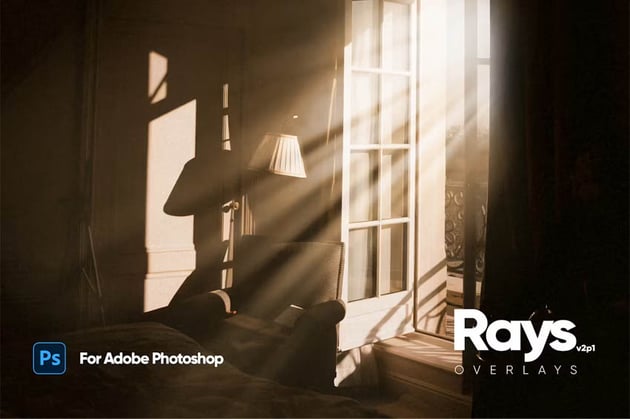

Rays 2: Ultra-Realistic Overlays for Photoshop (JPG)
These options are perfect for creating the desired atmosphere in any picture, regardless of the setting. Elevate your photo to a professional level, whether you’re a beginner or an experienced photographer. The package offers high-resolution overlays that are easy to apply to any photo for a realistic sun flare Photoshop effect.

Magical Book Light PNG Photo Overlay (PNG)
Open your portal to enchanting photography! Enhance your visuals and unleash these sun ray PNGs. Turn ordinary scenes into extraordinary masterpieces with easy-to-use PNG overlays. From fairy sparkles to sunbursts, these overlays can do it all.