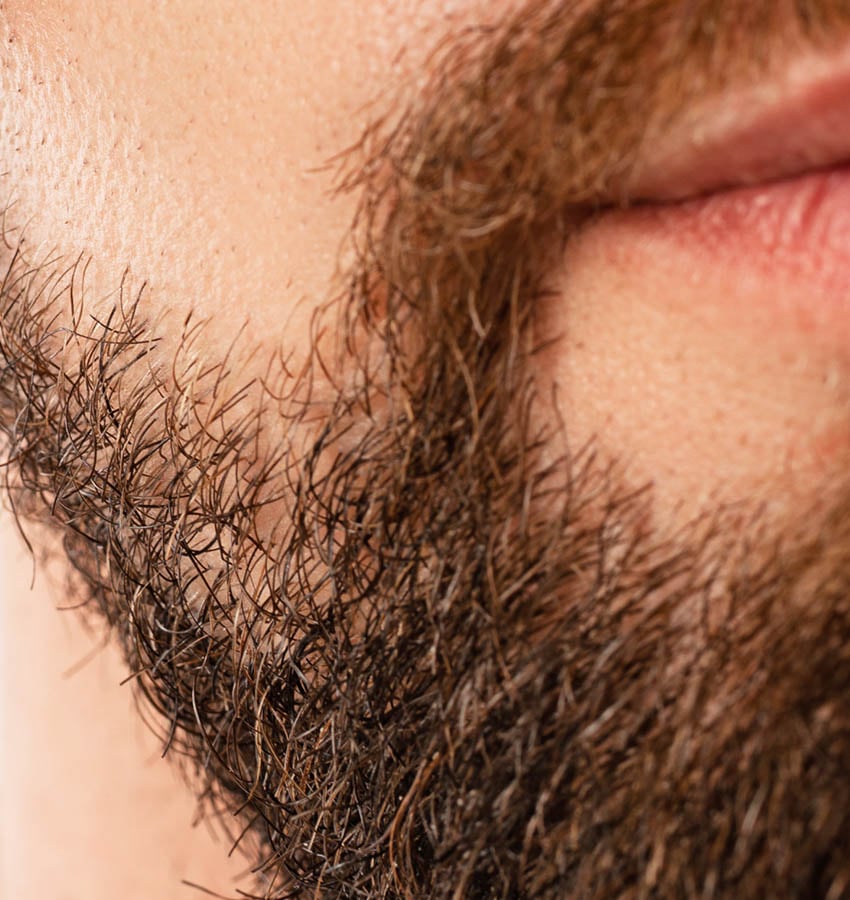
Whether you want to add some extra detail or fill in a patchy spot of hair, this tutorial will give you the skills to do it quickly. With a few simple paint strokes, you can totally transform your images. It’s even great for non-digital painters. So let’s dive right into it!
What You’ll Learn
- How to add hair in Photoshop
- How to add hair strands in Photoshop
- How to make a beard full in Photoshop
How to Add Hair in Photoshop
Step 1
Create a New Layer by clicking on the Create a New Layer icon located at the bottom of the Layers panel. Name this layer “Hair.”
Next, we want to use the Eyedropper tool to color pick from the existing hair color. You will likely have to choose multiple different colors as you paint.


Step 2
Now, select the Brush tool located on the left-hand toolbar, or press B on your keyboard.
Choose a small, soft brush to start drawing hair strands. Adjust the brush Size and Hardness so that it matches the already existing hair strands.
You can easily adjust the Size of a brush by pressing the brackets keys [ and ].
Step 3
Begin drawing hair strands on the “Hair” layer. Try to follow the direction of the hair strands in the photo; this will help make it look realistic.
You can also adjust the Opacity of the brush to make the strands look natural and less solid or harsh.
Keep in mind where the light is coming from and what type of hair the person has. Use the existing hair as a reference.


Step 4
Use the Smudge tool to blend the hair strands with the existing hair.
The Smudge tool will give the strands a more natural appearance. Experiment with different sizes and strengths to achieve the effect you’re aiming for.
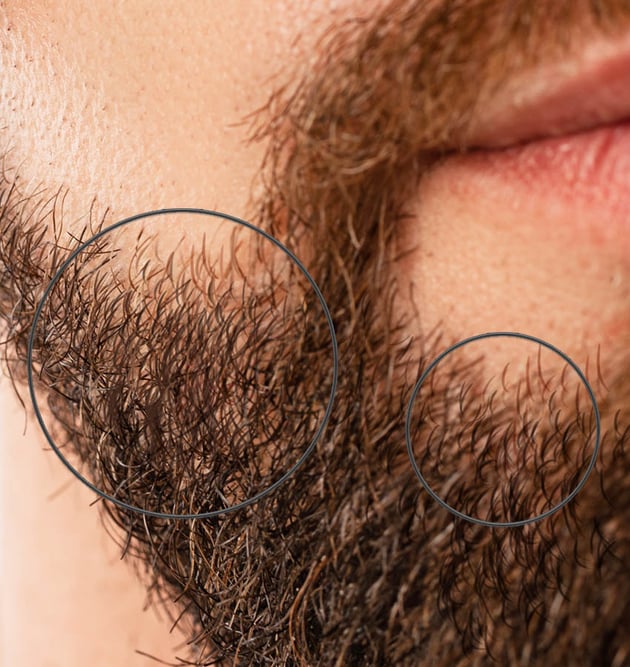
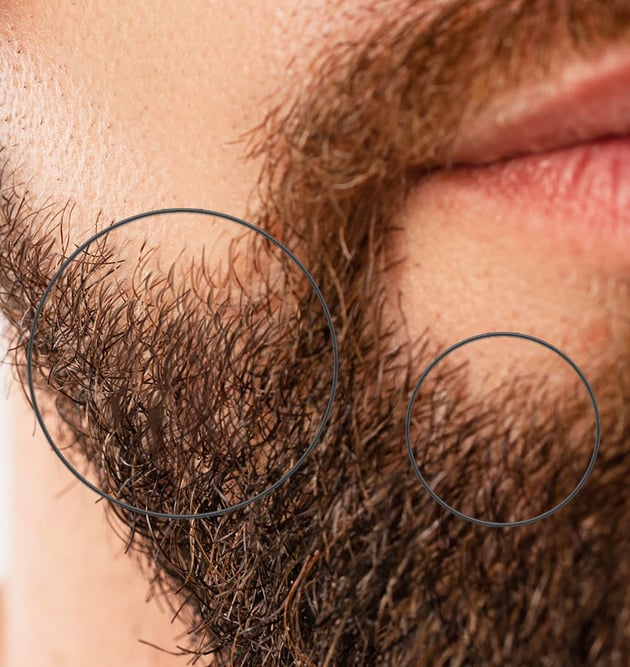
Continue adding hair strands until the bald patch is filled and you’re satisfied with the result.
You can also adjust the color and contrast to make the added hair look more realistic.


That’s It!
That’s how to add hair strands in Photoshop! Adding a few extra hair strands to an image is an awesome way to add some detail. Or maybe you just need to fill in a thinner patch of hair. Whatever the case, painting a few simple strokes of hair is a quick and easy fix, and it can sometimes work better than trying to manipulate the existing hair.
But that’s not all! Check out some of our many hair-related tutorials below.