Thinking of getting into 3D design? One of the best ways to start is with Adobe Substance 3D Viewer, a beginner-friendly tool for playing with 3D models, textures, and materials in real time. No complicated setup needed—it’s just a simple, fun way to see your designs come to life.

In this guide, we’ll go through everything you need to know to get started, from getting around the interface to loading existing scenes. So whether you’re a designer, an artist, or simply curious, this is a great place to start!
1. What is Adobe Substance 3D Viewer?


Adobe Substance 3D Viewer is a professional yet beginner-friendly app to help you visualize and experiment on 3D models, textures, and materials in real time. I see it as a stage where your digital creations come to life, letting you test them with different lighting and environments to see how they hold up.
Currently it’s available as a beta release and part of Adobe’s Substance 3D suite that can integrate seamlessly with other apps like Adobe Photoshop (Beta).

This makes life easy for 3D artists and graphic designers. Now a 2D artist can pick a 3D model, drag it into Photoshop, and directly edit it. From there, you can change the lighting, materials, viewing angles, and more!
2. Key features of Adobe Substance 3D Viewer

- Real-time 3D visualization: You can see the changes you make live as you tweak textures, adjust lighting, or refine things like material properties. No more waiting for ages as rendering processes.
- Integration with Adobe Photoshop: Substance 3D Viewer has been built to work seamlessly with Adobe Photoshop (Beta). You can simply drag and drop 3D models into Photoshop, and they become editable Smart Objects instantly, making cooperation between graphic designers and 3D artists easy.
- Environment and lighting customization: Use HDRI (High Dynamic Range Imaging) environments to study the behavior of realistic lighting. Set light intensity and directions with shadows so the models look good in any environment, from outdoor scenes to studio setups.
- Material and texture testing: Substance 3D Viewer lets you apply and fine-tune the PBR (Physically Based Rendering) based materials on any model. For realistic textures, you can easily adjust properties such as metallic and roughness to create things like reflective matte surfaces.
- Wide file format support: You can import a 3D model using popular and common available formats such as OBJ, FBX, or GLTF, which makes it highly versatile.
- Intuitive interface: Easy navigation controls make panning, zooming, and rotating models easy, keeping your attention on your designs rather than getting lost in complicated menus.
3. How to download and install Adobe Substance Viewer
Getting started with Adobe Substance 3D Viewer is quick and easy. Follow these simple steps to download, install, and set up the software.
Step 1: Download and use Adobe Creative Cloud
To access Substance 3D Viewer, you’ll need an active Adobe Creative Cloud account.
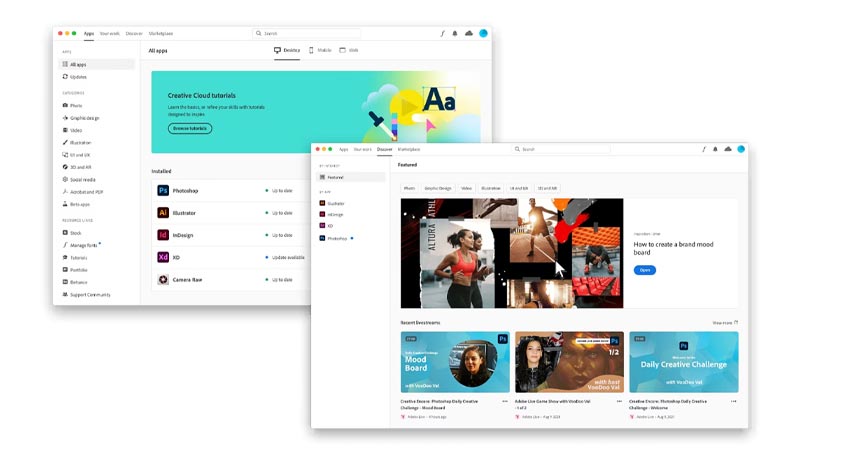
- Visit the Adobe Creative Cloud website and download the Creative Cloud desktop app if it is not already installed.
- Open the Creative Cloud desktop app and log in to your Creative Cloud account.

Step 2: Install the software
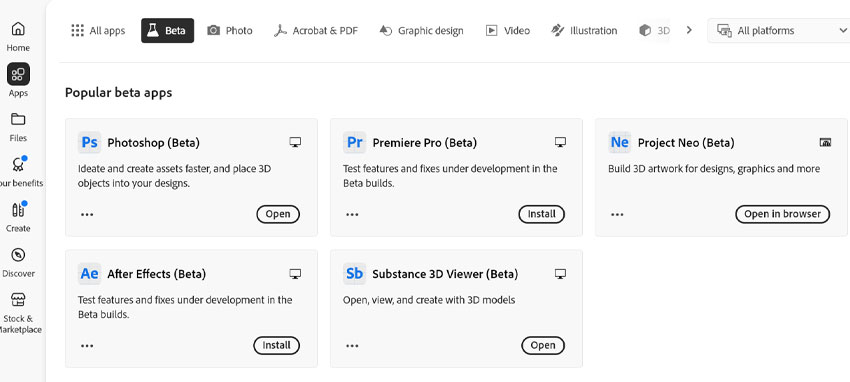
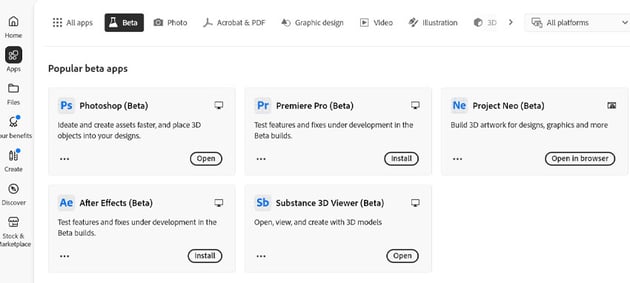
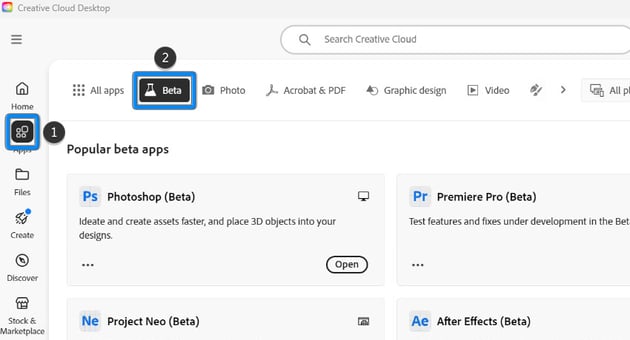
- Navigate to the Apps tab in the left-hand menu.
- Click on the Beta button at the top, which will then show you all the available beta apps that are available to you on your account. From there, find and install both Photoshop (Beta) and Substance 3D Viewer (Beta).


4. How to open and explore the sample 3D scene
If you’ve never used Adobe Substance 3D Viewer, the Sample 3D Scene is a great way for budding 3D artists to get started! This is a ready-made 3D model complete with textures and materials, so you can play with all the tool’s features without creating anything. Here’s how you can open and start experimenting.
- Step 1: Launch Adobe Substance 3D viewer.
- Step 2: Find the Get started with a sample 3D scene button at the top of the screen.
- Step 3: Navigate and explore the scene.
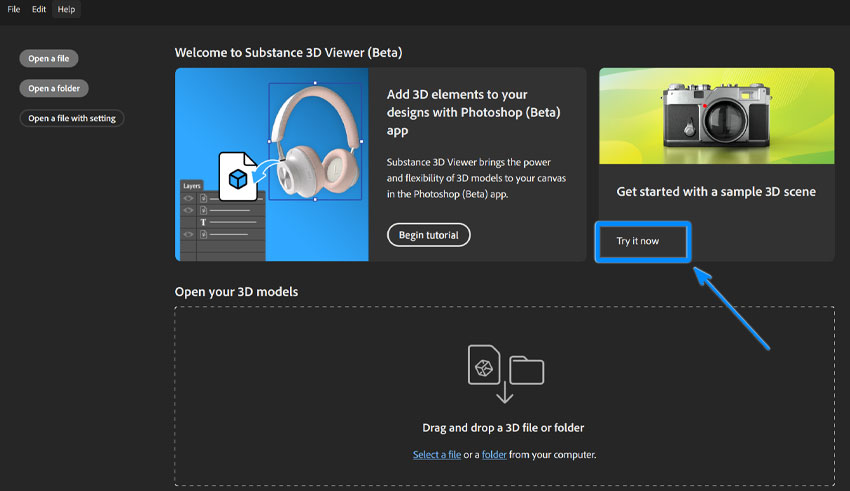


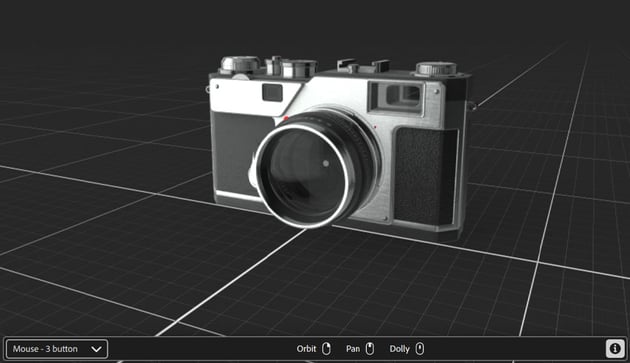
The pre-made 3D model will automatically be loaded into the viewport. This model has already applied textures, materials, and lighting and lets you jump immediately into the exploration.
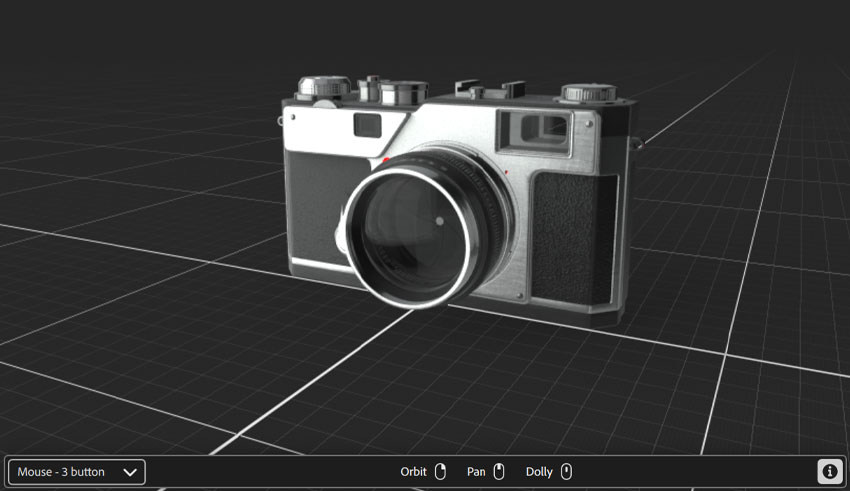
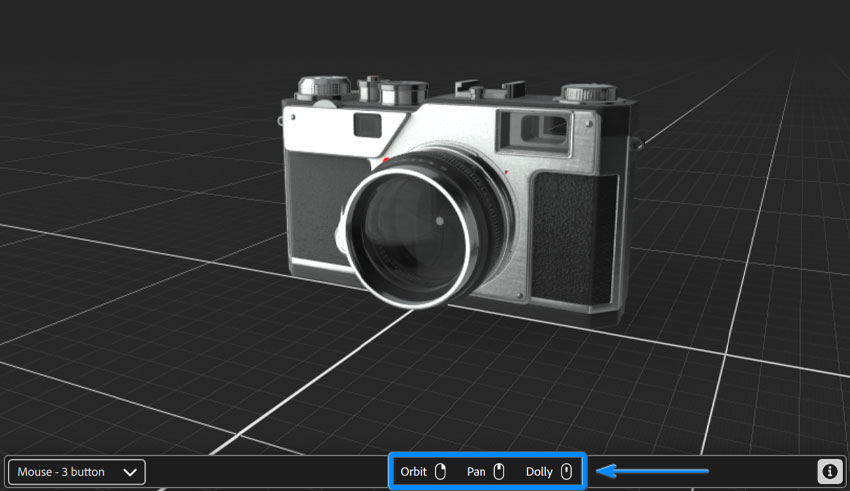
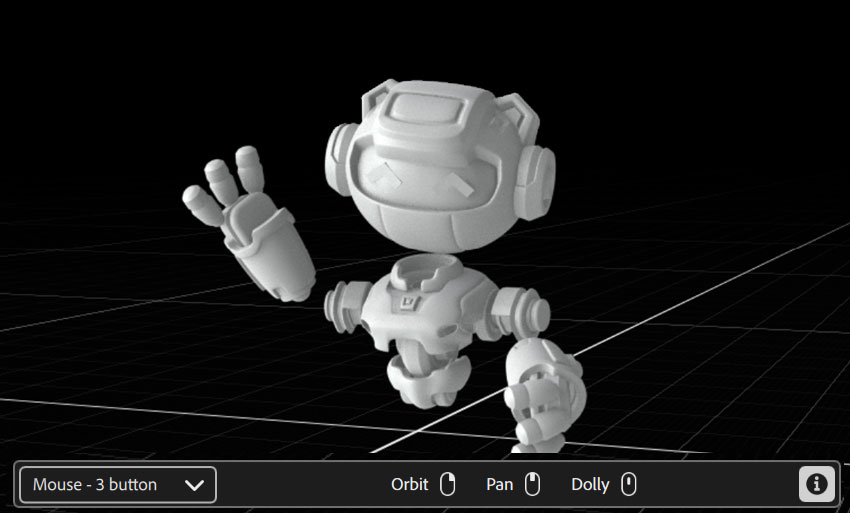
Navigation controls
At the bottom of the screen, the navigation bar shows what each mouse button does based on your device (three-button, two-button, or trackpad). For a three-button mouse, here’s how to navigate:
- Orbit (Right mouse button): Click and hold the right mouse button, and then drag to rotate around your 3D object. This allows you to view your model from any angle.
- Pan (Middle mouse button): Hold the middle mouse button and drag to move the view side to side or up and down.
- Dolly (Scrolling up and down with the mouse wheel): Use the scroll wheel on your mouse to zoom closer to or further away from your model.


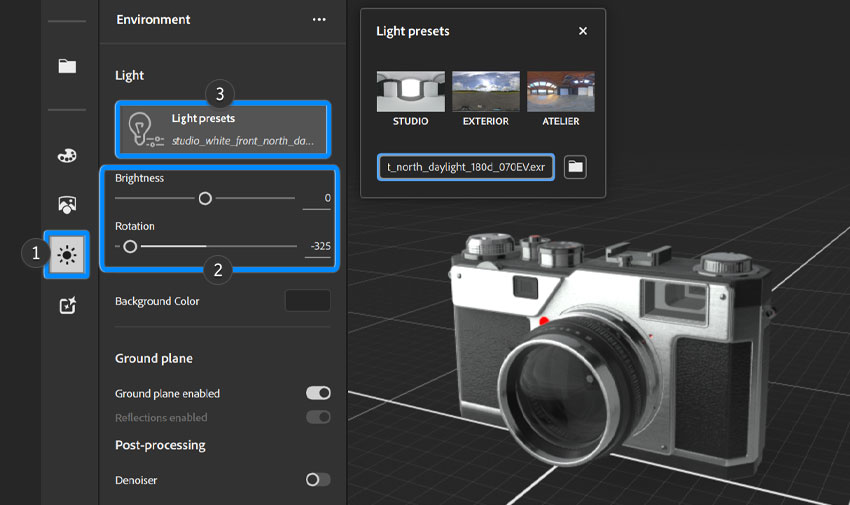
Lighting controls
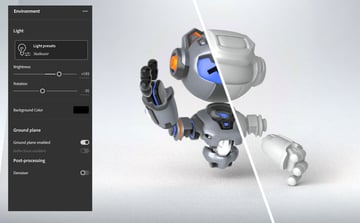
Lighting plays a crucial role in showcasing your 3D models, and Adobe Substance 3D Viewer offers easy-to-use tools to adjust lighting and create realistic previews:
- Step 1: Select the Environment (E) button on the left to open the lighting options.
- Step 2: Adjust the Brightness and Rotation of the light using the sliders.
- Step 3: Alternatively, you can choose a Light Preset. Each map provides a unique lighting setup, such as studio lighting settings or outdoor lights.


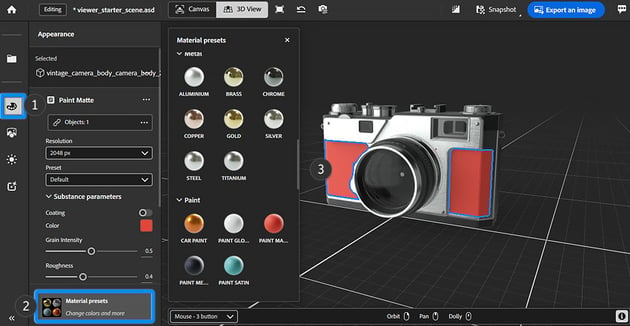
Edit materials
The Appearance panel, which is located on the right, provides powerful tools to modify the materials of your 3D object, allowing you to customize its look and feel. You can fine-tune your textures or choose from material presets:
- Step 1: Click on the part of the 3D object where you want to change the material. The selected part will be highlighted in the 3D View, and its corresponding material will be displayed in the Appearance panel.
- Step 2: From there, use sliders and input fields to tweak key properties such as base color, metallic, roughness, and translucency.
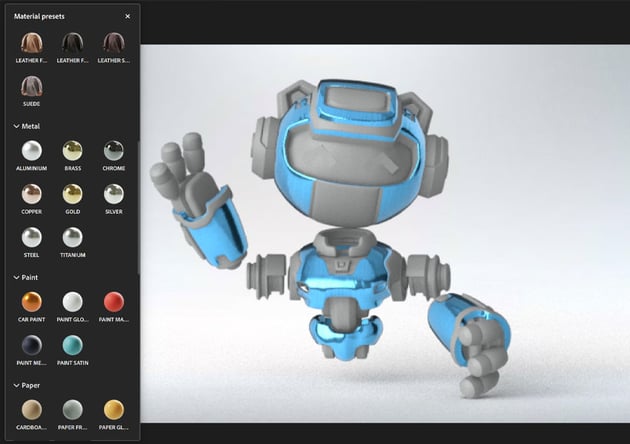
- Step 3: Alternatively, you can choose a Material Preset, which is a list of ready-made materials that simulate real-world materials like metals, plastics, fabrics, and more.


5. How to download ready-made 3D assets
Starting your 3D projects doesn’t mean you have to create everything from scratch. Ready-made 3D assets are a fantastic way to save time and get inspired. Here are two great sources to download high-quality 3D models.
Downloading from Envato
There is a treasure trove of assets to discover at Envato. It has everything you need, including 3D models, textures, and templates. Here’s how to search and download from Envato:
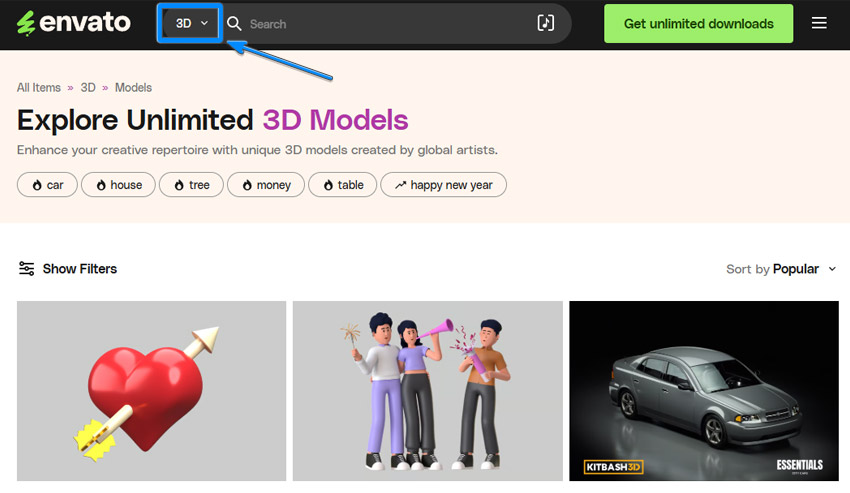
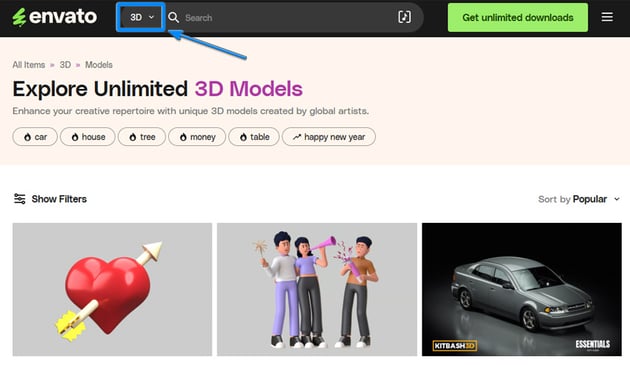
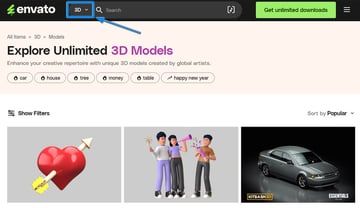
Step 1
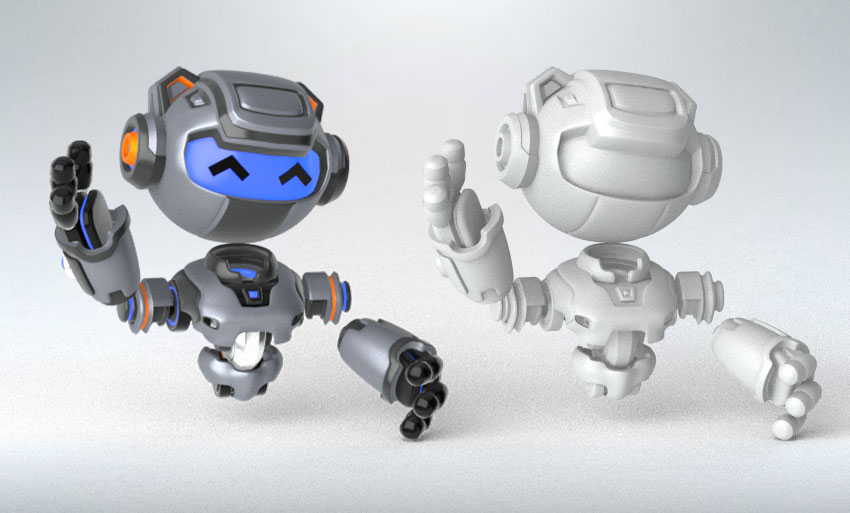
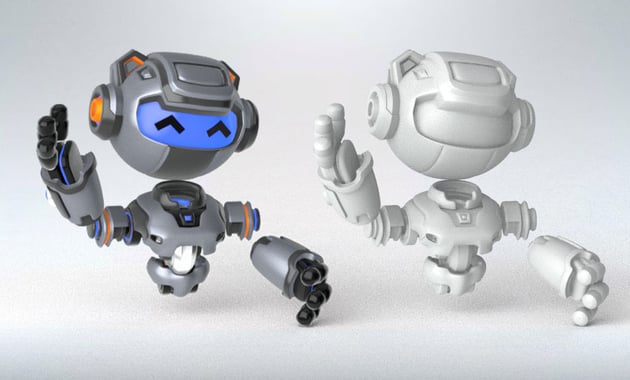
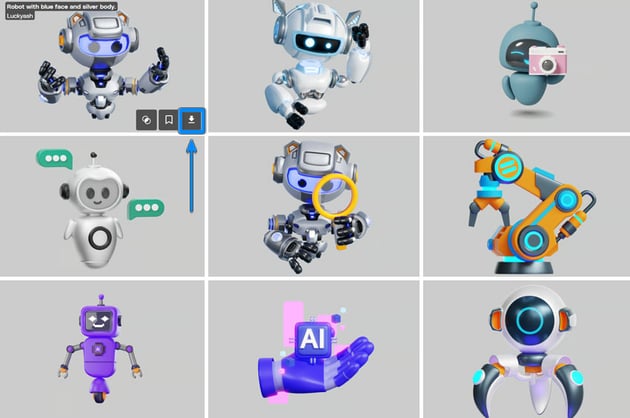
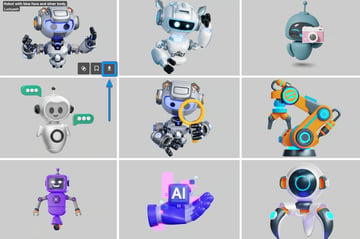
Visit Envato and use the search bar at the top of the homepage to select 3D from the dropdown menu. You can actually search by specific assets such as “3D characters,” “furniture,” or “props”. For this tutorial, we will look for “robot” and see what comes up.
Step 2
Once you’ve found your 3D model, all you need to do is click on the Download button. Be sure to look through the file extensions and make sure that they work with Substance 3D Viewer (check for OBJ, FBX, or GLTF).

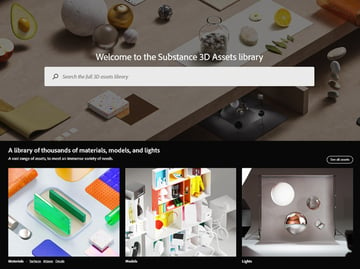
Downloading from Substance 3D Assets
The Substance 3D Assets library is tailored for users of the Substance 3D suite and can be accessed directly from your Adobe Creative Cloud app.
Step 1
Visit Substance 3D Assets and log in with your Adobe Creative Cloud account. This library is included as part of a Substance 3D subscription.


Step 2
Explore the library by category, such as 3D models, materials, or HDRI environments. You can also use the search bar to find specific items, such as “wood textures” or “shoes”.
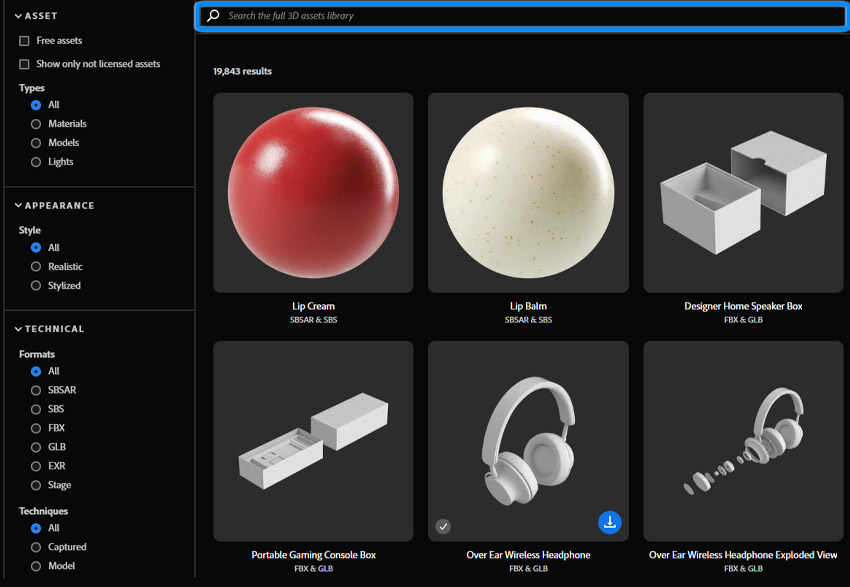


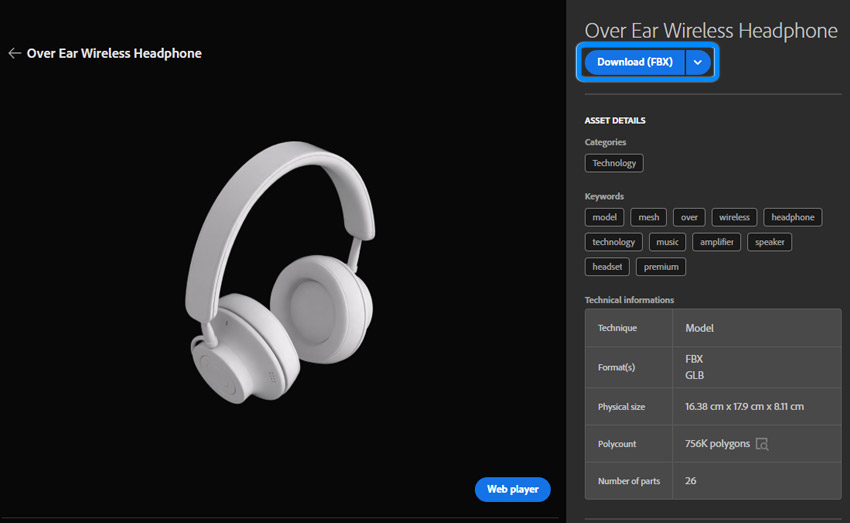
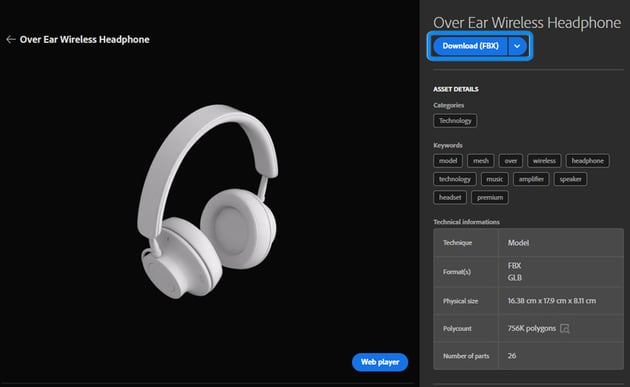
Step 3
Click on an asset to view its details and make sure it fits your project needs. Once you’re ready, click Download, and the file will be saved to your computer.

6. How to work with your 3D assets between Photoshop and Substance Viewer
One of the most exciting features of Adobe Substance 3D Viewer is its seamless integration with Photoshop (Beta), allowing you to combine 2D and 3D workflows effortlessly. Here’s how you can move your 3D assets between these two tools to enhance your creative process:
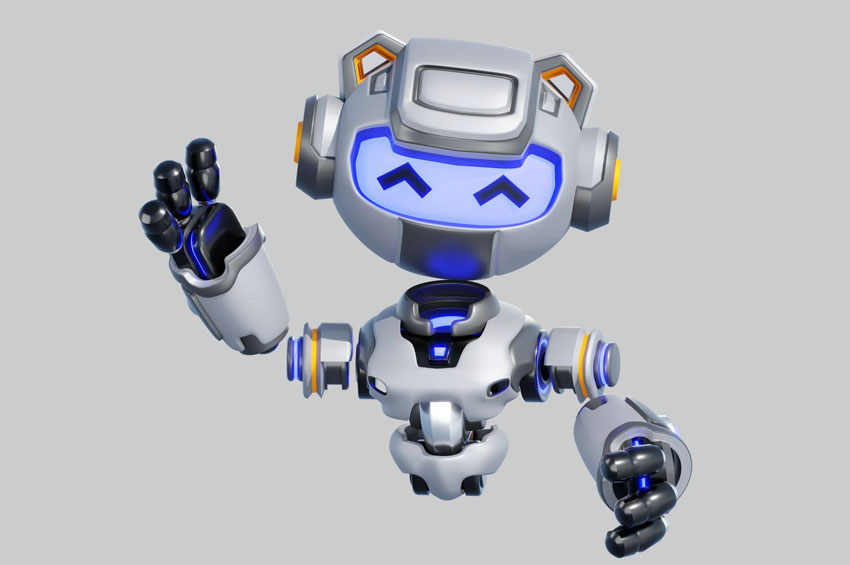
Step 1: Download a 3D model
First we’ll need a 3D model to work with. For this tutorial, we’ll be using this robot from Envato:


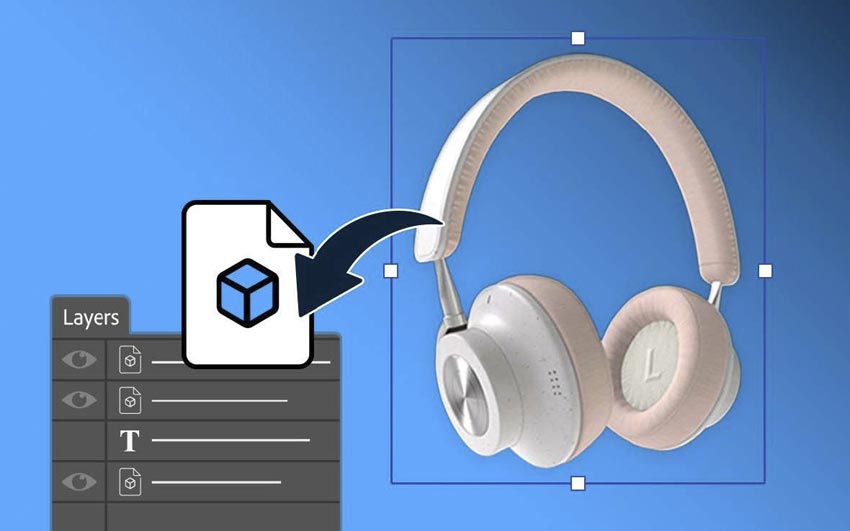
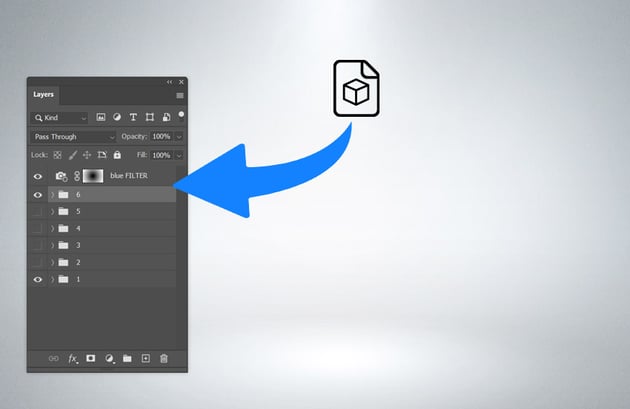
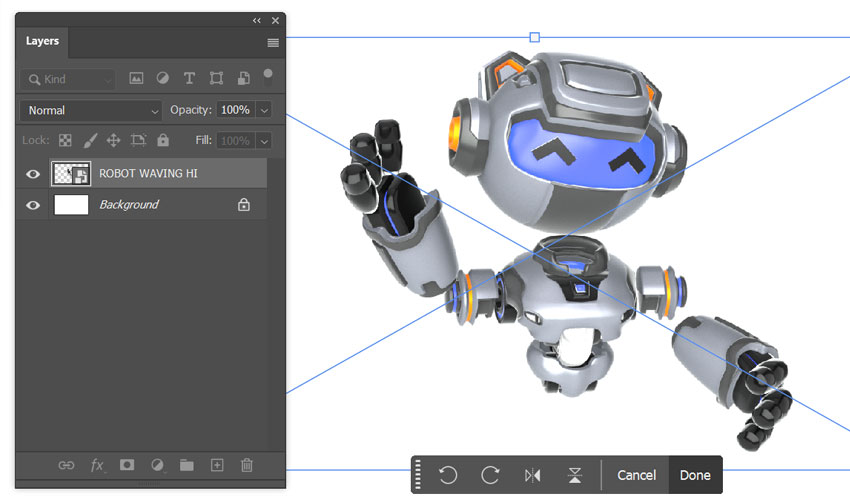
Step 2: Import your 3D model into Photoshop
Open up your project in Adobe Photoshop (Beta) and drag and drop the 3D file into Photoshop. The 3D model will automatically appear in your canvas as an editable Smart Object.


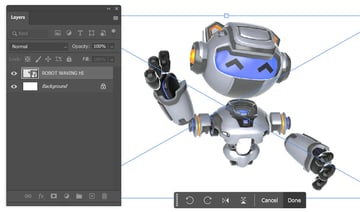
Step 3: Send your 3D model to Substance 3D Viewer
To fine-tune the details of your 3D model, you can easily open it in Substance 3D Viewer (Beta) directly from Photoshop. Here’s how:
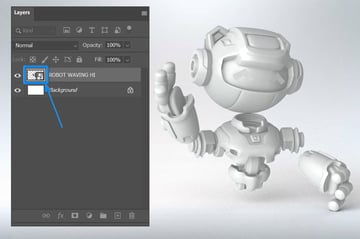
- Option 1: Double-click the Smart Object thumbnail in the Layers panel.
- Option 2: Select the layer and click Edit Contents in the Properties panel.


Step 4: Edit your 3D model
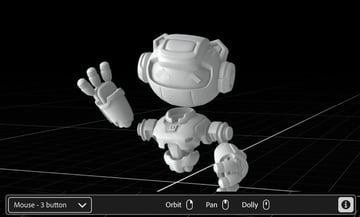
Substance 3D viewer will now open, and your 3D model will appear straight away. From there, you can edit the lighting, appearance, and viewing angle of your robot to your liking.

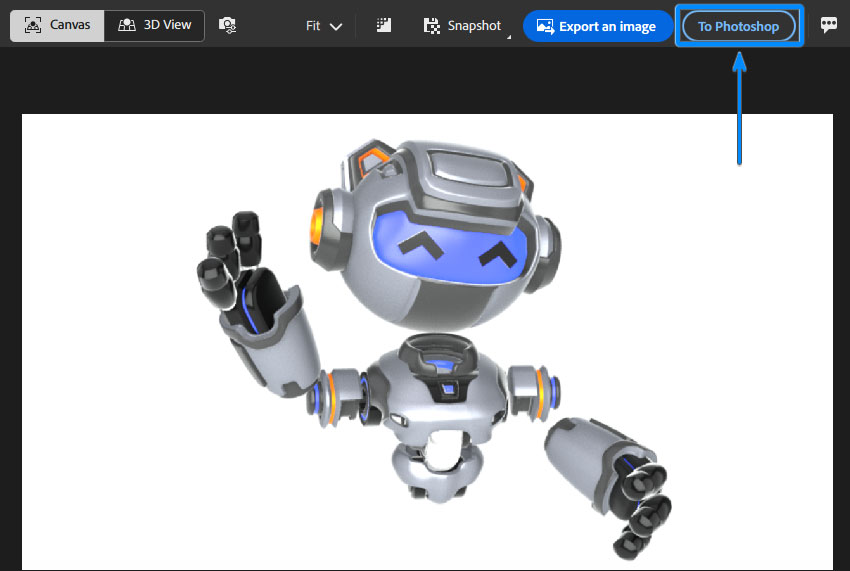
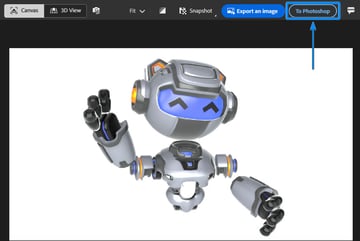
Step 5: Send your 3D model back to Photoshop
Once you’re happy with the edits, it’s time to send the updated 3D model back to Photoshop! Click the To Photoshop button in Substance 3D Viewer.

Step 6: Continue editing in Photoshop
From there, you can continue to edit your Photoshop file as normal. By combining the strengths of Photoshop and Substance 3D Viewer like this, you can create stunning designs that merge 2D and 3D elements seamlessly.

7. Conclusion


I just love how Adobe Substance 3D Viewer makes working with 3D feel so easy and fun! It’s the perfect tool for beginners or those looking to start designing in 3D. You can experiment with materials, light, and 3D models without being overwhelmed, and the easy integration with Photoshop (Beta) works wonders when it comes to adding final tweaks and creating things quickly.
This connection between 3D and 2D feels great and really helps speed up workflows. So whether you’re a designer, artist, or just starting your 3D journey, Adobe Substance 3D Viewer is the perfect app to add to your toolbox. And it’s a fun way for anyone to jump in and explore the world of 3D. So go ahead and experiment! Create new projects and have fun taking your designs to the next dimension.