Does Adobe have a 3D modeling program? Well it does now, with the new Project Neo (beta)! Let’s use it to create an adorable 3D illustration for Valentine’s Day. Whether you’re crafting this for a special someone or just flexing your design muscles, this step-by-step guide will make it easy and fun.
We’ll cover the tools and techniques you need to design a cute smartphone with charming icons (a calendar, an envelope, and a speech bubble heart) with a lighthearted, playful color palette. Using 3D objects, vibrant colors, and a bit of creativity, we’ll transform basic elements into a cute, festive visual that’s perfect for sharing the love.
What is 3D art with Project Neo?

If you’ve ever wondered “what is 3D art”, “how to make 3D art”, or even “does Adobe have a 3d modeling program”, Project Neo is here to answer all your questions whilst making the process fun and easy.
Part of Adobe’s powerful suite of tools, Project Neo is designed to simplify 3D design, giving creators of all skill levels the chance to bring their ideas to life in glorious 3D. From crafting simple shapes to building intricate 3D scenes, this tool puts the magic of Adobe 3D at your fingertips.
With its beginner-friendly features, Project Neo is perfect for anyone ready to explore how to make 3D art. Whether you’re experimenting with creative layouts, adding realistic textures, or playing with vibrant colors, this tool does it all. So, if you’re ready to dive into the exciting world of how to make 3D art, Project Neo is the perfect place to start.
1. Getting familiar with Project Neo
Launching Adobe Project Neo
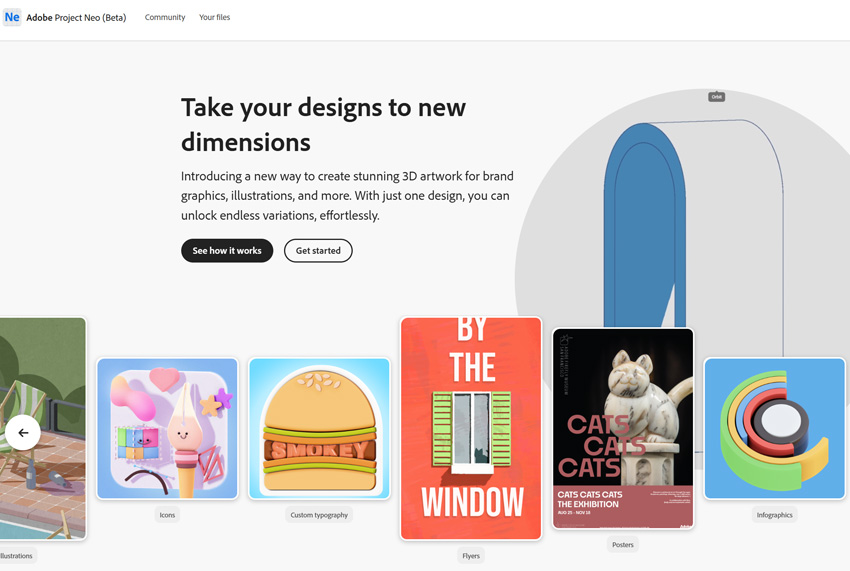
Let’s start by launching Adobe Project Neo from our internet browser by going to projectneo.adobe.com. This will take you to the main website, where you can get a quick sense of what Adobe Project Neo is all about: its features, tools, and a showcase of sample projects to inspire you.

Create a new workspace
Sign in using your Adobe account, or if you’re new to the platform, simply sign up for an account by clicking on the Sign Up button at the top.
Once you’re logged in, click the Create button to open up the main workspace, where all the magic happens.


Explore the interface
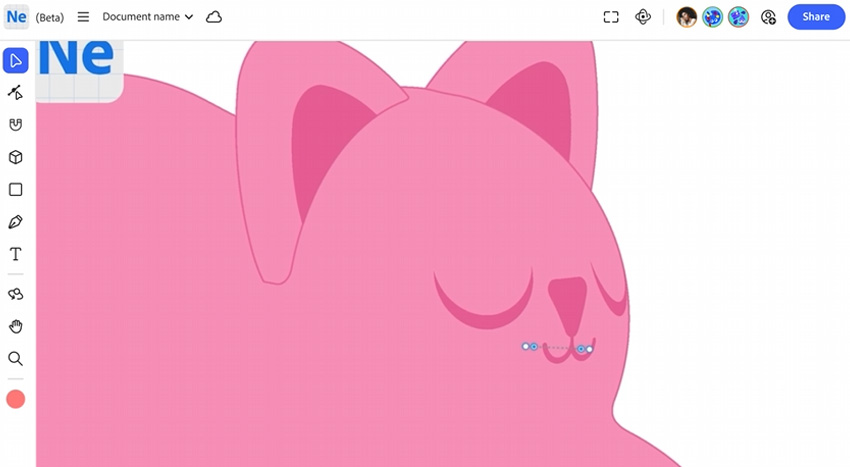
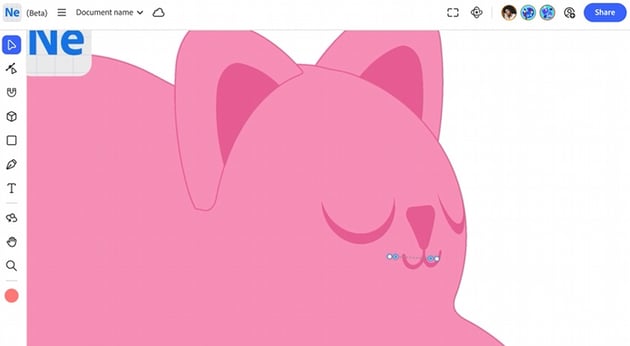
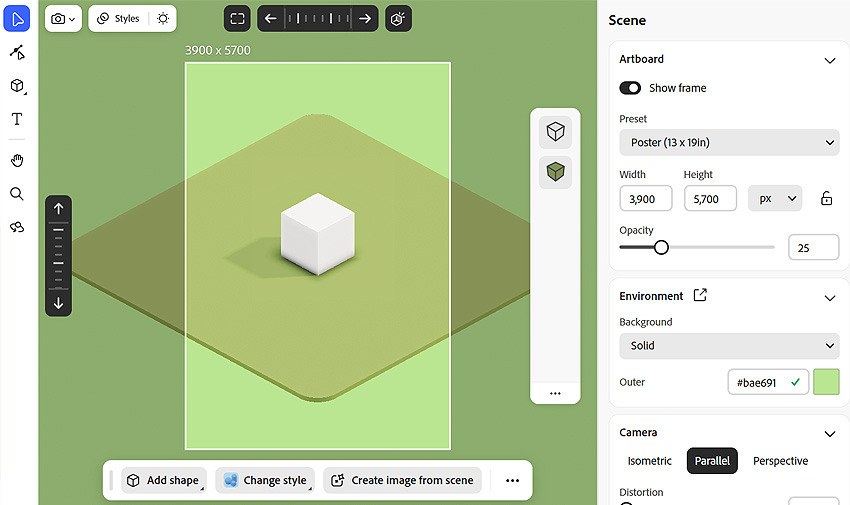
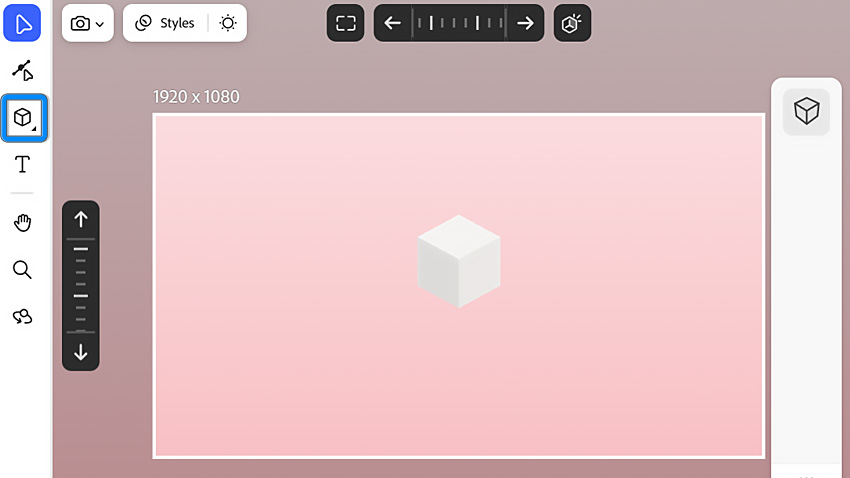
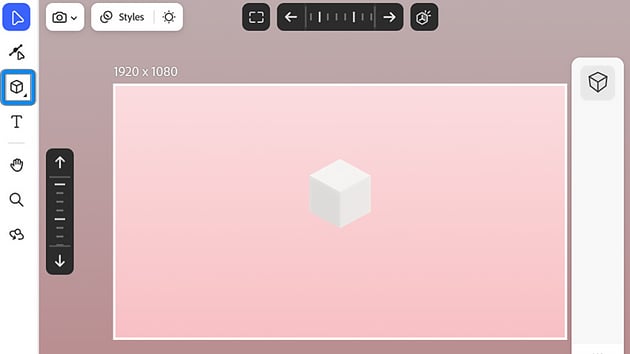
You’ll now see the main interface, which includes a large viewport in the center (where your Adobe 3D creations will appear), a toolbar on the left with all the essential tools, and a Scene/Properties panel on the right.

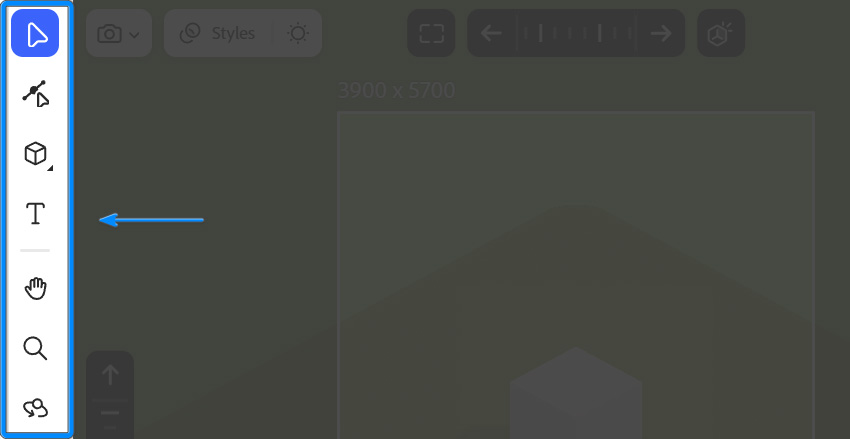
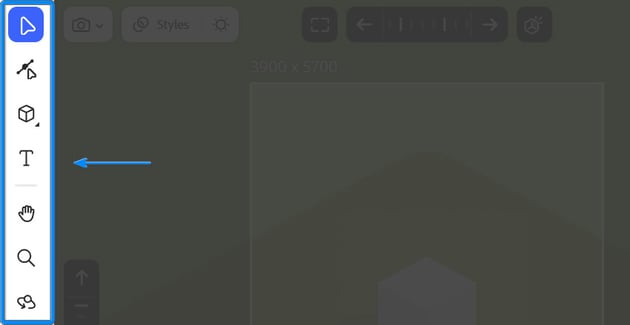
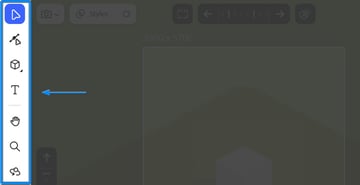
Left toolbar
The toolbar on the left houses essential tools for creating shapes, editing and rotating objects, adding text, and using basic camera controls. Hover over each icon to see a tooltip with its name and function.
Right panels
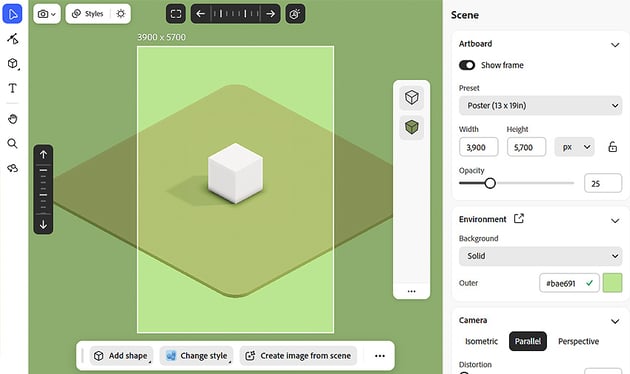
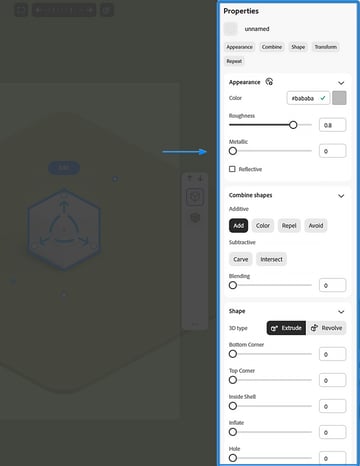
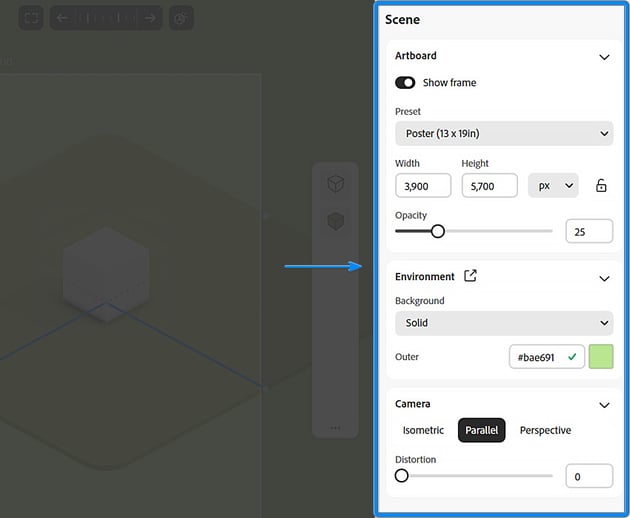
On the right side, you’ll find the Scene panel (or Properties panel if you have an object selected).
The Properties panel is where you can change the color, material, size, and position of your shapes. It’s a key area for customizing your objects (you must have a 3D object selected to see this).


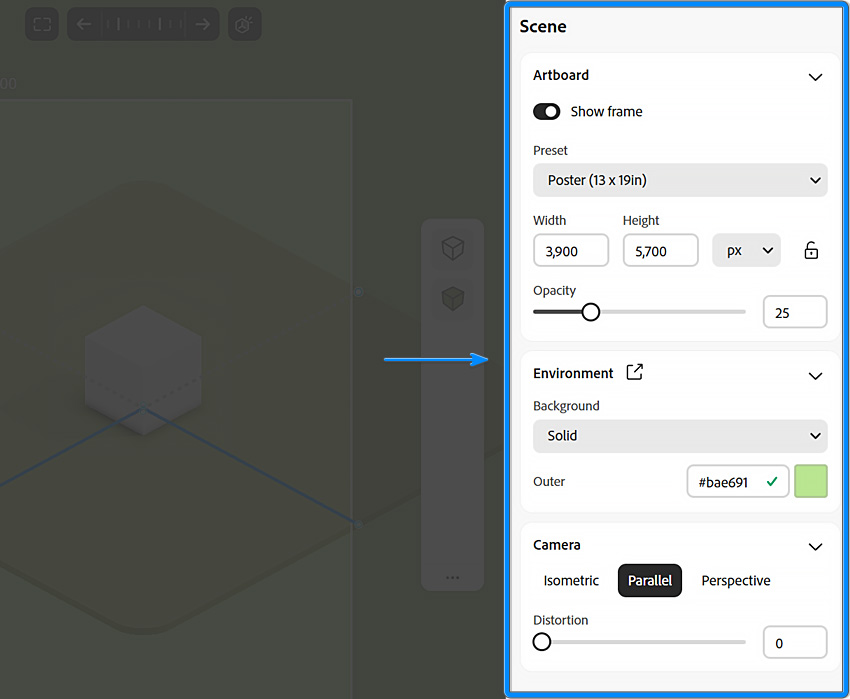
The Scene panel allows you to set the size of your image and choose a camera and background color (you must deselect your 3D object to see this).

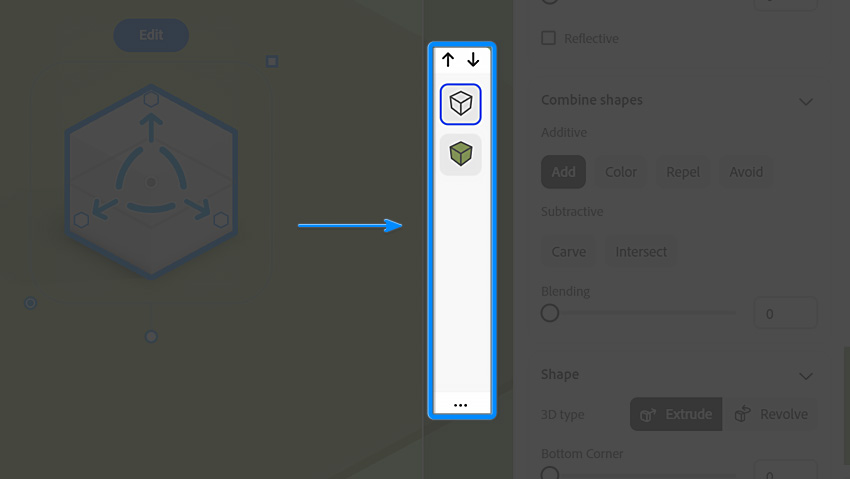
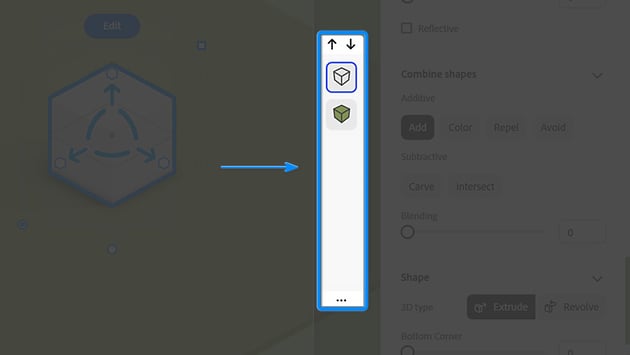
Mini Layer Widget
You’ll also find the Mini Layer Widget near the right-hand side of the viewport, which will come in handy when selecting the various 3D objects in your scene.
2. Navigating the scene in Project Neo
Navigating the 3D workspace in Adobe Project Neo is essential for designing effectively. Let’s break down the main navigation tools and techniques.
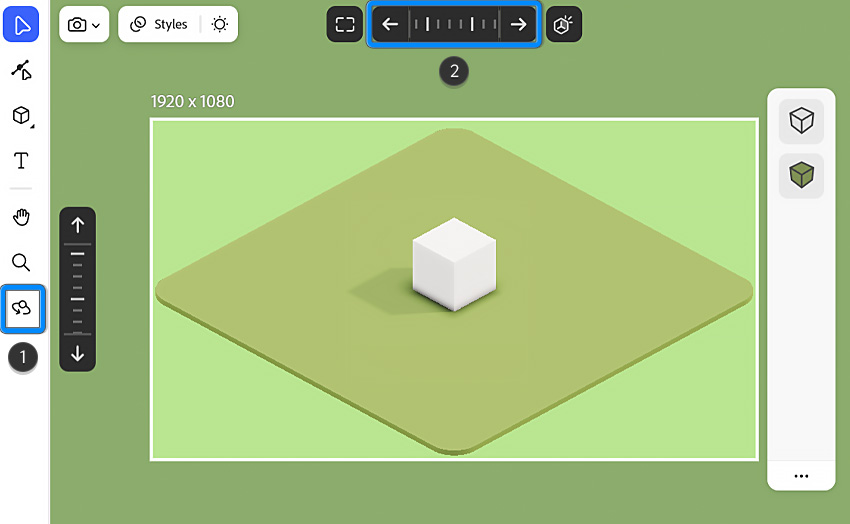
Orbiting around the scene
Orbiting allows you to rotate around your scene and view your 3D objects from all sides. There are a few ways you can do this in Project Neo:
- Orbit Button (O): Select the orbit button located on the left toolbar to orbit around the scene freely.
- Orbit Slider: Use the orbit slider at the top and on the left to turn around your scene at 45° intervals.
- Right Mouse Button: You can rotate around your scene by clicking and dragging with the right mouse button in the viewport.


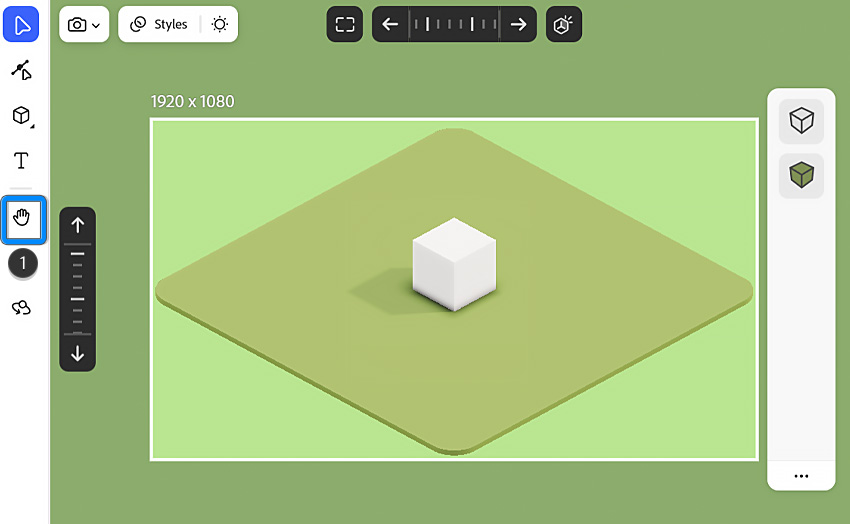
Panning across the scene
Panning allows you to move the camera view side to side or up and down, without rotating. To do this, you can use these controls:
- Pan Button (H): Select the pan button located on the left toolbar to pan across the scene freely.
- Spacebar: Hold the spacebar on your keyboard and then click and drag with the left mouse button.
- Middle Mouse Button: Hold down the middle mouse button and move the mouse to shift your view horizontally or vertically.


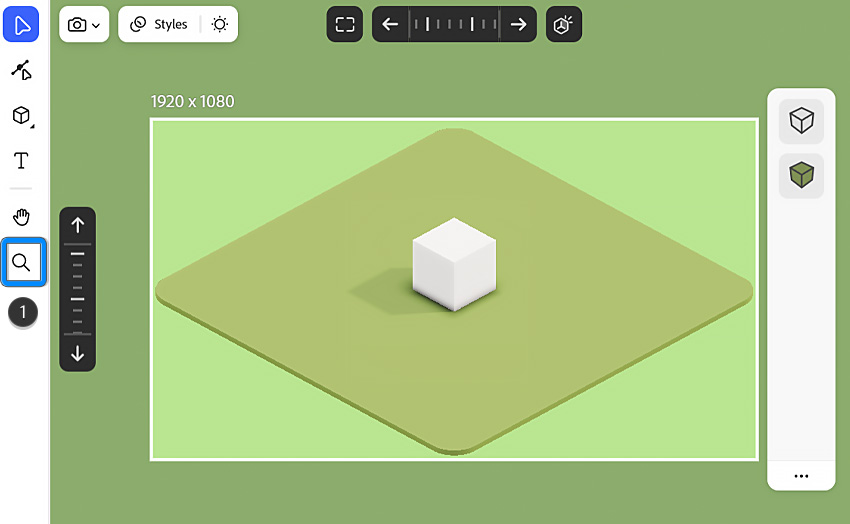
Zooming in and out
Zooming lets you move closer to or farther from your objects, giving you control over how much of the scene you see at once.
- Zoom Button (Z): Use the zoom button located on the left toolbar to zoom in and out of your scene freely by clicking and dragging with the right mouse button.
- Mouse Wheel: Scroll with your mouse wheel to zoom in and out.

3. Create a 3D smartphone
Now let’s go through some practical examples of how to use Adobe Project Neo, starting by creating a smartphone.
Step 1
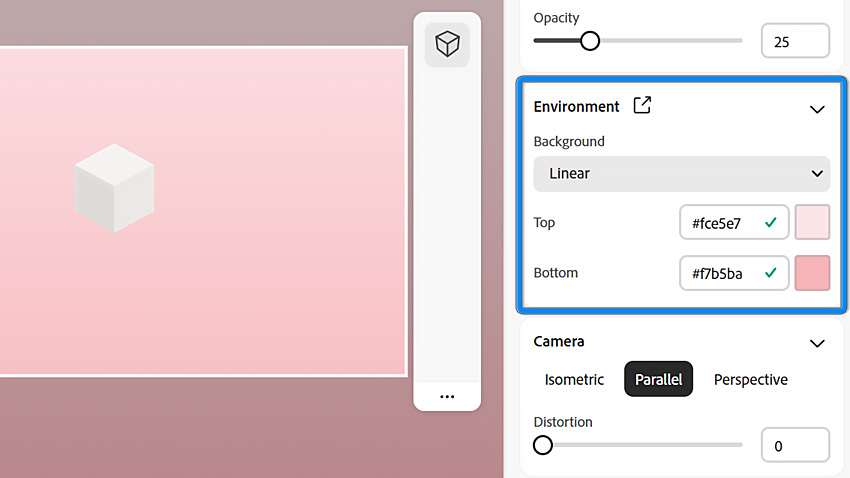
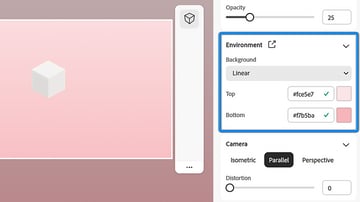
Let’s begin by setting a gradient background. Under the Environment panel, select Linear from the dropbox. For the colors, we’re using a soft pink gradient that goes from a lighter pink #fce5e7 for the top to a slightly darker pink #f7b5ba for the bottom. This gradient color will serve as a soft, romantic backdrop for the scene.

Step 2
Using the Shape tool, select Cube and click and drag in the scene to create the 3D object. As you drag, you’ll see the shape appear, and you can adjust the size by dragging more or less. You can also use the default shapes that are in the scene already and edit them from there.

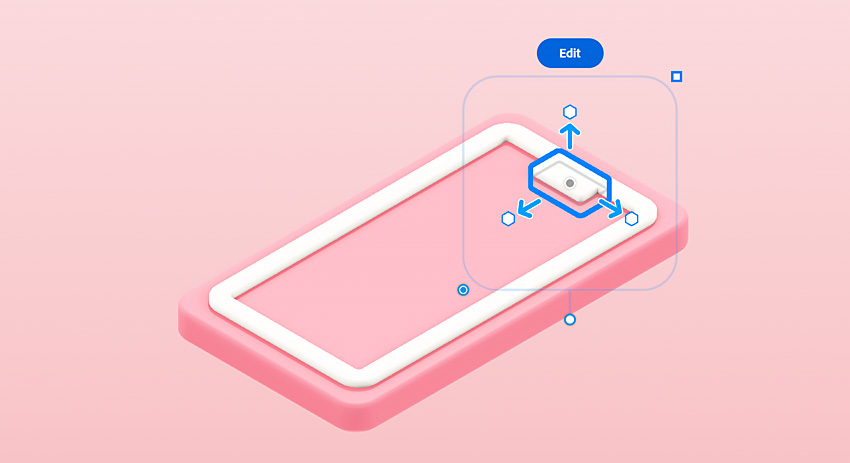
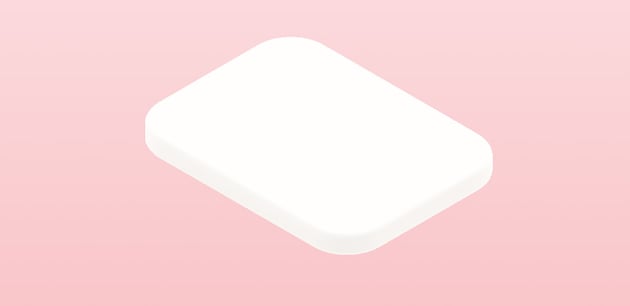
Step 3
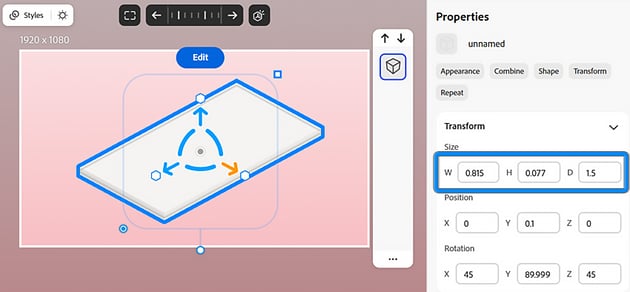
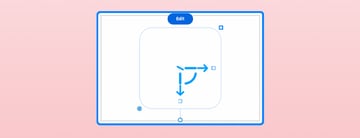
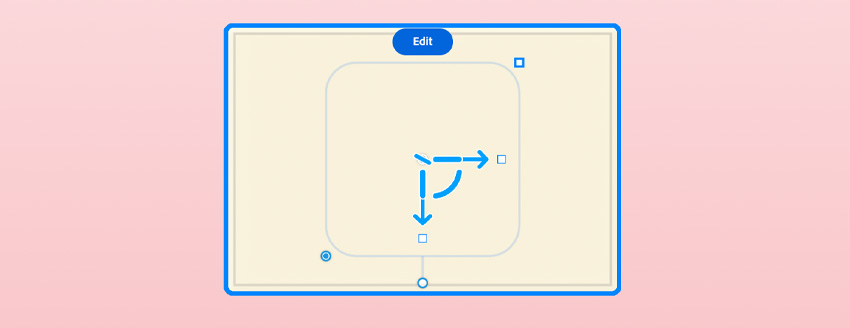
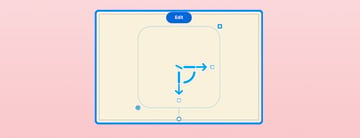
After drawing the rectangle, adjust the size by using the Select or Edit buttons on the left toolbar. Drag the handles using the mouse to adjust the width and height of the 3D object, until you get the right shape for the 3D smartphone.
You can also enter number values in the Transform panel. We’ve used the following:

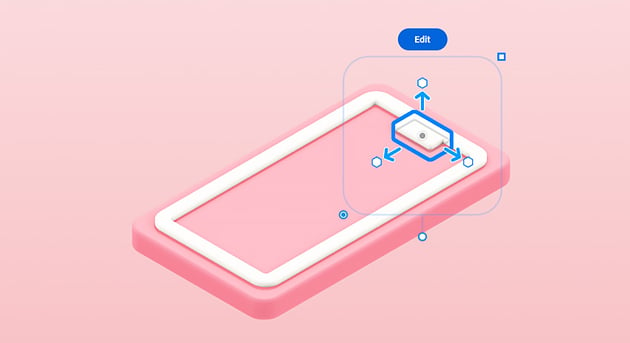
Step 4
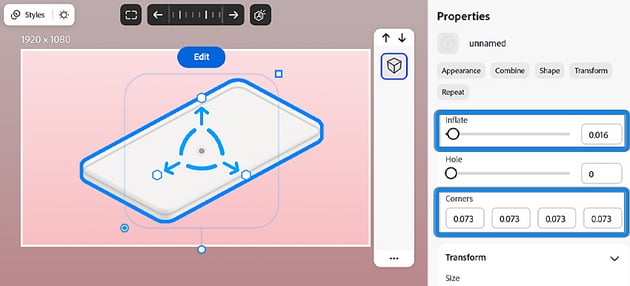
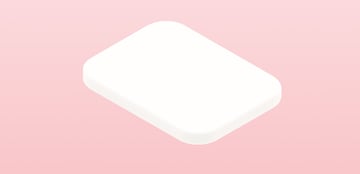
Now in the Shapes panel, adjust the roundness of the corners by using the sliders for the Bottom Corner/Top Corner or by adding number values to the corner boxes at the bottom.
You can also adjust the Inflate tool value to add a chunky, round look to your object. These are the values we’ve used:
- Inflate: 0.016
- Corners: 0.073
- Corners: 0.073
- Corners: 0.073
- Corners: 0.073

Step 5
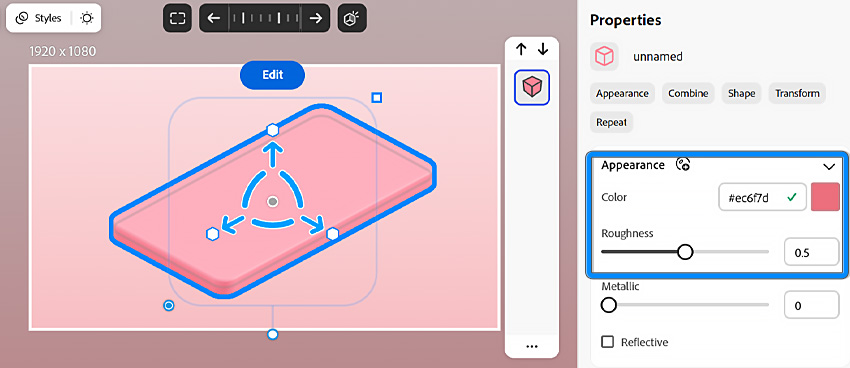
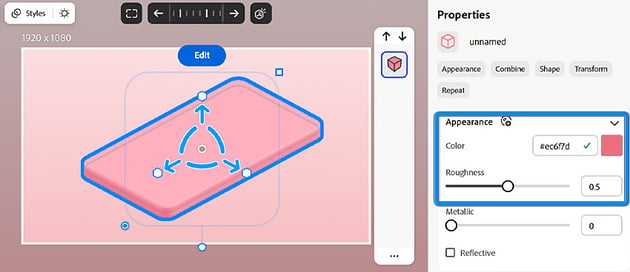
The Appearance panel lets illustrators and graphic designers set the color to #ec6f7d and the roughness to 0.5.

Step 6
Duplicate the rectangle by finding the object in the Mini Layer Widget and then right-clicking on the layer to find Duplicate Layer.


Step 7
Scale it down slightly, and move it just above the first 3D illustration. Apply a white color #eae4de to this inner frame.


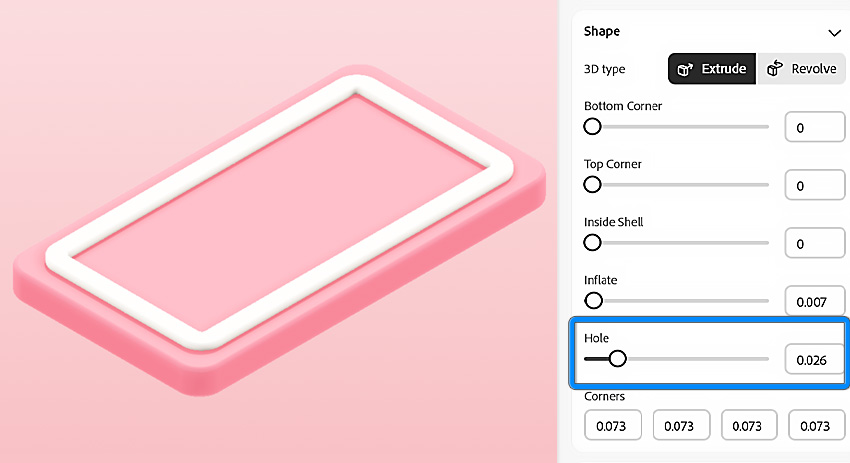
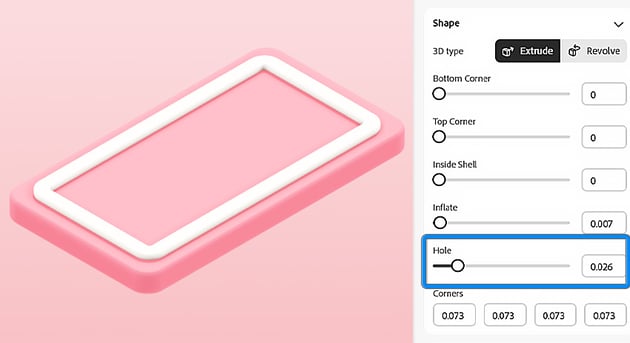
Step 8
In the Shapes panel, adjust the Hole value to create the area for the phone screen.

Step 9
Duplicate the inner frame and reshape it using the editing tools in the Properties panel to create the top part of the screen.

Step 10
Duplicate one of the 3D objects again and scale it/reshape it to create the inner screen for the 3D smartphone. Apply a light pink #eeb1b5 color for the screen.

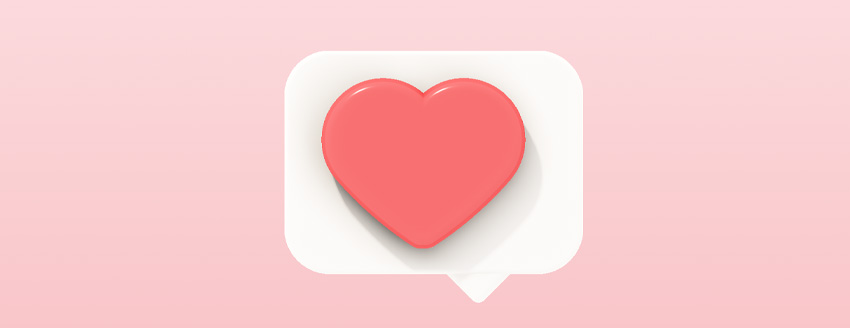
4. Design a heart icon (message bubble)
Step 1
Duplicate one of the 3D objects again (preferably one of the white ones so that we don’t have to change the color) and reshape it. Aim for a shape that’s wider than it is tall to resemble a typical chat bubble. If you want, you can also hide the previous 3D objects using the Mini Layer Widget as this might make the viewport clearer.
- W: 0.398
- H: 0.02
- D: 0.294

Step 2
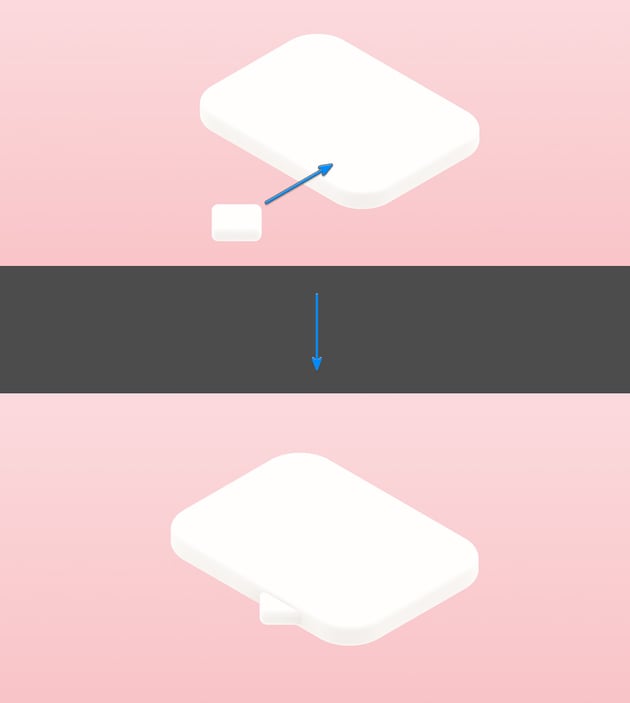
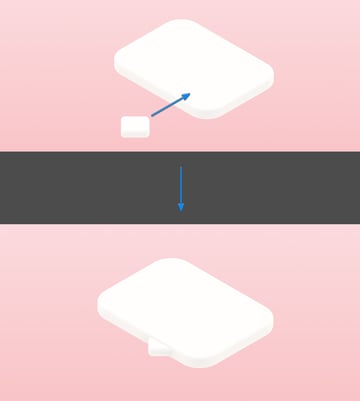
To add a tail to the message bubble, simply create a new cube object and scale it down.
- W: 0.062
- H: 0.003
- D: 0.059
Remember to also round the corners slightly so that it fits the style of the image that you’re going for. Once you’re happy with the size, rotate it by 45° (hold Shift) and embed it inside your speech bubble object.

Step 3
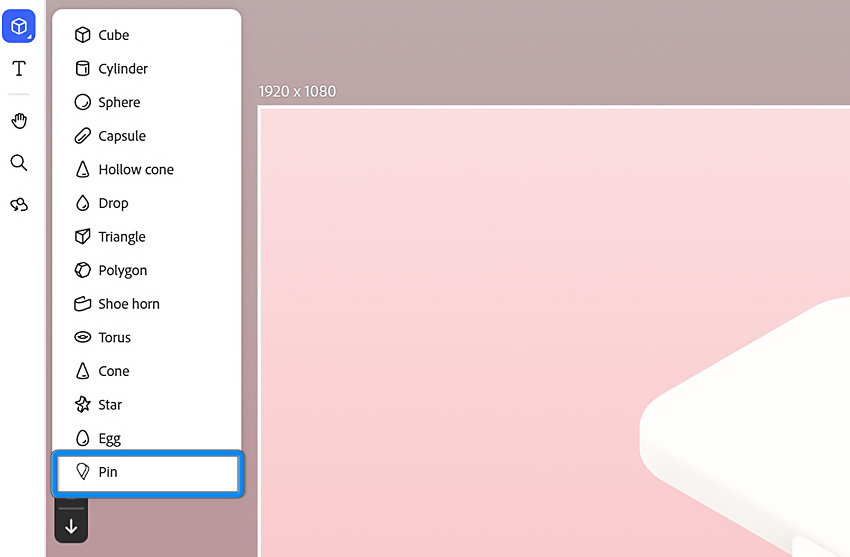
Using the Shape tool, select Pin and click and drag in the scene to create the 3D object.


Step 4
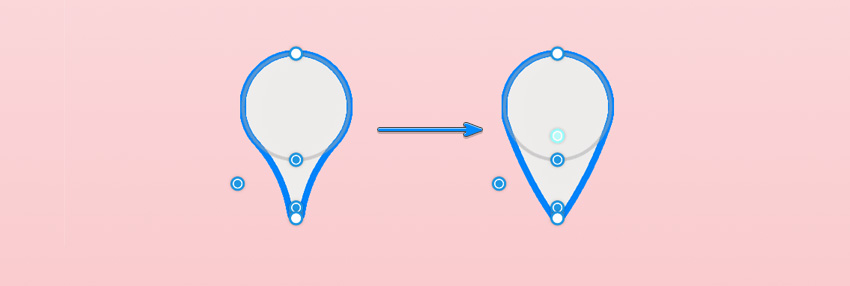
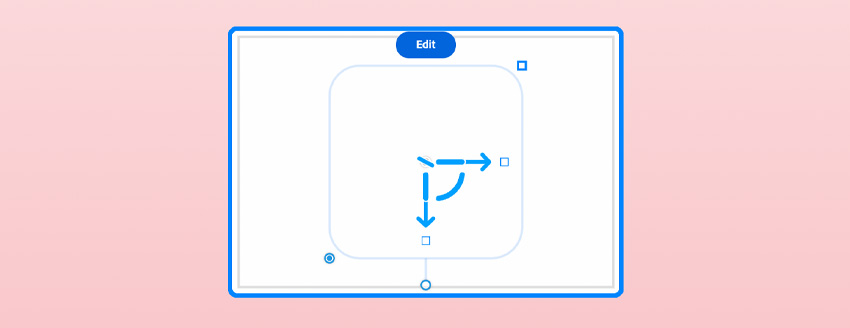
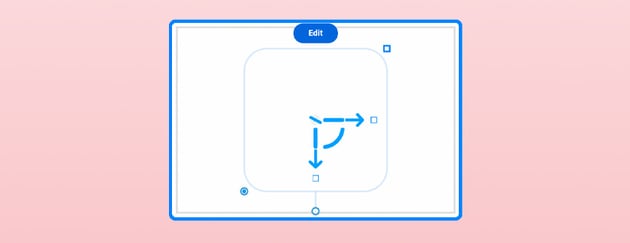
Adjust the shape of the object using Edit Shape (A) until it resembles one half of a heart.

Step 5
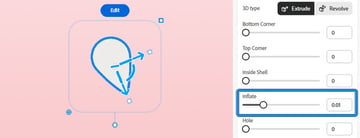
Rotate it by 45° (hold Shift) and then adjust the Inflate tool value in the Shape panel.


Step 6
Add a red #d84e50 color to it with a roughness value of 0.114. Then duplicate it/rotate it for the other side of the heart.


Step 7
Now move the objects into place to create the heart icon message bubble.


5. Create an envelope icon
Step 1
Create a rounded rectangle with the following dimensions (remember to use the inflate tool to add a bit more roundness to your 3D drawings):
- W: 0.44
- H: 0.009
- D: 0.294
- Inflate: 0.01
Step 2
Add a soft beige or light off-white color #dac8a5 to it with a roughness value of 0.8.

Step 3
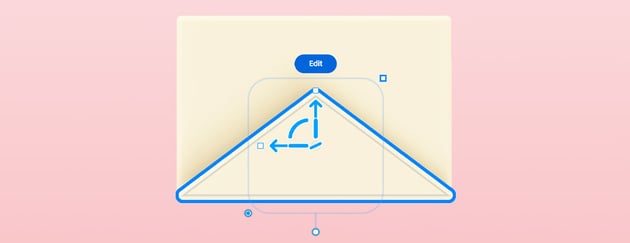
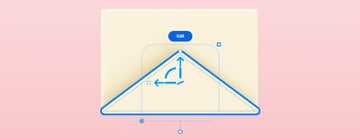
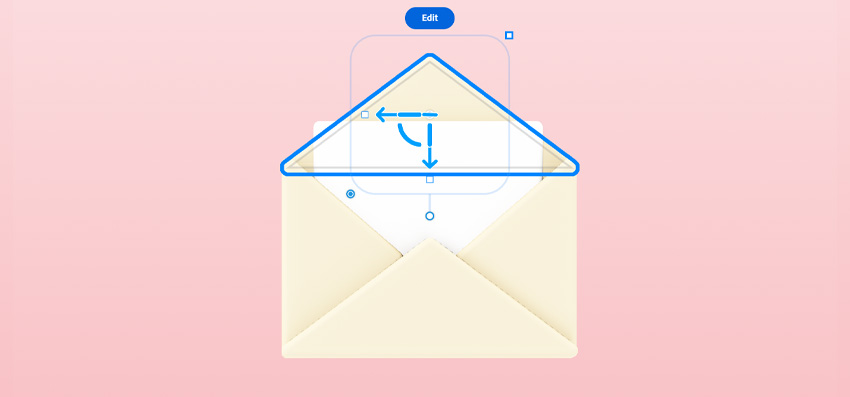
In the Shape tool dropdown in the left toolbar, find and select the Triangle. We’ll use this to create the triangular flap of the envelope.
Click and drag above the existing rectangle to create a triangle shape positioned neatly on top. Remember to add the same color and roughness as before, and then adjust the shape to form the envelope’s flap.
You can use the following dimensions, and then rotate the shape by 90° so that it fits the shape (remember to use the inflate tool to add a bit more roundness to your 3D drawings):
- W: 0.443
- H: 0.035
- D: 0.083
- Inflate: 0.01

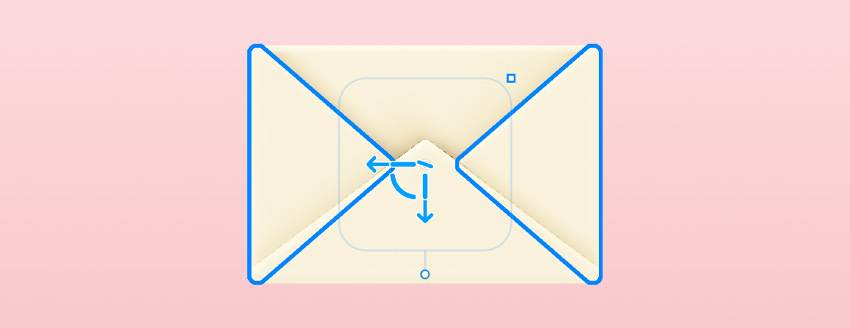
Step 4
Repeat the process for the side envelope flaps, again using the inflate tool for roundness:
- W: 0.291
- H: 0.016
- D: 0.084
- Inflate: 0.011
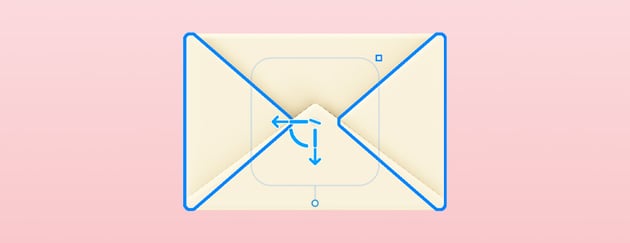
Step 5
Create a rounded rectangle with the dimensions below and place it inside the envelope.
- W: 0.339
- H: 0.007
- D: 0.226
- Inflate: 0.008


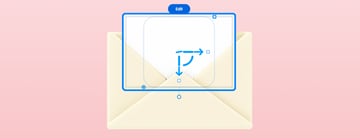
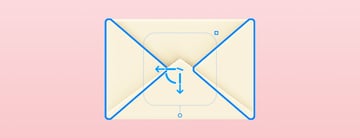
Step 6
Duplicate the bottom envelope flap and place it on top of the design whilst sending it behind the white card object.


Step 7
Duplicate the 3D heart object from the previous icon design, scale it down, and place it just above the letter.


6. Design a calendar icon
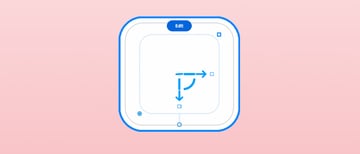
Step 1
Create a white rounded rectangle with the dimensions below. This shape will serve as the main body of the calendar:
- W: 0.339
- H: 0.001
- D: 0.322
- Inflate: 0.018
- Corners: 0.056
- Corners: 0.056
- Corners: 0.056
- Corners: 0.056


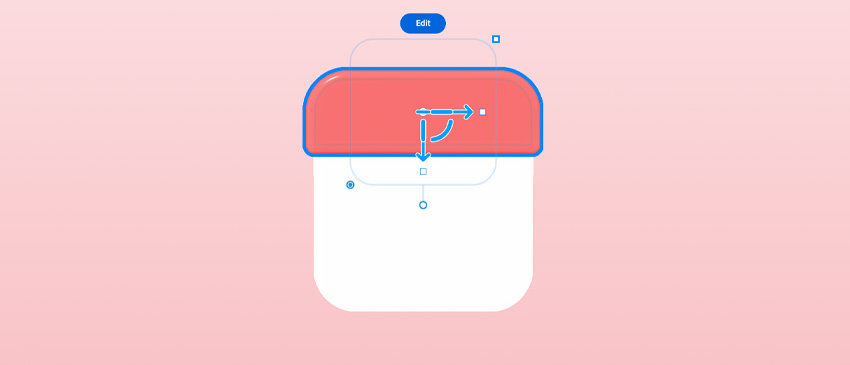
Step 2
To create the calendar header, duplicate the previous rectangle and apply the dimensions below, and place it above the main body of the calendar.
Appearance:
-
Color:
#d84e50 - Roughness: 0.143
Shape:
- W: 0.37
- H: 0.025
- D: 0.112
- Inflate: 0.009
- Corners: 0
- Corners: 0
- Corners: 0.056
- Corners: 0.056
Step 3
Create another cube again, and create a smaller rectangle to represent one of the two “hanging hooks” on the calendar, giving it a realistic touch. Then duplicate it and place it on the other side.
Appearance:
-
Color:
#505866 - Roughness: 0.297
Shape:
- W: 0.026
- H: 0.02
- D: 0.099
- Inflate: 0.01
- Corners: 0.006
- Corners: 0.006
- Corners: 0.006
- Corners: 0.006


Step 4
To create the number “14,” start by drawing a rounded rectangle with the specified dimensions:
Appearance:
-
Color:
#2b3136 - Roughness: 0.297
Shape:
- W: 0.001
- H: 0.02
- D: 0.133
- Inflate: 0.016
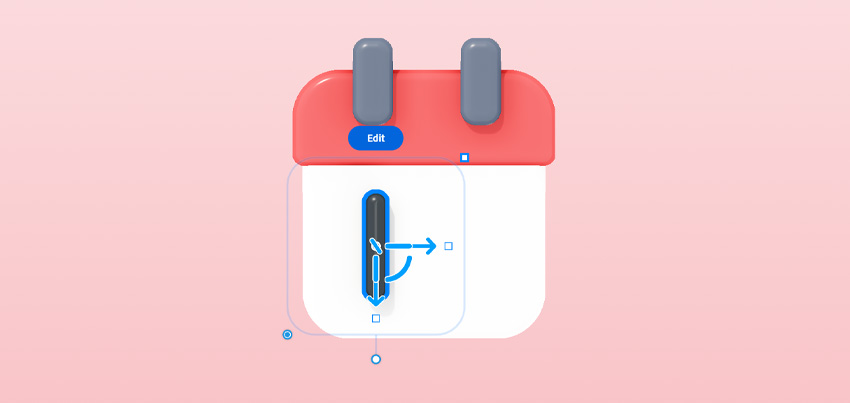

Step 5
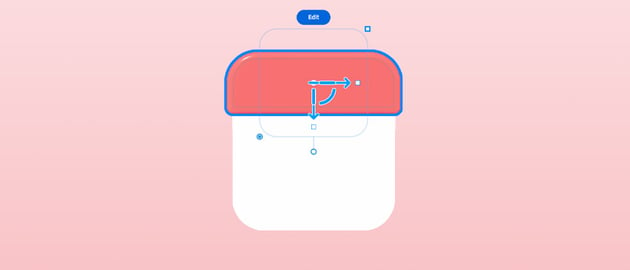
Now duplicate the 3D shape and adjust its size and rotate it as needed to form the shape of the number “4”.


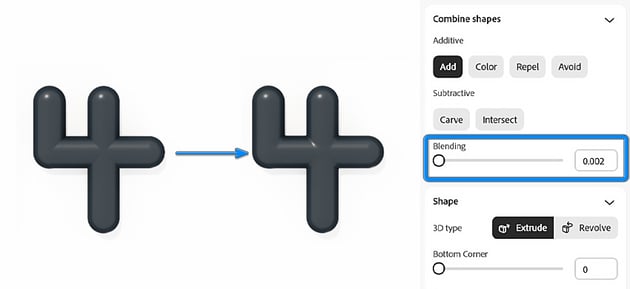
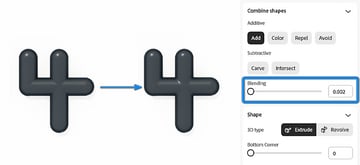
Step 6
Once you’re happy with the shape of the number “4”, select one of the objects and gradually increase the Blending until all parts are seamlessly combined, creating a smooth, natural look.

7. Add decorative clouds
Step 1
In the Shape tool dropdown in the left toolbar, find and select the Cylinder. Create a fluffy white circle and place it behind all the objects in the scene. In the Appearance panel, set the attributes to the following:
Appearance:
-
Color:
#ffffff - Roughness: 0.8
Shape:
- W: 0.32
- H: 0.141
- D: 0.32
- Inflate: 0.036


Step 2
Now, duplicate the circle a few times, resizing each copy, and arrange them to form the soft, rounded shape of a cloud.


Step 3
You can play with the Blending slider for each 3D object that makes up the cloud if you want to merge these objects together.


8. How to adjust the lighting
Step 1
Use the Select (V) tool to arrange all your 3D objects into a nice composition, and adjust the angle of the viewport to your liking.


Step 2
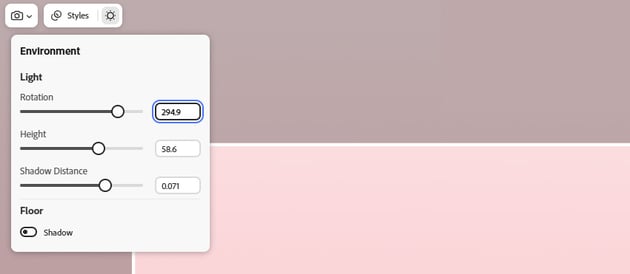
Click on the Environment button on the top left of the screen, and you’ll see the sliders that you can use to adjust the lighting of the scene.


Step 3
For this tutorial, we’ve used the following, but feel free to play around and use your own lighting setup.
- Rotation: 294.9
- Height: 58.6
- Shadow Distance: 0.071


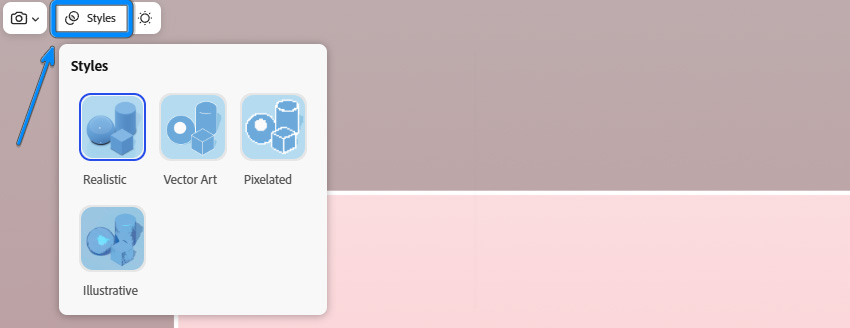
Step 4
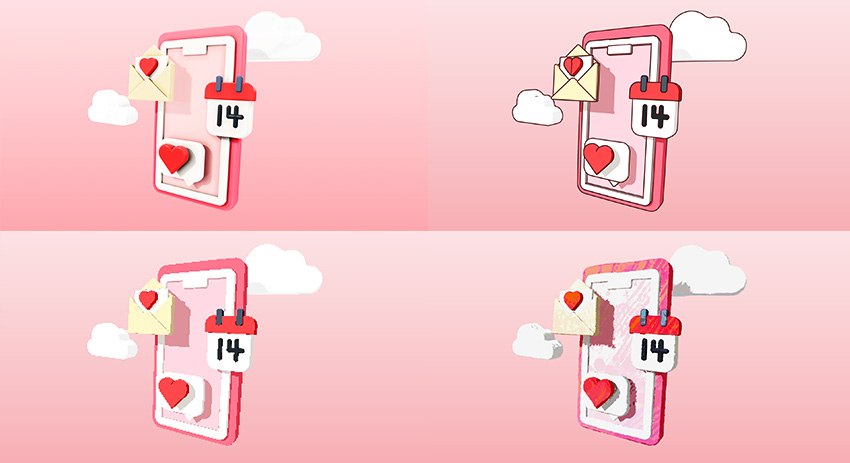
Continue to adjust the lighting and composition until you’re ready to export your image. You can also play around with the Styles to create a different look for your project. You will have a choice between Realistic, Vector Art, Pixelated, and Illustrative.


9. Save and export your project
Step 1
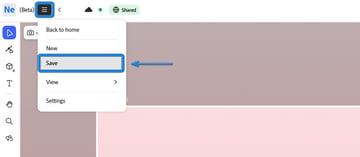
Now that you’ve finished your 3D illustration, it’s time to save. Click on the hamburger icon in the top left and select Save.


Step 2
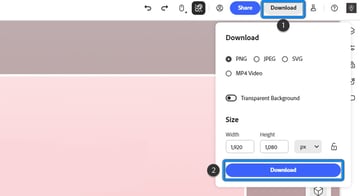
To export your image, click on the Download button in the top right, select the format and size of your image, and click on the blue Download button.


Step 3
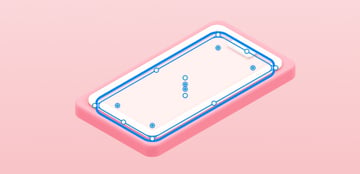
If you’d like to edit your project further using Adobe Illustrator, make sure to export your project as an SVG. This is perfect if you are looking for that ‘Vector Art’ style! Just select Styles > Vector Art and then go to Download > SVG.
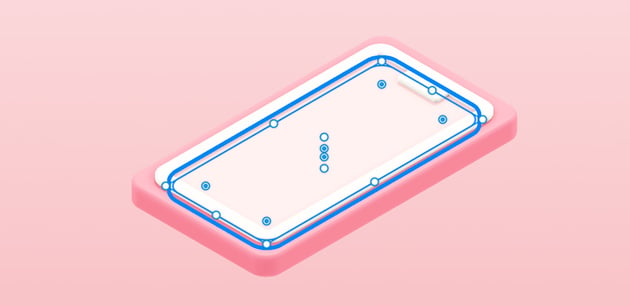
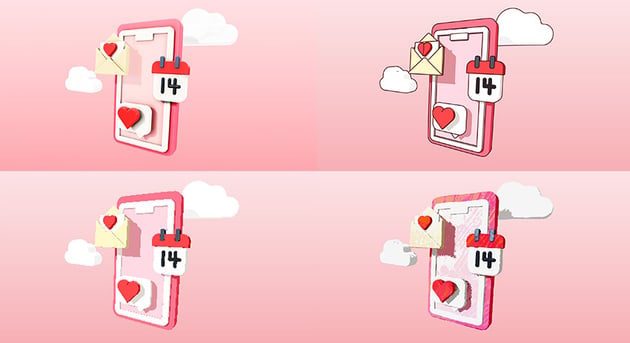
Here’s a look at the project using the Vector Art style:


And here’s a look at the project when exported as an SVG file in Adobe Illustrator! As you can see, all the shapes have been exported individually, complete with anchor points for you to edit and play around with:


10. You’re now ready to create with Project Neo!


Congratulations! Now that you’ve mastered the basics of Project Neo, you can confidently use it to create something amazing.
With this tutorial, you’ve taken your first steps into the world of Adobe 3D illustration by creating a playful, Valentine’s Day-themed scene filled with charming icons and delightful details. From the smartphone frame to the message bubble, calendar, and puffy clouds, each element has come together to create a fun illustration.
Now you’re ready to dive in and create your own unique designs in Project Neo! Try out new themes, mix up the colors, and play with different layouts. The skills you’ve learned here are just the beginning, so keep designing, keep exploring, and most of all, have fun bringing your ideas to life. Happy designing!
Discover more tutorials and resources
I hope you’ve enjoyed this tutorial on how to make 3D art in Project Neo. If you’d like to learn more cool 3D Photoshop and Illustrator skills, we’ve got more tutorials for you: