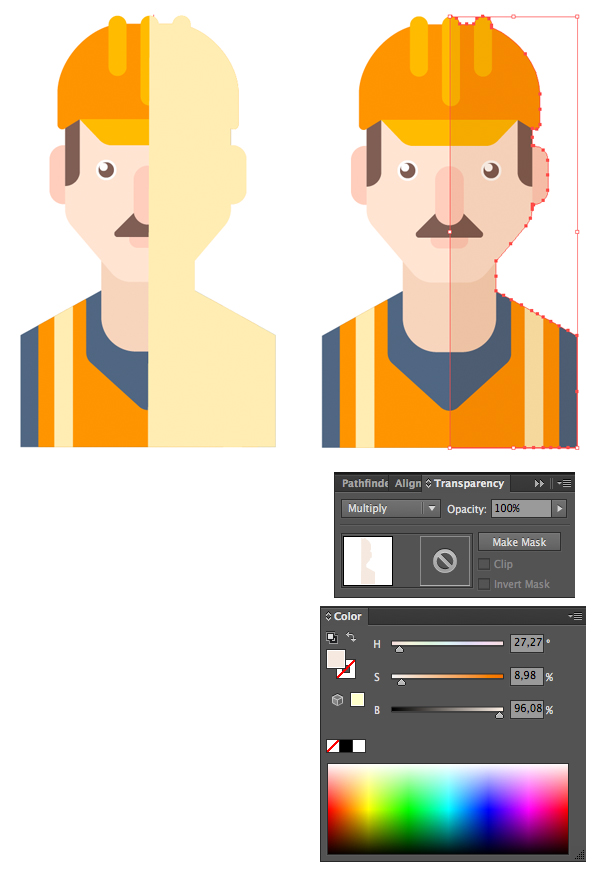
Step 20
Delete the left half and switch the remaining half to Multiply Blending Mode in the Transparency panel to make it semi-transparent. You can adjust the color of the shadow, making it lighter or darker in the Color panel, or by changing its Opacity in the Transparency panel.
Step 21
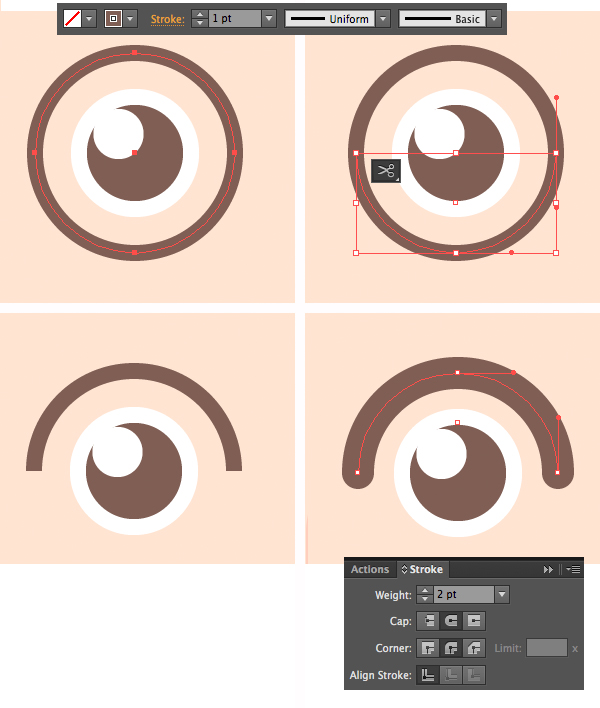
Oops, looks as if we forgot the eyebrows. Let’s go back to the face. Make a circle around the eye and set the Stroke color to dark brown in the Color panel. Take the Scissors Tool (C) and click the side anchor points to split the circle apart. Delete the lower part.
Head to the Stroke panel and increase the thickness of the brow by setting the Weight value to 2 pt. Switch the Cap and Corner to middle positions, making the shape rounded.
Step 22
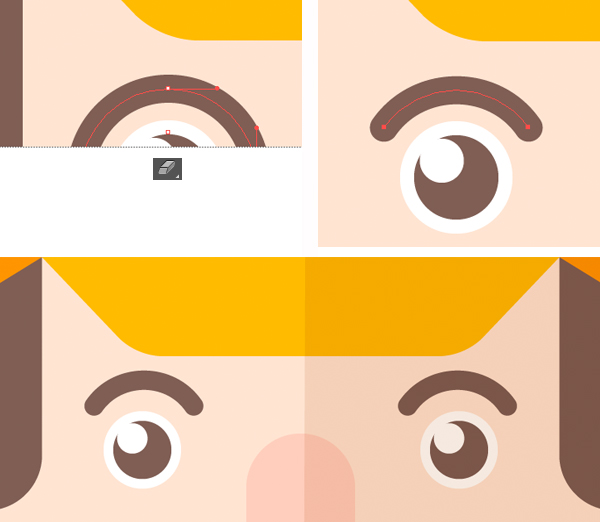
Keeping the brow selected, take the Eraser Tool (Shift-E), hold Alt and drag the selection rectangle over the bottom part of the brow to erase the ends, making the arch a bit shorter.
Copy the shape, forming a second eyebrow.
Step 23
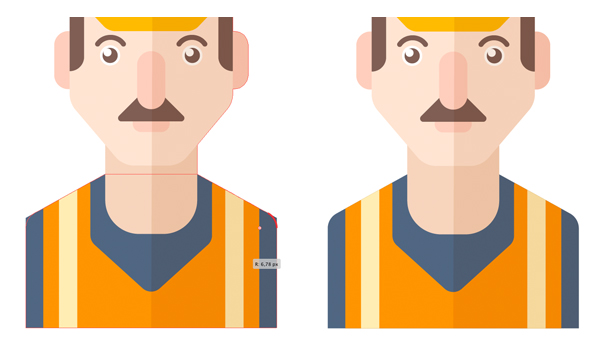
Select the upper side anchor points of the dark-blue shirt and use Live Corners to make the shoulders a bit smoother.
Step 24
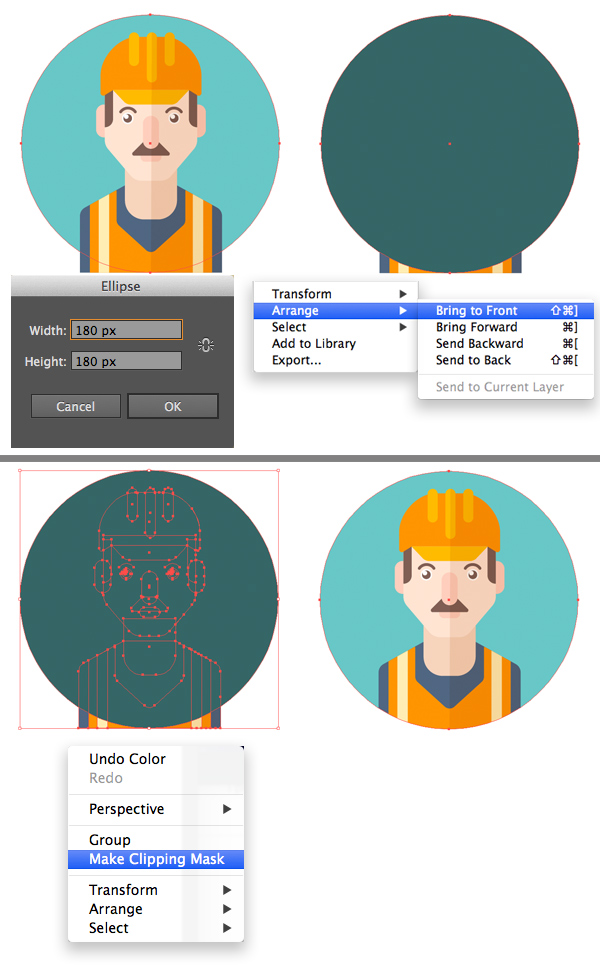
The main element of our first avatar is ready, so now we need to give it a completed look by forming a background. Use the Ellipse Tool (L) to make a 180 x 180 px circle. Fill it with bright turquoise color, copy it and Bring the copy to Front (Shift-Control-]).
Finally, select everything, click the right mouse button and Make Clipping Mask. Awesome! Now we have a tidy circle avatar!
You can still edit the image if you double-click it and enter Isolation Mode.
