Step 5
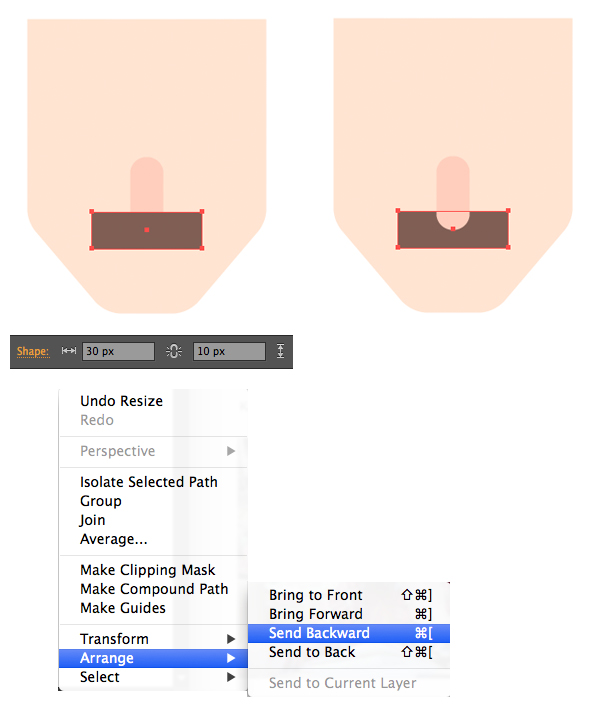
Let’s add a moustache. Make a brown rectangle of 30 x 10 px size, click it with the right mouse button and Arrange > Send Backward (Control-[), placing it beneath the nose.
Step 6
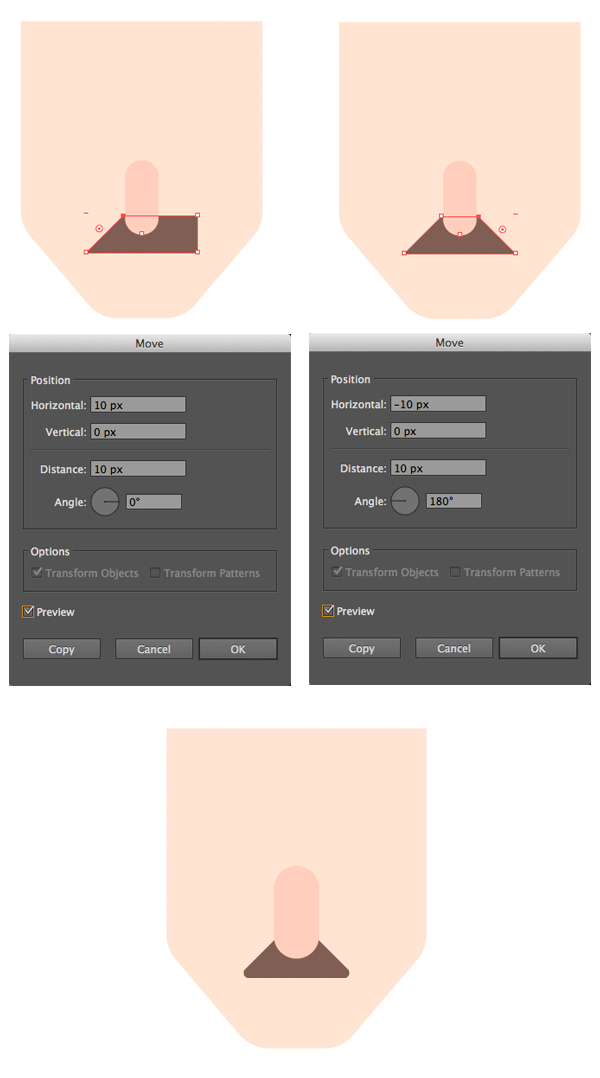
Select the upper left anchor point of the brown rectangle, hit Enter and set the Horizontal value to 10 px and the Vertical value to 0 px in order to move the point closer to the nose. Repeat the same for the opposite side of the moustache, this time setting the Horizontal value to -10 px. Make the bottom part of the moustache slightly rounded with the Live Corners feature.
Step 7
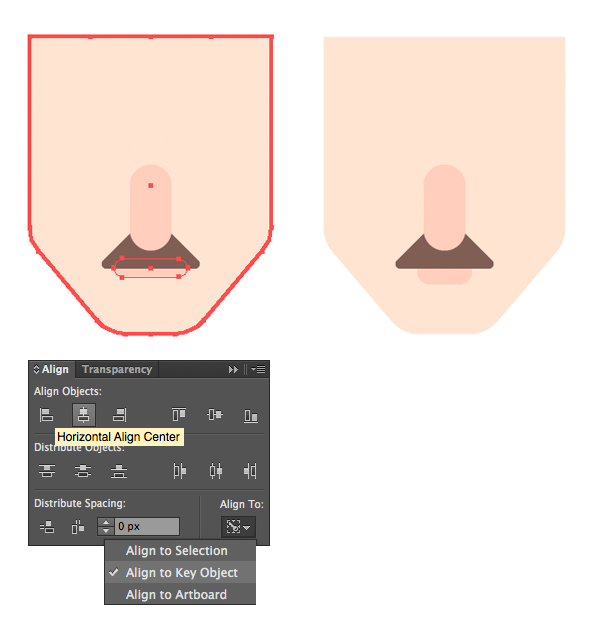
Use the Rounded Rectangle Tool to make a small shape for the lower lip, placing it beneath the moustache (Control-[). Align the lip horizontally to the face using the Align panel.
Step 8
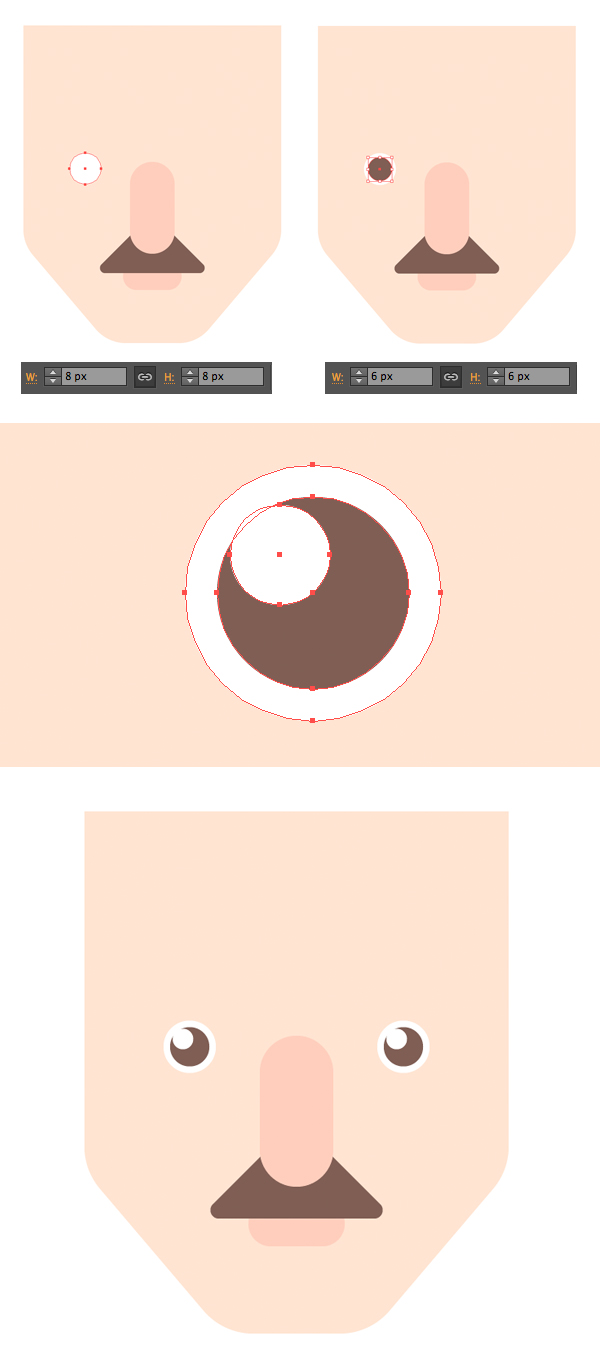
Use the Ellipse Tool (L) to make an 8 x 8 px white circle for the eyeball and place a smaller (6 x 6 px) brown circle on top for the iris. Add a tiny white circle for the highlight and move both eyes to the proper position.
Step 9
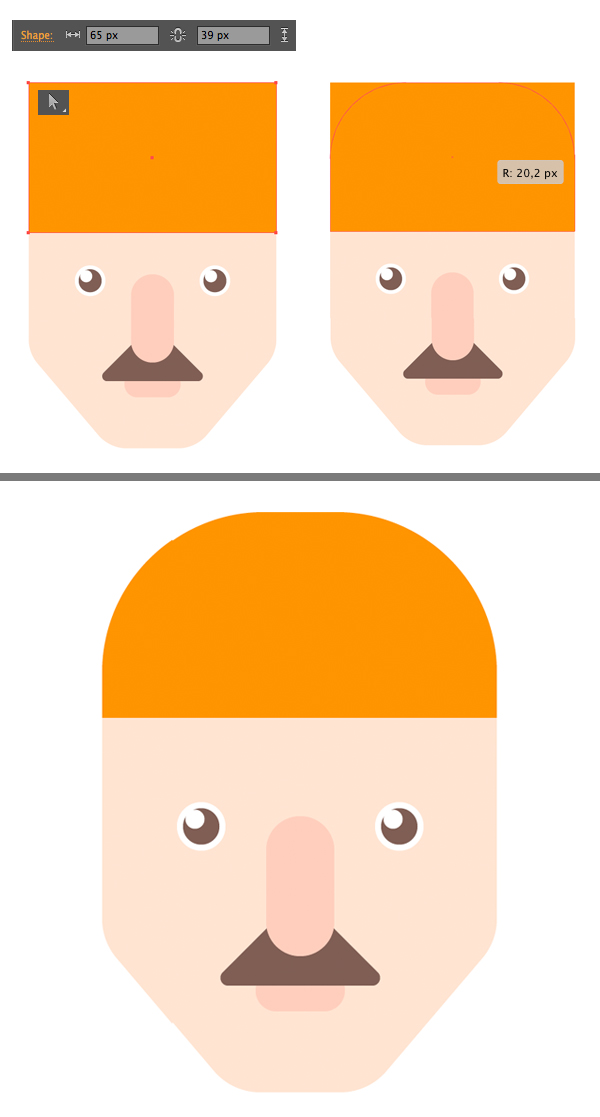
Let’s render a helmet, which protects the worker’s head. Make a 65 x 19 px orange rectangle on top of the head. Select the upper anchor points with the Direct Selection Tool (A) and pull the Live Corners markers down, making the cap rounded.
