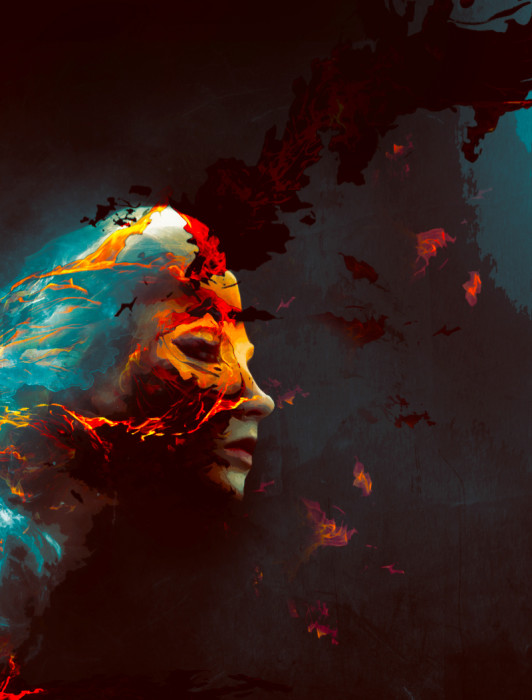
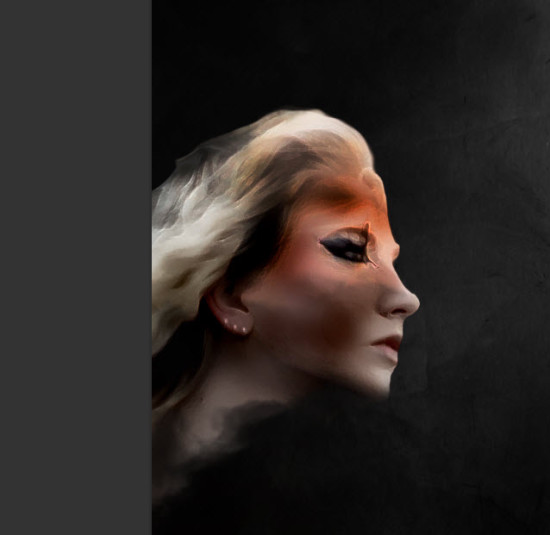
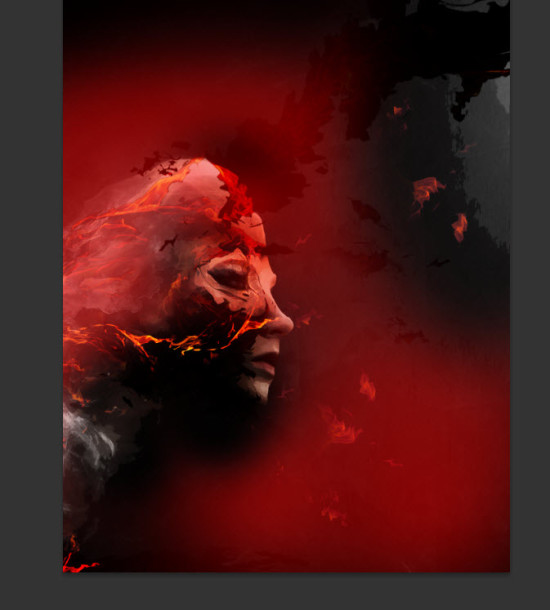
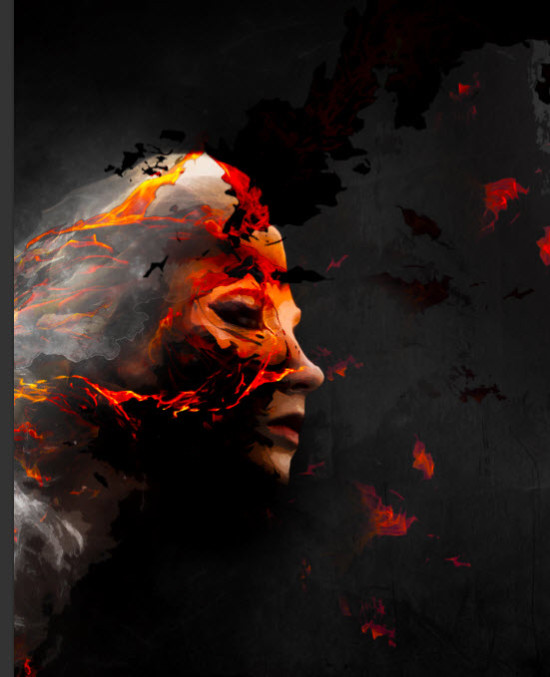
In this tutorial, I will show you the steps I took to create this awesome fiery portrait in Photoshop.This is a beginner-intermediate level tutorial aiming to give some practices on layer blending, selection and coloring techniques in Photoshop. Some steps can be a little tricky, but why not have a try!
Note: The Photoshop tutorial is done in CS6 – therefore some screenshot may have slighting different layout as in the earlier version. Some brushes are exclusive to Photoshop CS6.
Here is a preview of the final effect I have for this tutorial: (click to enlarge)
PSD File Download
You can download the PSD File for this tutorial via the VIP Members Area for only $ 6.95/Month (or less)! You will not only get this PSD File, but also 100+ other PSD Files + Extra Goodies + Exclusive Photoshop tutorials there. Signup now and get exclusive :) Find out more about the VIP Members Areas
OK Let’s get started!
To complete this tutorial, you will need the following stocks:
Model by MariaAmanda
Step 1
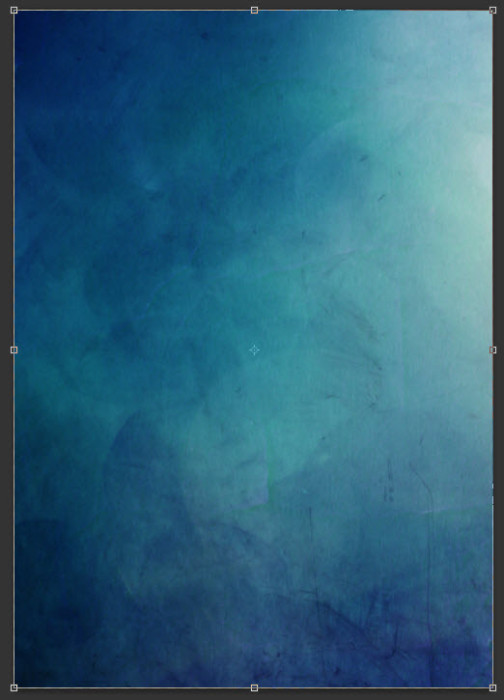
Create a new document sized 800px * 1132px with black background. Load the following blue background texture from the texture pack, copy and paste it over to our document. Resize the texture to fit the size of our canvas:
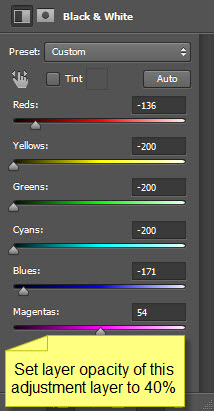
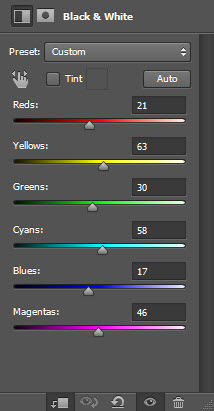
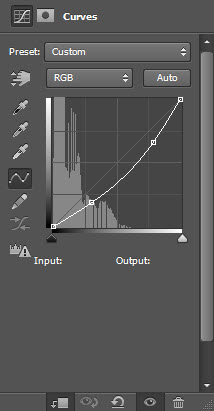
Add the following image adjustment layers to this background texture layer:
Black and White
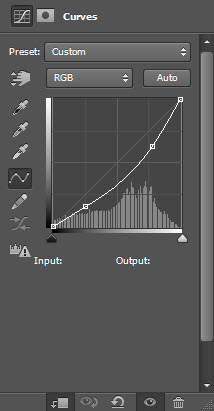
Curves
and here is the effect you will have:
Step 2
We will work on the model in this step. Load the model image into Photoshop and select the upper body area, paste it over to our document:
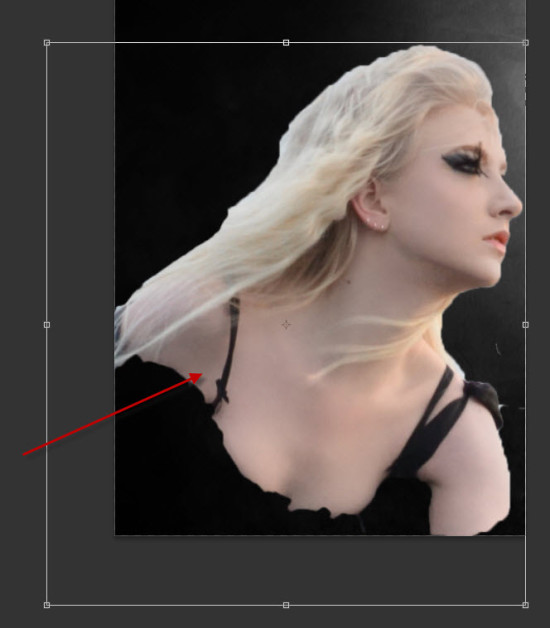
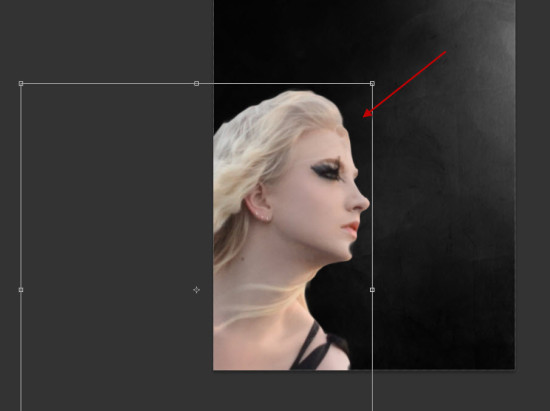
Reduce the size of this model layer a bit and move it to the left bottom corner of the canvas:
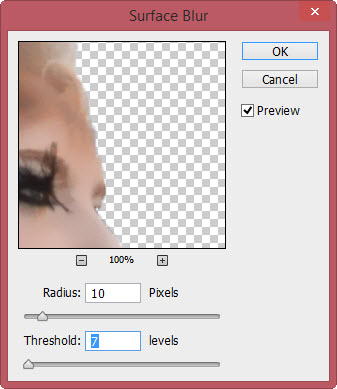
Apply the following Surface Blur filter to this model layer to smooth the skin out:
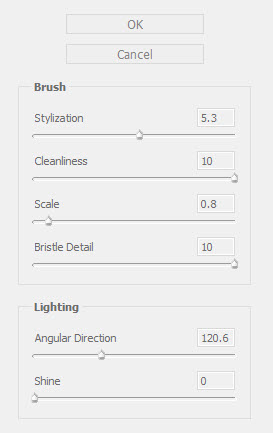
Optional step: if you have Photoshop cs6 or above, apply the Oil Painting filter with the following settings to get a even smoother result for the model layer:
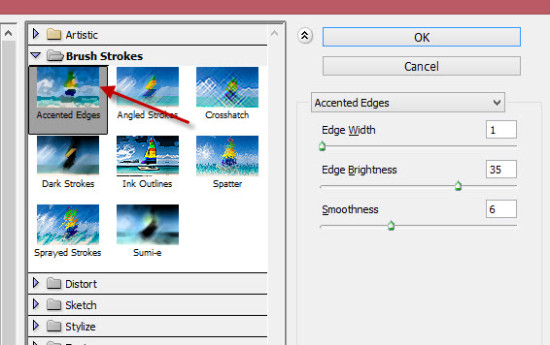
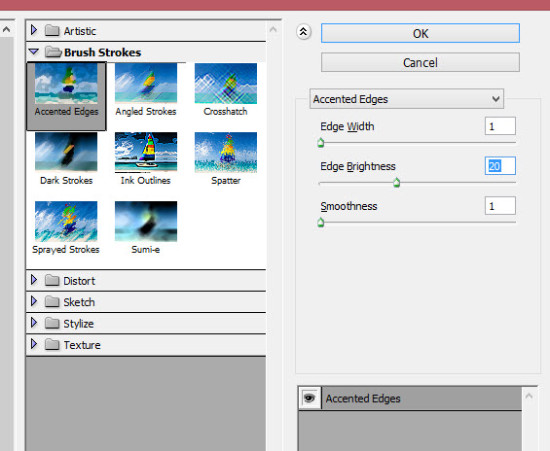
Apply the following Accented Edges filter settings as shown below:
Use the dodge and burn tool to burn the following area slightly:
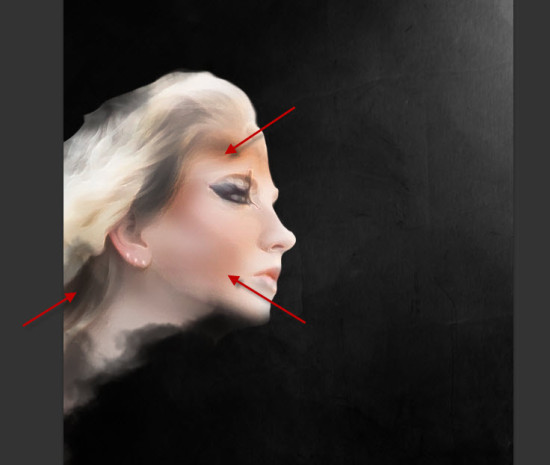
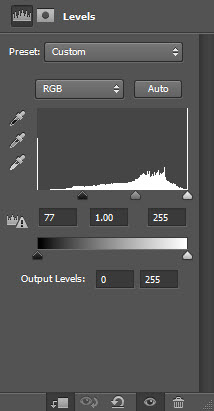
Then, add the following image adjustment layers as clipping masks to this model layer:
Black and White
Levels
Curves
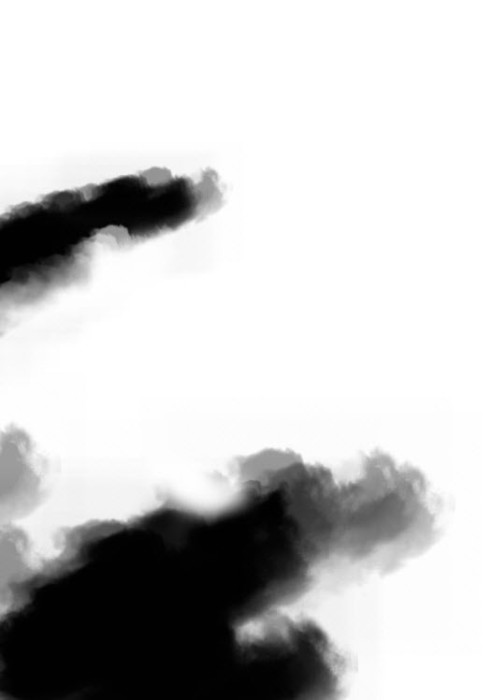
Attached the following layer mask to this model layer:
and you will have the following effect so far:
Step 3
We will add the fire stock into our mix in this step. Load the fire image into Photoshop and use the quick selection tool select a few pieces:
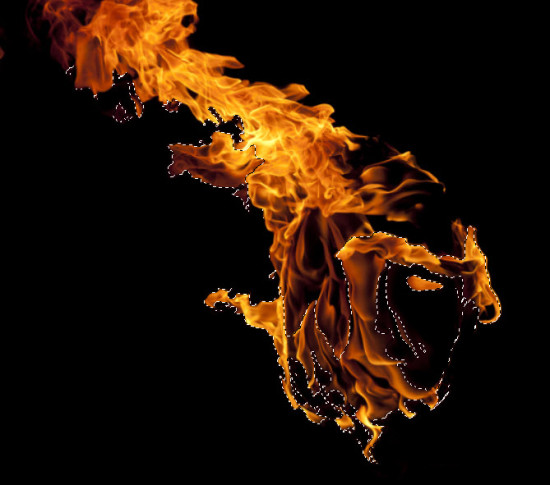
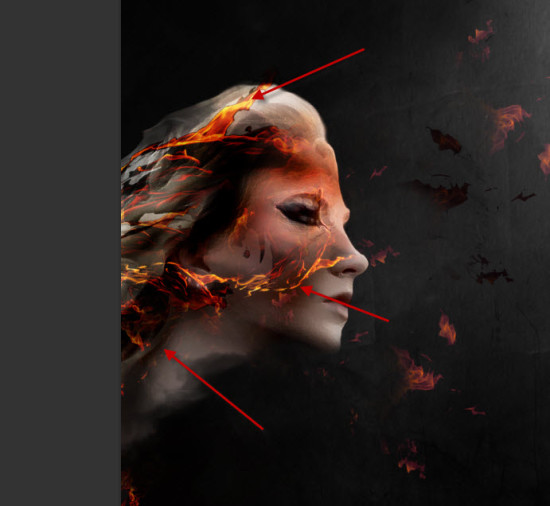
Copy and paste the selection to our document and reduce its size, move it to the hair/facial area of the model and change the blending mode to either “screen” or “soft light”:
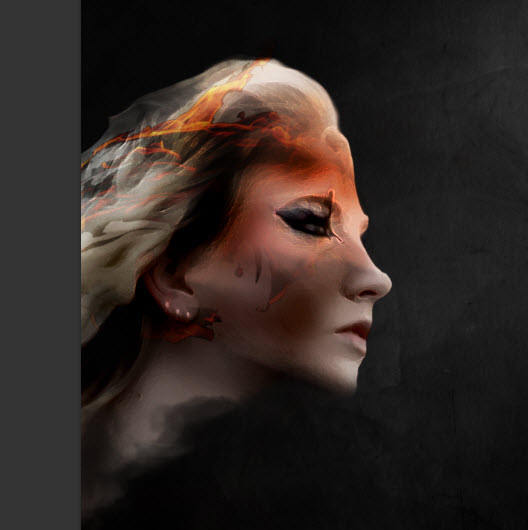
Repeat the above step and add some more fire over the face, make sure you play with the blending mode for each new fire layer and see what result those blending modes give you:
This is my result so far:
Step 4
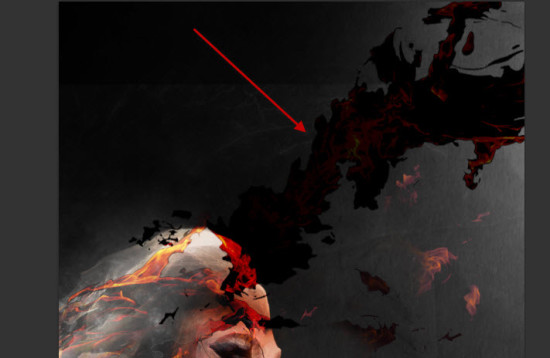
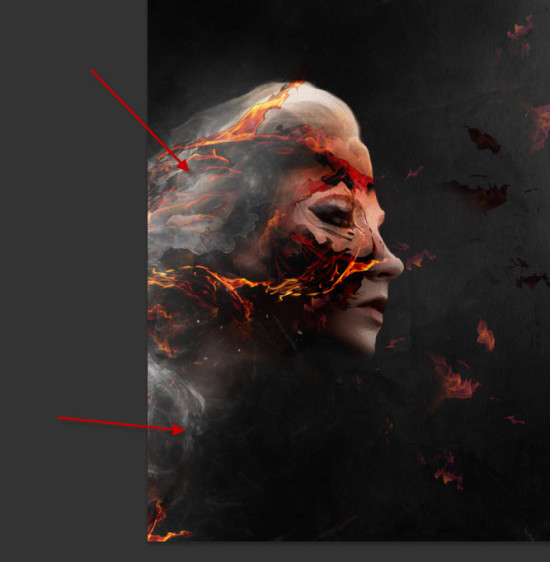
We will be adding a few extra effects for our image in this step. We can create a new layer and paint some cloud effect around the following area, with a cloud/smoke brush, or with the cloud filter:
We will go back to the fire stock image and select the entire fire:
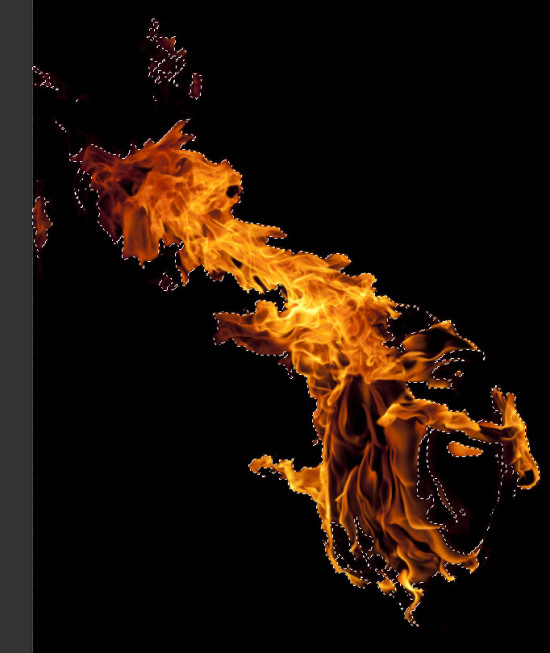
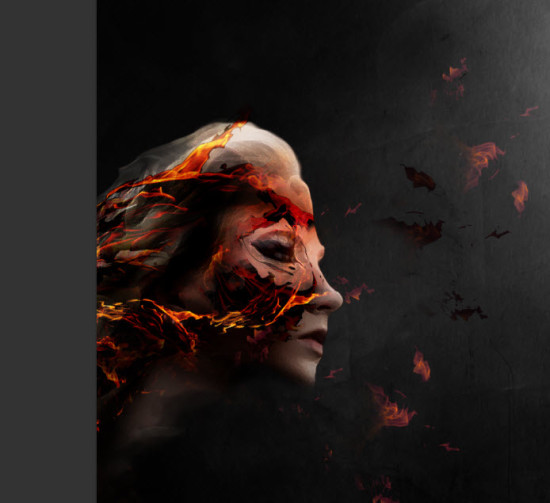
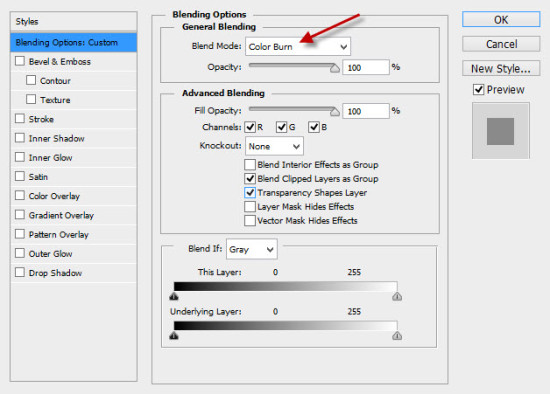
Copy and paste the selection over to our document and place it above the model layer. Use the free transform tool to flip it horizontally, set its blending mode to “color burn”:
and here is the effect you will have:
Step 5
We’re almost done! For final touches, we can flatten the image and duplicate the background layer, apply the following Accented Edges filter settings to the duplicate layer:
Add the following layer mask to this duplicate layer:
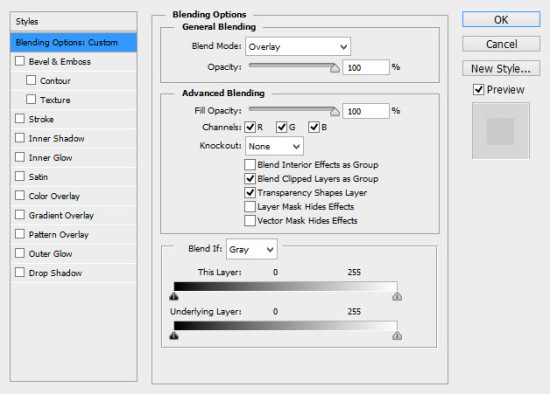
Change the layer blending mode to “overlay” for this duplicated layer:
and here is the effect you will have:
I further add some colors for the photo with the selective color adjustment layer (I will leave the settings to you, feel free to apply whatever colour scheme you like!), and here is my final effect: (click to enlarge)
You can check out this video tutorial below if you wish to learn more about colouring techniques using adjustment layers:
That’s it for this tutorial! Hope you enjoy going through it and find it useful. Drop me a comment below if you have any question.
Till next time, have a great day!

