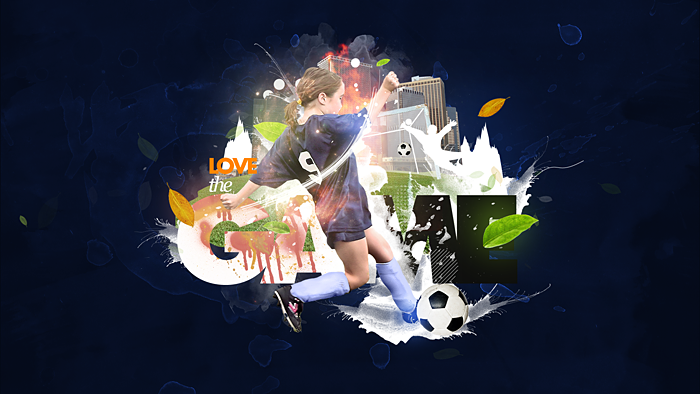
Preview of Final Results
Resources
- Girl – SXC
- Tea Stain Texture – Frameofthoughts (Deviantart)
- Ball – SXC
- Plant – SXC
- Splatter 1 – SXC
- Splatter 2 – SXC
- Splatter 3 – SXC
- Galaxy – Pauline Moss Stock (Deviantart)
- Goalpost – SXC
- Ground – SXC
- Skyline – SXC
- Spray Paint Pack – Mediamilitia
- Water Color Texture Pack – Mediamilitia
Step 1
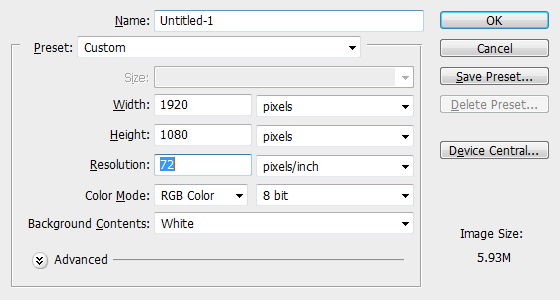
Create a new file with the below dimensions. This is going to be a wide screen wallpaper
Step 2
Create a new layer in the Layers palette. Set the foreground color to #040916. Hit Alt + Backspace to fill the current color.
Step 3
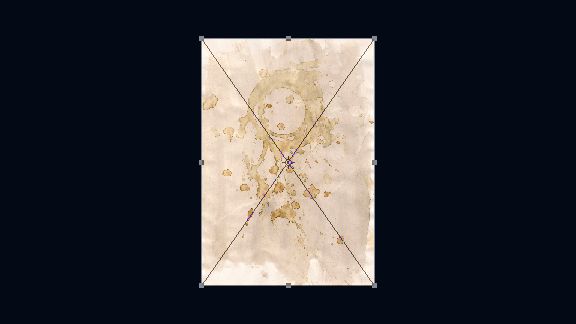
Let’s add a texture to the background to make it look a bit dynamic. Import the texture directly into our file as a Smart Object using the “Place” command. Choose File > Place and locate the texture. This imports the image as a Smart Object which we can transform and apply filters to without harming the actual contents of the image.
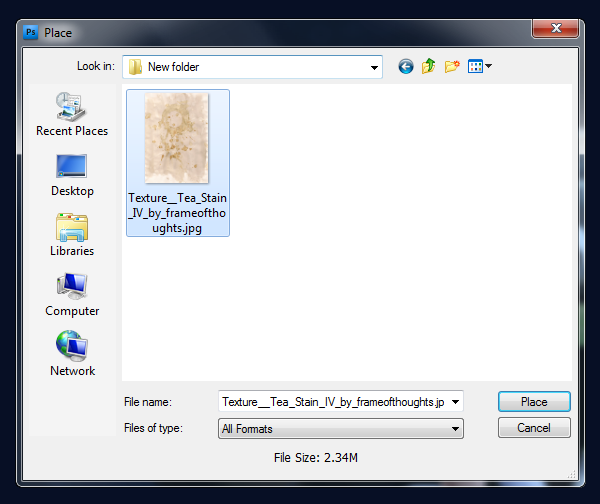
Now the texture is placed in our document.
Step 4
Hit Ctrl + T, hold by the corner and rotate it 90 degrees anti clock wise or simply right click and choose “Rotate 90 degrees CCW” option.
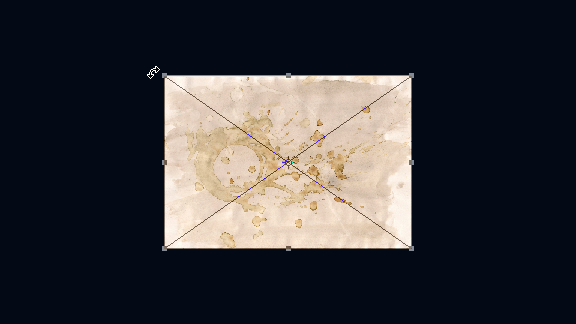
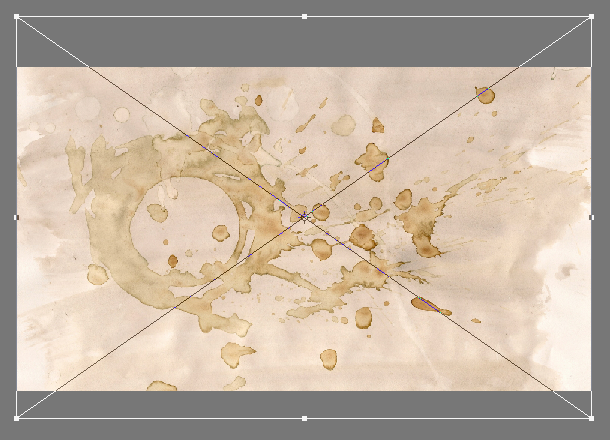
Resize the texture to cover the entire document area and hit “Enter” to confirm the transformation.
Step 5
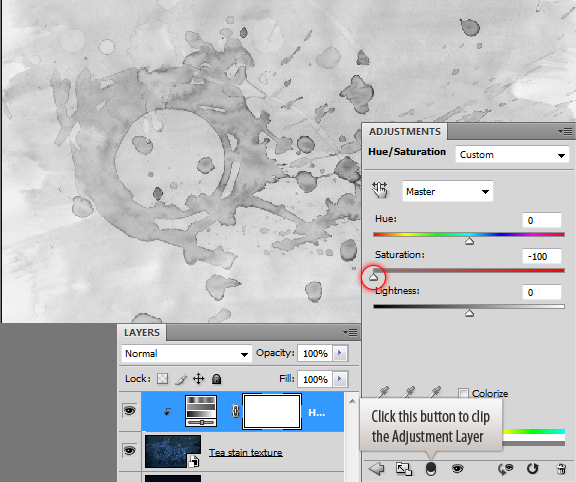
Now desaturate the texture. Apply “Hue/Saturation” adjustment layer on top of the texture. Set the saturation to -100 using the slider. Then clip it to the texture layer by clicking the “Clip to the Below Layer Option” or by pressing Ctrl + Alt + G.
Step 6
We need to invert the texture layer. Since it is a Smart Object we can’t directly invert it. Double click on the thumbnail to see the contents. Now press Ctrl + I or go to Image > Adjustments > Invert to invert the image. Press Ctrl + S to save and close the smart object document.
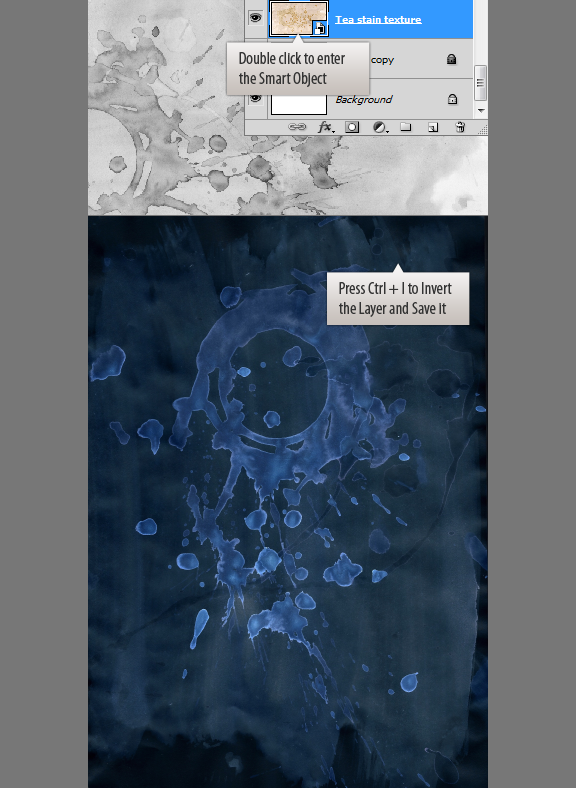
Your image should look like below.
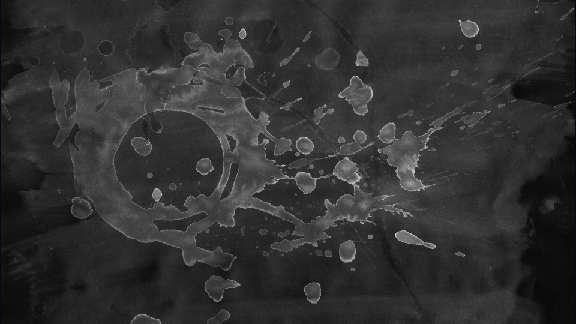
Step 7
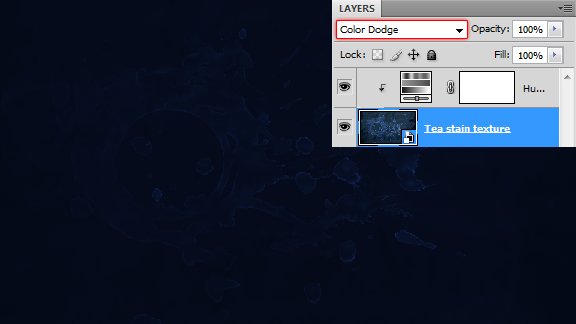
Set the blend mode to “Color Dodge”
Step 8
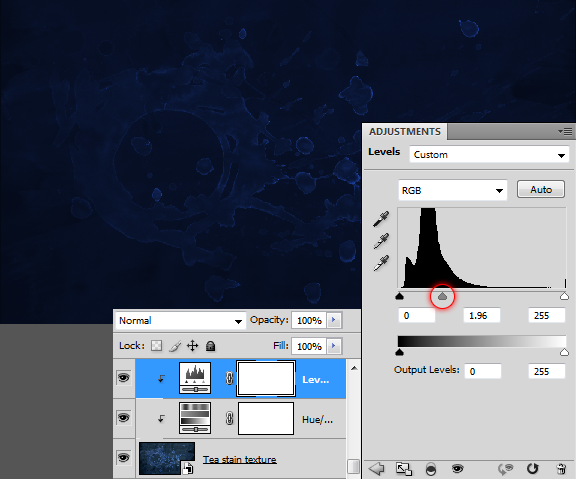
Increase the visibility of the texture. Add Levels adjustment layer to the texture and adjust the mid tone values.
