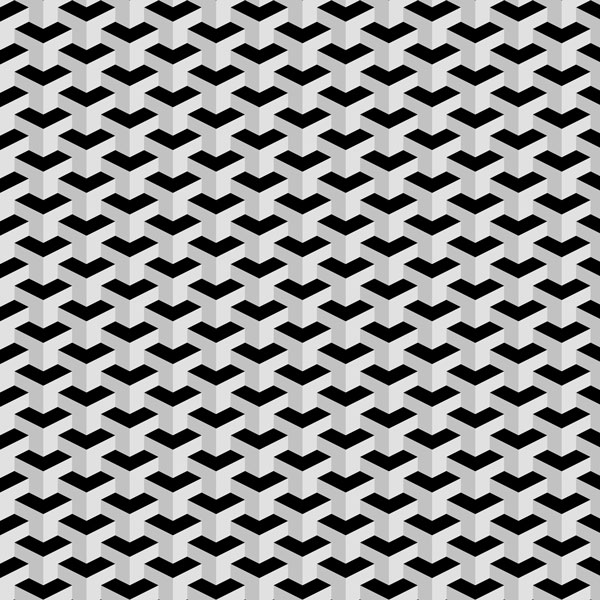
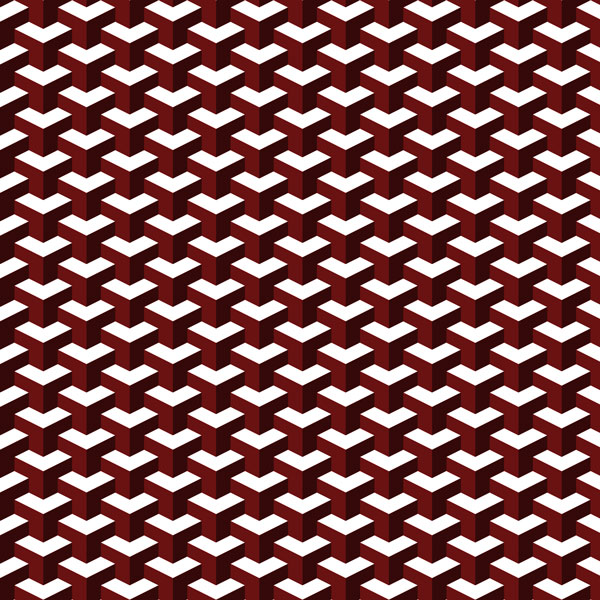
Seamless patterns are a fun and easy way to add some interest to your graphic designs. Patterns, however, can be a bit intimidating to some artists, as it is often challenging to figure out exactly where the pattern repeats. In this tutorial, I will show you how to quickly create a seamless, three-dimensional, geometric pattern in Photoshop.
1. Set Up Canvas
Step 1
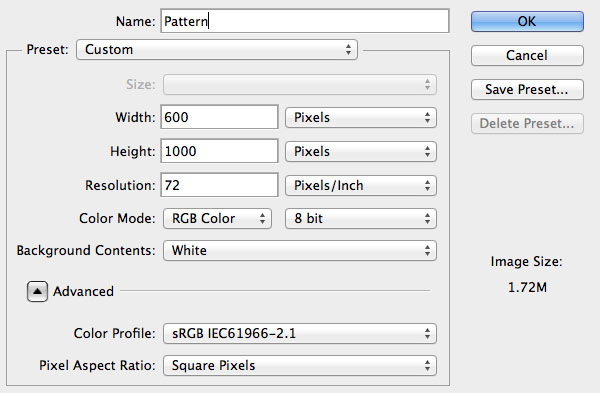
Create a new file. Make it as large as you like. I used 600 x 1000px just to make it display a bit more accurately for this tutorial.
Step 2
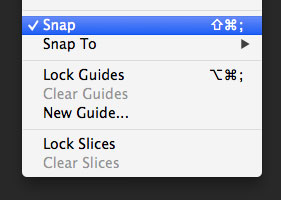
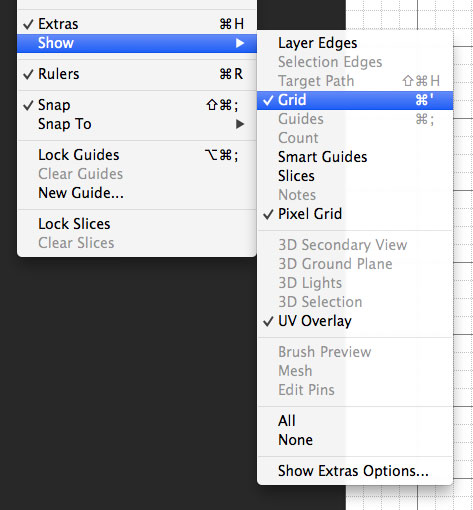
Now, you will want to make sure that you have a few settings enabled. Go to View > Snap to enable Snapping.
Then to go View > Show > Grid to show a grid.
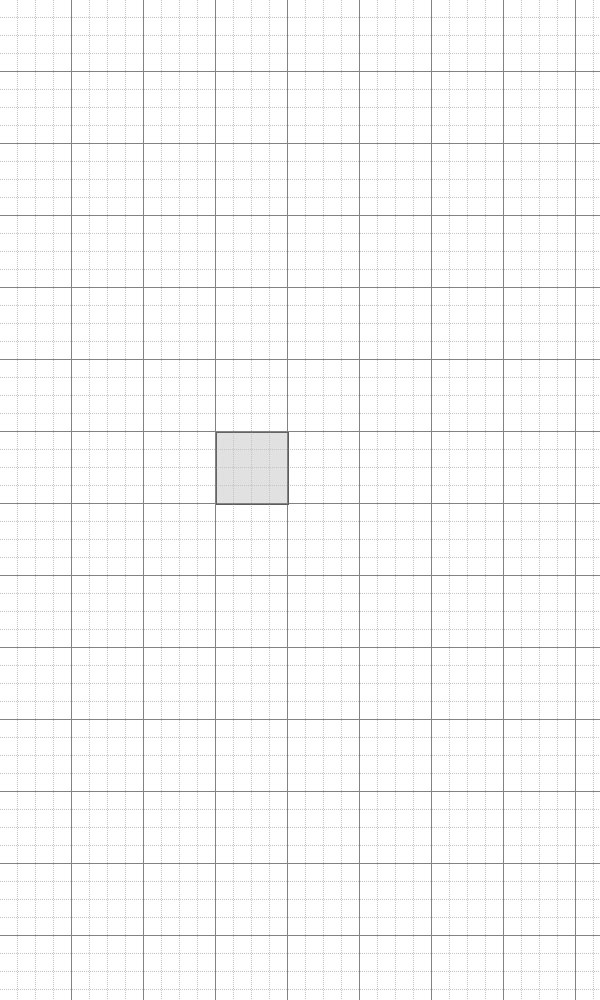
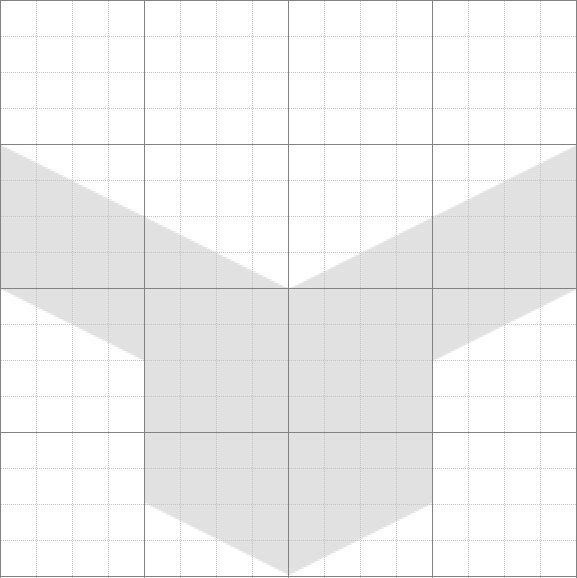
Your canvas should now look similar to the image below.

2. Create Your Shapes
Now that we have set up our canvas, it is time to start working on the pattern. We will build the pattern by drawing some basic shapes.
Step 1
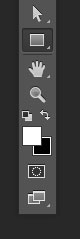
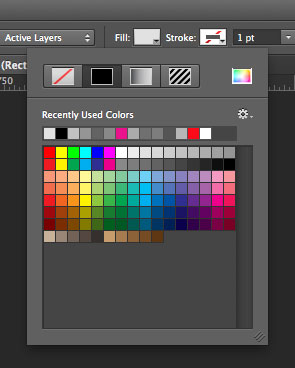
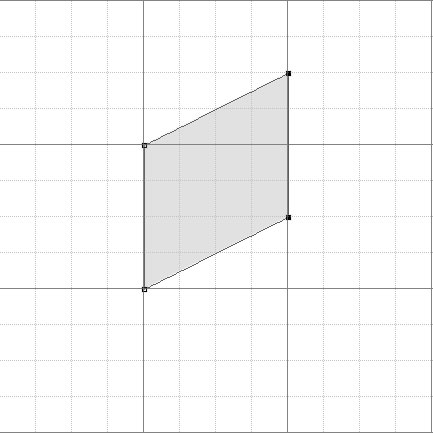
Select the Rectangle Tool (U) and draw a square as shown. Use a 15% gray or #e1e1e1. Draw over any one of the large grids. Positioning at this point isn’t really that important, so feel free to place your square anywhere on the canvas.
Step 2
Select the Direct Selection Tool (A).
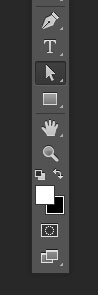
Select the anchor points on the right side of the square and move them up, as shown.
Step 3
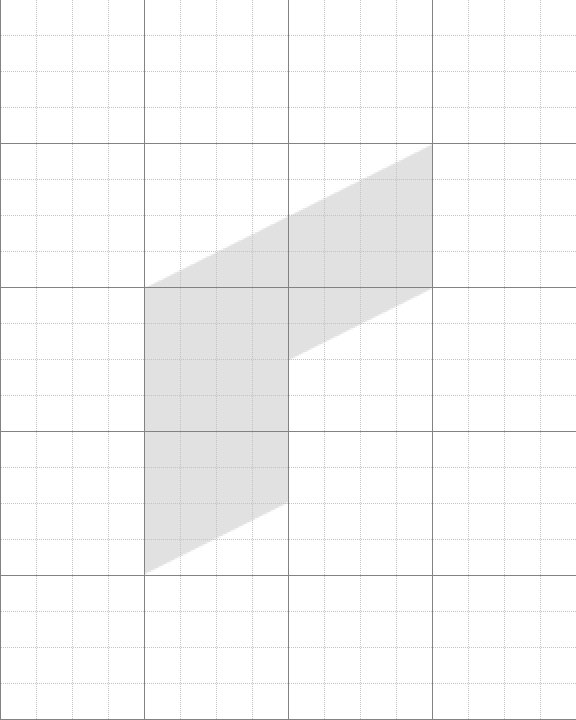
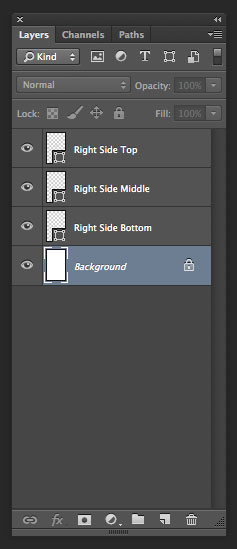
Now, with the original shape layer selected, duplicate this shape twice (Command/Control-J) and position the duplicates, as shown below.
Tip: Make sure that there are no gaps between the shapes. Try temporarily hiding your grid, just to be sure. Gaps between shapes will likely show through in your finished product.
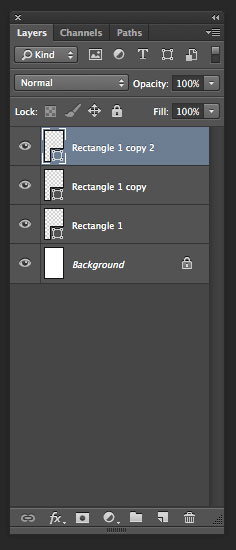
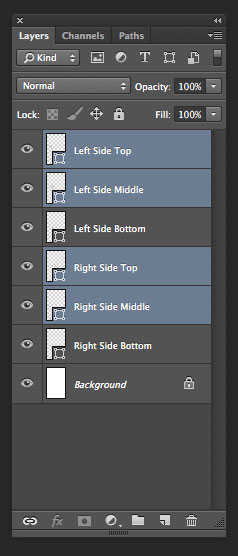
Rename these layers, as shown.
Step 4
Select all three shape layers and duplicate them by dragging them onto the Create a New Layer icon in the Layers Panel.
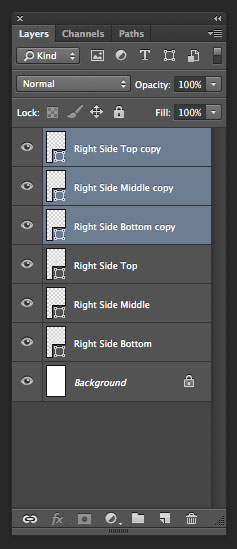
Rename layers, as shown.
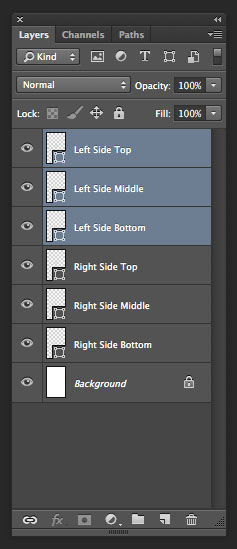
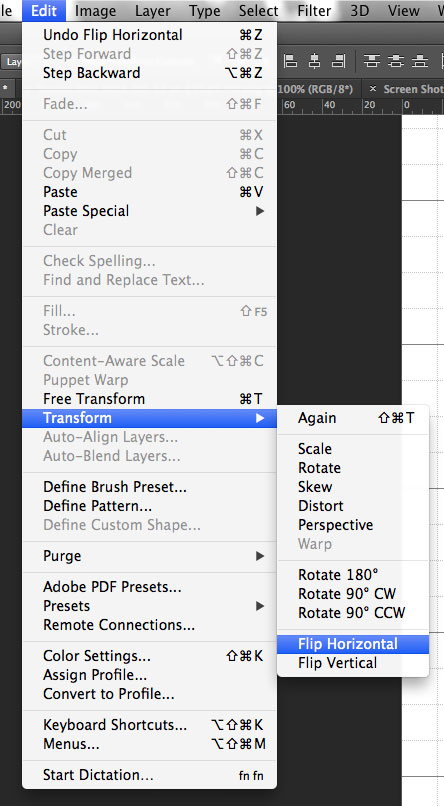
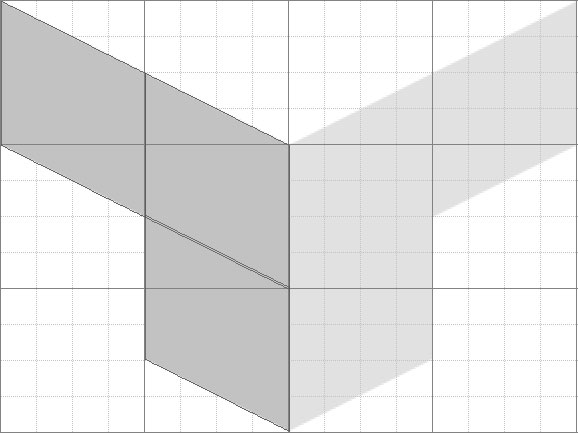
With all three left side layers selected, go to Edit > Transform > Flip Horizontal.
Position layers as shown using the Move Tool (V).
Now, select the Direct Selection Tool (A) and change the color of the left side colors to 30% gray or #c2c2c2
Now select all of the top and middle layers. Duplicate them and rename them, as shown.

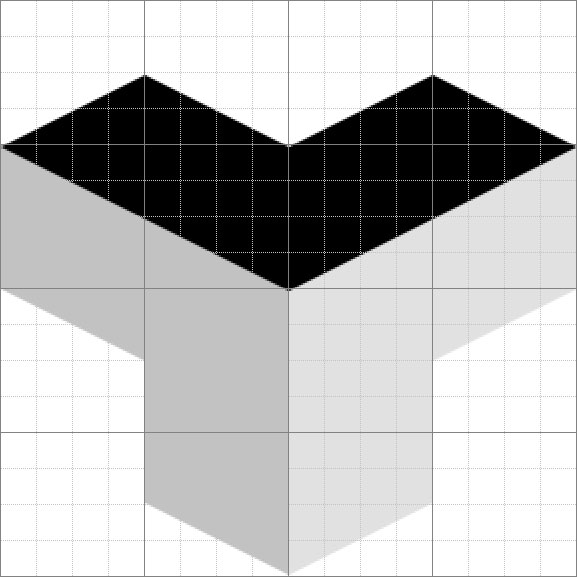
Position the renamed layers, as shown and change their colors to black.
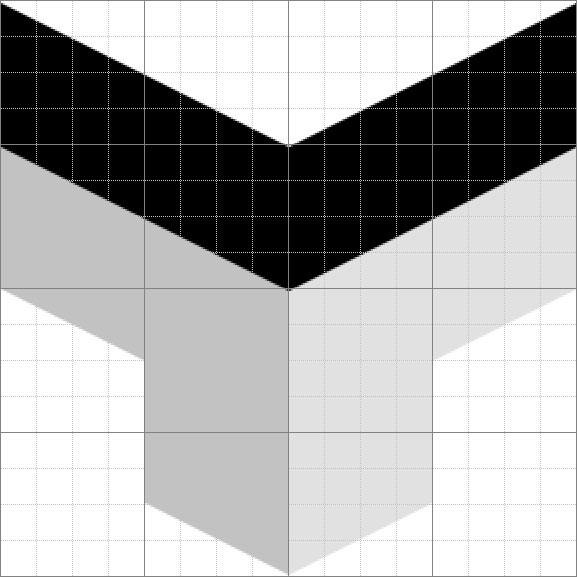
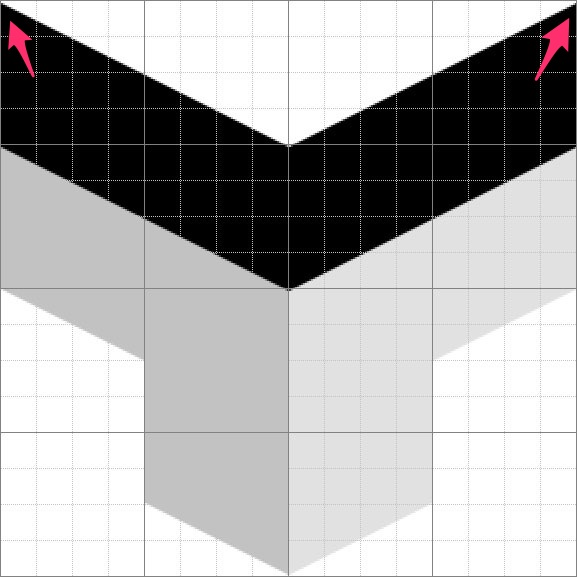
Select the Direct Selection Tool (A) and delete the anchor points from Top Left 1 and Top Right 1, as shown.
3. Create the Pattern
We have finished creating the object that will become our finished seamless pattern. Now, all we have to do is duplicate this pattern enough times to create a basis for a seamless pattern.
Step 1
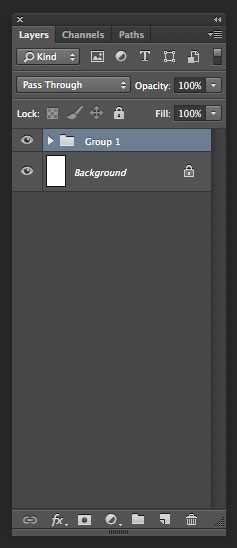
Group all your layers.
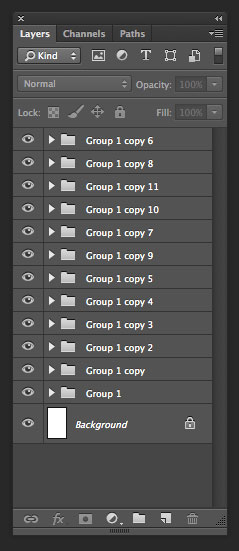
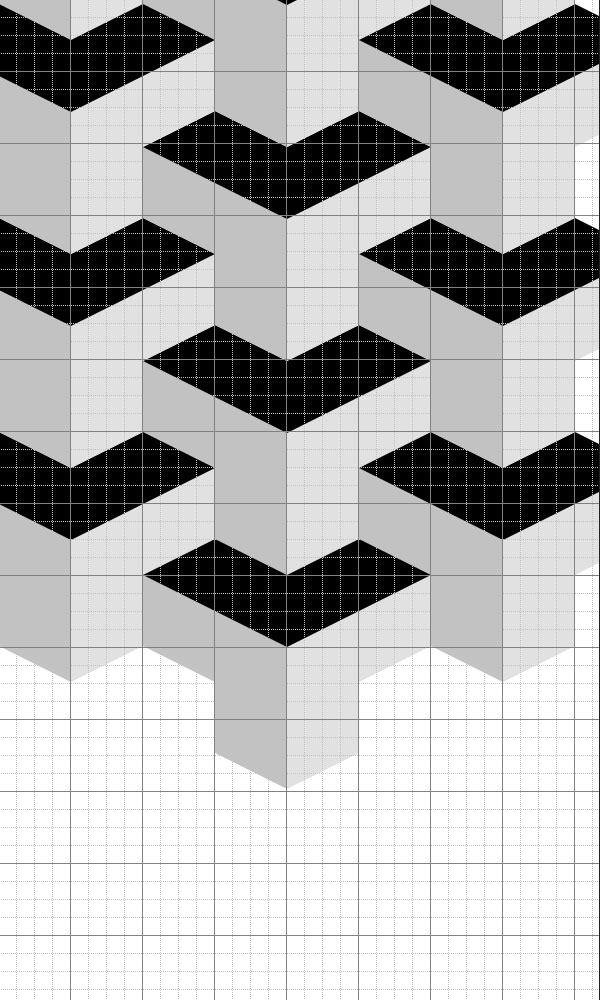
Duplicate the Group 1 layer many times. Reposition each of these groups to cover your canvas until it resembles the image below. You don’t need to cover the entire canvas. You only need to cover enough of the canvas to create a repeat.
Step 2
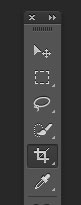
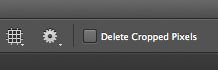
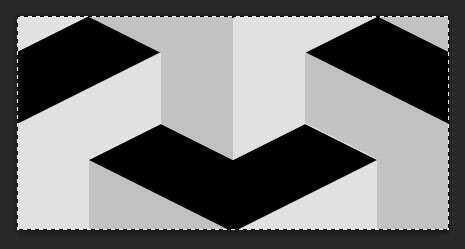
Select the Crop Tool (C) and crop the image as shown. Make sure to disable the Delete Cropped Pixels option.


4. Define and Apply Pattern
Step 1
Now that you have cropped your image, as explained above, press Command/Control-A on your keyboard to Select All. Then go to Edit > Define Pattern.
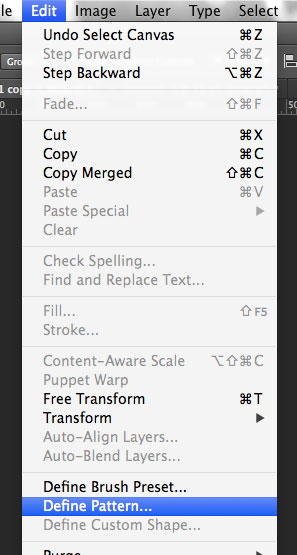
Name your pattern, as shown.

Step 2
Now it is time to apply your pattern. Create a new file. Make it any size you want. My image is 3000 x 3000px. Press Command/Control-A on your keyboard to select everything in the background layer.

Step 3
Now go to Edit > Fill.
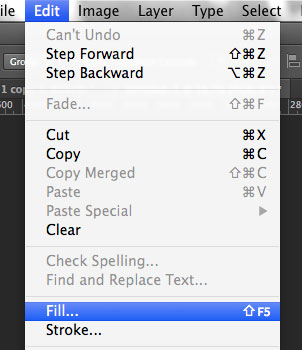
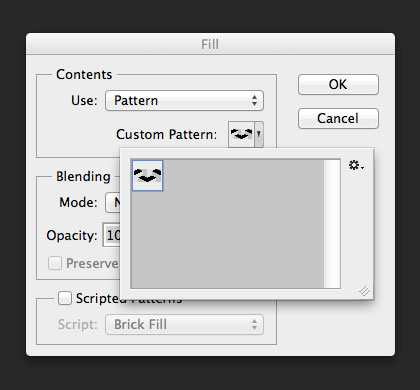
Under Contents, Select Pattern, then select the pattern that you just created. Click OK.
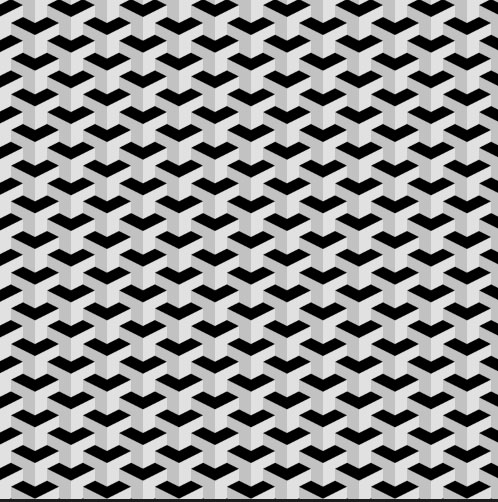
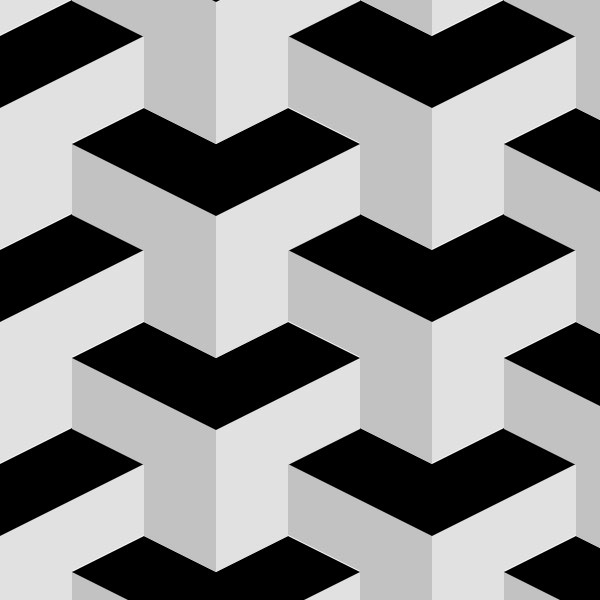
Your pattern should now be applied to your background layer.
Step 4
If you placed all your shapes together correctly in the previous steps, your pattern should fit together perfectly. If not, you might need to make a few adjustments to your pattern to make it work.
Conclusion
In this tutorial, I showed you how to create a seamless, 3D, geometric pattern in Photoshop, that you can then apply to any layer. I hope you learned something from this tutorial and can find ways to use these techniques to create new and exciting seamless patterns of your own.