
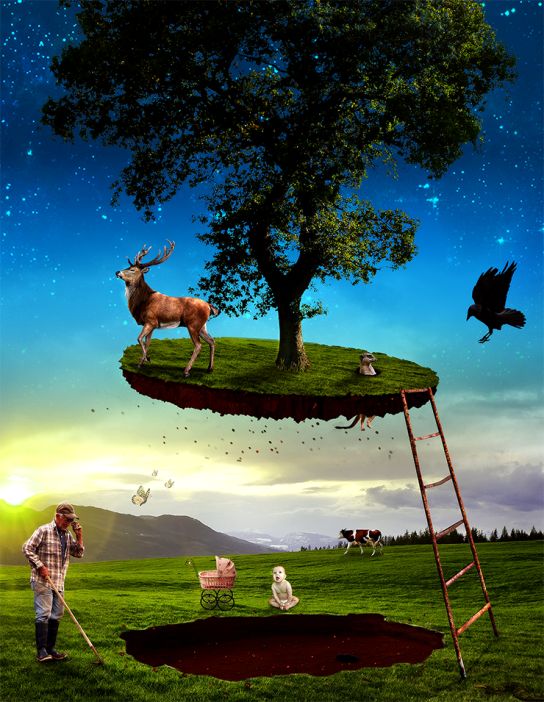
In this tutorial we will create an eerie floating island photo manipulation by using your vast imagination and the mighty power of Photoshop. I will introduce you to some simple editing techniques, smart objects and adjustment layers. Let’s begin!
What you’ll be creating
This is a classic floating island scene with a touch of funny elements added to it. Multiple elements will merge together to create a believable scene. You will need Photoshop CS3 or later to follow this tutorial.
Tutorial Resources
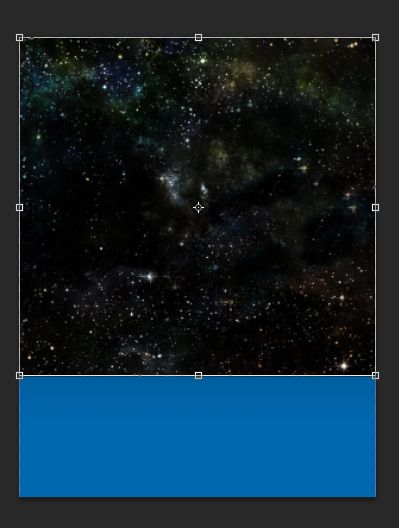
Step 1
Create a new document 2400×3097 (Ctrl + N). Choose the Gradient Tool and create a gradient like shown below (set the foreground color to blue – #0068ae, foreground color to black and hold shift while dragging the gradient tool vertically).

Step 2
Open the file “Stars”. Select all (Ctrl + A) and copy (Ctrl + C). Go back to our document and paste (Ctrl +V). Convert the pasted layer into a smart object (right –click the layer in the layer palette and from the drop down menu choose “Convert To Smart Object”) and place the stars as shown below (use the Free Transform Tool – T).
From now on convert all imported layers to smart objects. By doing this we will have an non-destructive workflow and we will be able to resize and apply various effects to the layer without permanently loosing pixel information.
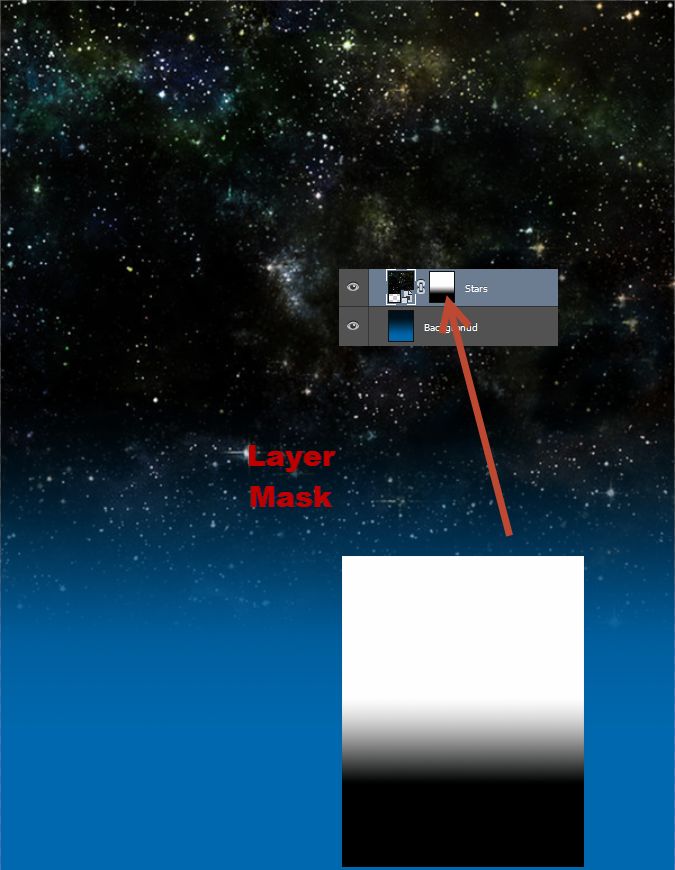
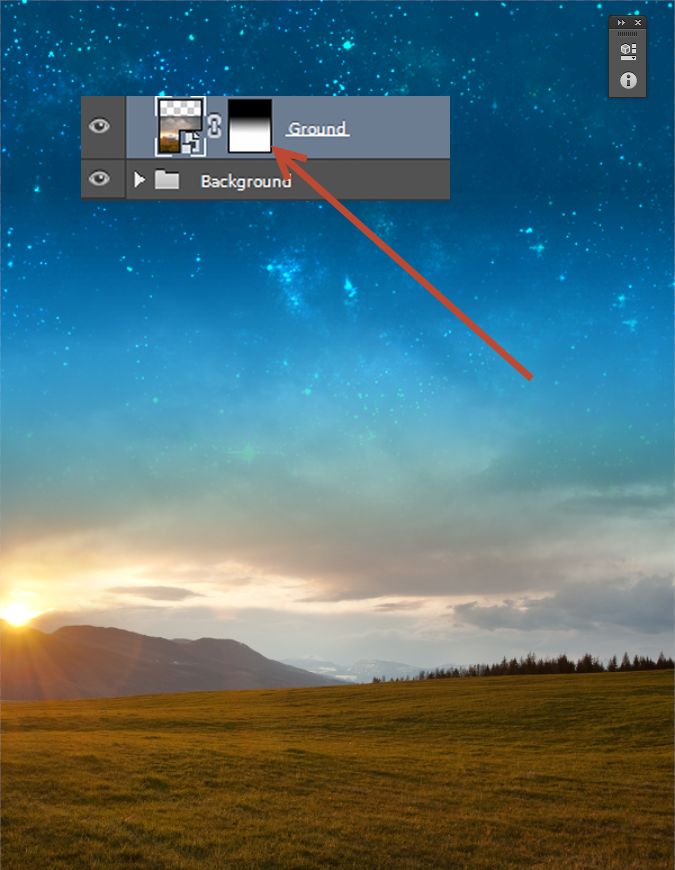
Step 3
Add a layer mask to the stars layer (Layer > Layer Mask > Reveal All). Click on the layer mask to make it active and with the gradient tool drag from top to bottom (or inverse) to fill the lower part of the layer mask with black. This will blend seamlessly our stars layer with the blue background.
Step 4
Change the blending mode of the stars layer to Color Dodge in order to achieve the effect shown below.

Step 5
Create a Curves Adjustment Layer (Layer > New Adjustment Layer > Curves). Use the settings shown below to increase the lightness of the background.

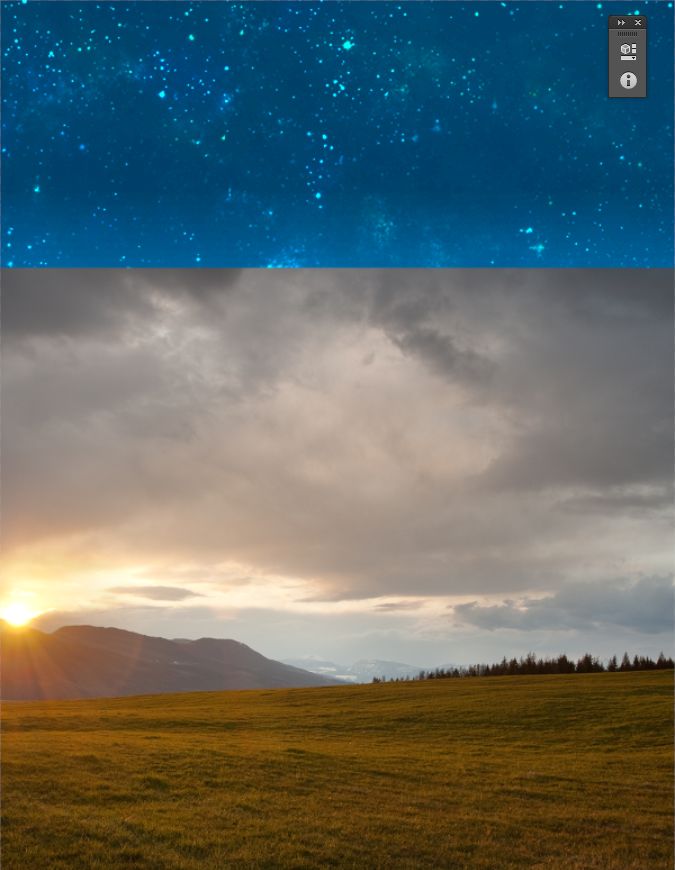
Step 6
Open the file “Grass”. Select all and copy/paste in our document. Use the Free Transform Tool (T) to position the grass layer as shown below.
Step 7
Add a layer mask to the grass layer. Select the gradient tool and fill seamlessly the upper part of the layer mask with black (just like we did on step 3) in order to blend the grass layer seamlessly with our scene.
Step 8
Create a Hue/Saturation Adjustment Layer and change the Hue to +33. Clip this layer to the grass layer (Alt-click between the two layers in the layer palette). By doing this we will restrict the Hue/Saturation adjustment layer effect to the grass layer only.
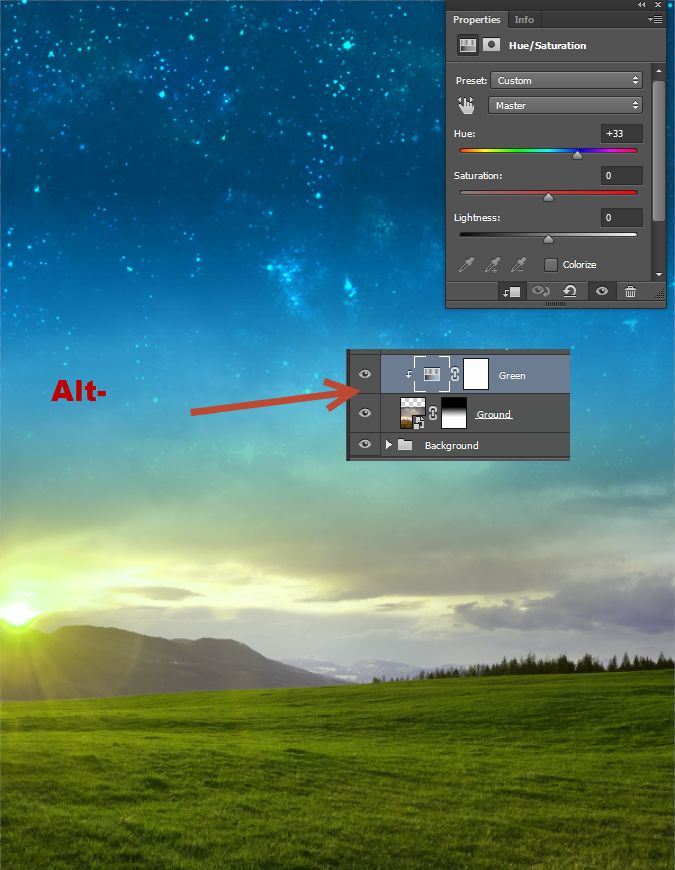
Step 9
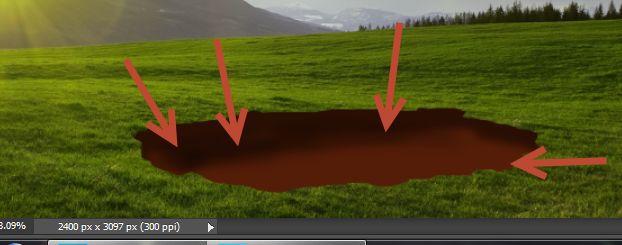
Create a new layer (Ctrl + Shift + Alt +N) and use the standard chalk brush to paint an ellipse as shown below (use any color you like). This will be the base of our hole in the ground.
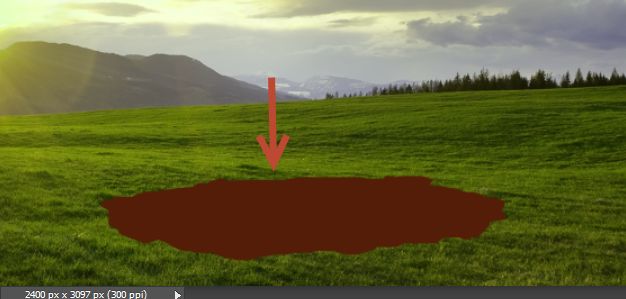
Step 10
Double click the layer you painted in the step above and add an inner shadow and a color overlay effect.
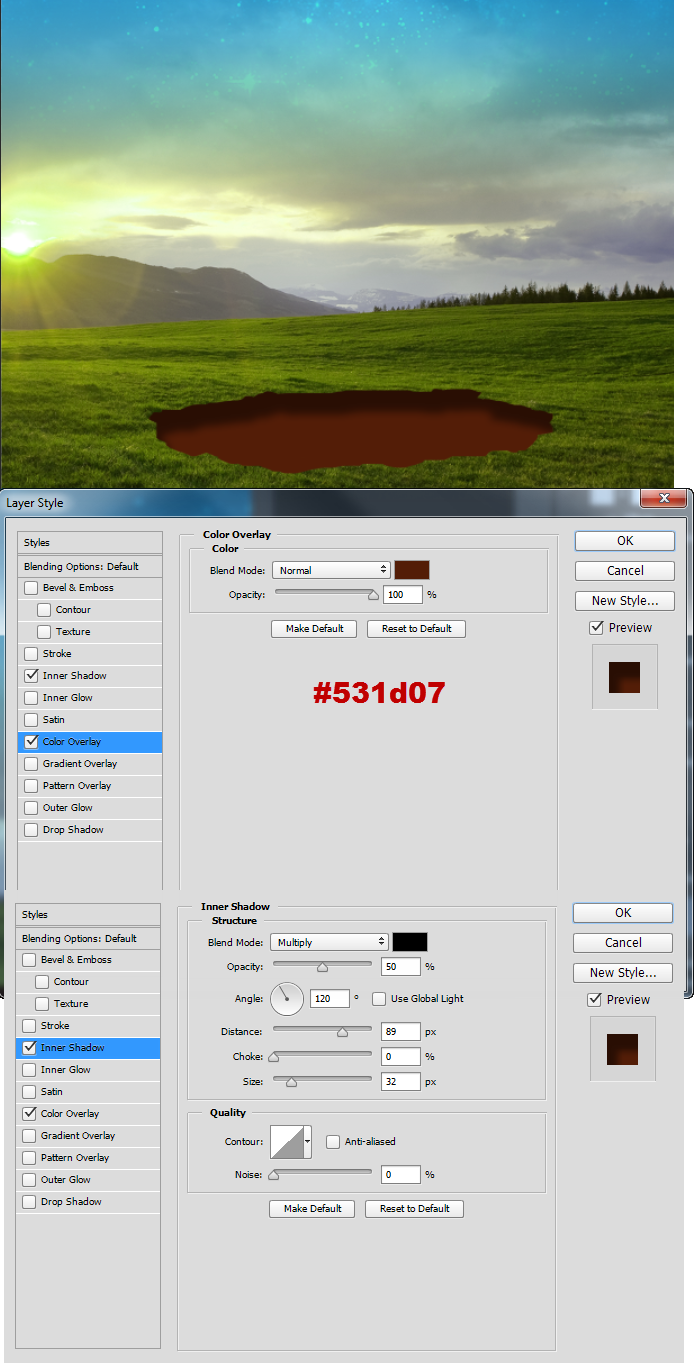
Step 11
Create a new layer and choose the standard round soft brush. With the brush tool (B) paint some black shadows as shown below (set the brush to 30% Opacity).
Step 12
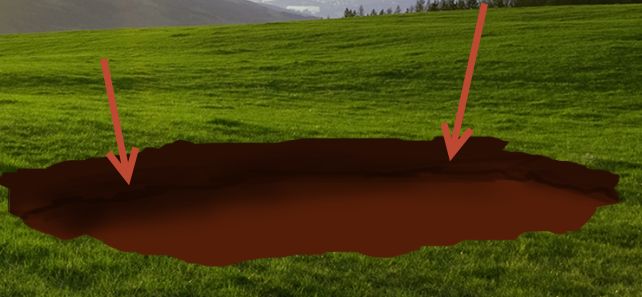
Create a new layer and select the standard chalk brush. Increase the opacity to 80% and paint a thin line where the wall of the hole should meet the ground.
Step 13
Create another new layer and with the same chalk brush paint a thin white line on the upper margins of the hole (the specular highlights).
Step 14
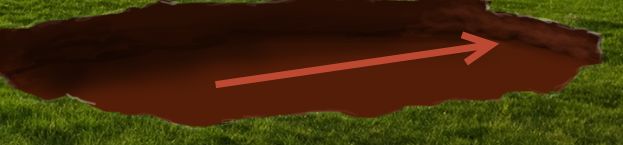
Lower the opacity of the chalk brush to 40% and paint with white in the area indicated below to give our hole a basic shading.