A Twitter bot refers to an automated agent or an artificial intelligence tool that constantly structures and manages a subscribed twitter account. That is achieved based on the settings preferred by the social media account user. Bots are the main distributors of informative content on the Twitter platform, and most likely, you have interacted with a Twitter bot without knowing it.
These bots create automatic schedules for tasks that are relevant to your account. They can easily identify a trending vibe, like, and even retweet some tweets that match specific criteria. A Twitter bot can also follow some twitter users who’ve twitted a certain phrase.
You can build a Twitter bot that sends a direct message to people who follow you on Twitter. A brand can also create an auto-reply bot that mechanically responds each time the brand is mentioned on Twitter. These bots efficiently promote your profile by encouraging real individuals to follow you, growing your twitter connections more consistently. In this post, we will look at how you can create a Twitter bot and have it running in no time.
The best thing about making a bot is that you do not need broad technical skills, which means you can produce your bot even if you are a novice Twitter user. The basic concept behind a Twitter bot is pretty simple. You only need to indicate a search phrase and then select an action. The Twitter bot will find all the tweets that match your search criteria and then perform the relevant action on all those tweets. From sending direct messages to auto-tweeting, Twitter bots provide you with a wide range of capabilities. Here are the steps you’ll have to follow to create your Twitter bot:
Step one: Create a developer account

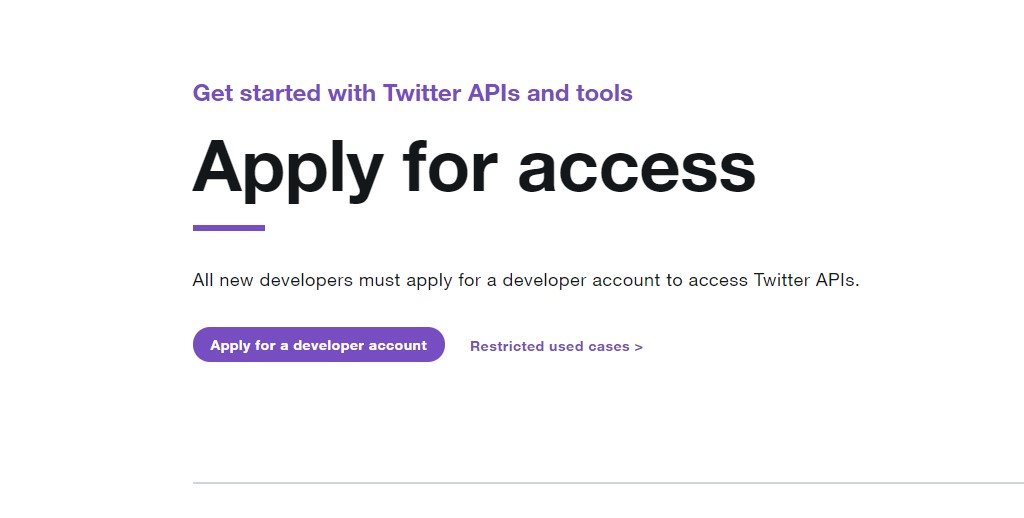
To create your bot, you will have to create a developer account which you can do free of charge. To get started, go to developer.twitter.com and choose a user profile that can be associated with your bot. That can be your personal Twitter account, or you may consider creating a new account altogether. You can request developer access for personal use or on behalf of your organization.
You can select the personal use option if your Twitter bot is a side project. However, if you select the organization option, your Twitter bot will be associated with an organization. You will have to enter some essential details about the organization, such as the first country of operation, the industries you serve, where most of its clients reside in and its website URL.
Twitter also needs to understand why you are applying for a developer account. Whether the reason is to detect trends, curate tweets, or understand your target market, you’ll have to specify your intentions to get approved.
Step two: Create a Twitter application
After verifying your developer account, you should proceed and create your Twitter app. This application will be utilized to power your Twitter bot. On the developer webpage, click the Create an App button, which should bring you to figure two.
There are several details about your application you’ll have to specify before receiving access tokens and API keys. Give your application description, a name, and input any URLs in the website field. Agree to the developer’s terms and conditions and then submit the form.
Step three: Set up a development environment

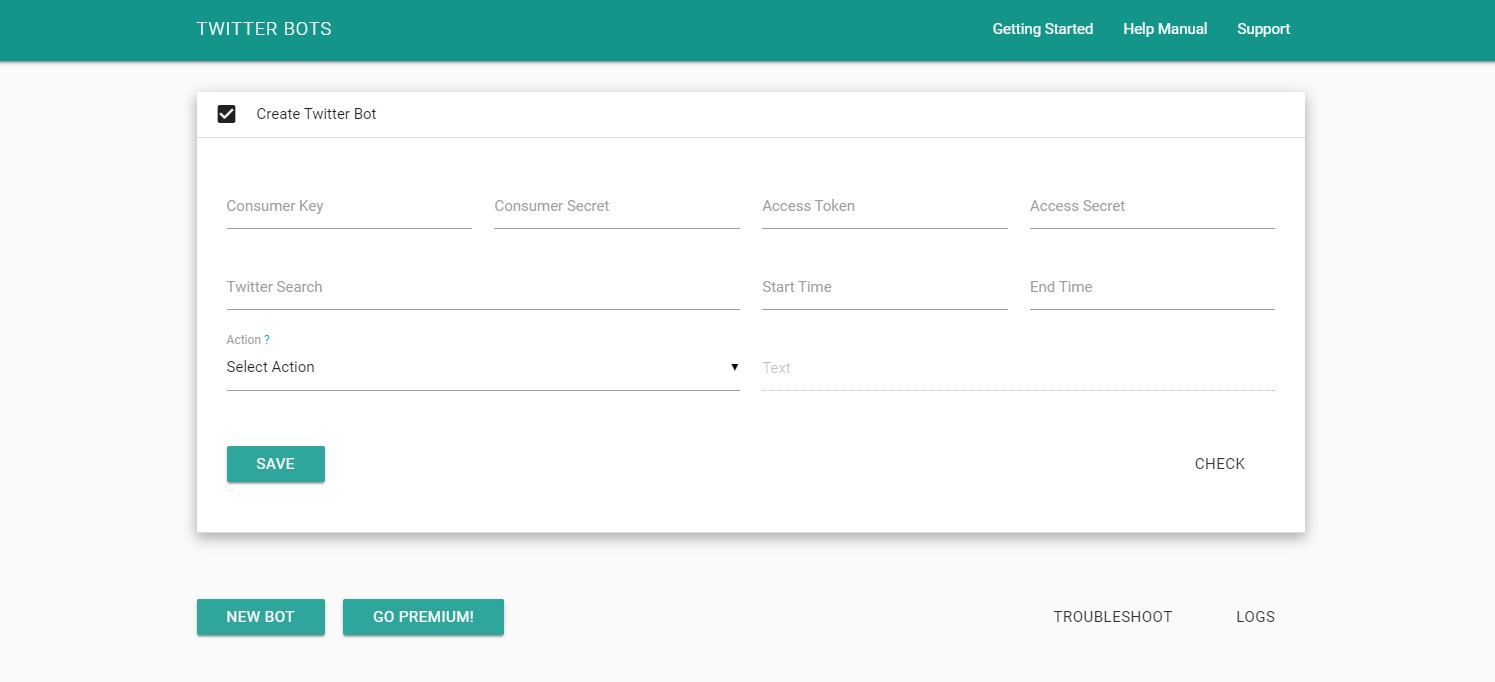
You can program, test, and deploy Twitter bots in almost any development environment. Nevertheless, for simplicity purposes, we are going to use a Google script for some Twitter bots developed by a world-leading technology writer and CS engineer Amit Agarwal. You can see that in figure one.
Step four: Connect the development environment with your Twitter app
The development environment and your Twitter app should be able to communicate with each other for your Twitter bot to work. Start by locating the access tokens and API keys of your Twitter app. You can find this information next to your Twitter App details.
After that, you need to check your app’s permissions. By default, they’ll be set to ‘read and write,’ which means that your app can do basic Twitter functions. Nonetheless, if you would like your application to message users directly, click on ‘read, write, and then direct messages.’ After that, go to Agarwal’s script and then enter the four keys in their respective fields to connect the development environment with your Twitter app as shown in Figure three.
Step five: Program your bot

After linking the development environment with your Twitter app, now it’s time to program your Twitter bot. To do this, you need to enter your commands in the Twitter search box. This part is the most important section because Twitter wants to know what to look for.
Once you specify the search phrase for the Twitter bots, your Twitter app will look for all the tweets that match your search phrase and then process all of them, one by one.
Click the Save button to initialize your Twitter bot, and you are done. Your bots will be initialized, and they will run automatically in the background.
Step six: Test your bot
You can run some tests on your bot to see if it’s working as expected. Click the Check button near the bottom part of the script to check if there some logged in activities. If there are, you will be able to see the number of re-tweets on your Twitter handle with your customized hashtag.
About the author
Charlie Walterson is a professional software engineer who majors in the development and design of bot software applications. He runs an amazing blog about the best bots in the tech world. He also runs a blog website on these bots, and you can visit the site and learn how they can improve your business.
Author: Spyre Studios