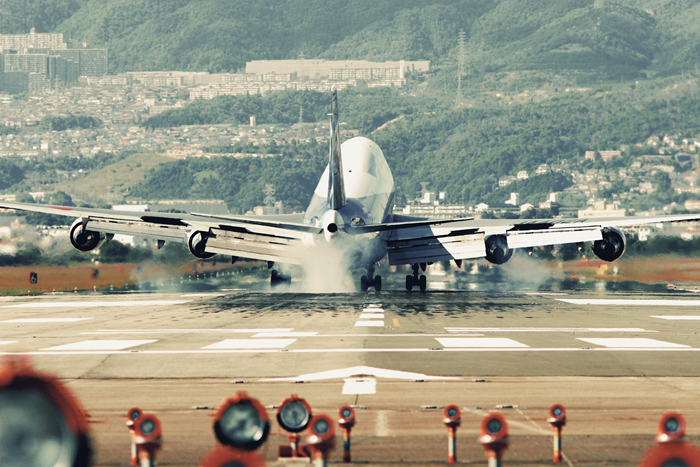
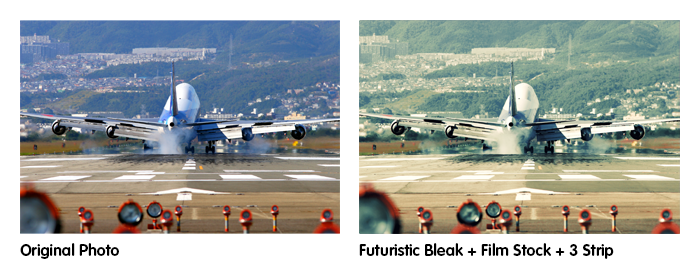
Preview of Final Results
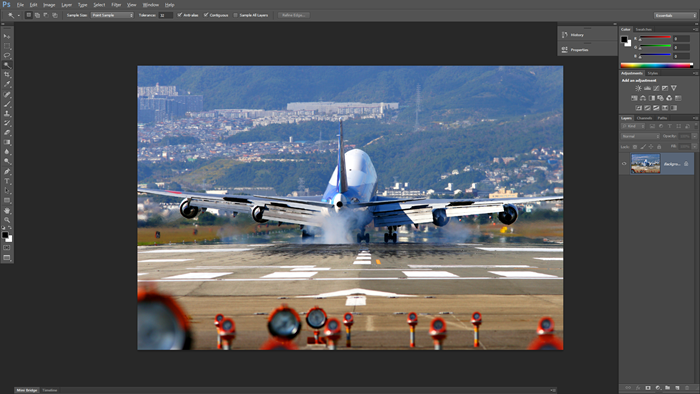
Step 1
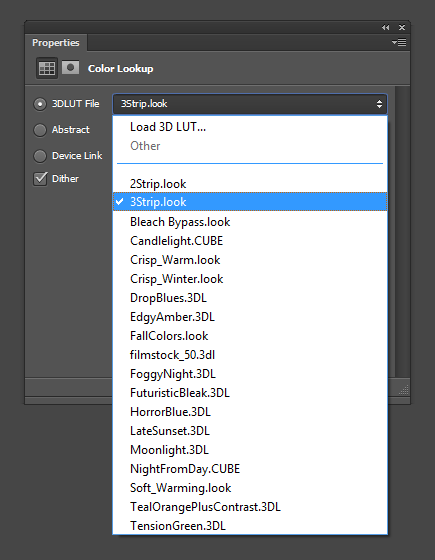
For this tutorial, we’ll be using Color Lookup adjustment layers which is only available in Photoshop CS6. Color Lookup layers are used to simulate color profiles used in film and Photoshop includes . Start by opening any photo into Photoshop.
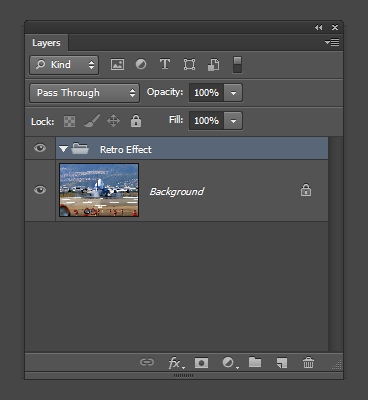
Step 2
Because this photo effect will be created with several layers, it makes sense to add them inside a layer group. Add a new layer group by going to Layer > New > Group.
Step 3
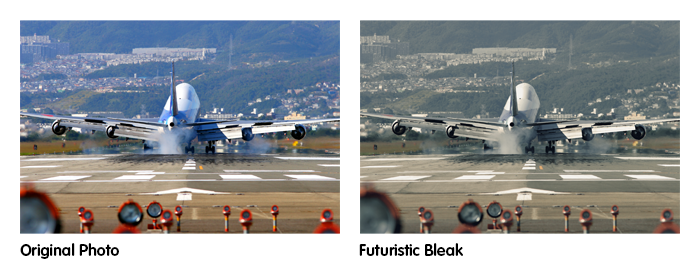
Add a new Color Lookup adjustment layer (Layer > New Adjustment Layer > Color Lookup). In your Properties panel (Window > Properties), set the profile to Futuristic Bleak.
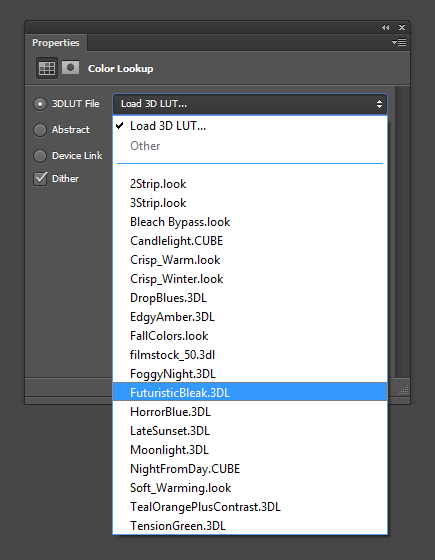
The Futuristic Bleak profile gives your photo a faded look like what you see in many futurstic movies.
Step 4
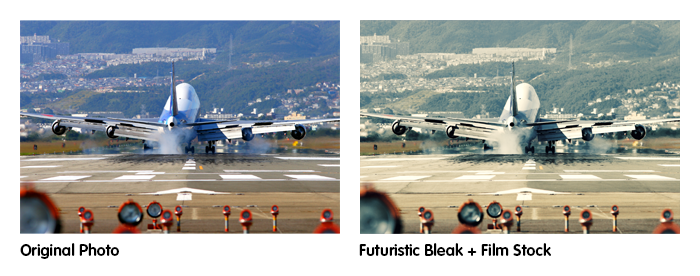
Next, we’re going to add a Film Stock color lookup profile. This profile boost the contrast and colors of your image. Duplicate the Color Lookup adjustment layer you created in the previous step by pressing Ctrl/Cmd+J. In the Properties panel, set the profile to Film Stock.

The image looks pretty good already with just these two adjustment layers.
Step 5 (Optional)
This step is optional but will give your photo some retro colors. The last Color Lookup adjustment layer we’ll add a 3 Strip color profile. Duplicate the previous Color Lookup adjustment layer (Ctrl/Cmd+J) then change the color profile to 3 Strip.
The 3 Strip color profile simulates the 3-strip Technicolor camera from the 1930s used in the famous movie, Alice in Wonderland (1951). There was no true way of simulating this effect before Photoshop CS6 came out. Now with the new Color Lookup adjustment layers, we can easily add this effect.
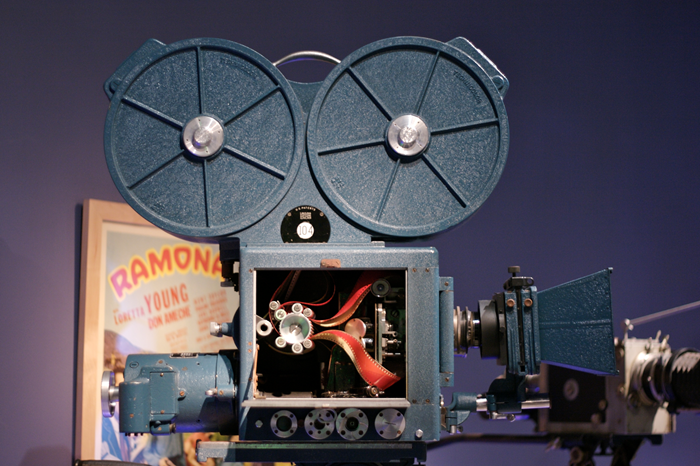
A 3 Strip Technicolor Camera
Step 6 (Optional)
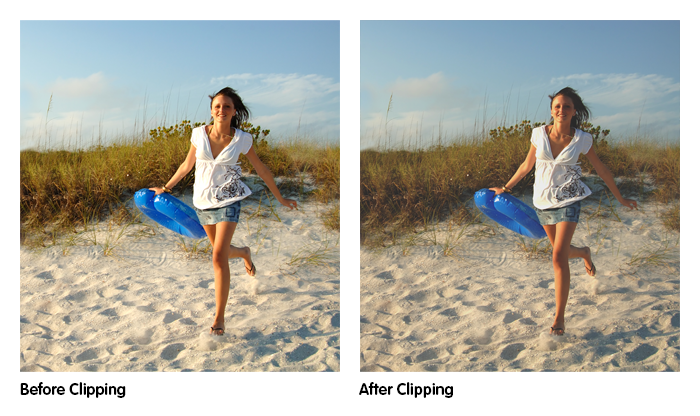
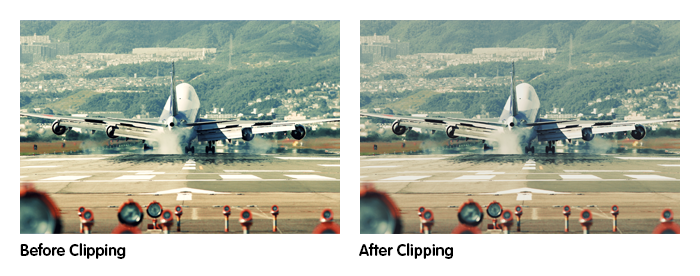
This step is also optional and gives your photo a faded look by shifting all 100% black and 100% white areas to something more gray. This technique is used a lot by photographers and is becoming a very popular effect for wedding and portrait photography. To do this, add a new Levels adjustment layer (Layer > New Adjustment Layer > Levels). Adjust the black and white input slider at the bottom of your properties panel.
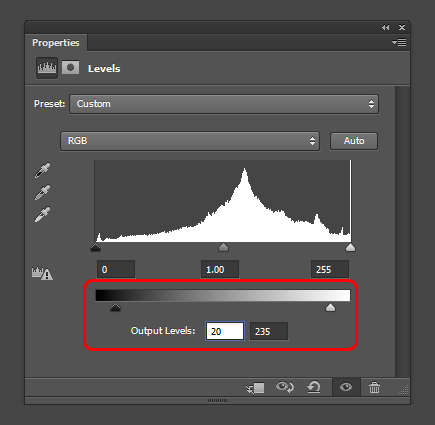
This technique lowers the contrast of the photo for a more nostalgic feeling. It’s often combined with some sort of subtle retro photo effect.
Final Results
Here’s what the final image looks like! This is all done with several Color Lookup adjustment layers. Experiment with different combinations of Color Lookup profiles for more quick and easy photo effects.