A lot of the pieces created in Adobe Illustrator are planned out well in advance. Sketches are imported, previous work traced, and you might build images with simple shape elements for graphic work. This tutorial will take you through improvising a character in the program from start to finish.
1. Build Up Your Characters Body
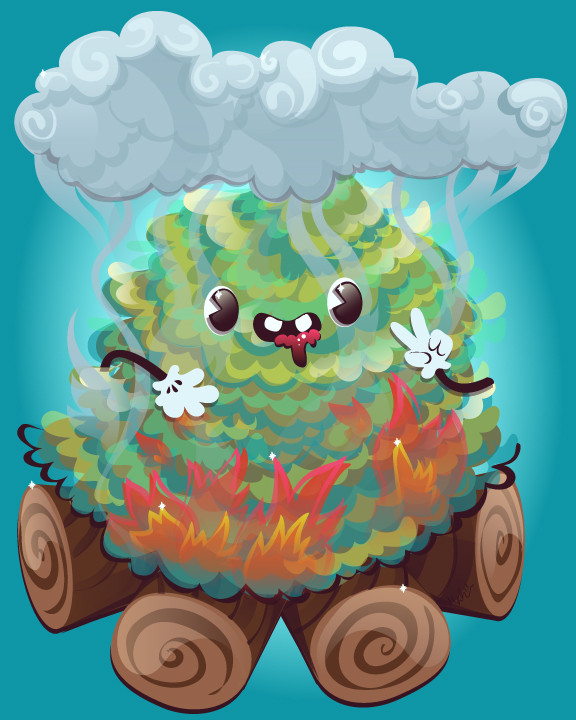
Step 1
I like to start with a swatch of color. In this case, I used the Rectangle Tool (M) and chose a subdued blue for my background. Lock it in the Layers panel.
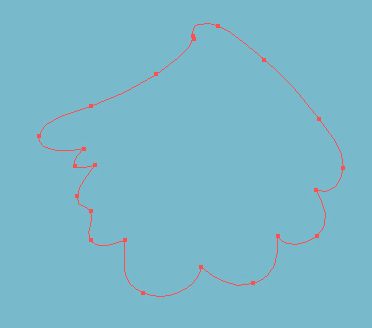
Step 2
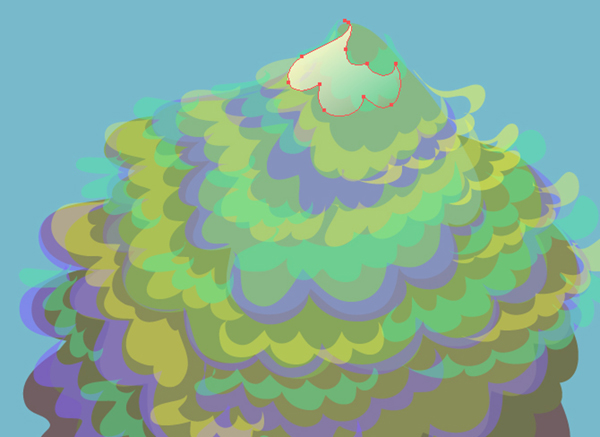
Using the Pencil Tool (N) I doodled out a shape. I like the idea of an evergreen tree. This shape mimics the very top.
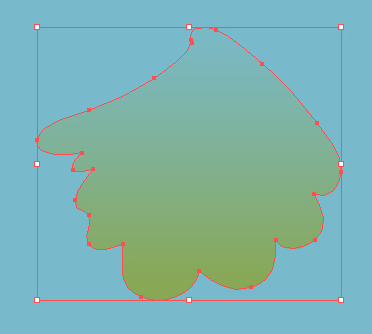
Figuring out colors that go well with the background, I applied a gradient to the shape using the Gradient Tool (G). This one goes from a spruce green at 100% Opacity to a spruce green at 0% Opacity.
Step 3
Grab the Pencil Tool (N) again and continue drawing the tree shapes. They kick out like skirt ruffles beneath each other.
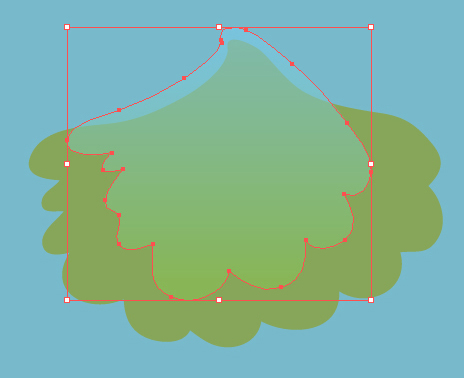
As you see, I’ve chosen a lighter shade for the top and gradually gotten darker further down.

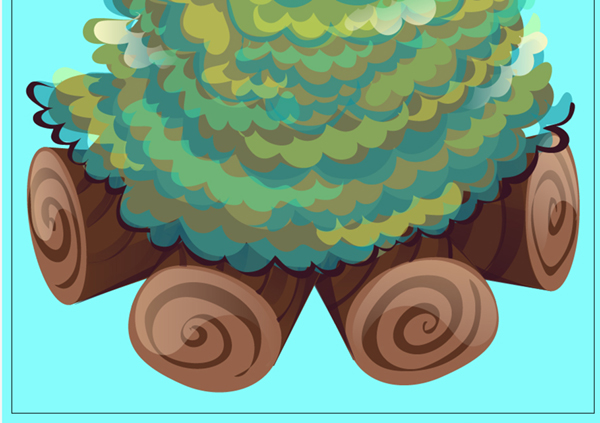
2. Create the Character’s Trunk
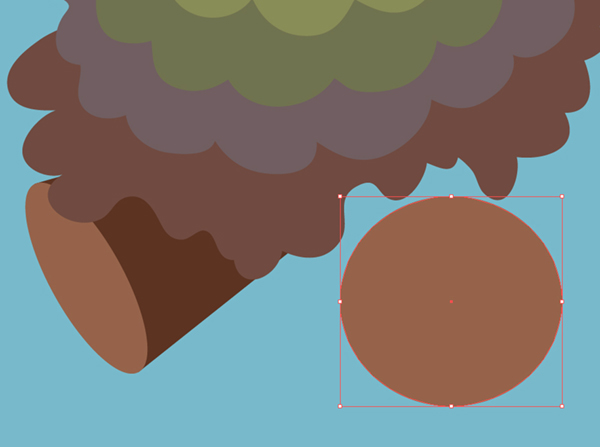
Step 1
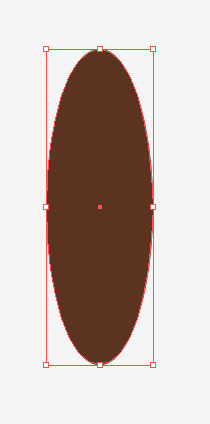
This tree character needs a trunk of some sort. Let’s draw a log. Use the Ellipse Tool (L) to create a skinny, vertical ellipse.
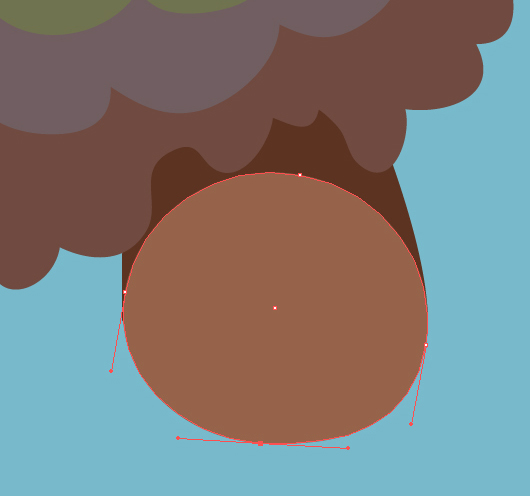
Step 2
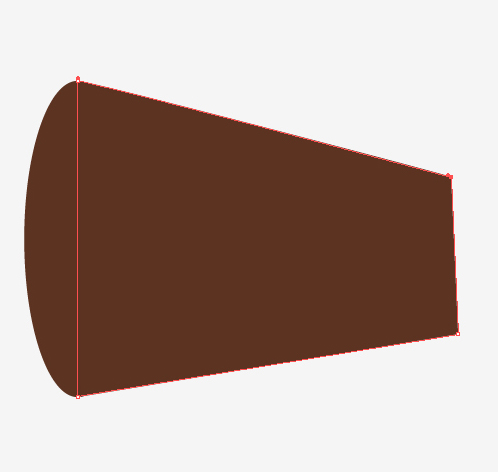
Use the Pen Tool (P) to draw an angled shape as seen below. This one has three points and will have four at shape’s end.
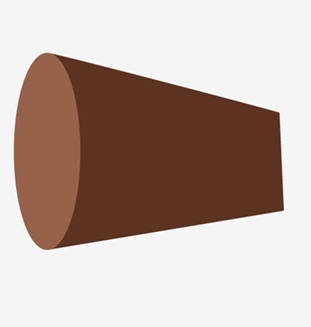
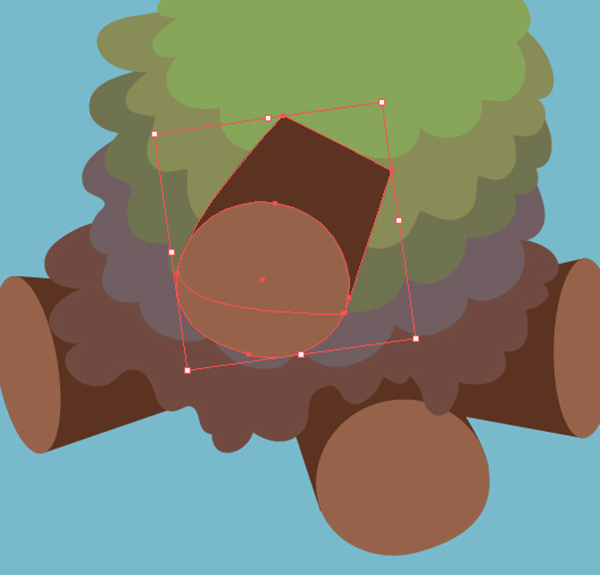
Step 3
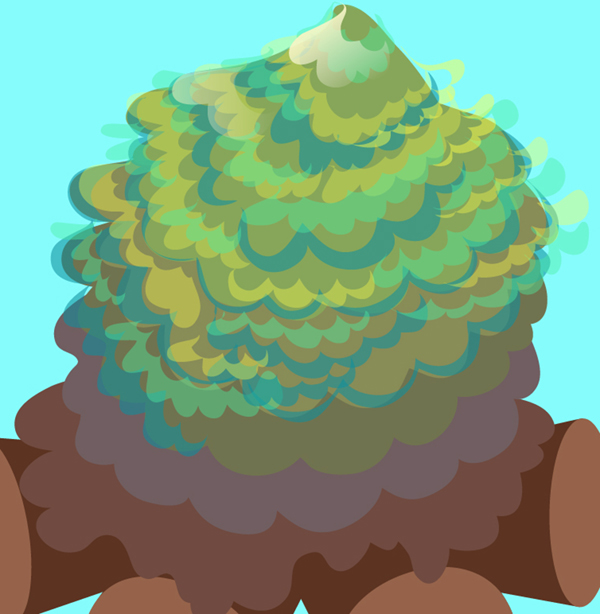
Select the ellipse you drew previously and move it above the other shape you’ve drawn. Change the color so it’s lighter. Arrange your log underneath the tree. Since this is a character, imagine these as little legs.
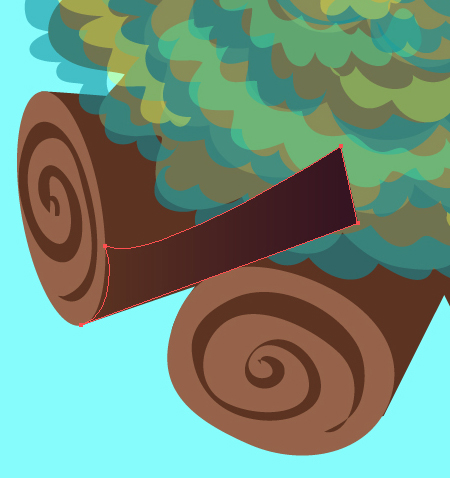
Step 4
Repeat the previous “drawing a log” steps for as many legs as you’d like your tree creature to have. I’m going for four.
Using the Direct Selection Tool (A), select the light colored ellipse and play with the anchor points. Pull the handles so you get a more squashed look to the bottom edge.
Arrange your little logs underneath the tree.
3. Add Smoke to Your Character
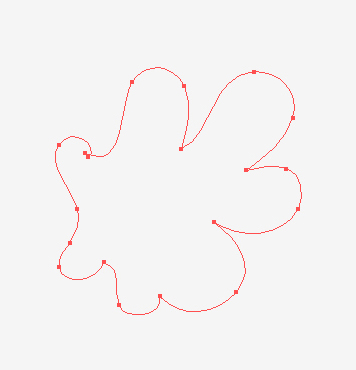
The logs remind me of a camp fire, so I’ve taken the Pencil Tool (N) and drawn a wispy cloud shape above the tree. It resembles both smoke and a speech balloon.

4. Add Colorful Shapes to Add Shading & Highlights
Step 1
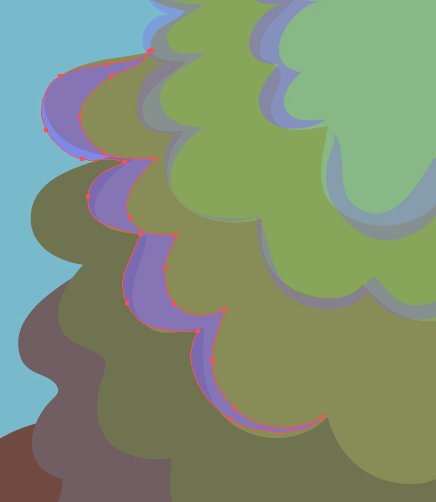
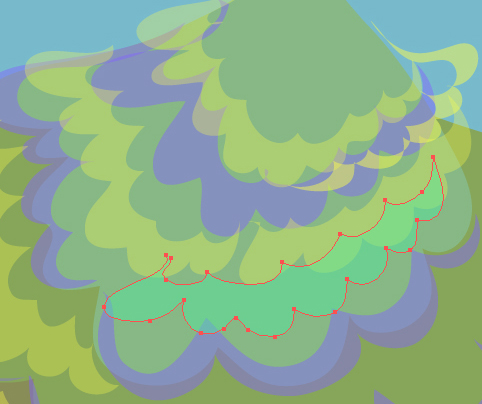
Hide your smoke shape and logs. We’re going to focus on adding more color into the tree itself. Using the Pencil Tool (N), I’ve drawn a scalloped shape in a bright indigo.
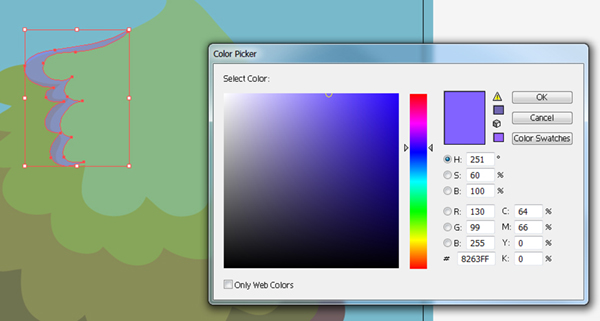
I reduced the opacity on the shape and repeated it around the tree’s ruffles.
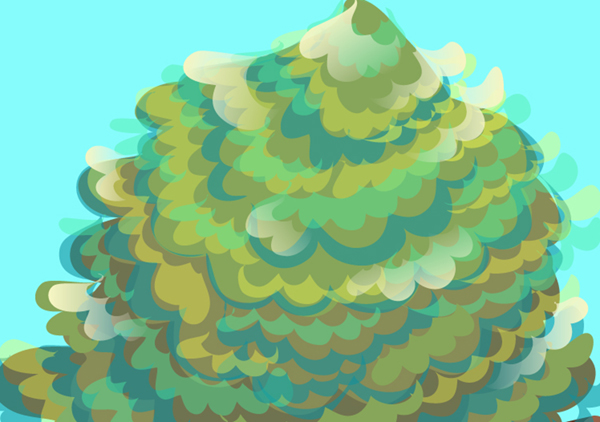
Step 2
To get the tree looking brighter, I chose a yellow-green color, reduced the Opacity as I saw fit (really, you can play with each shape having a different percentage in your Transparency panel) and drew a thicker ruffle shape.
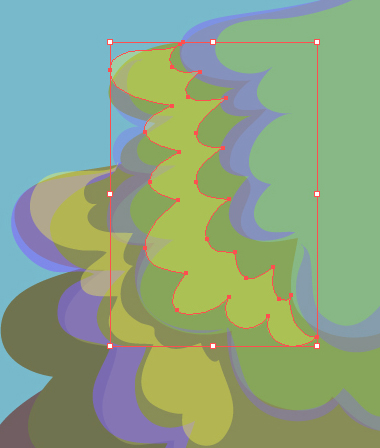
Once again, these steps are repeated around the tree.
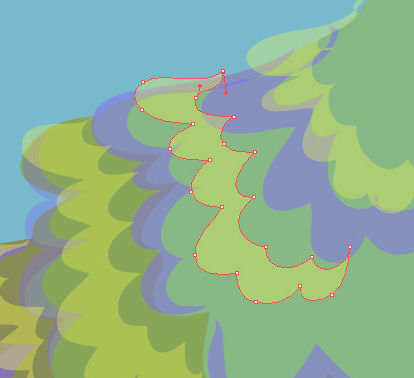
Add other color ruffle shapes for more variation.
Play with the opacity on each.
Step 3
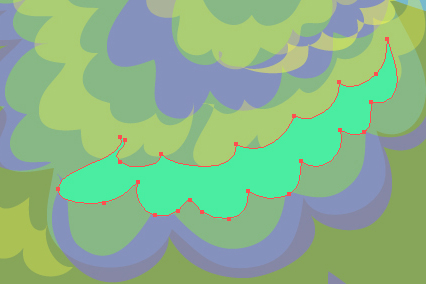
Try some gradient shapes too for a more rendered look.
Or alter the entire color palette to something bolder and brighter. The part I like most about creating a character entirely in Adobe Illustrator is how quickly the whole look can change with a couple clicks.
Go as far as you wish with your tree’s ruffled layers.
5. Add Detailing to the Wood
Step 1
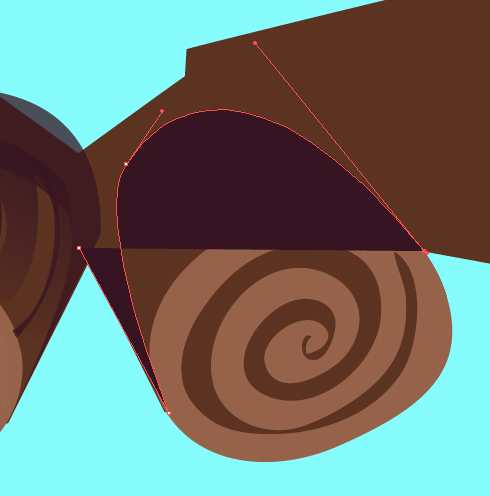
Let’s work on those little logs. Using the Pencil Tool (N), draw a swirl going one way and then the other.
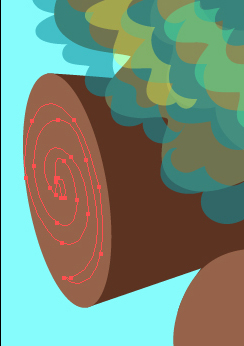
Fill it with a dark brown.
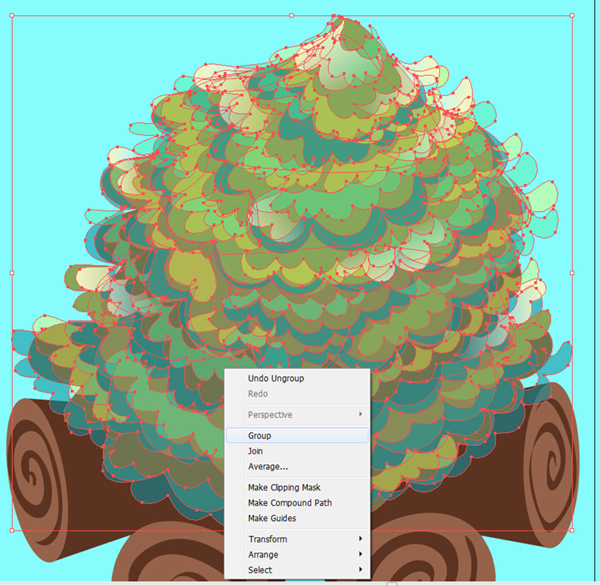
Step 2
Make things easier by grouping your tree shapes together.
Step 3
Play with gradient shapes going from a very dark brown to the log’s base color. All shapes used for rendering should be arranged above the main log shape you’re working on.
Step 4
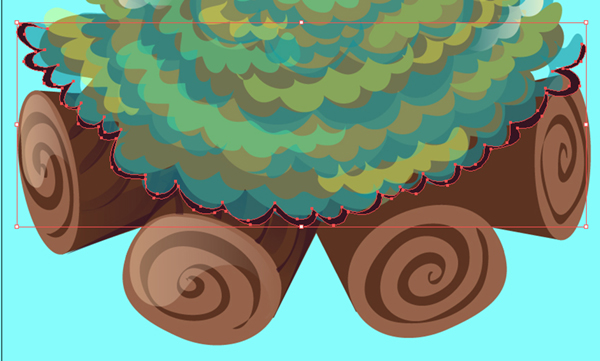
Add a dark brown ruffle shape to define the end of the tree and start of the logs. Since none of this will be outlined in the end, simply shapes like this help your tree creature to standout from the background.
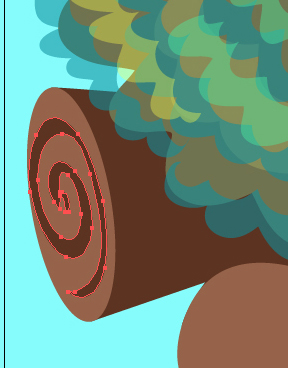
Step 5
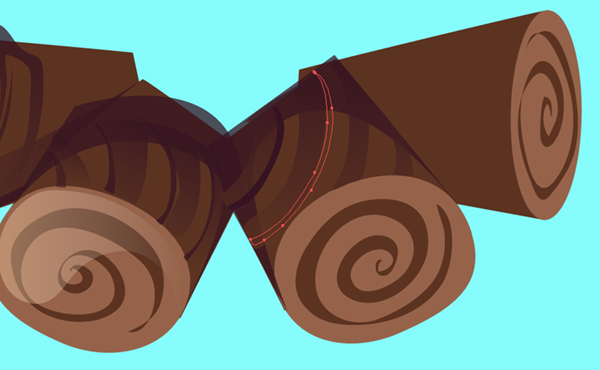
Draw shapes either with the Pen Tool (P) or Pencil Tool (N) for shadows on your logs.
Reduce Opacity as you see fit.

Step 6
Play with curved and swirl shapes for the grooves and knots in tree trunks. These have had gradients applied to the shapes.
I added a curved teardrop shape with a gradient that goes from a light cream set at 100% Opacity to 0% Opacity in order to make the logs look shiny.
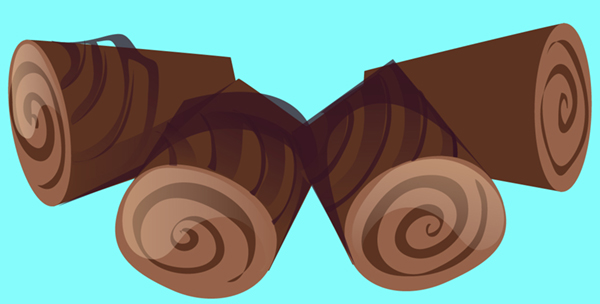
Check out the completed logs.
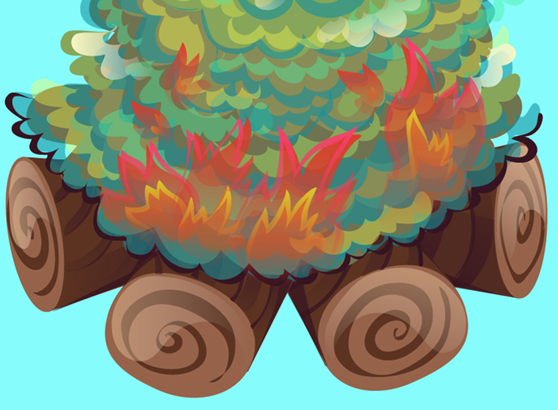
6. Add Some Fire to the Character’s Trunks
Step 1
Let’s light this little tree on fire. I used the Pencil Tool (N) to quickly draw a wing-like shape.
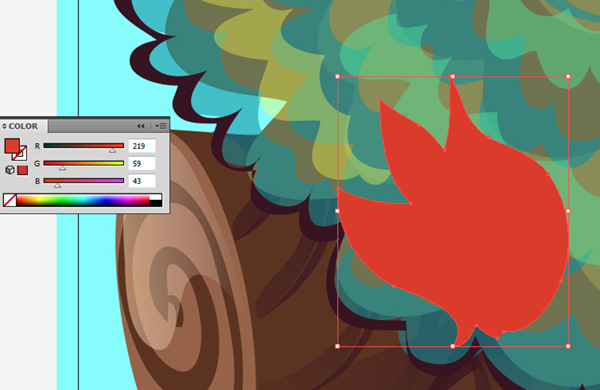
Step 2
The red-orange color I chose was too solid for this piece. Check out the gradient I’ve set it as instead. Red-orange at 100% Opacity to 0%.
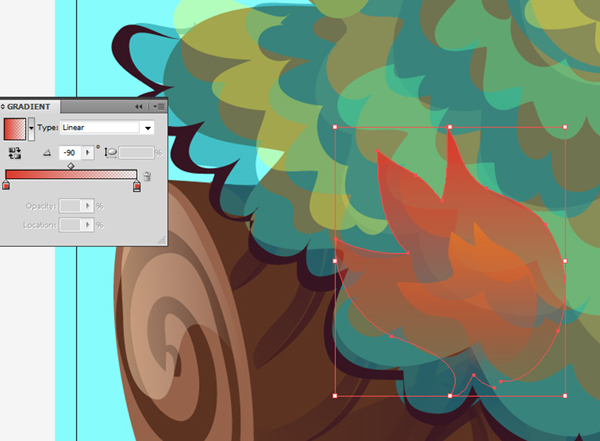
Step 3
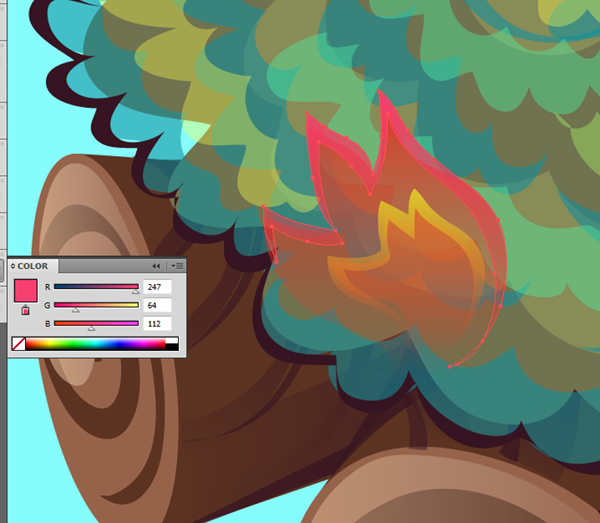
You could leave your little fire shape as is, or jazz it up a bit more. Add a similar shape, but smaller, and set as a lighter orange on top of the red-orange shape.
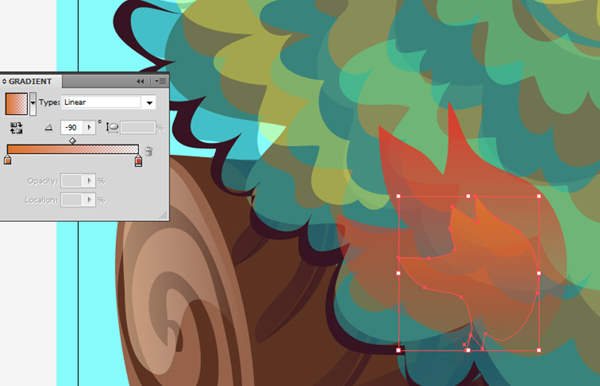
How about a bit of yellow to keep the fire glowing hot.
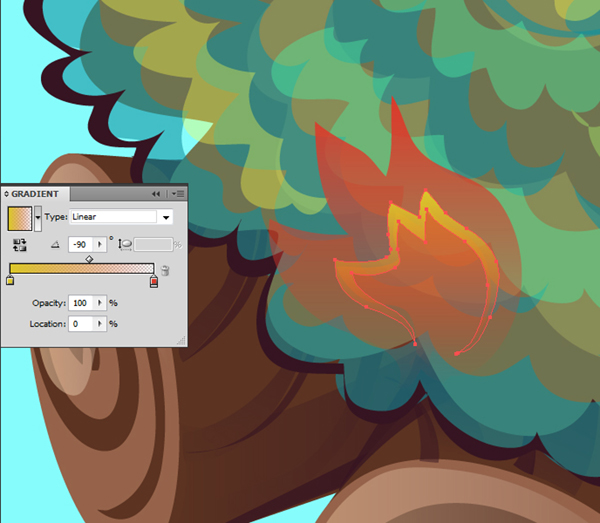
and maybe some pink to bring the color palette together.
Step 4
Add more little fire shapes, using the same steps from above, around the base of your tree.
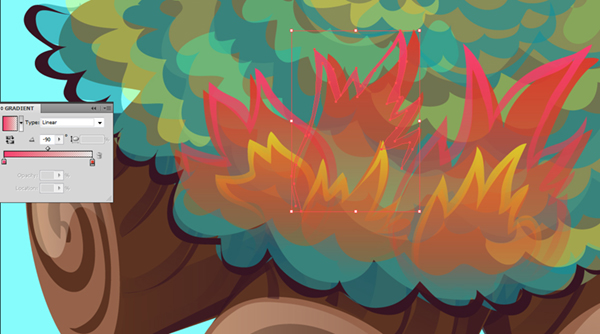
Aw yeah, we’re burning now (please don’t light trees on fire!).
7. Refine the Smoke
Step 1
Where there’s smoke, there’s fire. We’ve got our fire going strong, so let’s go back to the smoke. Draw some wispy shapes using the Pen Tool (P) coming up from the tree and into the smoke cloud.
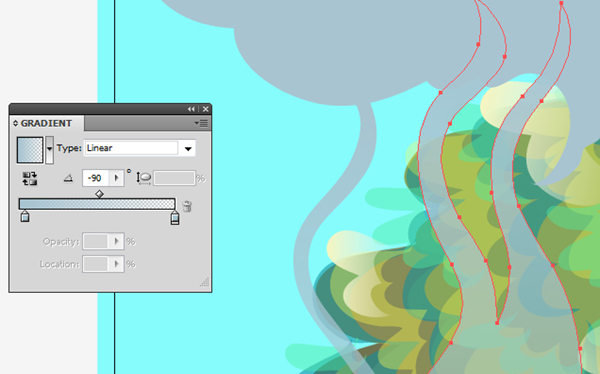
Check out the gradient used for these smoke bits trailing upwards. Once again, it’s going from a fully opaque color to a fully transparent one.
Step 2
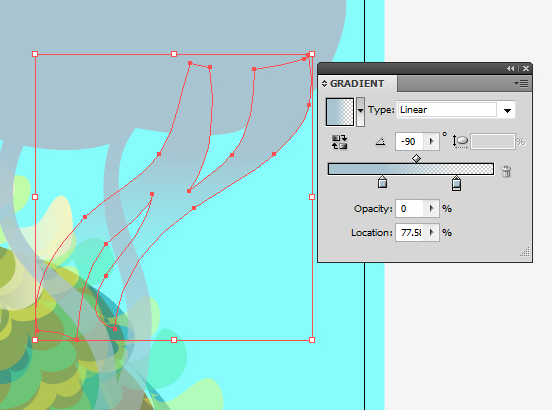
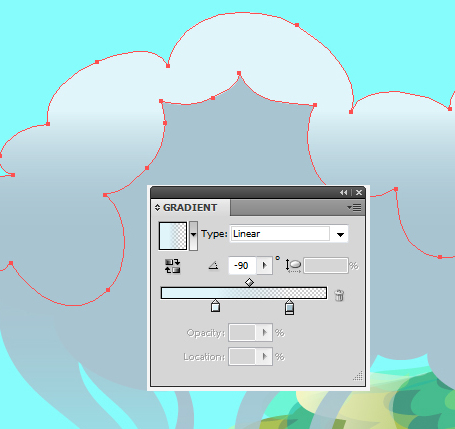
Repeat as you see fit. Draw a puffy cloud shape that extends beyond your smoke cloud.
Apply a gradient going from a much lighter slate grey to 0% Opacity (of the same color) at a 90 degree angle (most of the gradients I’ve used in my piece are at a 90 degree angle. You can adjust yours as you see fit).
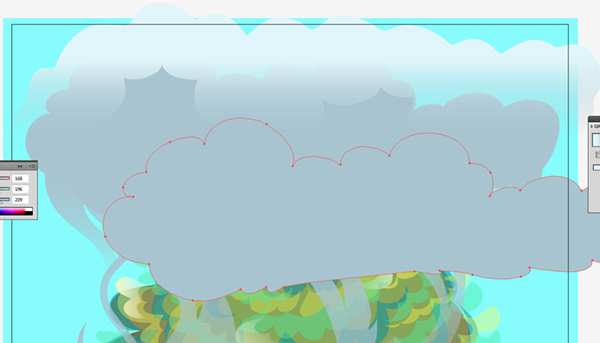
Select the main smoke cloud shape, Copy and Paste. Align with the original cloud shape. Then select the new cloud and the highlight cloud shape made at the beginning of this step and hit Intersect in Pathfinder.

Make sure the highlight color was above the base shape so you won’t have to re-apply your gradient. Not a big deal if you do, though.
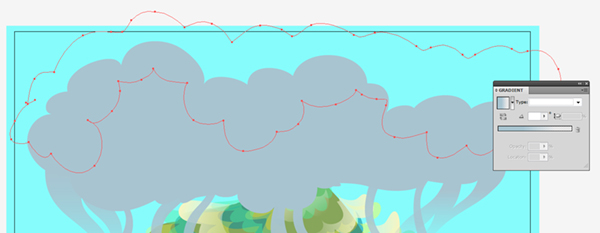
Step 3
Use the light slate grey from the cloud’s highlight gradient and the Pencil Tool (N) to make little swirls in the tops of the smoke cloud. Adjust transparency as you see fit.
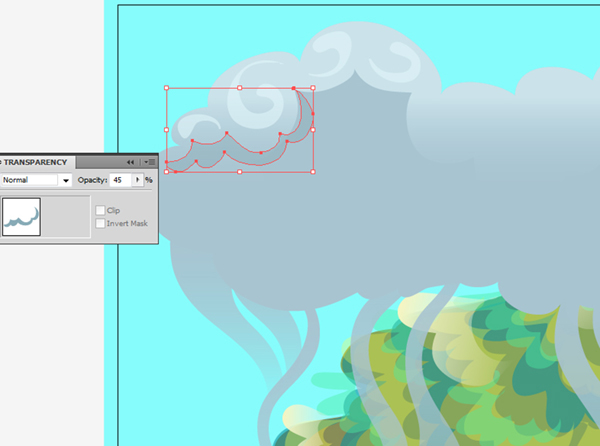
Choose a darker grey color to define scalloped edges that give the smoke cloud volume and help define its form.

Continue across the smoke cloud playing with shapes.

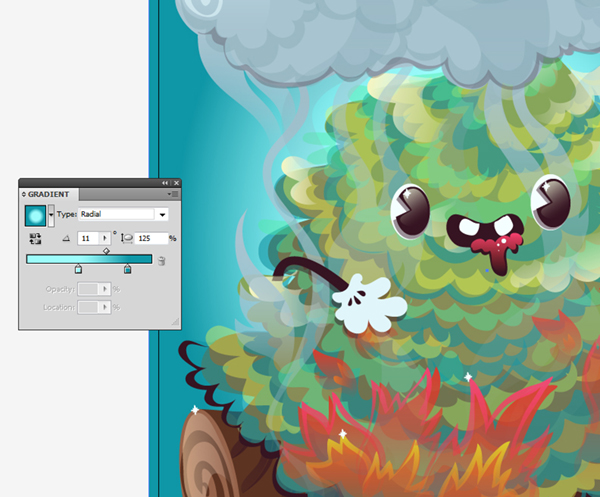
8. Give Your Character Hands
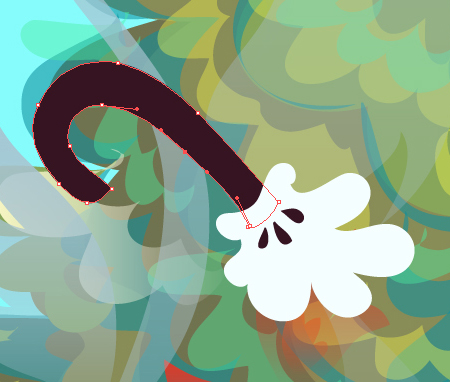
Step 1
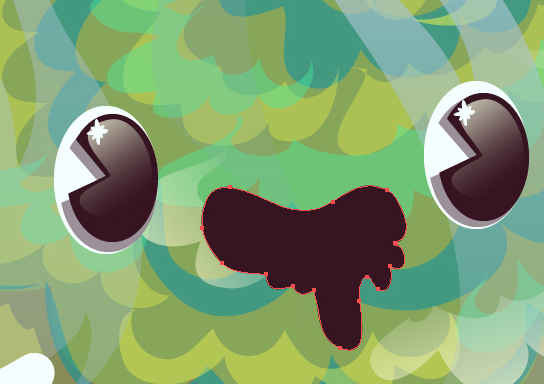
Our forest friend needs some life. Draw a funky little hand with the Pencil Tool (N). This one is gloved and ignored anatomy completely.
Step 2
Add an arm behind the glove with the Pen Tool (P). I added tear drop shapes to the glove. We’re going old school.
9. Bring Your Character to Life With Facial Features
Step 1
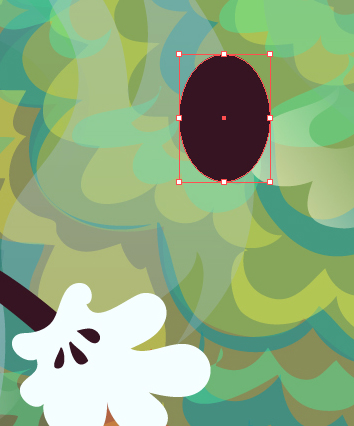
To make an eye, use the Ellipse Tool (L).
Step 2
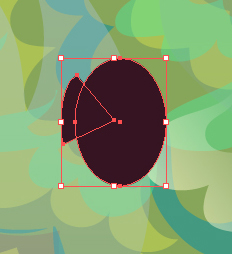
Draw a wedge shape with the Pen Tool (P) that overlaps the eye.
Select both and hit Intersect in Pathfinder.
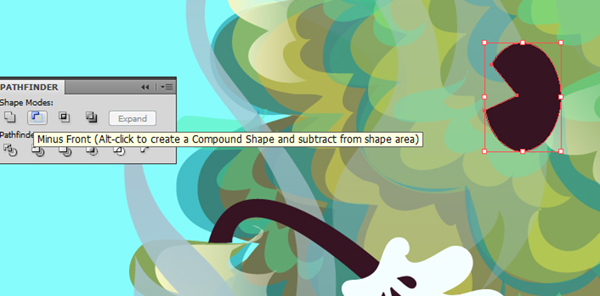
This takes a PAC-Man style bite out of your groovy little eye. Copy and Paste for the second eye. Unless your creature is a cyclops.

Step 3
I added a gradient shape (same colors as the shiny log bits).

Step 4
The eyes got even fancier. White ellipses were added behind the main eye shape. The base eye shape was Copied, Pasted, reduced in Opacity, slightly shifted to the left, and set between the white ellipses and the main eye. I also drew little sparkle shapes with the Pencil Tool (N).

Step 5
This little guy needs a mouth. Using the Pen Tool (P) I carefully drew a crazy one. Perhaps he’s rabid.
Step 6
Add whatever bizarre touches you dig. Teeth, peace-loving hands, weird tongues (or brains! Zombie tree?) — whatever!
10. Alter the Color in the Background
I felt the background was much too light, now that this little forest friend has come to life. The background rectangle first drawn was set to a radial gradient going from dark teal to the light blue used previously.
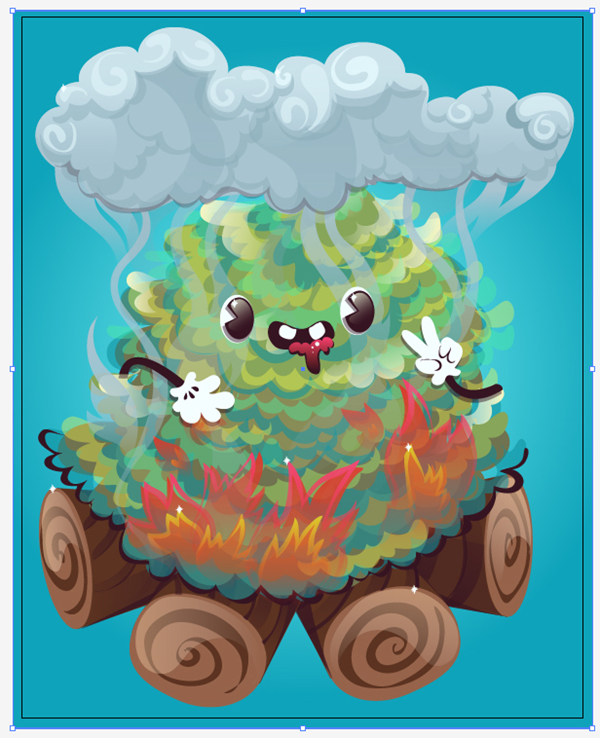
Check out the Gradient panel. You can alter the angle of the gradient as well as the radius.
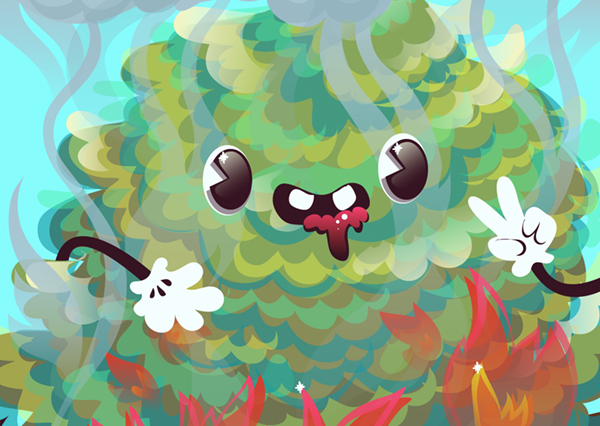
Whoa, Now You’re Finished!
You’ve come to the end of our improvised character illustration. Add whatever final touches you like: extra shadows, sparkle bits, outlines, etc. Your piece is completed when you feel it’s right.
