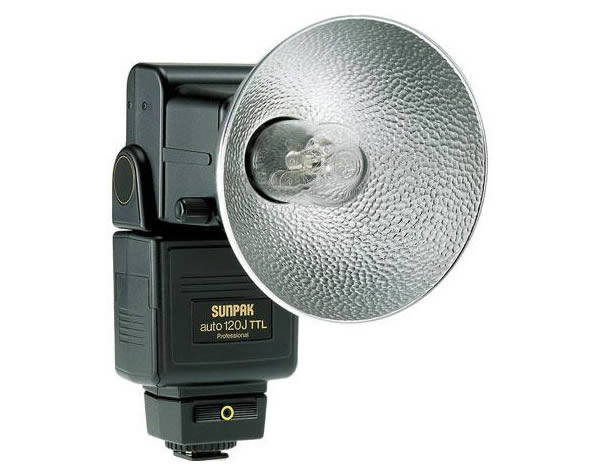
Everything You Need to Know About Lenses: Part 1
So you’ve purchased your first SLR system, welcome to a new world of photography. You’ve opened Pandora’s Box to a huge range of versatility. One of the major factors that sets SLR cameras apart is their ability to change lenses. In this 2-part tutorial, we’re going walk your through everything you’d ever want to know about lenses.
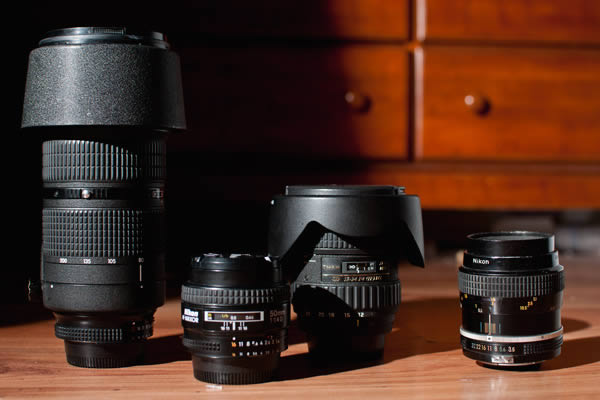
Everything You Need to Know About Lenses: Part 2
In this tutorial, we’ll talk about the importance of lenses, third-party lenses, caring for your glass, and much more.
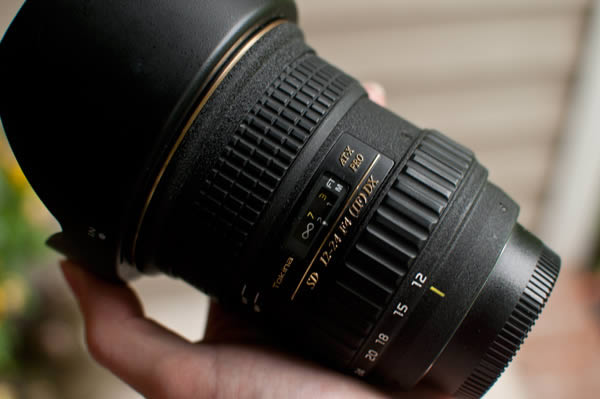
What Does a Histogram Tell Us?
In this tutorial, we will explain the Histogram panel; specifically the Shadow/Highlights and Levels adjustments.

10 Ways to Modify a Selection in Photoshop
Making selections is an essential skill for any Photoshop user. In this tutorial, we are going to show you 10 ways to modify a selection in Photoshop. By watching this video, you will be able to understand the connection between all the selection features Photoshop offers including; Feather, Contract, Expand, Border, Smooth, Refine Edge, Quick Mask, Color Range, Transform Selection and many more.

The Ultimate Beginner’s Introduction to Exposure
In this tutorial, we’ll be walking through the concept of exposure, right from the beginning. This article won’t befuddle you with complicated numbers and jargon, but it will help you feel more confident with your photography and understand a core concept that’s a vital piece of the photography jigsaw.
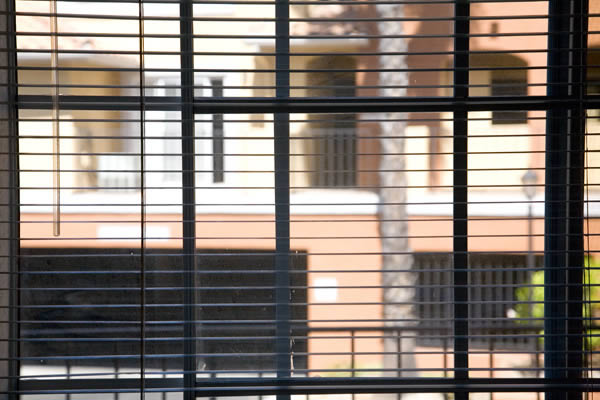
Perfect Exposure Every Time: A Guide to Metering in the Viewfinder
You’d be surprised how much information is available through your camera’s viewfinder. In this tutorial, we’re looking again at one of the most important elements of photography – exposure – and how you can expose a perfect photo using just the information shown in your camera viewfinder!
The Answer to All Your Problems: Masking
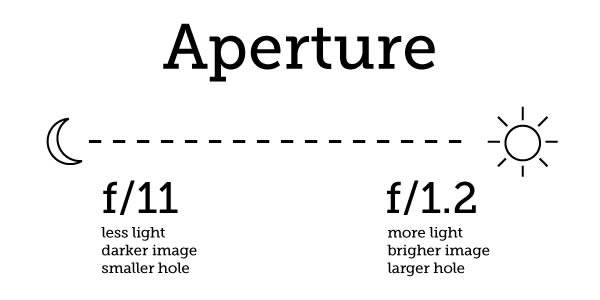
In this tutorial, we will explain how to save selections as layer masks and refine them using the brush tool.
High Key? Low Key? An Introduction to Lighting Ratios
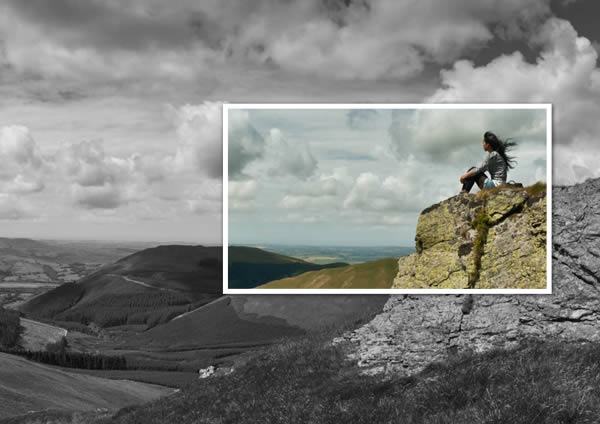
Getting to grips with artificial lighting seems to be quite the headache for many photographers. What I found aided more rapid improvement was gaining a better understanding of lighting positions and ratios. In this article, I’m going to be addressing the latter (though it does involve a little of the former, as they can interact). I’m going to start from scratch, looking first at what key and fill lights are, then I’ll move on to how they relate to each other and why it makes a difference as to where they’re positioned. Then we’ll see how these concepts apply to the ideas of “high key” and “low key” lighting, as well as adding other lights into the mix.
Rules for Perfect Lighting: Understanding The Inverse-Square Law
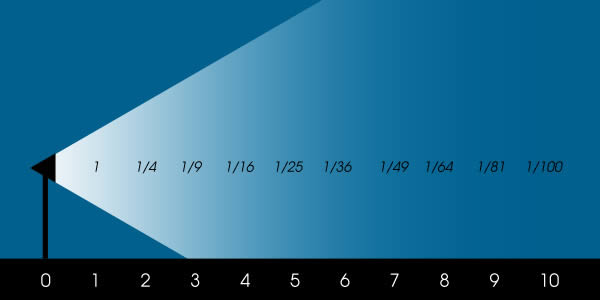
In technical terms, an inverse-square law is defined as “any physical law stating that some physical quantity or strength is inversely proportional to the square of the distance from the source of that physical quantity.” With a definition like that, you’re probably wondering what on earth this could possibly have to do with photography (and no one could blame you). Inverse-square laws apply to many, many things in the world. In this tutorial, however, we’re only going to be looking at one of them: light.
10 Ways to Shoot Stunning Portraits With Only One Light
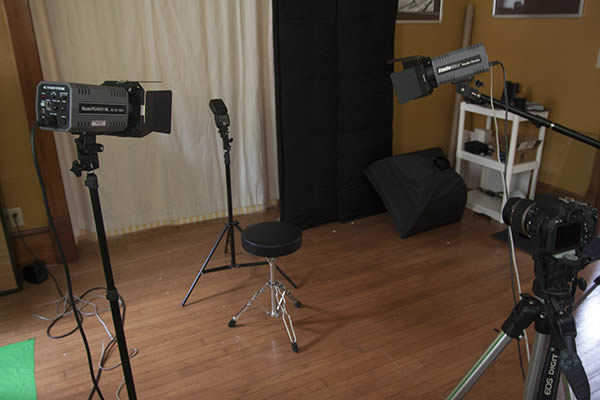
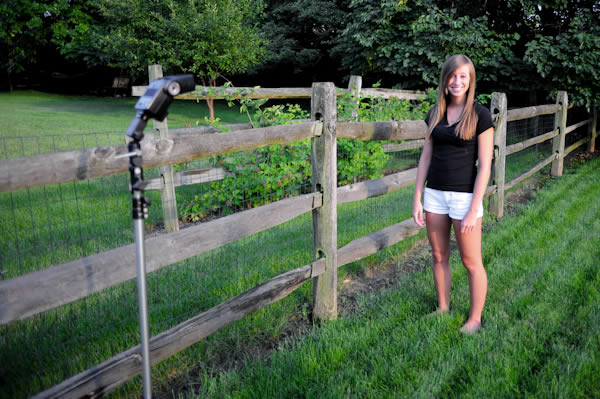
In this tutorial, we will talk about shooting high quality, lit portraits with only one strobe or flash. Maybe your budget doesn’t allow you to purchase multiple lights for portraits. Maybe you have to travel light and don’t have the space for two flashes. Maybe you just want a challenge. Whatever the case is, you can produce a wide variety of lighting scenarios using a single flash. Here, you will find 10 clearly explained examples in this tutorial that you can apply to your own situations.
10 Things You Didn’t Know About Photoshop Layers
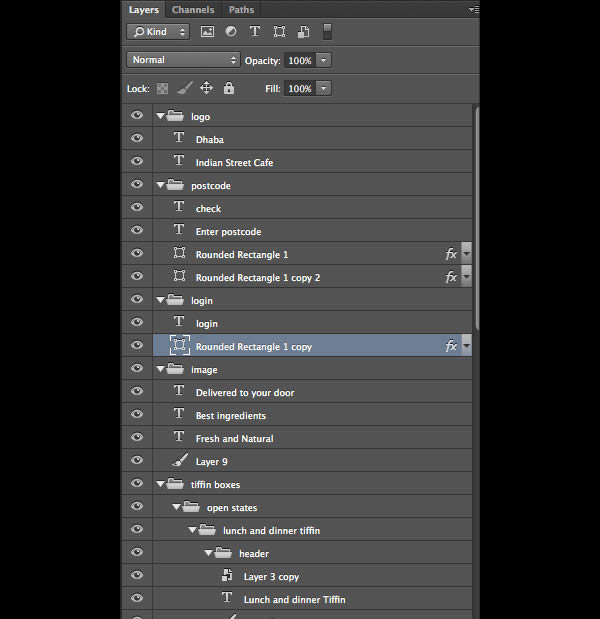
You might be surprised what you don’t know about Photoshop’s Layers Panel. In this tutorial, we will share 10 incredibly useful layer editing and management techniques that most Photoshop users probably aren’t aware of. These tips cover several features including Fill Opacity, Multi-level Masking and Smart Objects, Adjustment Layers, Keyboard Shortcuts, Advanced Blending options, Layers panel options, and so much more.
Mastering Exposure and Flash Compensation
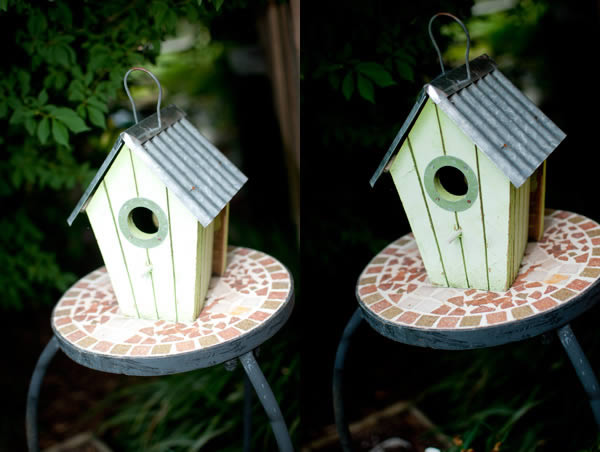
No matter how far the technology in our cameras advances, nothing can replace the judgment of the human eye. What do you do when the camera doesn’t see the scene the same way you do? In this tutorial, we’re going to learn about tweaking your images with exposure and flash compensation. How does a camera know what settings to use for a photo? Even when you’re in manual mode, the “bar” in the viewfinder of your SLR is going to show you how it feels about your settings in relation to the amount of light it perceives is in the frame.
How, When, and Why to Use a Polarizing Filter
Polarization filters are specially adapted glass that, when turned at an angle to a light source, will reduce glare from reflected surfaces. The most popular type of polarizing filter is circular to fit easily on the end of almost any lens, containing a free spinning element for quick adjustment. In this article we’ll take a look at how a polarizing filter can improve a number of photographic scenes, along with a few unexpected results it can have. While these filters will darken images by about one stop, the effect rendered in ideal conditions is dramatic. Costing anywhere from $30 to $200 the filters are more effective at producing sharp contrast between clouds and sky, or removing reflection from water and glass, than the time spent in post-production software.

Your First Rendezvous With Photoshop
In this tutorial, we will teach you about Photoshop’s user interface, and the customization of keyboard shortcuts and workspace.

Pixels, Image Size and Resolution
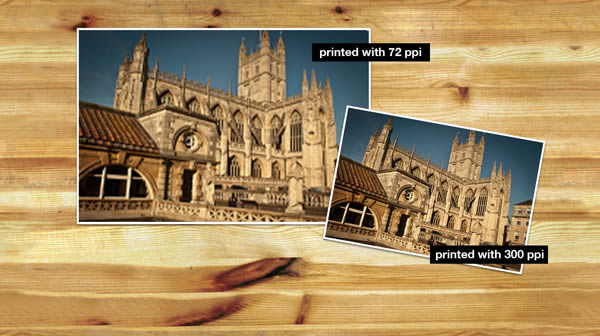
In this tutorial, we will explain the theory behind how pixel images work. We will also explain a bit about the crop tool, image size and resolution.
Layers, Got to Love Them
In this tutorial, we will explain how to work with layers, opacity, free transform, groups, and layer styles.
The Lifesaver Adjustment Layers
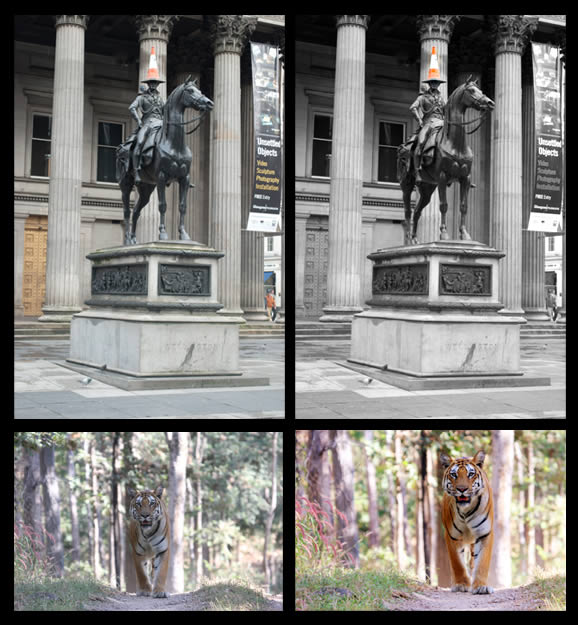
In this tutorial, we will explain how to apply non-destructive tonal and colour changes to images.
Start Using the Brush Tool
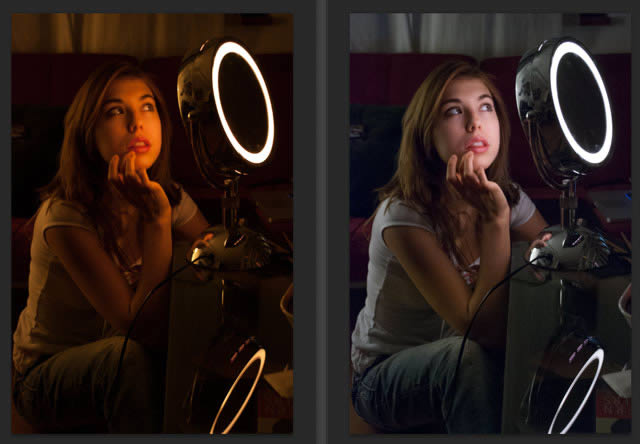
In this tutorial, we will explain a little about brush diameter, hardness, opacity, the brush panel, how to save a custom brush, and work with a tablet.

How to Make the Most of the Info Panel
The Info Panel in Photoshop has been around for many years but not all users know how to use it or what to you use it for. In this tutorial, we will explain everything you need to know about the Info Panel including how to manually color correct photos with the Color Sampler tool, how to change the increments of the rulers, how to check color values before and after applying adjustments, and so much more.
What is a Clipping Mask Then?
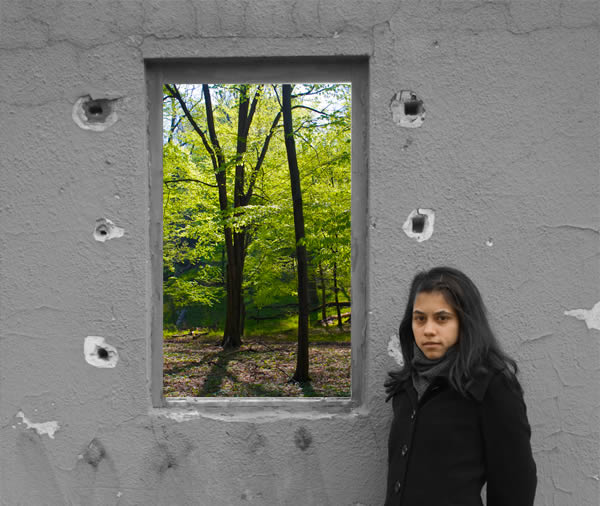
In this tutorial, we will explain clipping masks, the advantages of clipped adjustments, and how they compare to layer masks.
Taming of the Pen Tool
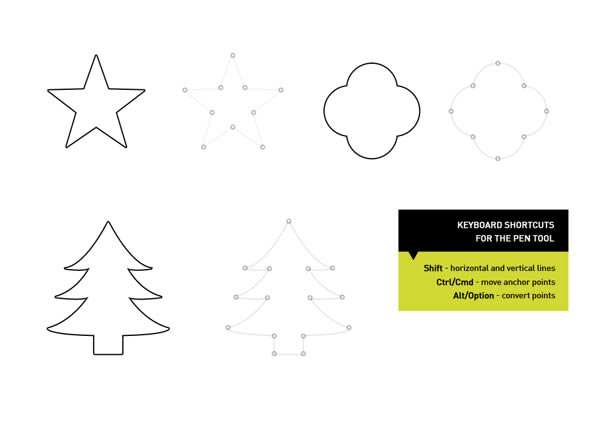
In this tutorial, we will explain shape layers, making selections, and stroking a path with the pen tool.
Saving and Presenting Your Work
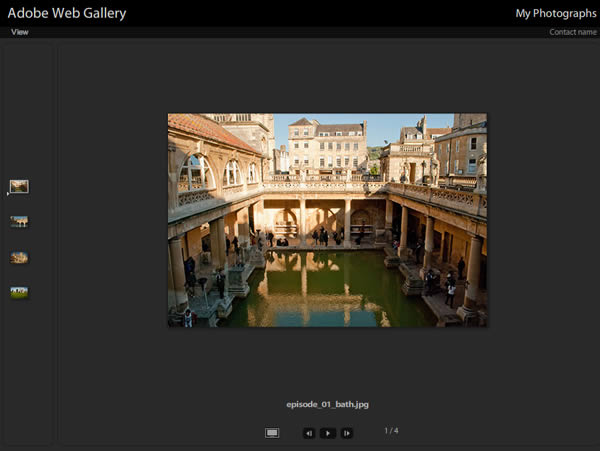
In this tutorial, we will explain a bit about PSD, JPEG, PNG files, the web gallery, and contact sheet within Adobe Bridge.
The Brush Panel and Using a Tablet
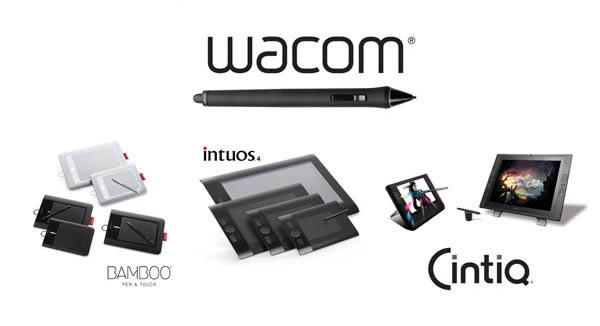
In this tutorial, we will explain the most important options in the brush palette, explain the differences between a mouse and tablet for digital art, and we will also explain the differences between the Wacom line of tablets, and which one is right for you.
How to Work With Perspective in Photoshop
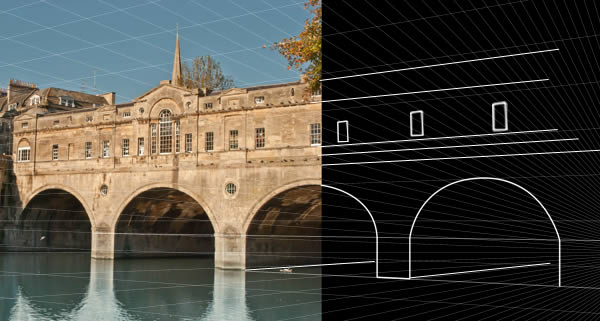
In this tutorial, we will explain a bit about the theory behind perspective and will focus on how to set up construction lines, vanishing points and a horizon. We will also show different ways to create a perspective grid and then use it for drawing three-dimensional objects. These techniques are useful for retouching photographs, but crucial for digital art.
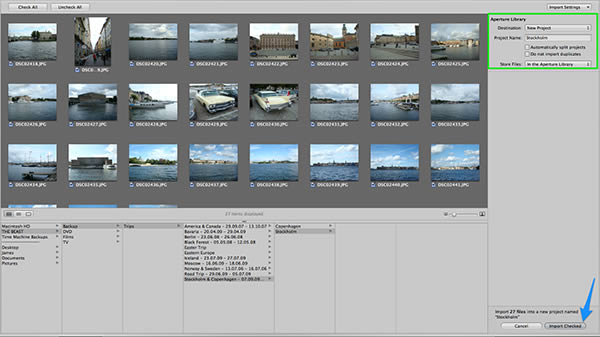
The Super Beginner’s Guide to Apple’s Aperture
When it comes to editing photographs in OS X, I’m sure you’ll agree with me in saying that Mac users are quite spoiled for choice. Not only do we have iPhoto, an excellent (and completely free) photo editor, but there’s also the Adobe Suite offering Lightroom and Photoshop. In this tutorial, we’re going to be focusing on Aperture, Apple’s own photo editor designed for the more professional user. Or is it? Yes, it’s priced towards the professional end of the market. Amateurs will certainly not want to spend $80 on some software simply to touch up their holiday snaps. On the other hand, Aperture doesn’t have to be complicated, and even absolute beginners can use it with ease.
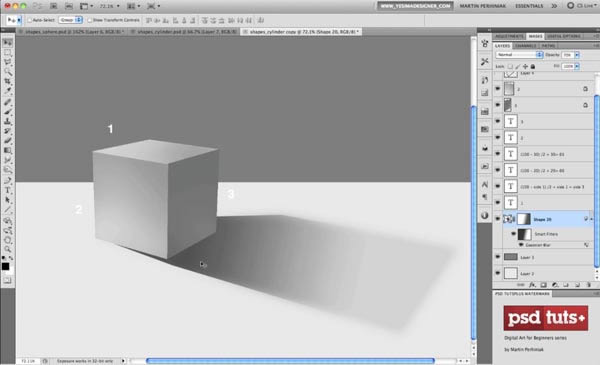
Understanding Light, Shading, and Shadow in Photoshop
In this tutorial, we will explain how to use different types of lighting to help you define three dimensional objects. We will also discuss how to create an appropriate shadow given a light source and how that light will affect objects in your scene.
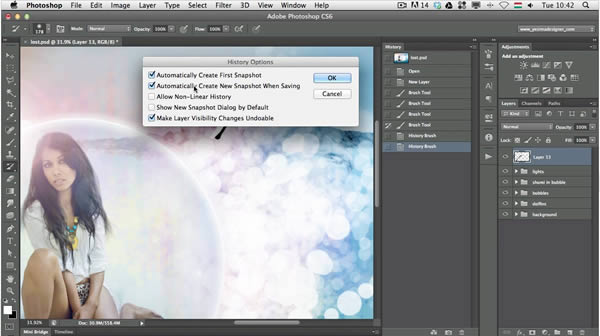
Explore Your History Panel
In this tutorial, we will discuss some time-saving and hidden features of the History Panel and Brush in Photoshop.
Knowing Photoshop’s Interface
There are plenty of features that can help you save time under the Preferences dialogue. In this tutorial, we will share some useful shortcuts and features that you may not know about.
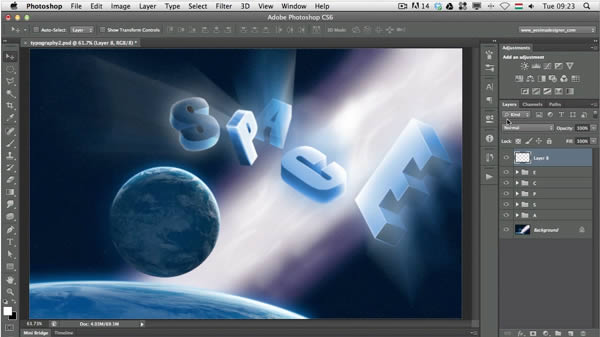
Crop Until You Drop
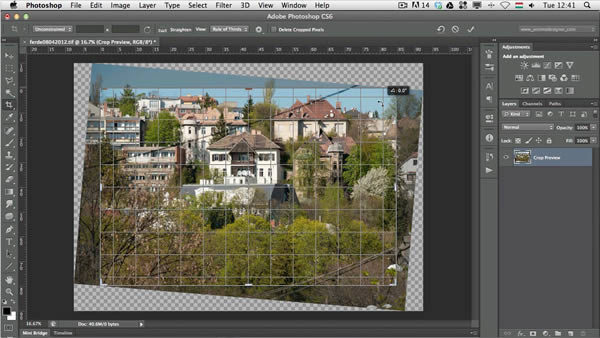
In this tutorial, we will share some great tips explaining how to use the new Crop Tool in Photoshop CS6. You will learn how to extend the canvas, straighten a photograph, and so much more.
Five Old School Photo Accessories That Are Still Awesome
If you’re a modern photographer, you’re probably shooting digital and have left behind some of the coolest photo accessories ever made. There’s no need to carry a film canister bandolier. There’s no need for dangerous, exploding flash bulbs. But fear not! Some old school photography accessories are still very relevant, and pretty awesome!
