If you want to learn the process of removing a background in Photoshop, this tutorial will show you the most universal method for achieving this goal.
I’ll teach you how to isolate the object and how to keep its edges smooth in the process. So open Adobe Photoshop, and let’s get to it!
How to remove a background in Photoshop
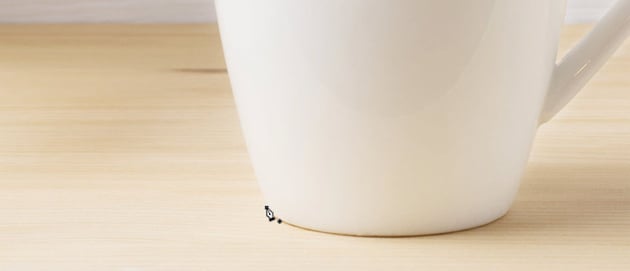
Step 1
How do you remove a background in Photoshop? First, we need to tell Photoshop where the object ends and the background starts.
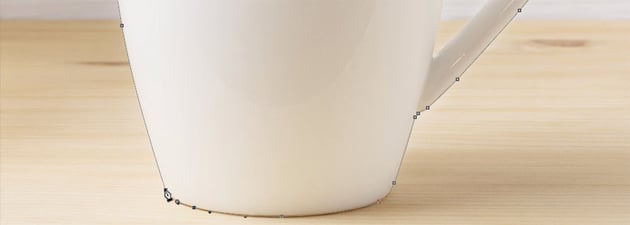
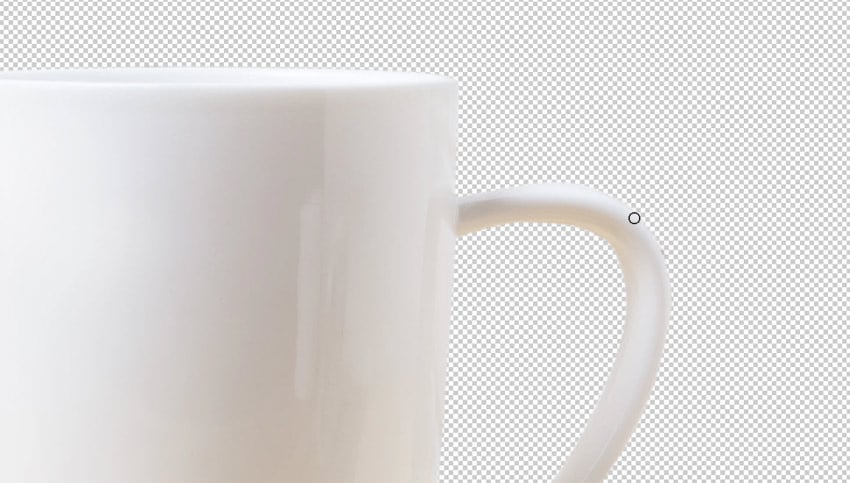
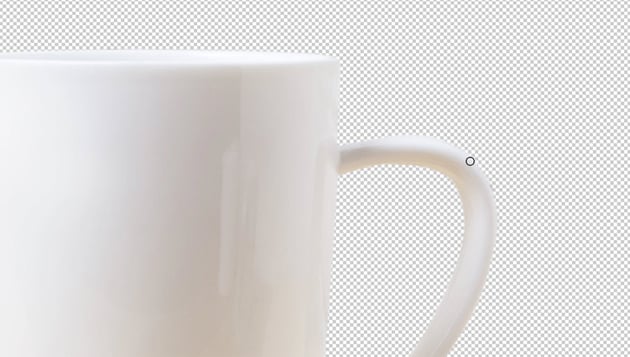
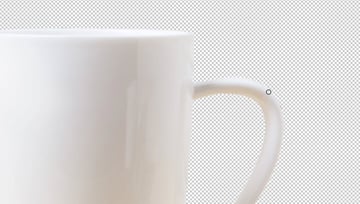
There are many selection tools available, but if you want to be precise, it’s best to use the Pen Tool (P). Try to imagine the selection outline. Zoom in and click somewhere on this imaginary outline.


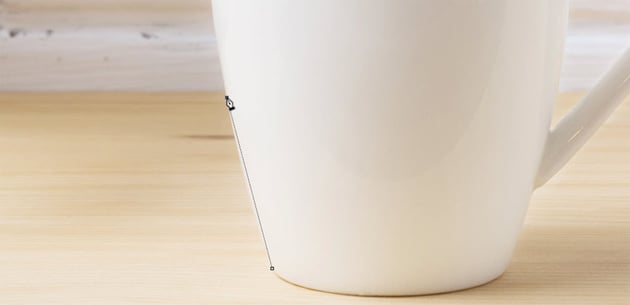
Step 2
Find another place to click—this time, click and hold. You’ll draw a line between the two points. If you move your cursor now, you’ll have a chance to control the shape of the curve.
When removing a background in Photoshop, try to make the line fit the imaginary selection outline.
Remember not to drag too far—the handle you’re dragging should land on the outline. The curvier the area, the closer you should place your points. Don’t be afraid to Undo and try again if you placed a point too far away.


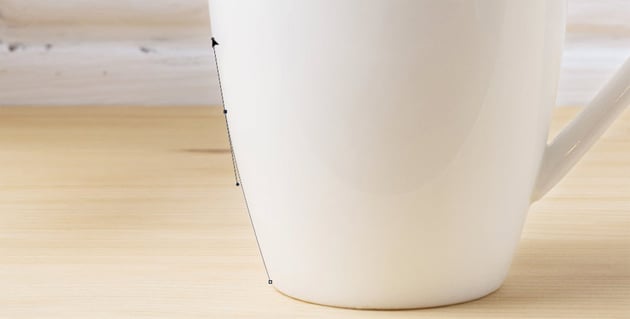

Step 3
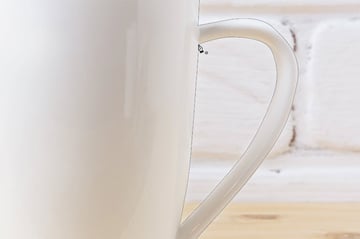
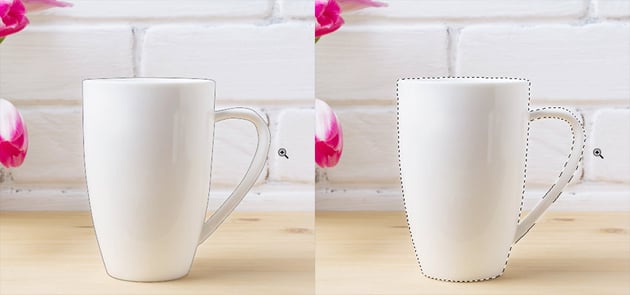
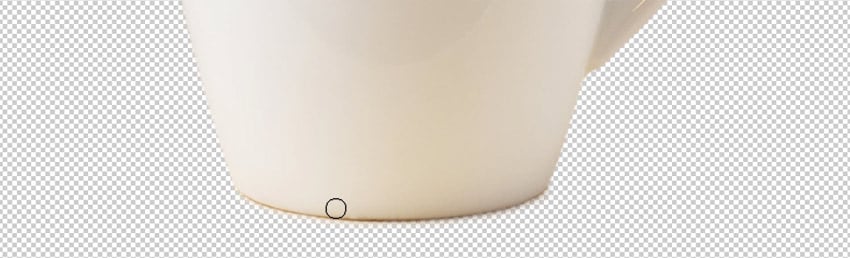
Once you’ve gone around the whole object, simply click the first point to close the outline.
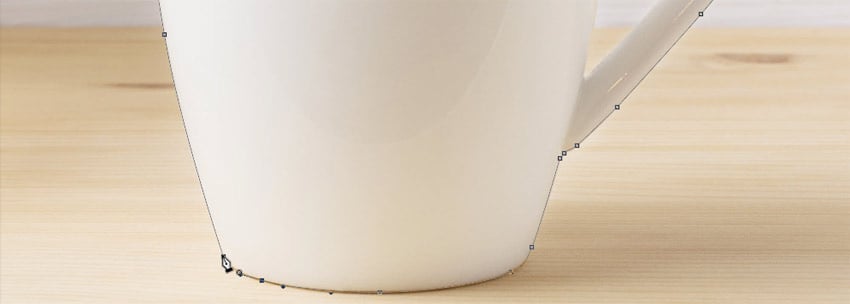

Step 4
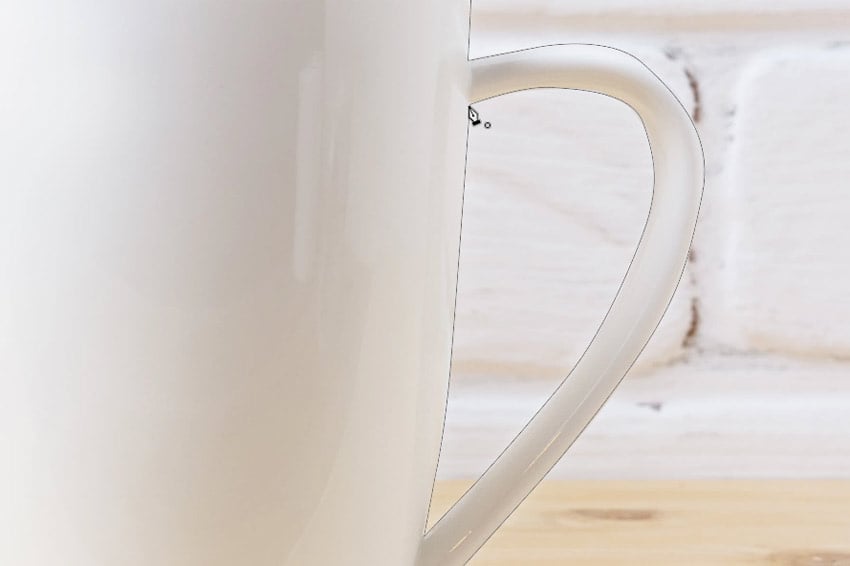
Sometimes, objects have an inner outline as well. Select it the same way.

Step 5
Press Control-Enter to turn the path into a selection.

Step 6
You could remove the background now, but we can do one more thing to make the effect more convincing.
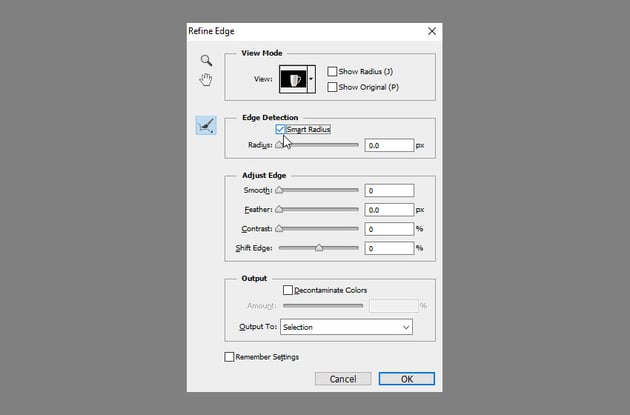
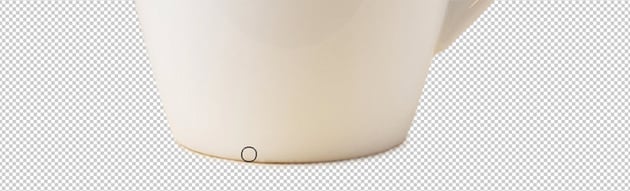
Press Control-Alt-R to refine the edge of the selection. Change the View Mode to On Black, and check Smart Radius.


Step 7
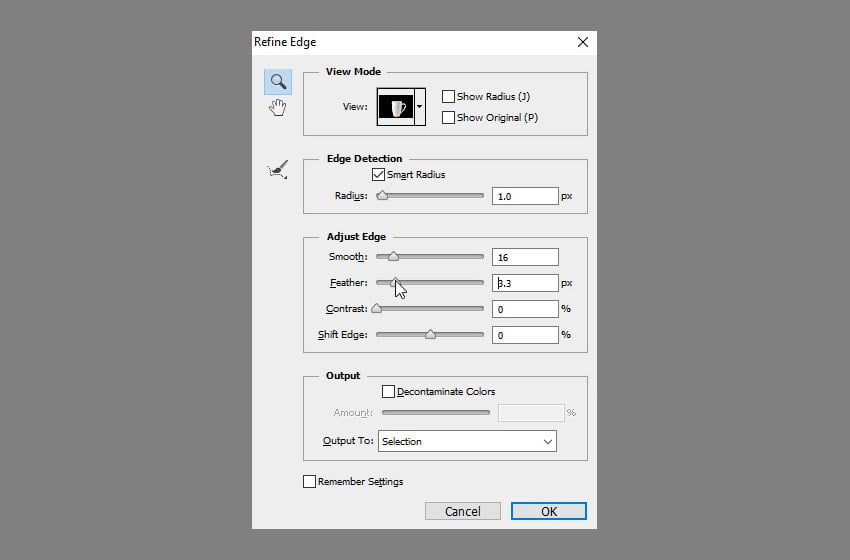
Experiment with the Radius and Adjust Edge settings to make the edge of the selection smoother and more natural. If the background was blurry, the object should have slightly blurry edges as well.
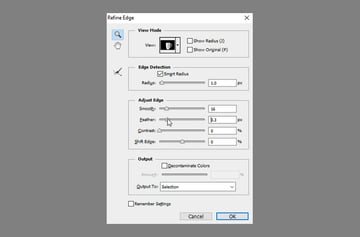
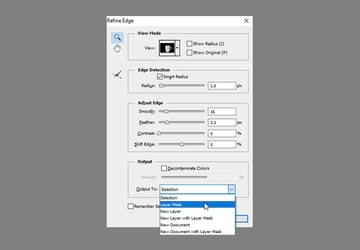
Step 8
When you’re done, set the Output to Layer Mask and press OK.


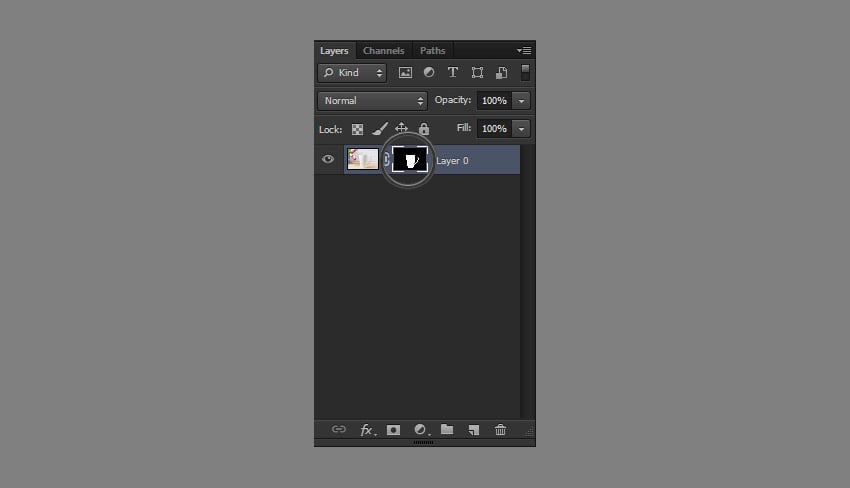
Step 9
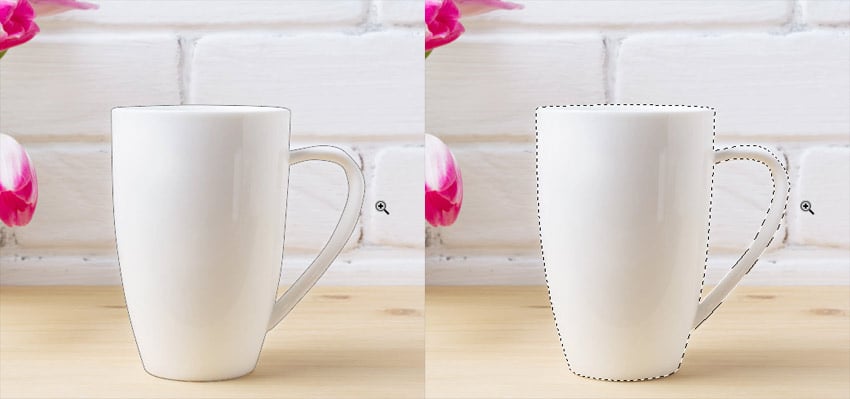
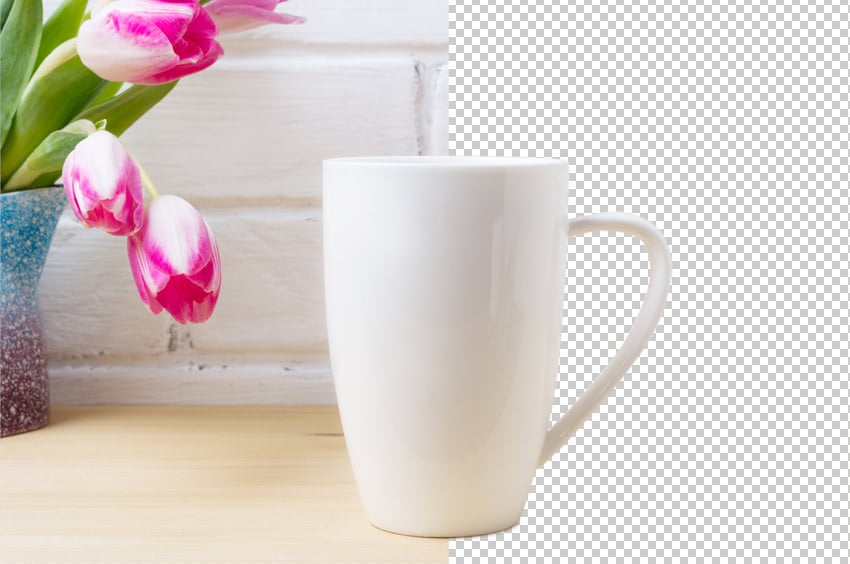
The background has disappeared.
Sometimes, after removing the background, you’ll notice a flaw in the selection. It’s not a problem at all—just click the Layer Mask to select it, and then paint carefully with black and white.
Black will remove the area, and white will bring it back. You can also use various shades of gray to create a semi-transparent background effect.

Step 10
Additionally, you can use this technique to bring back the shadow that belongs to the object, not the background. This will make the isolated object look more complete.

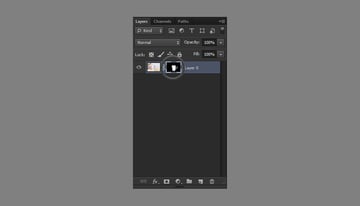
Step 11
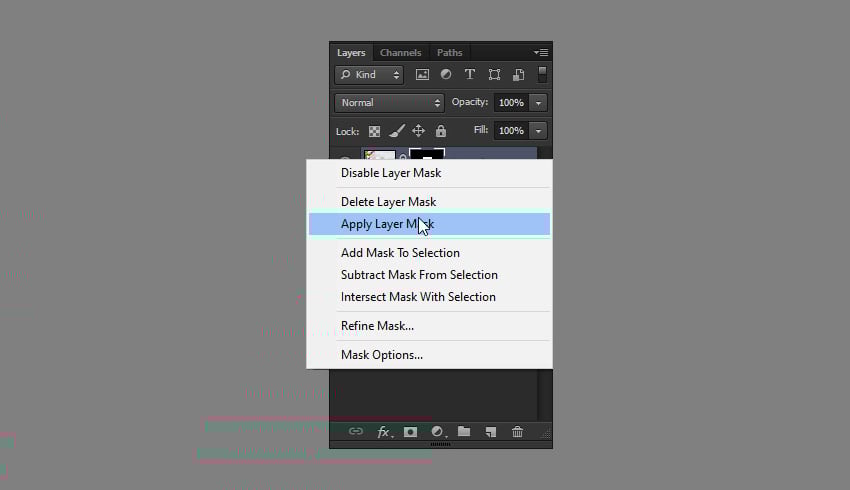
If you’re happy with the selection, right-click the Layer Mask and select Apply Layer Mask. The background will be permanently removed.


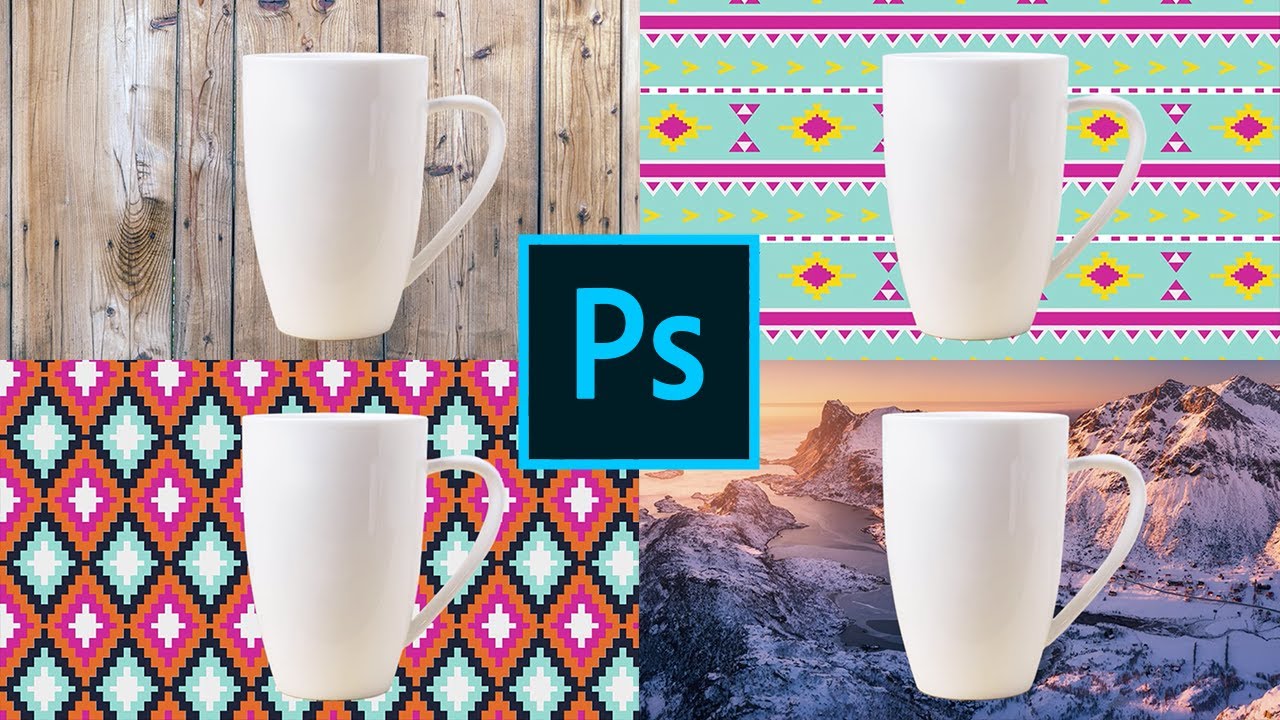
If you ever wanted to know how to change the background color in Photoshop, now you’re able to do it—use the Paint Bucket Tool (G) on a layer below, or place a photo, or fill it with a pattern.


Good job!
Good job! Now you’re ready to apply your new Photoshop background removal skills to your other projects.
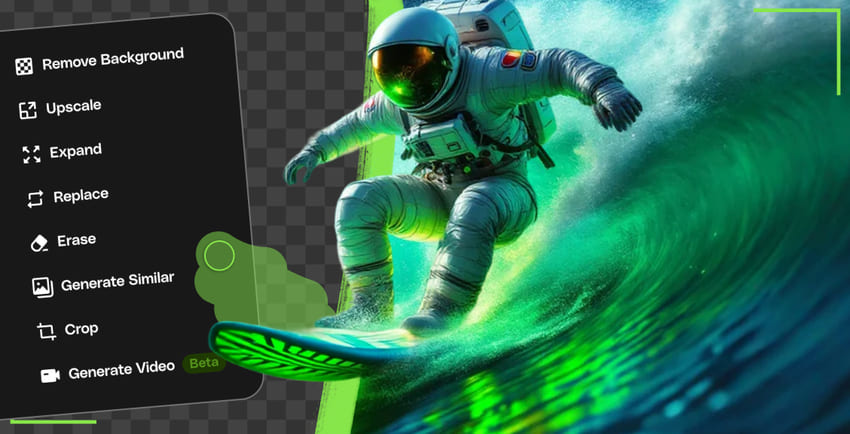
If you’re in a hurry, you can also save time and get quick results by using the Photoshop AI Remove Background tool. It can be less precise than the technique you just learned, but it’s always a good idea to have different options.

If you’d like to try using AI to remove a background, you can also check out ImageEdit. Along with the other Envato AI tools, ImageEdit is easy to use, so forget about having to come up with complicated prompts.
The tools are all included with your Envato subscription*, so you don’t need to create new accounts, buy credits, or install anything. Keep up with the latest AI trends and enjoy unlimited use, for unlimited possibilities.
*Not available on Enterprise Plans


If you prefer video tutorials, check out the Envato Tuts+ YouTube channel. You can also learn all about Photoshop background removal over there:
Do you want to learn more about creating photo effects, or maybe even Photoshop actions? Try these tutorials as well: