Let’s talk about why you, as a web designer, should be using pens and pencils more often. I’m going to give you some tips, tool suggestions, and plenty of reasons to roll your sleeves up and sketch!
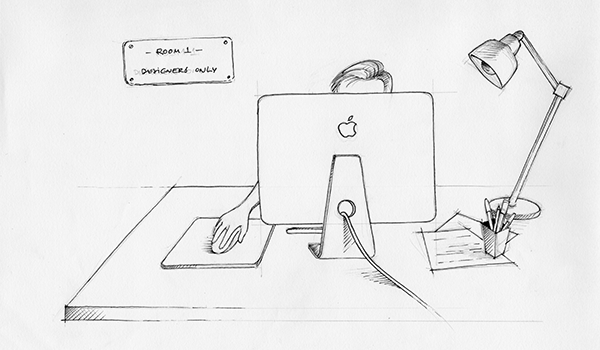
Step Away From the Computer
The design process tends to isolate designers from the rest of the team, meaning they tend to rely on themselves and their own ideas. Many times, as the production timeframe is so limited, designers go straight into high-fidelity mockups (like refined wireframes or pixel-perfect designs) without spending much time sketching and getting their ideas tested. In these situations, the only time they stop hiding behind their monitors is when they meet the stakeholders for sign-off, or handover the designs to the developers.
Nowadays, with new agile methodologies, it’s fundamental to enhance the design process and make it leaner. And it’s even more important that this process leads to a successful product.
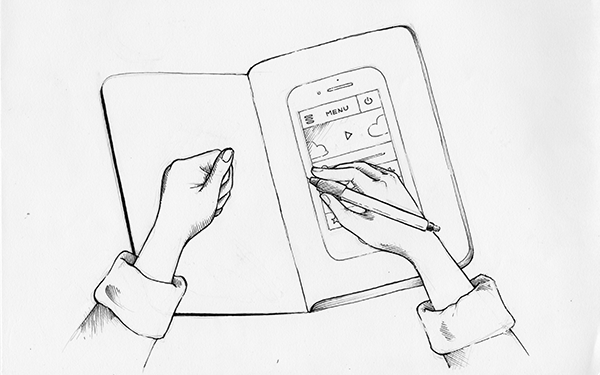
Sketching is a fundamental step in any design process. It will push designers to step away from their desks and work with different tools. Furthermore, this can become a team’s exercise where non-designers (Developers, Product Owners, Project managers, etc.) can contribute with their ideas and input from an early stage. Once on paper, the ideas are ready to be tested with other teams, stakeholders or even potential users to feed into initial designs and help iterate.
With all these reasons to leave your desk, roll up your sleeves and sketch!
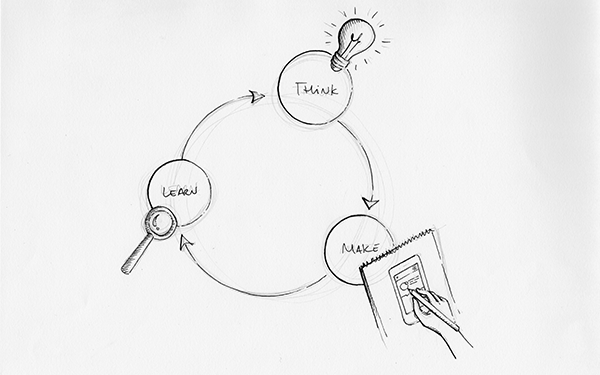
Lean UX and Sketching
The focus of Lean UX is creating value for the customer while reducing waste. And by “waste” I mean anything that deviates the focus from the design and the product being built. It’s imperative that the team becomes more agile but they also need to be backed up by whoever is in charge, allowing them to fail while testing ideas.
Even with a limited timeframe, the designer should be able to quickly put together some designs for early testing. And this is where you can (and you should!) apply your sketching skills.
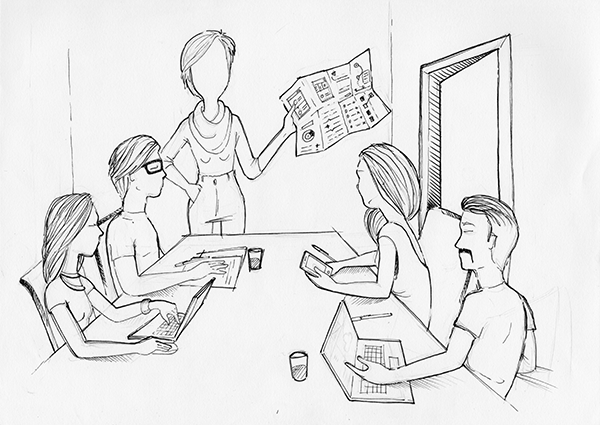
I can’t think of anything leaner than sketching at the beginning of the design process, when hopefully, there’s time to explore every idea. Go on! Get the entire team (stakeholders included) in the same room for a series of co-creation workshops. These workshops consist of a collaborative way to help you, your team and your stakeholders (or clients) decide on design solutions.
The outcome of these sessions is absolutely important, and the fact that the team is all there sharing ideas and agreeing on which of these are worth taking forward, makes them feel like they own the project and guarantees that they’ll support you to the end.
After these workshops, your sketches are your prototype that you can showcase around the building.
How to Run a Co-Creation Workshop
It’s important that everyone involved in a sketching session understands that this isn’t a test of their drawing skills but an exercise of creativity where all ideas are precious.
To better facilitate these sessions, the designer or team of designers should come up with a plan:
Step 1: Focus on the Outcome
Bounce off ideas and agree on the user and business outcomes you’re trying to achieve. If the team is focused on the outcomes instead of which features to build, they’ll have more space for creativity. When you’re debating ideas, make sure you take notes (one idea per post-it) and pin them up on the wall so everyone can revisit.
Step 2: Crazy 8s
This method is a favourite amongst the world’s top teams (Google Ventures, BBC, etc.). It’s an individual exercise, timed, where every element of the team divides a sheet of paper into eight parts and sketches a different solution every forty seconds. This results in a frenetic brain exercise, with no time for perfectionism and a great range of possibilities.
Step 3: Presentation and Refinement
Each member has a few moments to present their sketches to the team. In the end, the team proceeds with dot voting the two favourite hypotheses. Ideally, the team have been sitting together from the very first day and have a shared understanding of the project which might result in identical solutions in the end.
Step 4: Another Round of Crazy 8s
This time, you’ll dedicate a round of crazy 8s to the two outstanding ideas from the previous round. Again, this is an individual exercise and at the end is expected to present two refined hypotheses.
After a new round of presentations, the team should be in a good position to prototype and test one or even the two agreed features.
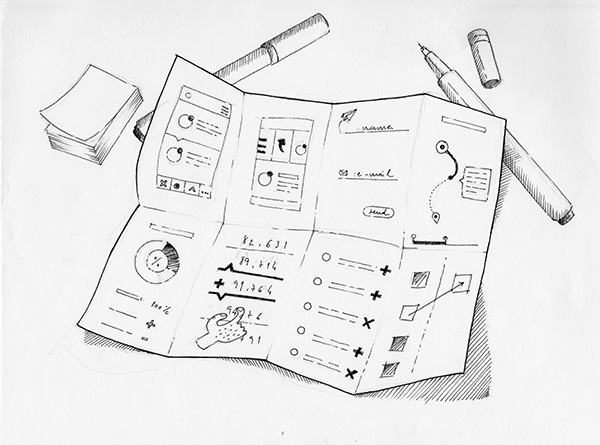
Rapid Prototyping
Prototypes help you validate your ideas in early stages and give you the confidence you need to iterate your designs. Prototyping and testing with users will ensure that any design flaws are tackled at the beginning of the project avoiding high expenditure at a later stage.
You can quickly put together a prototype with the sketches from the collaborative sessions you previously ran–they’re all you need to get in front of your users.
Also, there are some online tools that can help you create interactive prototypes:
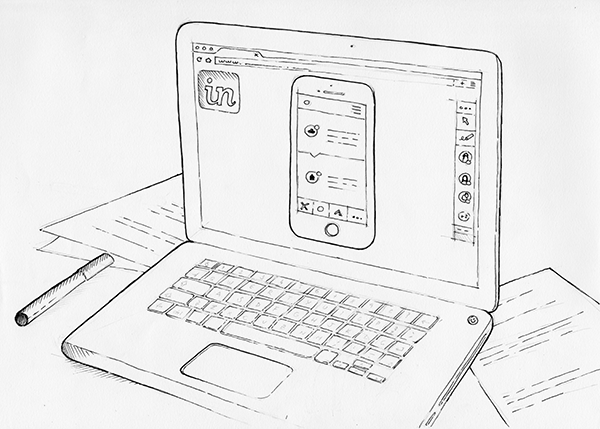
Invision
Invision is not only one of the best collaborative design platforms out there, but it‘s also a great prototyping tool. The learning curve is very slight and it gets your prototype running in no time.
It works with hotspots: you upload your screens, create hotspots to navigate between these and voilá! you’re ready for user testing.
Pop
Pop is another example of a simple-to-use tool. Take pictures of your sketches, add hotspots and you’re good to go!
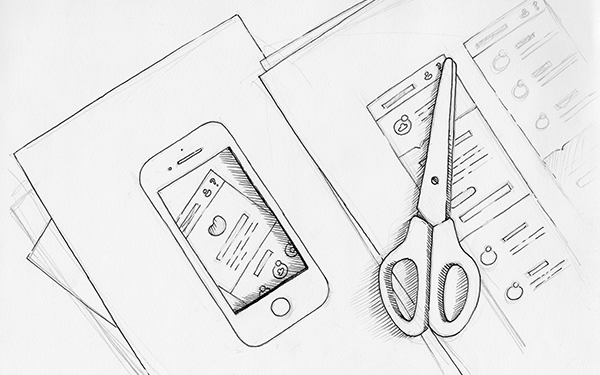
Paper Prototype
Or, you can simply use pen, paper and scissors to create a paper prototype.
Any of the options above will be super quick to iterate as soon as you start getting feedback from your users. You might want to choose one depending on who you are interviewing. If you think they are imaginative enough, then take a paper prototype with you but, if you feel they’ll need a bit more interaction to understand your ideas, you can quickly upload your sketches to one of the applications described above.
Guerrilla Testing
“Guerrilla testing” is a form of testing your sketches, designs and prototypes early on in the process. Stay tuned for a separate quick tip about how best to go about it.
Conclusion
There are a thousand reasons why you should be sketching more often, but for the purpose of churning out the best product possible, you should adopt a methodology that uses sketches as the quickest and easiest way to validate your designs.
Also, you have to bear in mind that these techniques might end up changing the scope of the project or even its course. You, as the facilitator of the whole process, need to make sure your team is on board at all times and willing to make the necessary changes to deliver a great product.
I’d love to hear your thoughts! Please share your experience and suggestions.