
In today’s tutorial we’re going to play around in Photoshop to create an illuminated bulb sign similar to those used on Las Vegas casinos and Broadway theaters. The sign will be created as a standalone piece of text, using Photoshop’s powerful 3D tools to simulate a hyper realistic setting within a warehouse. We’ll then add lots of subtle lighting effects to add a series of bright bulbs. If you’ve ever wanted to see your name in lights, this is your opportunity!
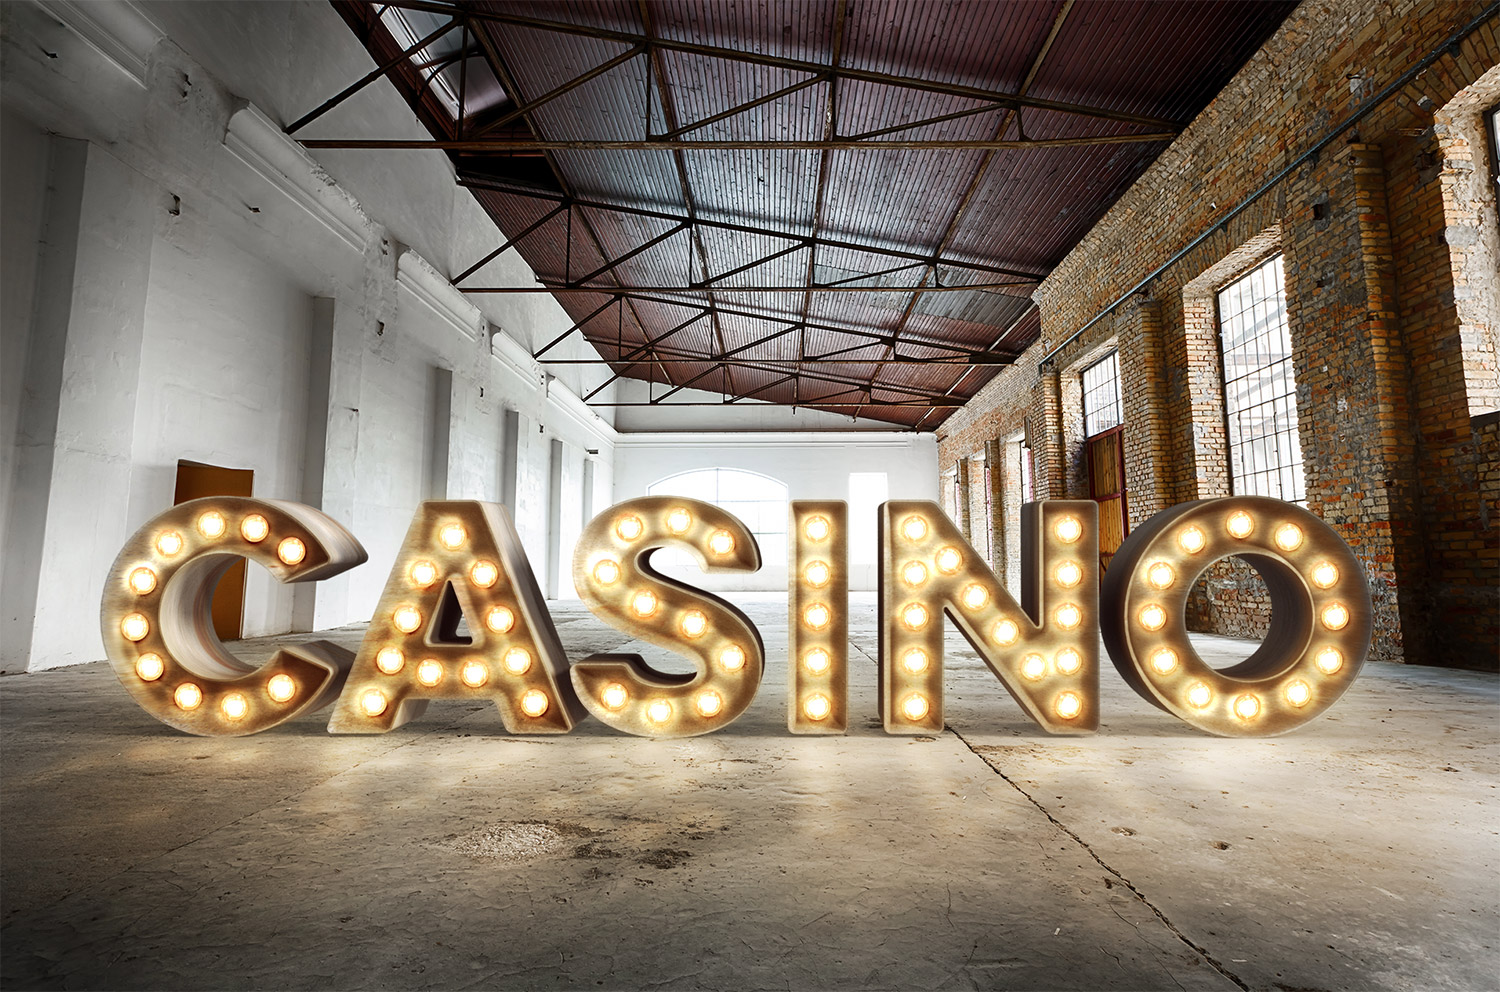
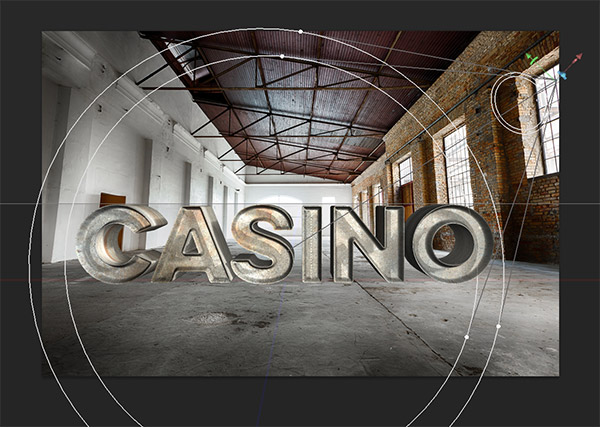
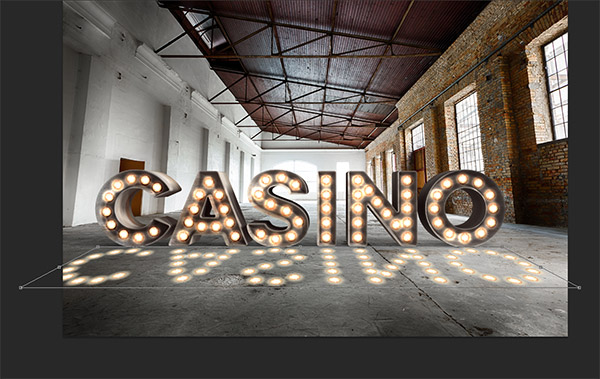
Here’s the artwork we’ll be creating as part of this tutorial. It’s based on those awesome vintage style bulb signs that illuminate casinos, theaters, cinemas and carnivals. We’re going to use Photoshop’s 3D tools as part of the process, which means you’ll need version CS6 or higher. It’s entirely possible to create a more stylised effect using the Bevel & Emboss layer styles for the letters, but the 3D tools really help produce a beautiful realistic image.
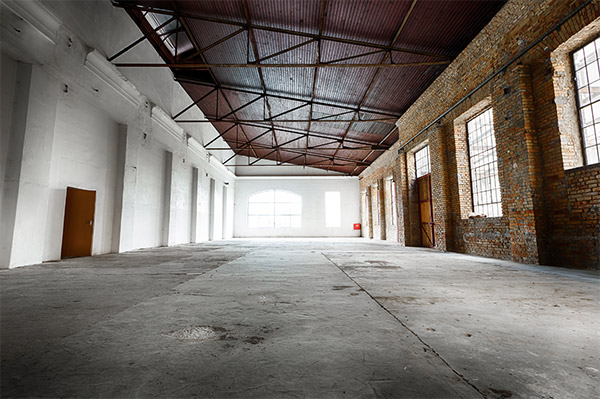
Find a photograph of a contemporary living room or an empty warehouse scene to contain your casino sign letters. I’m using this old abandoned empty warehouse interior image from Shutterstock.
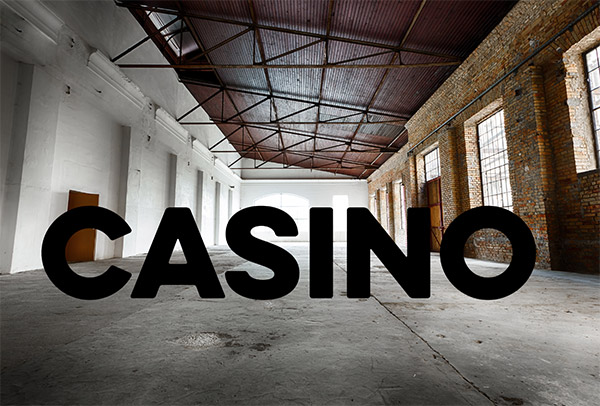
Use the Type tool to enter your chosen wording. Select a nice thick font so there’s plenty of room to add the bulbs in the centre. I’m using a font named Eleveth, that I picked up from a recent font bundle that I shared on my newsletter.
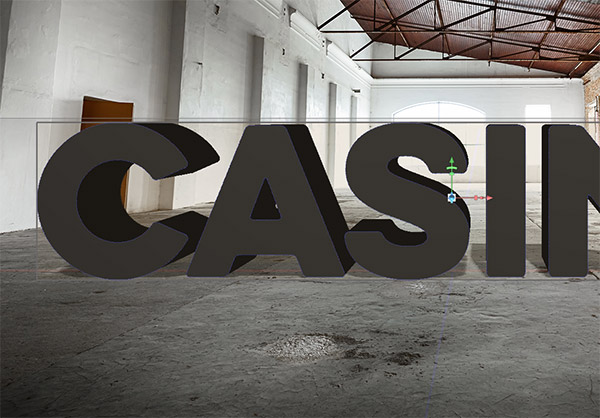
Go to 3D > New 3D Extrusion from Selected Layer to activate the 3D tools. Move the text to sit at ground level using the green Z axis arrow, then use the Rotate the 3D Object tool from the header to align the text with the perspective of the background photograph.
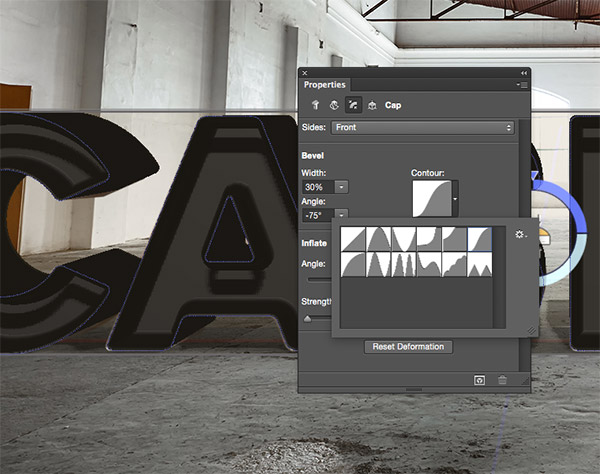
Under the Properties panel, click the Cap button to bring up the options. Adjust the Bevel Width to 30% and Angle to around -75° to create an inset effect. Change the Contour selection to the curves named Gaussian to smooth out the edges,
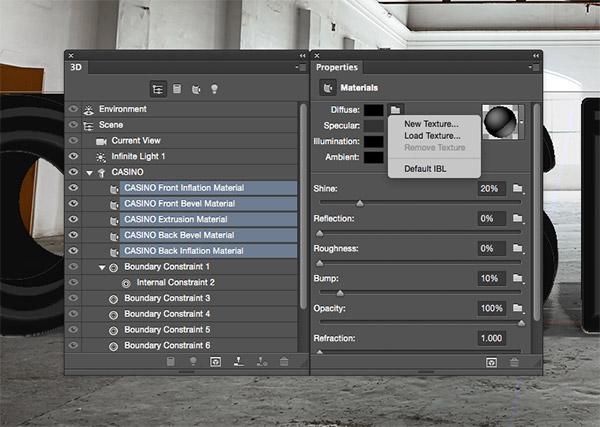
Hold Shift and select the 5 material options relating to your object in the 3D panel, then click the folder icon next to the Diffuse option in the Properties panel and select Load Texture. Apply a metal or concrete texture like this.

Change the colour of the Specular material to black by dragging the selection to the lower-left corner of the Color Picker window.
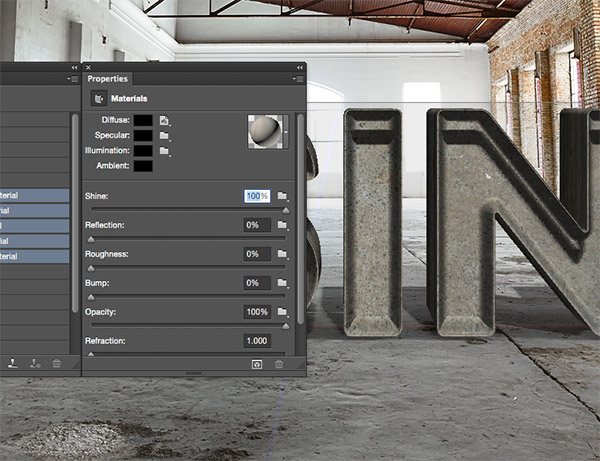
Alter the Shine to 100%, then reduce the Bump setting to 0% from within the Properties panel.
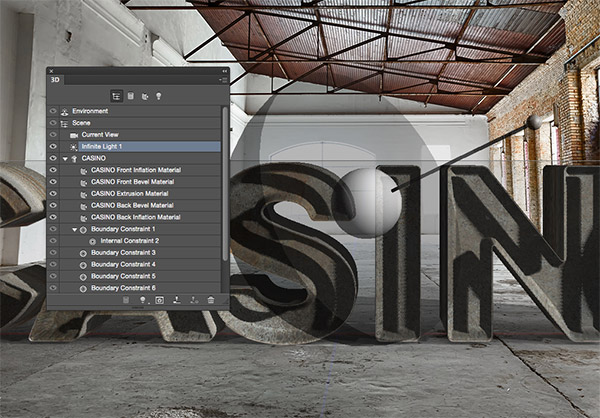
Back in the 3D panel, select the Infinite Light that is present in the scene. Click and drag the smaller end of the satellite style shape to adjust the direction of the light. Aim it towards a window or a light source in the background photo.

With the Infinite Light still selected, adjust the Intensity down to around 70% and the Shadow Softness to around 45% from within the Properties panel.
Click the bulb icon at the bottom of the 3D panel to add a new light to the scene. Select New Spot Light, then move the smaller circle towards a window using the red and green arrows. Expand the size of the larger circles to encompass the text.
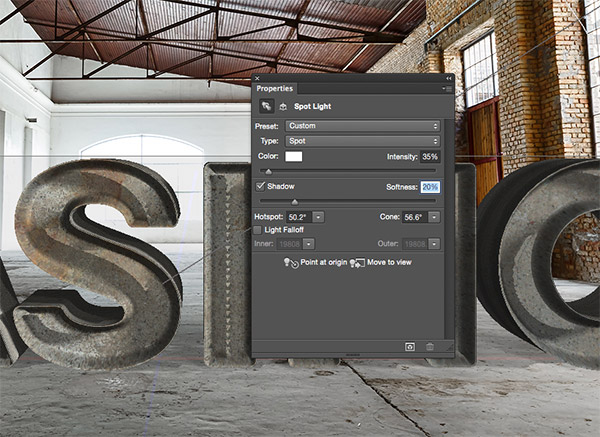
Alter the Intensity of the Spot Light to 35% and the Shadow Softness to 20% from within the Properties panel.
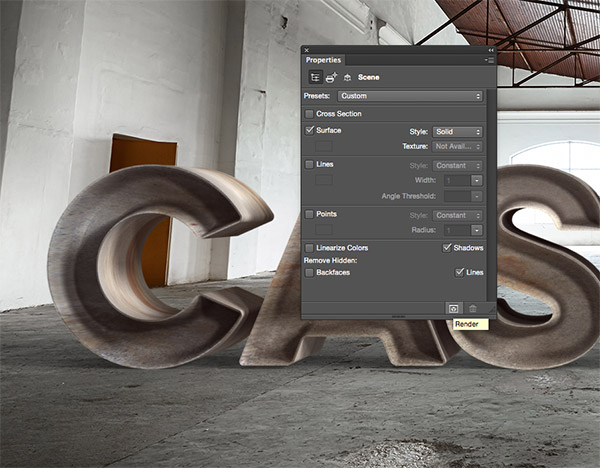
The 3D text element is now ready to be rendered. It currently looks pretty ugly in its low resolution form, so click the Render button to allow Photoshop to process the effects. Rendering can take a very long time! Grab a bite to eat, read a book, or watch a movie while you wait.
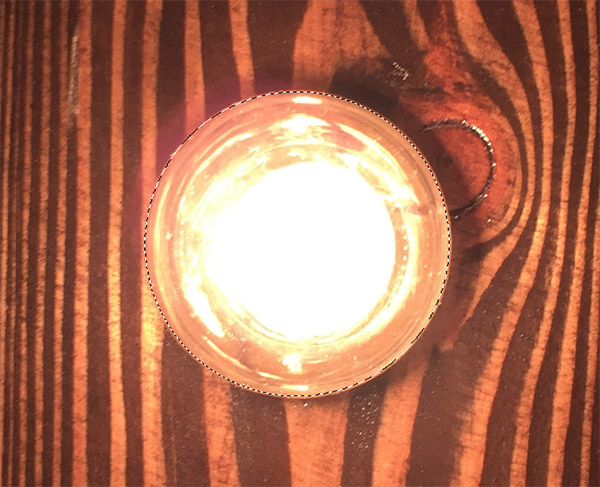
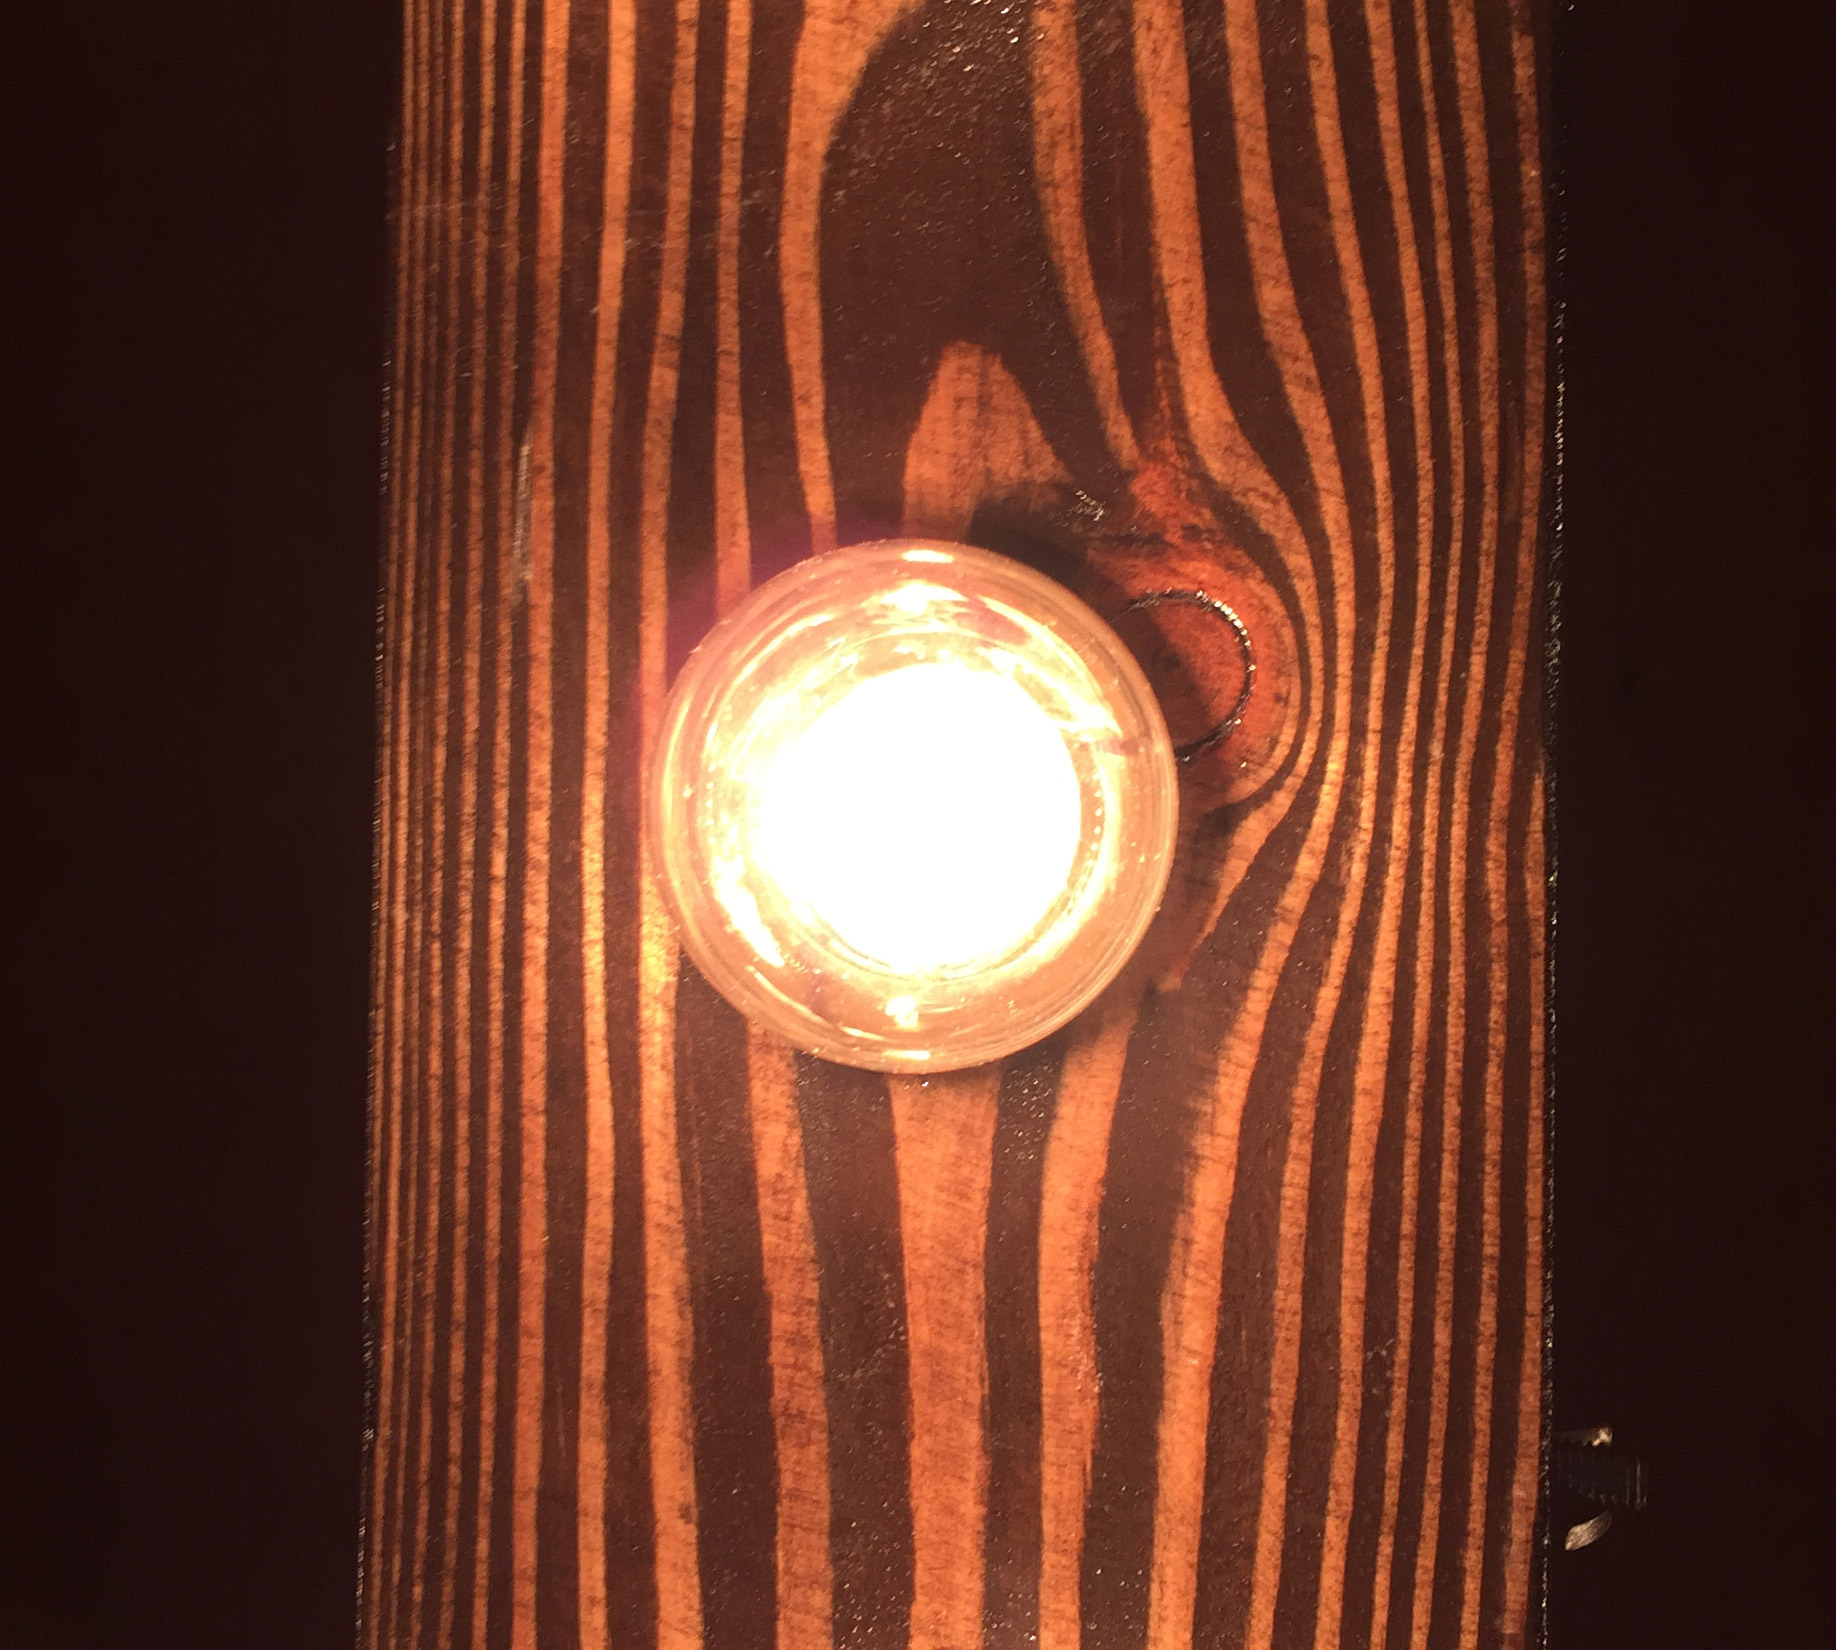
Back in December I took a photo of a bulb from a Christmas Market. Download and open this image in Photoshop and use the marquee tool to make a copy.
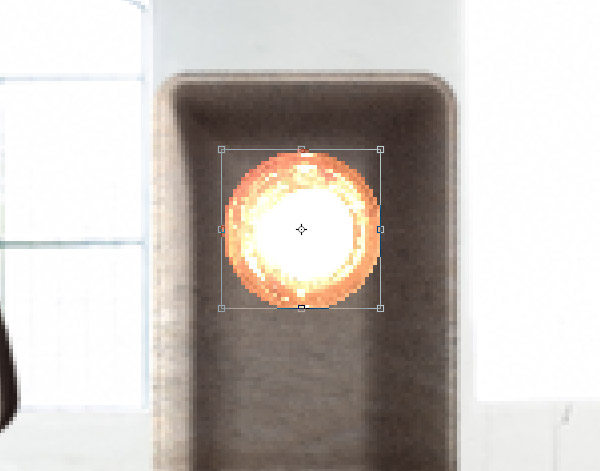
Paste the bulb into your main working document and scale it down in size to fit within one of the letters.
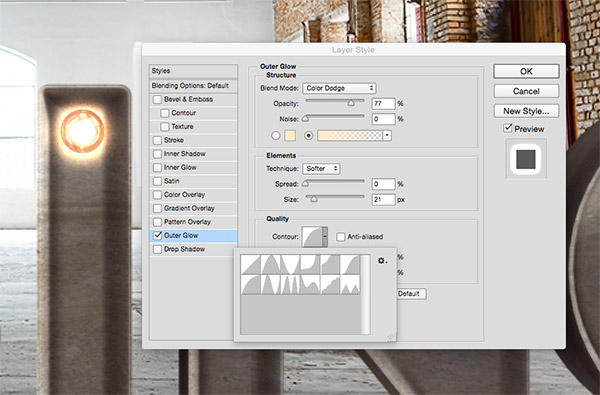
Double click the layer to open up the Layer Style options. Being by adding an Outer Glow effect. Colour pick a light yellow from the bulb, then alter the settings to Color Dodge, around 20px in size and the positive curve from the Contour selection. Reduce the opacity to tone down the vibrancy of this effect. I ended up with 77%.
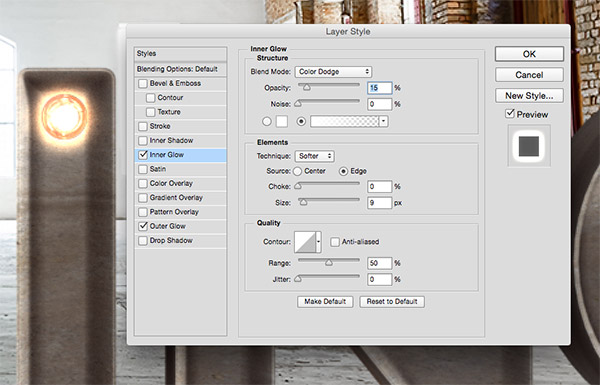
There’s currently a hard edge from clipping out the bulb from the photograph. Add an Inner Glow using the settings Color Dodge, 15% opacity and 9px size to subtly blend the bulb with its incandescent glow.
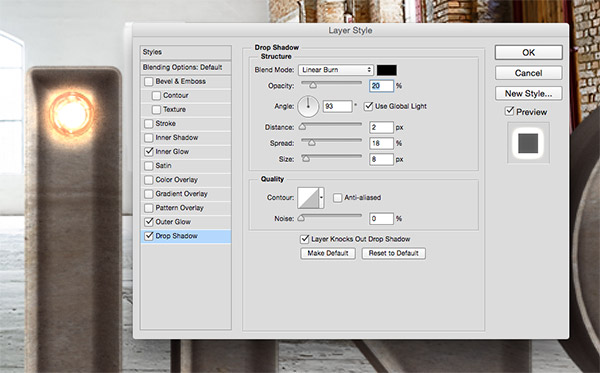
Finally, add a Drop Shadow effect. Change the Blend Mode to Linear Burn and reduce the opacity to around 20%. Alter the direction to 90°, then adjust the Distance to 2px, Spread to 18px and Size to 8px.
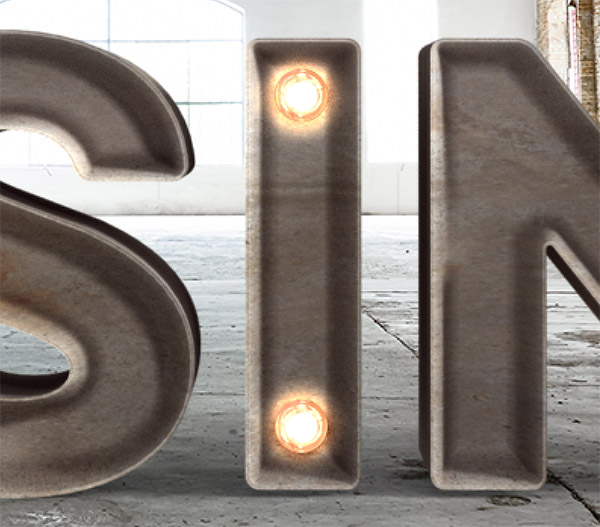
Hold the Alt key and drag the bulb to create a duplicate. Position this bulb at the opposite end of the letter.

Make another duplicate and position it centrally between the two, then continue adding extra duplicates to fill the letter with evenly spaced bulbs.

Continue the process of adding bulbs to trace the outline of your text, positioning the bulbs centrally within the letters and ensuring they’re evenly spaced.
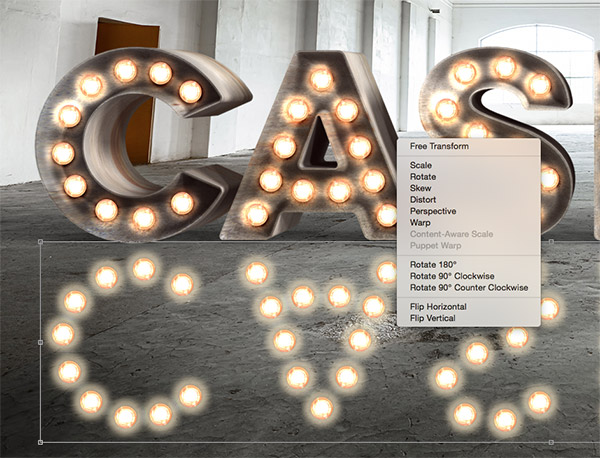
Shift and select all the bulb layers and drag them into the New Layer icon to make a duplicate. Press CMD+E to merge them together, then press CMD+T and select Flip Vertically. Move the mirrored bulbs underneath the main text to form a reflection.
Under the Transform menu, select the Perspective option and drag out the corners to match the reflections with the angle of the ground.
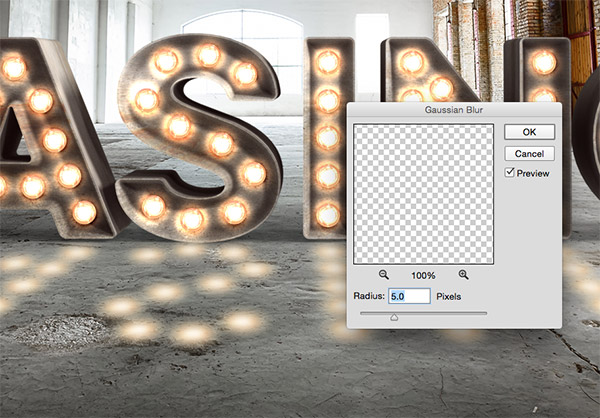
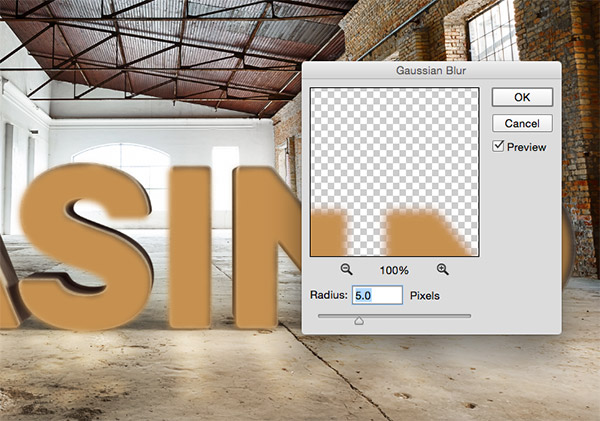
Go to Filter > Blur > Gaussian Blur and enter 5px to remove the detail from the bulb reflections.
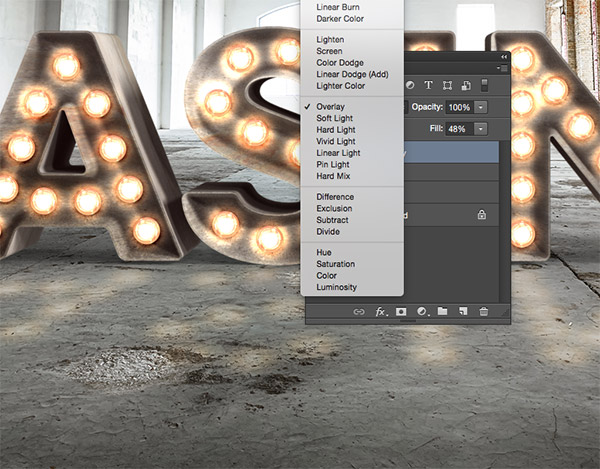
Change the blending mode of the bulb reflections layer to Overlay to allow the colours to interact with the background. Reduce the Fill to around 50% to tone down the impact of the highlights.
Add a Layer Mask to the bulb reflections layer, then use a soft brush to erase away the extremities so the reflections fade away as they get further away from the source.

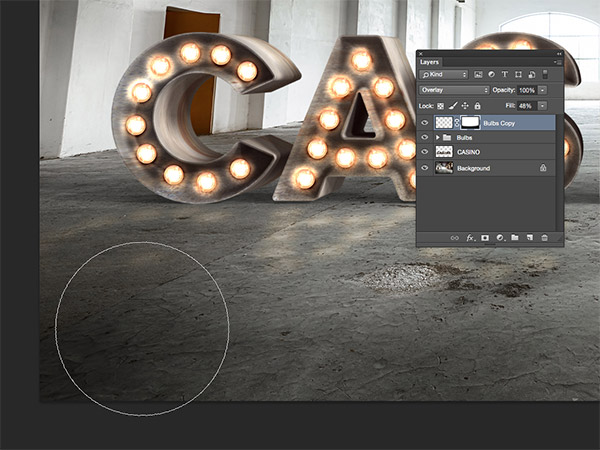
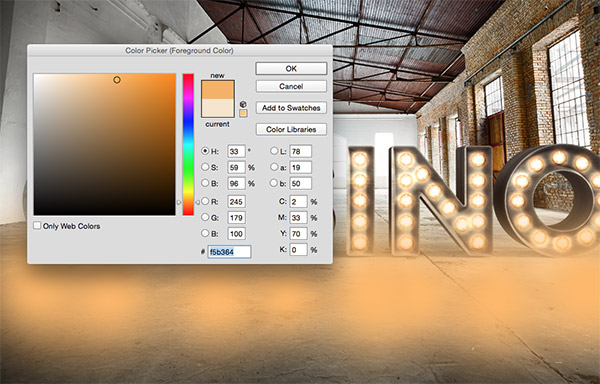
Colour pick a light yellow from the bulbs, then dab random spots across the text using a soft edged brush.
Change the blending mode of these yellow spots to Overlay and reduce the Fill to around 45%. This subtle effect brightens some bulbs to reduce the uniformity between them.

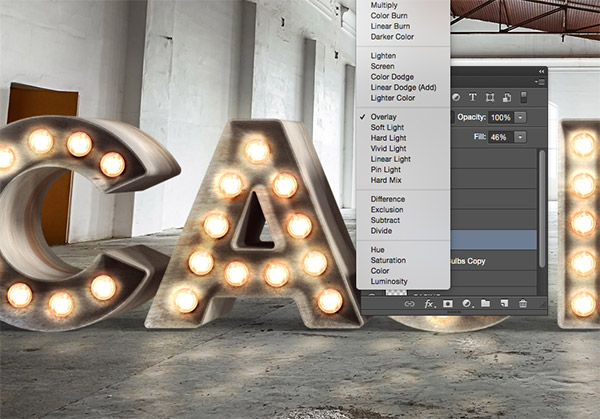
Make another colour selection from the bulbs, then paint spots underneath each letter on a new layer. Press CMD+T and squash these spots into ellipse shapes.

Change the blending mode to Overlay and reduce the Fill to around 60%, then CMD+Click the thumbnail of the 3D text layer to load its selection. Delete this selection from the spots layer.
Add more soft spots, this time using a warmer orange selection picked from the bulbs. Paint around the ground area directly in front of the letters. Change the blending mode to Overlay and reduce the Fill to around 30%.

Use the Type tool to make a copy of the original text using the same orangey colour. Scale and align the text to fit over the 3D object.
Go to Filter > Blur > Gaussian Blur. Agree to Rasterize the layer, then soften the edges by around 5px.
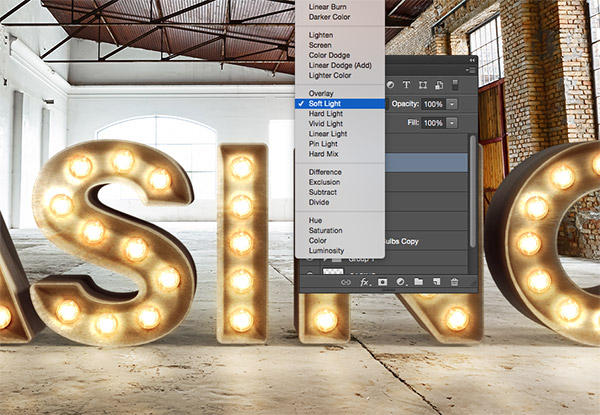
Change the blending mode of the new text layer to Soft Light to give the inside of the 3D sign a bright orange glow.
Photoshop’s 3D tools did a great job of producing the basic sign with hyper realistic textures and shading, then the addition of the lights and the layering of colour effects illuminated the design to create a cool vintage style casino bulb sign.