This tutorial is an example of how a few simple techniques can be used to create a piece of digital artwork using multiple layers, masking, the Brush tool, some basic lighting and one simple noise texture. Layered PSD file included. Let’s get started!
Final Image Preview

Start working by creating a new document (Ctrl+N) in Adobe Photoshop CS5 with the size 1200px by 1500px (RGB color mode) at a resolution of 72 pixels/inch.
Click on Add a layer style icon from bottom part of the Layers panel and select Gradient Overlay.
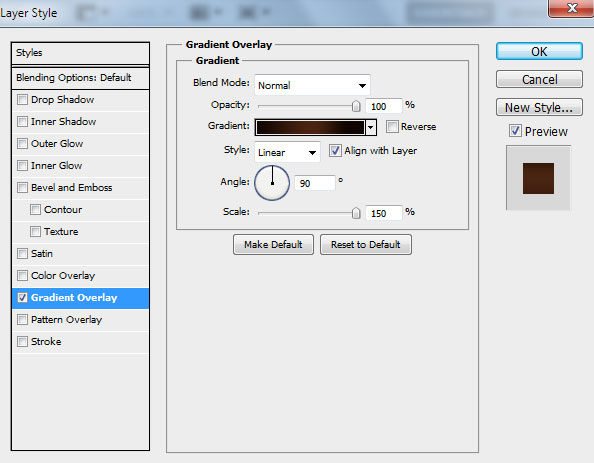
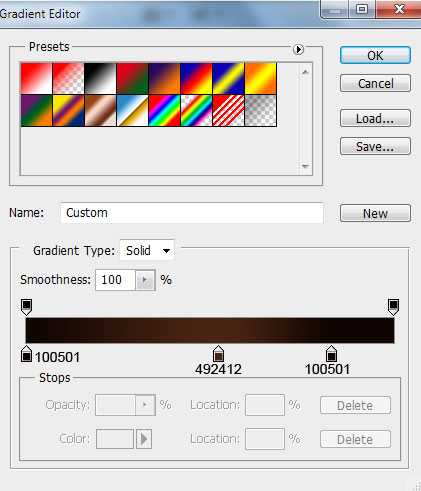
Click in the color bar to open the Gradient Editor and set the color stops as shown. Click OK to close the Gradient Editor dialog box.
We’ve got the next result:

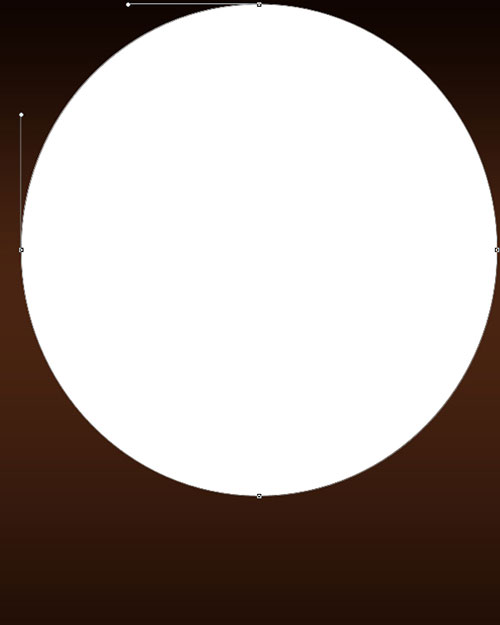
Next we have to use the Ellipse Tool (U) to represent an ellipse.
Click on Add a layer style icon from bottom part of the Layers panel and select Drop Shadow.
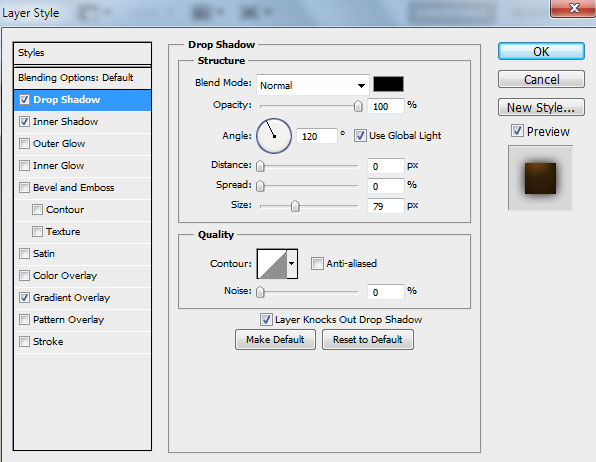
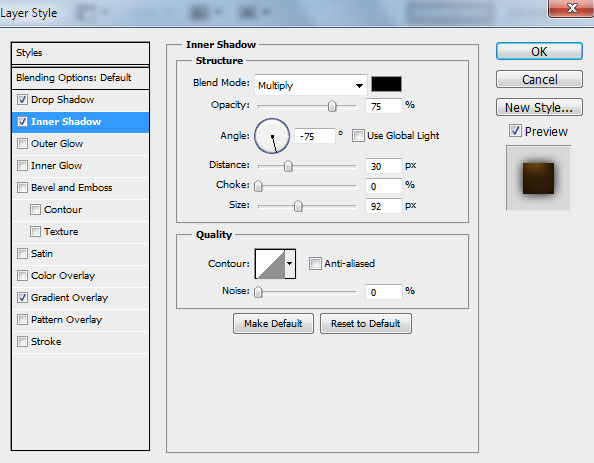
Add Inner Shadow:
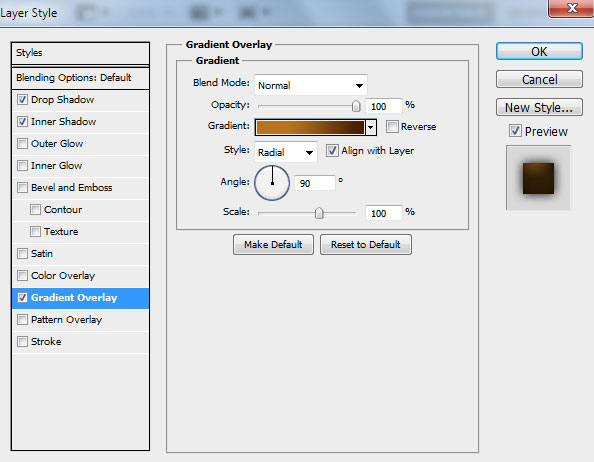
Apply Gradient Overlay:
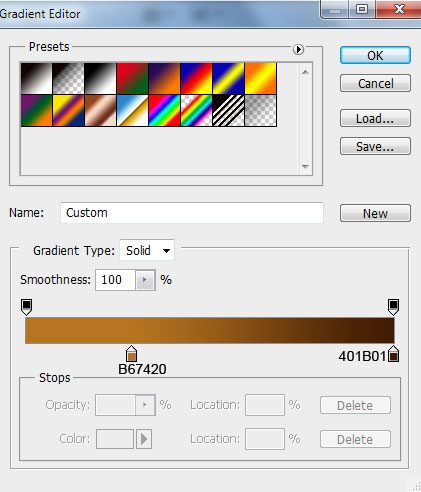
Click in the color bar to open the Gradient Editor and set the color stops as shown. Click OK to close the Gradient Editor dialog box.
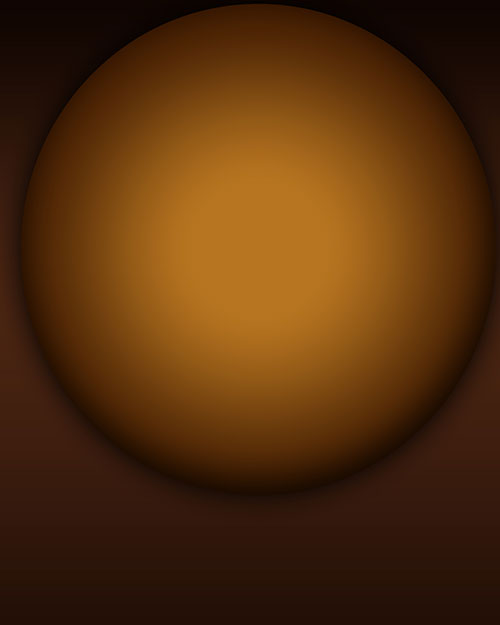
We’ve got the next result:
Choose the Pen Tool (P), set the drawing mode on Shape Layers in Options bar and draw the next shape as shown, a kind of spiral. Use the Convert Point Tool to make the corrections on the shape. The spiral’s color is #4B1F04.
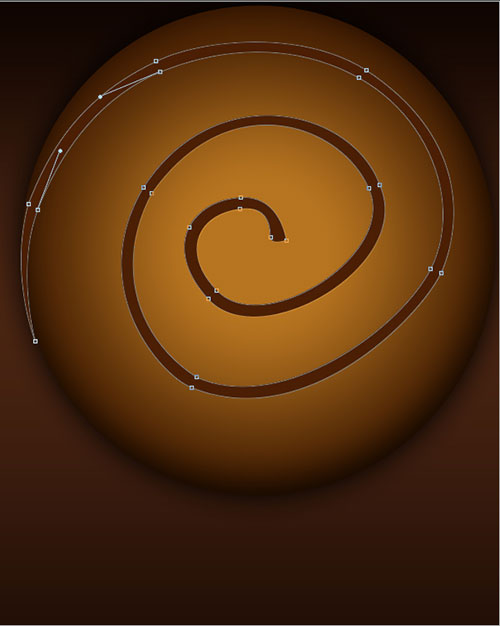
Click on Add a layer style icon from bottom part of the Layers panel and select Gradient Overlay.
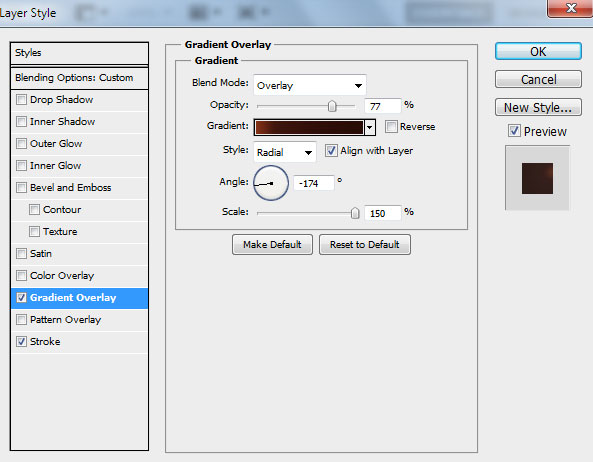
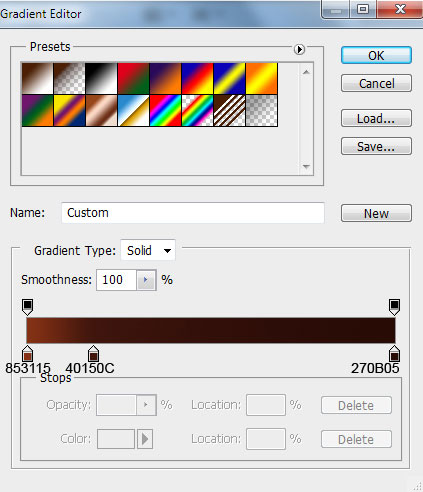
Click in the color bar to open the Gradient Editor and set the color stops as shown. Click OK to close the Gradient Editor dialog box.
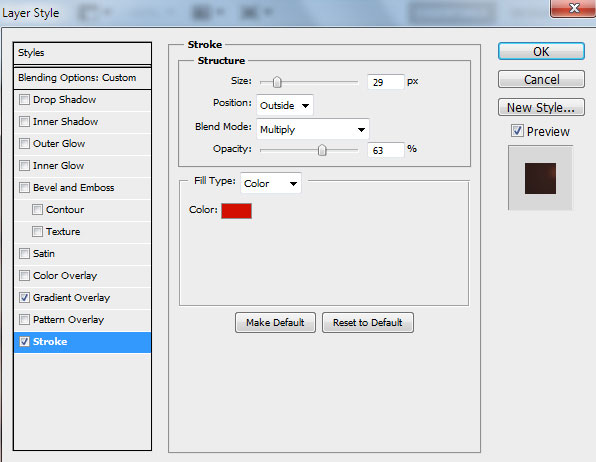
Add Stroke:
We’ve got the next result:
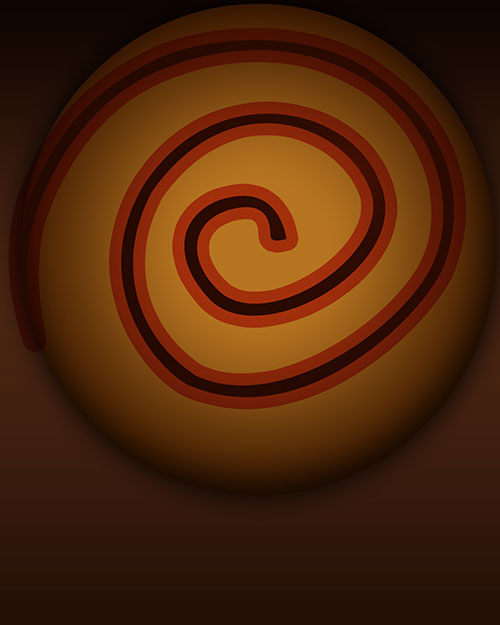
Press Ctrl button and click on the ellipse’s layer in Layers panel to get the next selection.
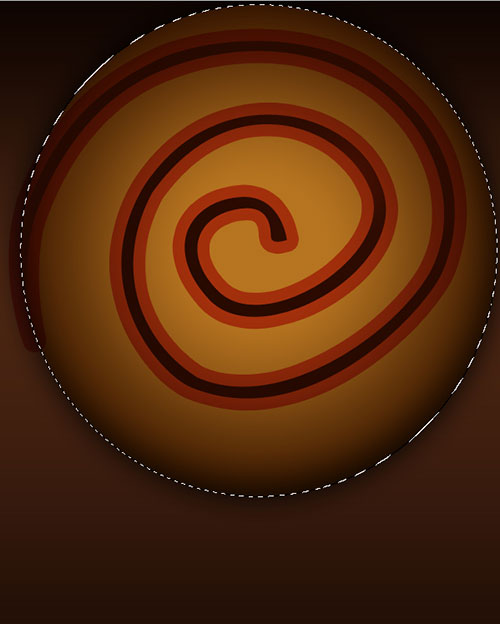
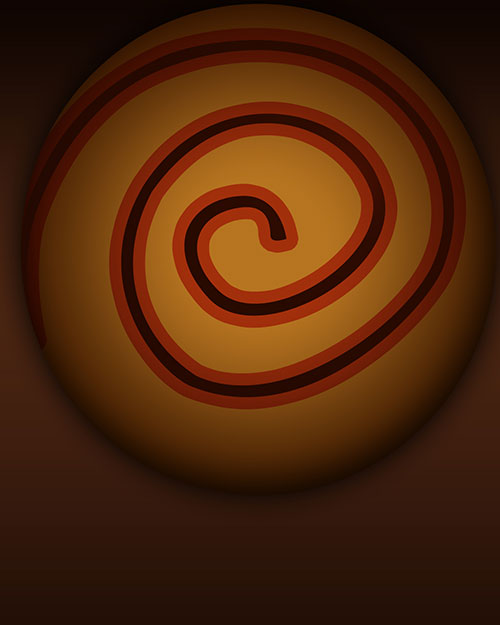
Now we have to select the spiral’s layer and Add a Mask. This way we cut out the coming outside part of the spiral.
Find a stock photo with grey grunge textured wall like the next one:
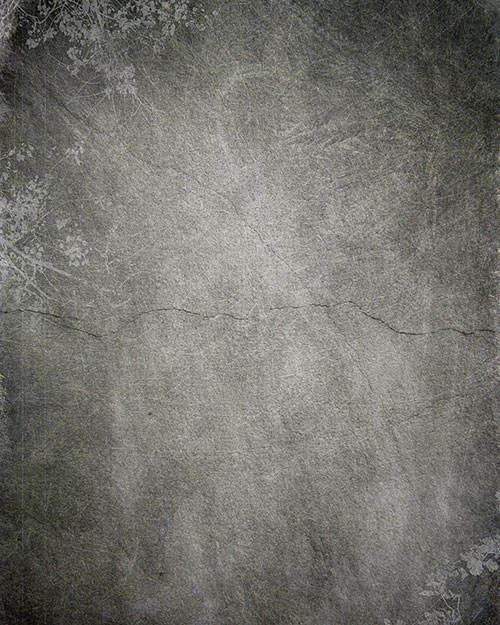
Insert the texture on the main document. Set the Blending mode for this layer to Overlay.
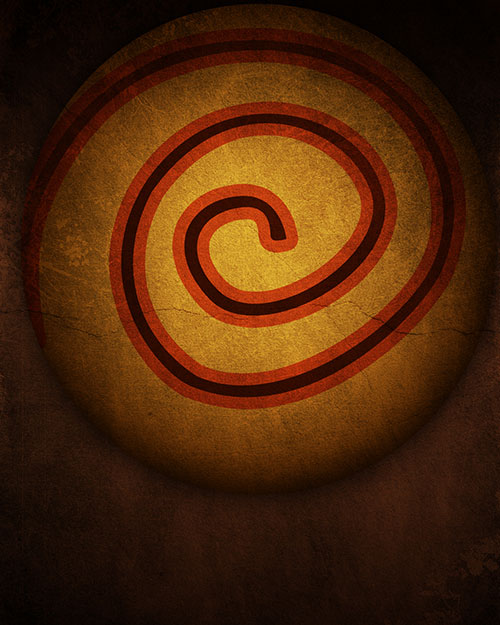
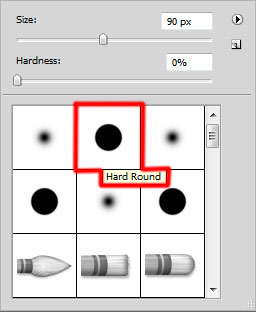
Next we have to make a kind of highlight. In this case create a new layer and apply the HArd Round brush of white color (brush Opacity – 50%) to paint the element on the shown below zones.
We’ve got the next result:
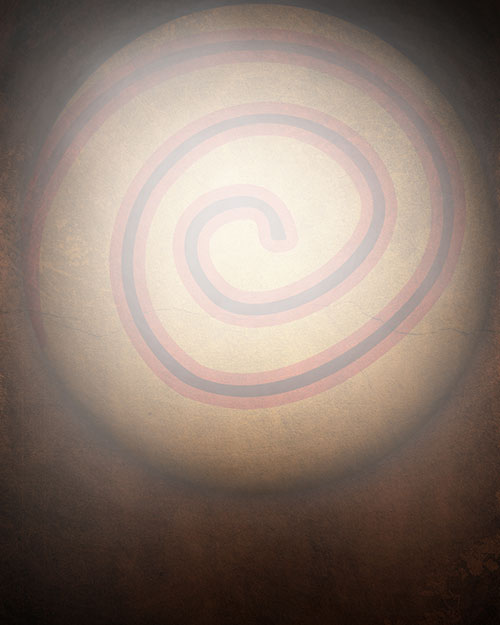
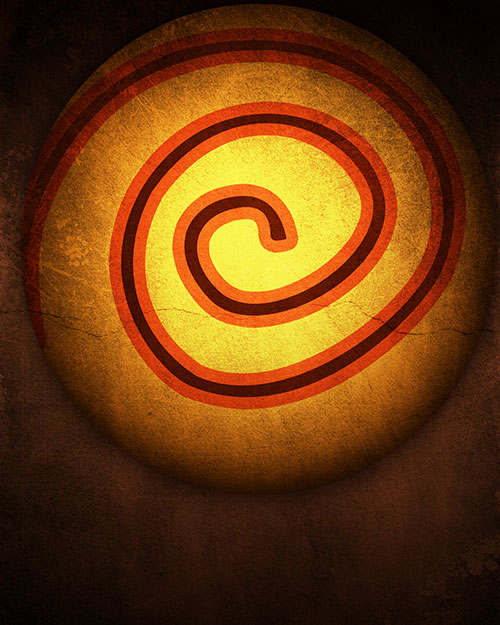
Set the Blending mode for this layer to Overlay.
Find a stock photo with a model represented on it, I used this photo from Shutterstock. I would like to thank the author of this photo, or if you prefer, you can substitute similar image of your own.

Remove the background using your favorite tools like Pen Tool (P), Magic Wand Tool (W), Magnetic Lasso (L) or even a simple Filter>Extract and insert it on a new layer in our main document.

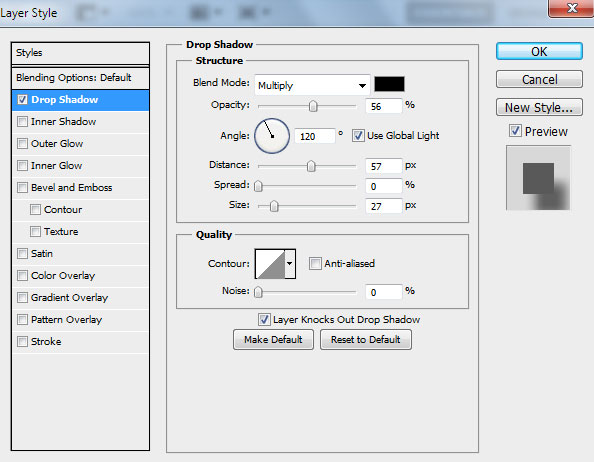
Click on Add a layer style icon from bottom part of the Layers panel and select Drop Shadow.
We’ve got the next result:

