In this tutorial, it will show you how to create a nice desktop wallpaper using Adobe Photoshop CS6. You will find it very useful to create another wallpapers. Layered PSD file included. Let’s get started!
Final Image Preview

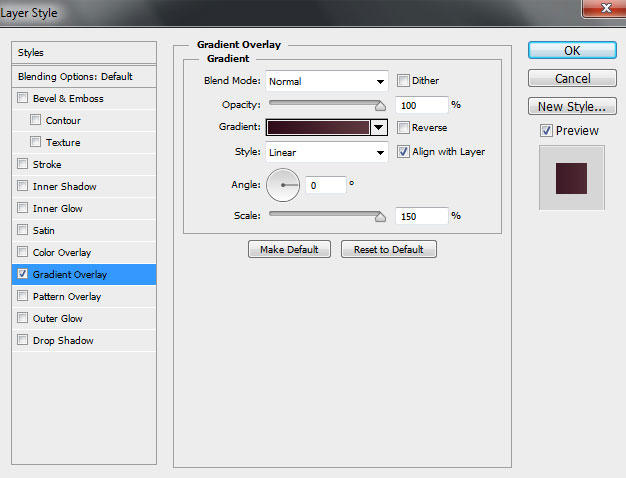
Start working by creating a new document (Ctrl+N) in Adobe Photoshop CS6 with the size 1920px by 1200px (RGB color mode) at a resolution of 72 pixels/inch. Click on Add a layer style icon from bottom part of the Layers panel and select Gradient Overlay.
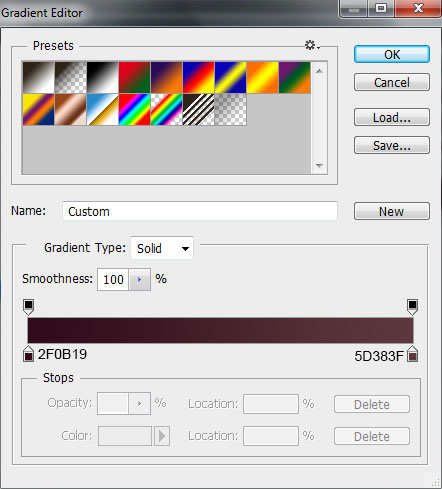
Click in the color bar to open the Gradient Editor and set the color stops as shown. Click OK to close the Gradient Editor dialog box.
We’ve got the next result:

Next we’ll draw a small ellipse, applying the Ellipse Tool (U).

We’ve got the next result:

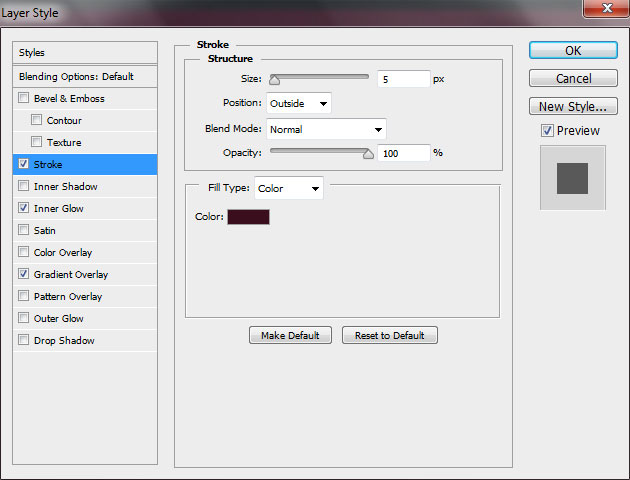
Click on Add a layer style icon from bottom part of the Layers panel and select Stroke.
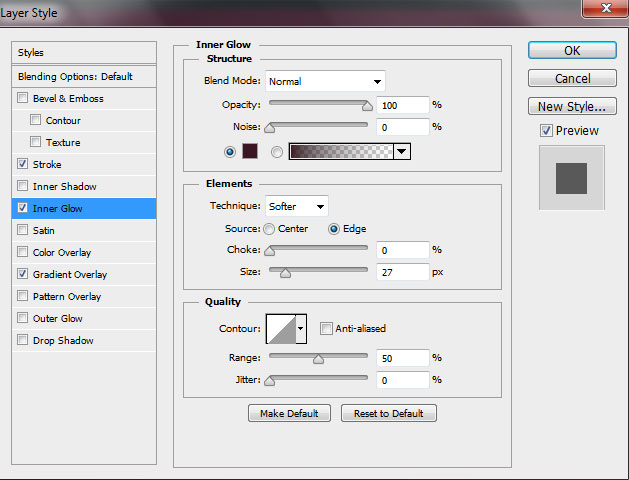
Add Inner Glow:
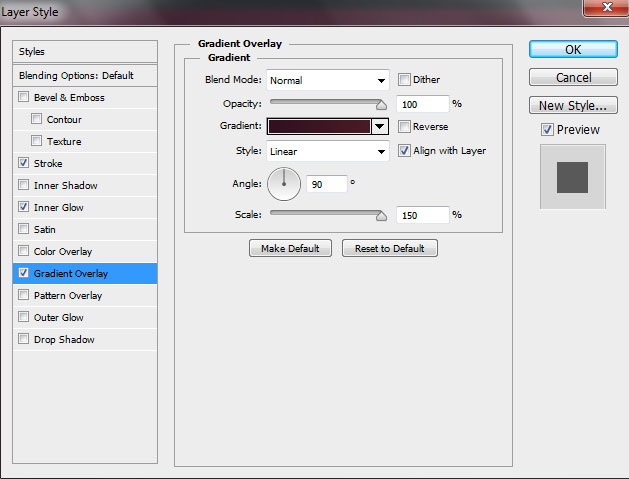
Apply Gradient Overlay:
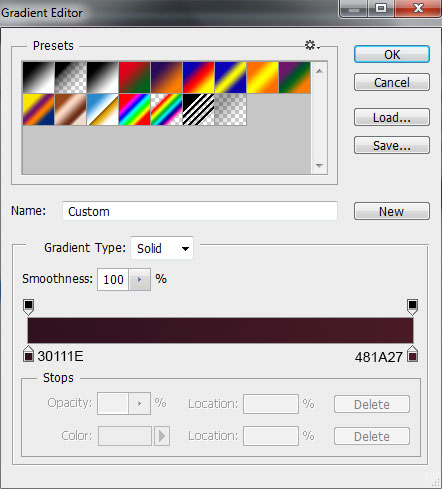
Click in the color bar to open the Gradient Editor and set the color stops as shown. Click OK to close the Gradient Editor dialog box.
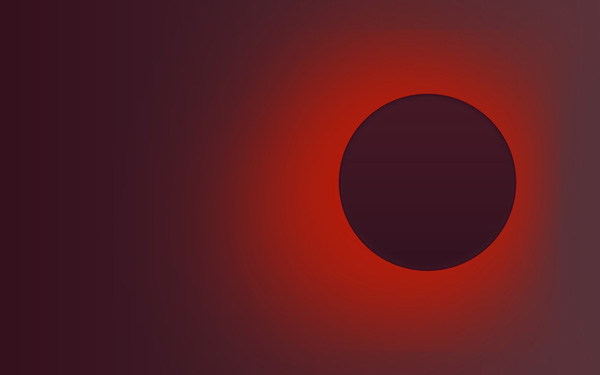
We’ve got the next result:

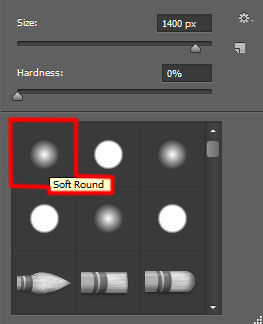
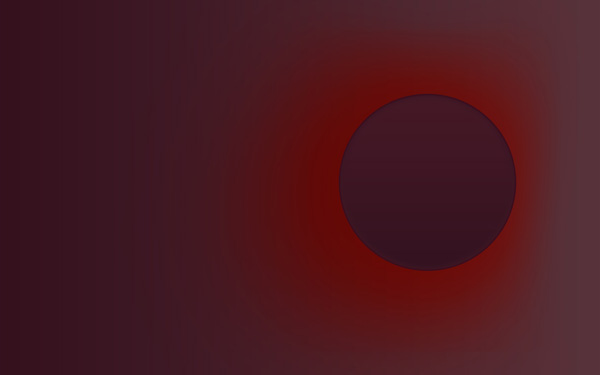
Next we have to create a new layer and use on it the Soft Round brush to paint the layer situated behind the ellipse. This layer must be situated under the ellipse’s layer. The brush’s color is #B31B0B.
We’ve got the next result:
Set the Blending mode for this layer to Overlay.
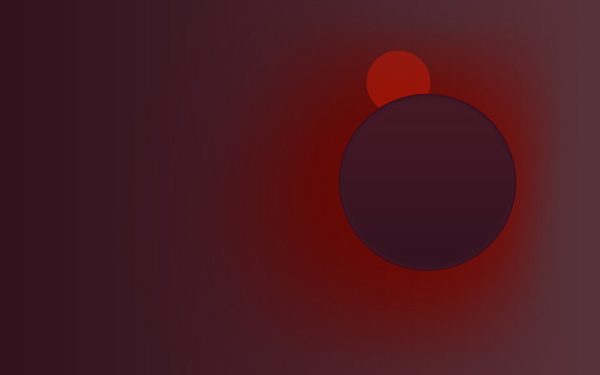
Next we must represent another ellipse behind the dark ellipse, using the Ellipse Tool (U) and the color #C71906. The ellipse’s layer must be placed under the layer containing the dark ellipse.
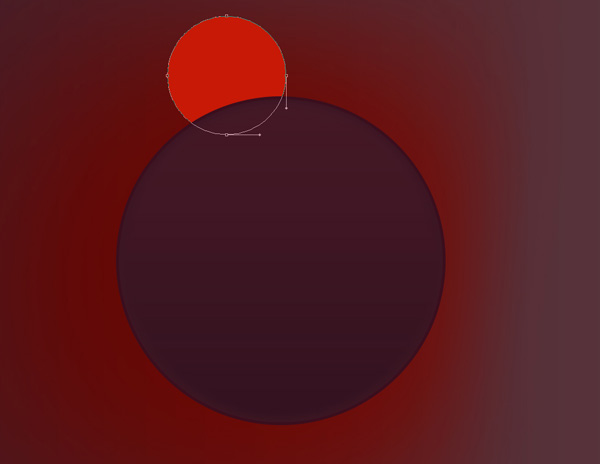
Set Fill to 50% for this layer.
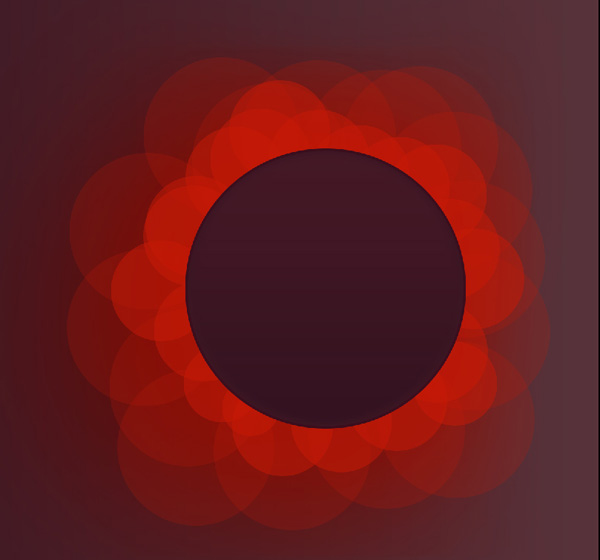
Make many copies of the layer containing the ellipse and select the Free Transform (Ctrl+T) command to change the copies’ sizes, placing them the same way from below.

Using the same tool, we may represent several more ellipses of bigger diameter, applying the same color and the Fill – 20%. The layer needs to be placed under the layer containing the dark ellipse.
Using the Ellipse Tool (U), we may represent a ellipse again and this layer will be situated above all the previous made layers.
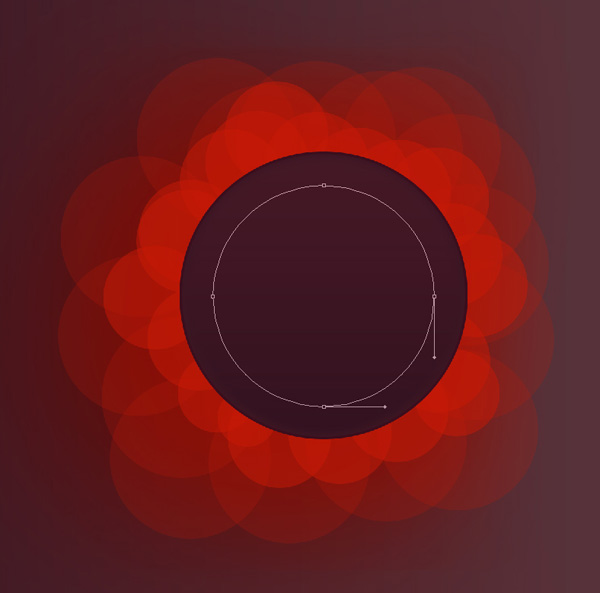
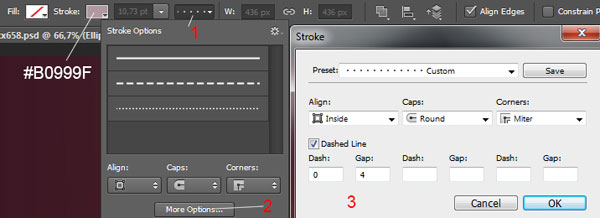
In Adobe Photoshop CS6, there’s now a convenient Stroke option on your Options Bar when you have a shape active. Use drop downs to set the next Stroke options for our ellipse, Fill – (None), Stroke color – #B0999F, Stroke type – Dotted:
We’ve got the next result:

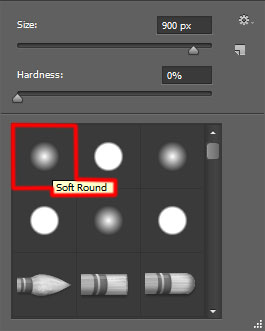
Create a new layer and select on it the Soft Round brush of white color (brush Opacity 20%) to paint above the made ellipses.
We’ve got the next result:
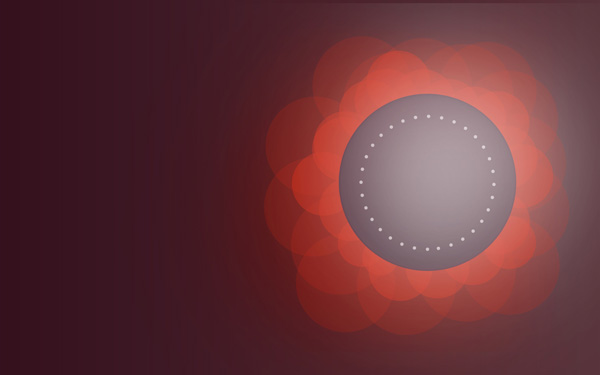
Set the Blending mode for this layer to Overlay.

Next we’ll represent another circle on an already made one. Select then the Free Transform (Ctrl+T) command to turn over the circle by its axe and choose the Direct Selection Tool (A) to correct the shape form like it is shown below. The color applied is #CDBFC2.
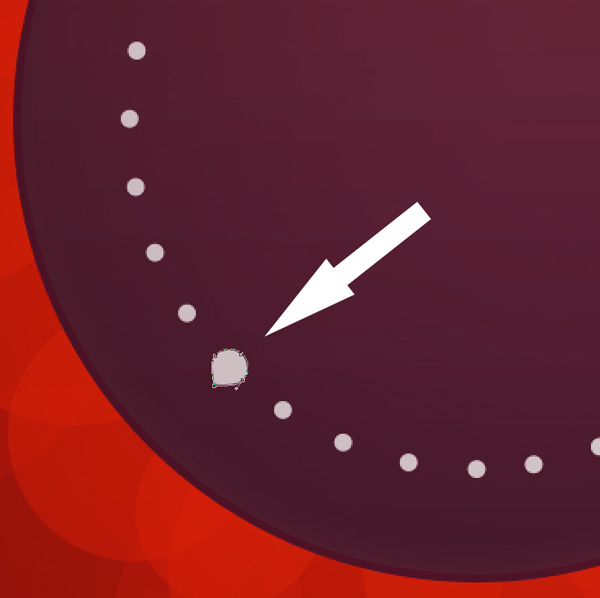
We’ve got the next result:
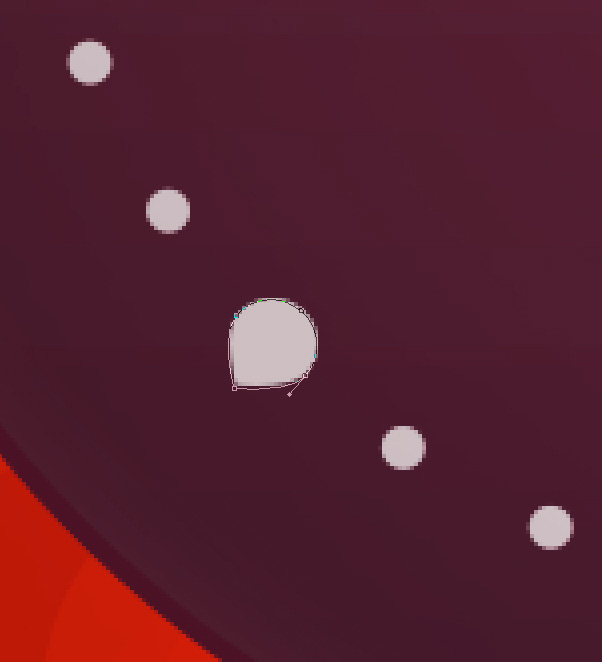
Next we’ll insert one more circle, using the same tool and the color #511D30.
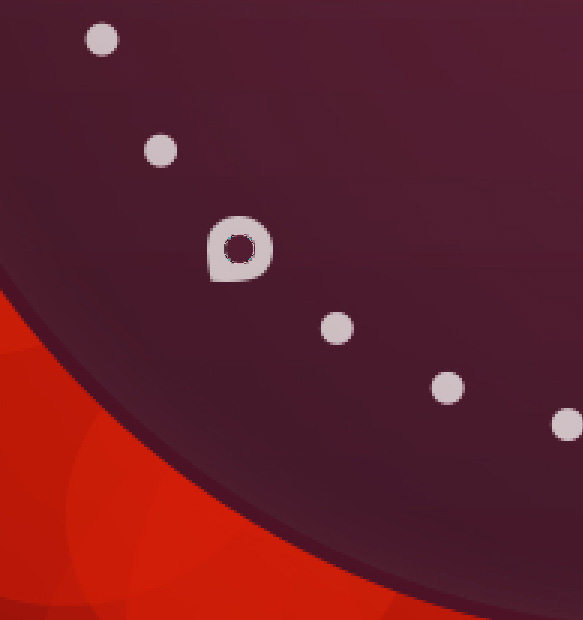
Make a copy of the last made layer and choose the Free Transform (Ctrl+T) command option to place the copy’s layer the same way demonstrated below.
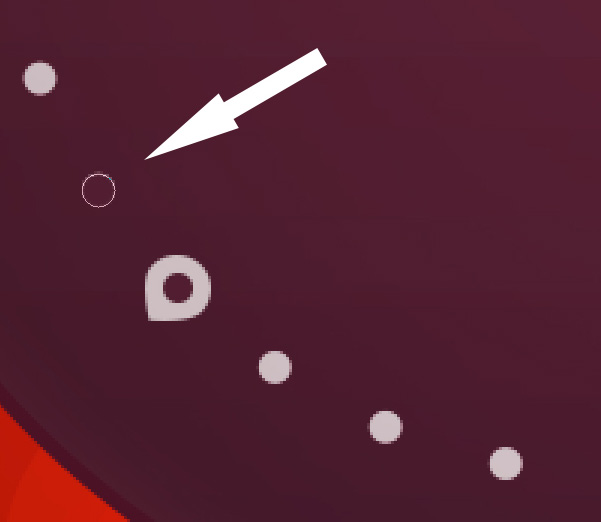
Click on Add a layer style icon from bottom part of the Layers panel and select Stroke.
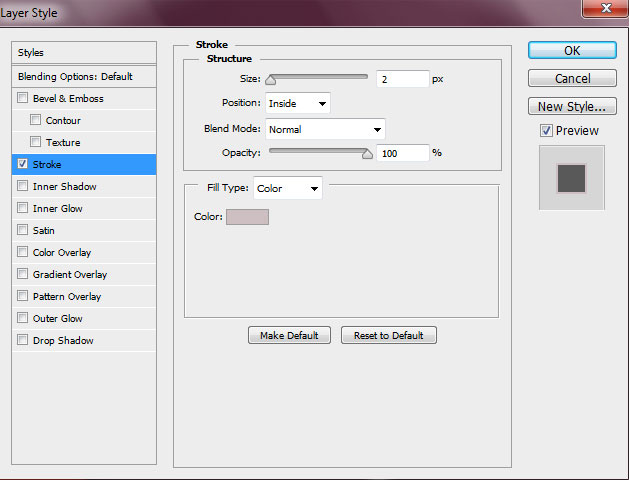
We’ve got the next result:
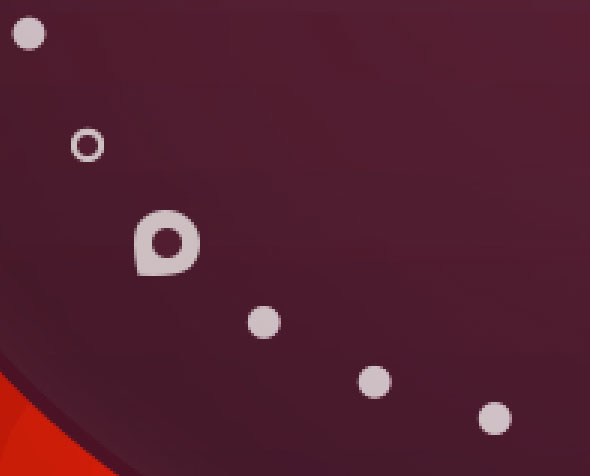
Make ten copies of the last represented layer and choose the Free Transform (Ctrl+T) command to place the copies’ layers the way indicated on the next picture.
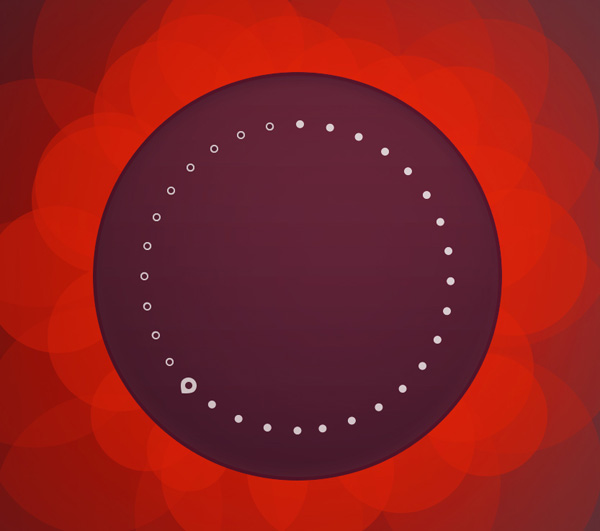
We’ve got the next result:

Finally insert the text on our desktop wallpaper. Select the Horizontal Type tool (T). Select a font, size and color in the Character panel. I used this font from FontSquirrel.
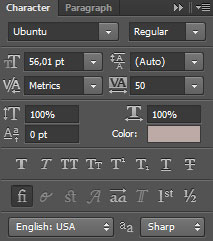
Click in the canvas and type ‘Ubuntu OS’. Press Enter to apply the text.

Our Ubuntu Desktop Wallpaper is finished!
View full size here.
Download free Layered PSD file.
