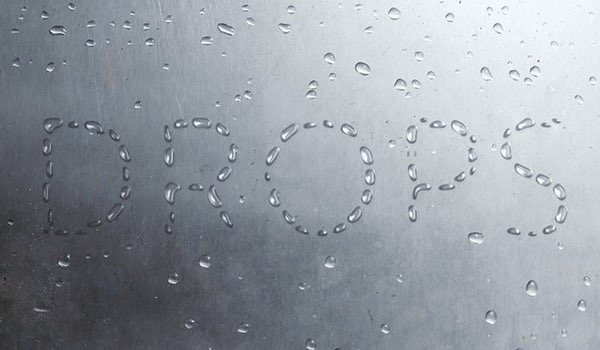
Using Photoshop’s filters and alpha channels is a great way to create and play around with selections. This tutorial will show you how to use a simple technique to create droplets, and then style them and add in a couple of textures and adjustment layers to create a raindrops text effect.
Take inspiration from Envato Market, looking at raindrop stock photography. This may help when you’re trying to create realistic looking raindrops for this style.
Let’s get started!
Tutorial Assets
The following assets were used during the production of this tutorial:
- CoreHumanistSans font
- Water on Metal Stock by NGS-stock
- Kagami – Texture 06 by taviskaron
- bokeh texture by nutmeg104
- Free Pack 6000 photoshop gradients by Supertuts007 (Load the CSP True Sky Gradients.grd file)
1. Create the Background and the Text
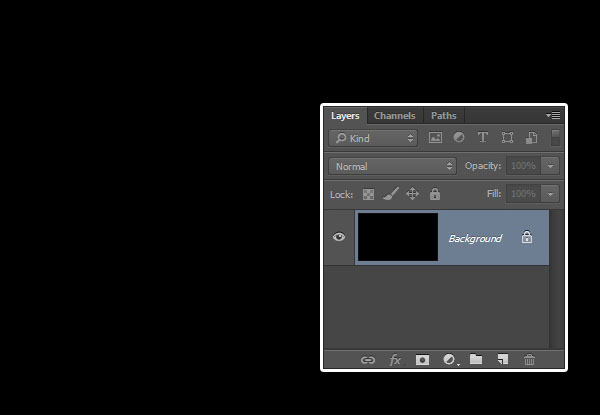
Step 1
Create a new 1500 x 875 px document, and fill the Background with Black.
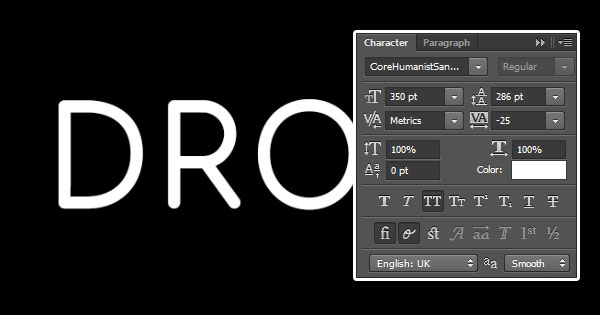
Step 2
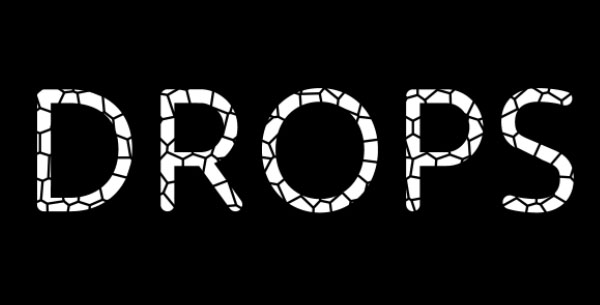
Create the text in All Caps using the font CoreHumanistSans. Make sure to set the Color to White, the Size to 350 pt, and the Tracking to -25.
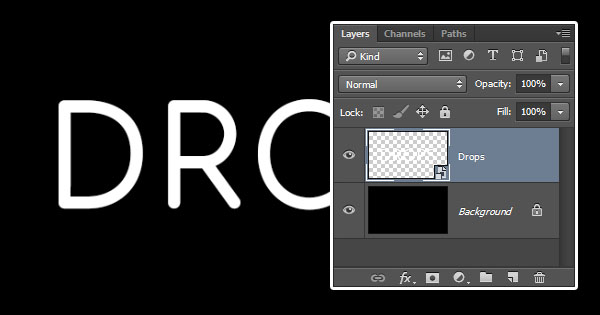
Step 3
Right-click the text layer and choose Convert to Smart Object.
2. Apply the Filter
Step 1
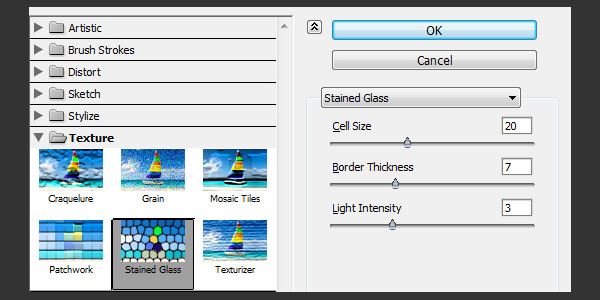
Set the Foreground and Background colors to Black and White.
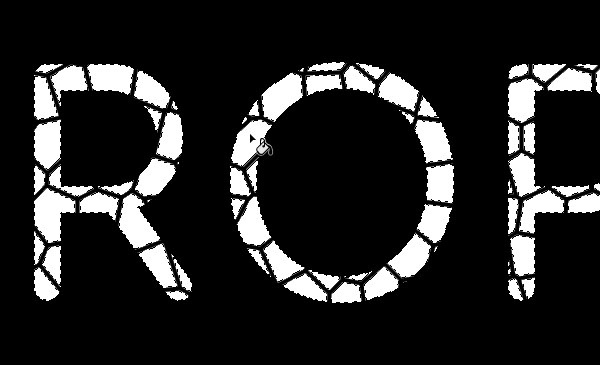
Go to Filter > Filter Gallery > Texture > Stained Glass. Change the Cell Size to 20, the Border Thickness to 7, and the Light Intensity to 3.
Step 2
Each of the cells is going to create a drop, so you can play around with the filter settings to get different sizes.
Step 3
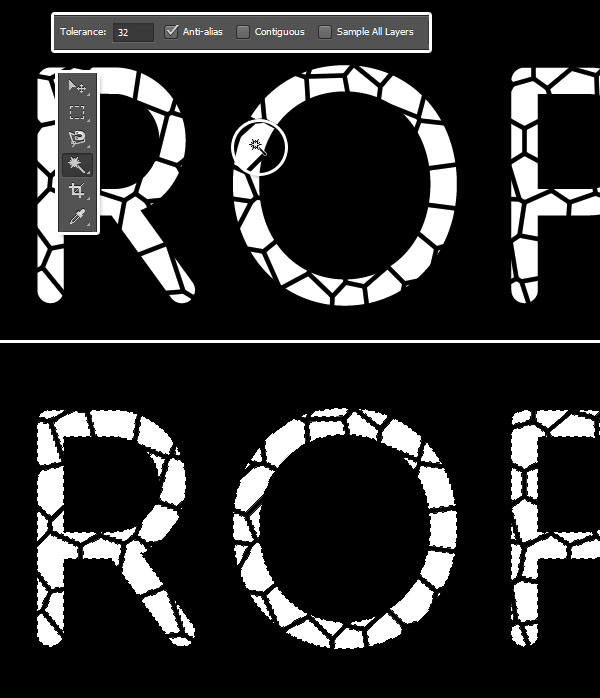
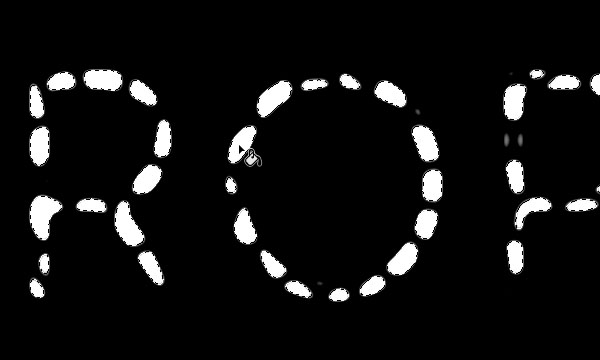
Pick the Magic Wand Tool and uncheck the Contiguous box in the Options bar. Then, click on one of the white cells to create a selection.
3. Create the Drops
Step 1
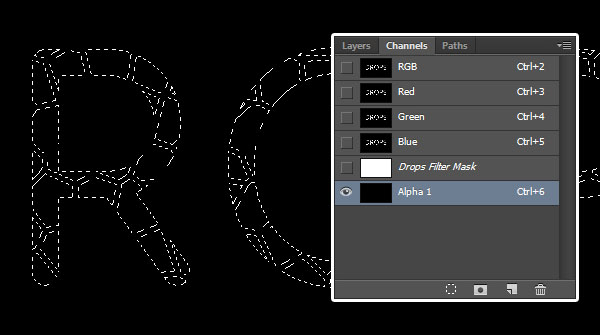
Open the Channels panel (Window > Channels), and click the Create new channel icon at the bottom of the panel.
Step 2
With the Alpha 1 channel selected, pick the Paint Bucket Tool and fill the selection with White, and then go to Select > Deselect.
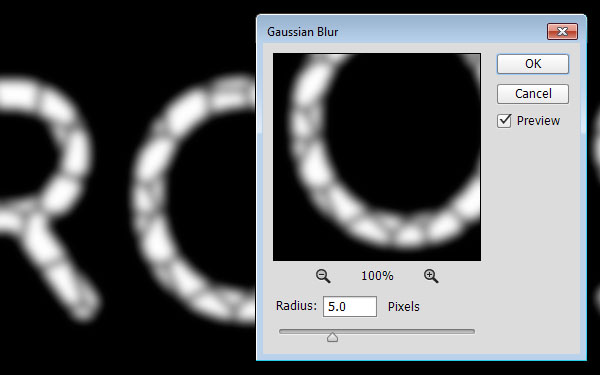
Step 3
Go to Filter > Blur > Gaussian Blur, and change the Radius to 5.
Step 4
Go to Image > Adjustments > Levels. What you’ll need to do next is change the Shadows and Highlights sliders until you get defined droplets.
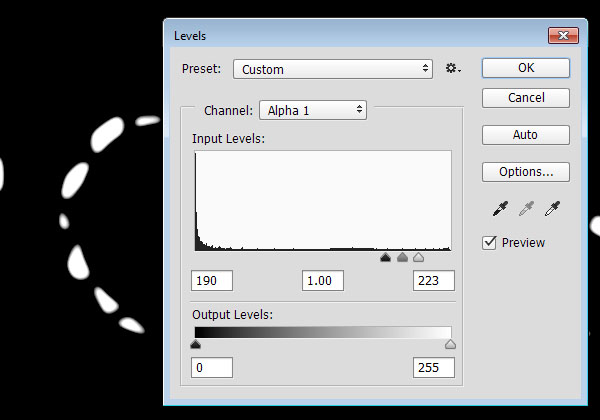
Step 5
Make sure to keep the edges quite smooth, not jagged.

4. Load the Selection and Add the Background Image
Step 1
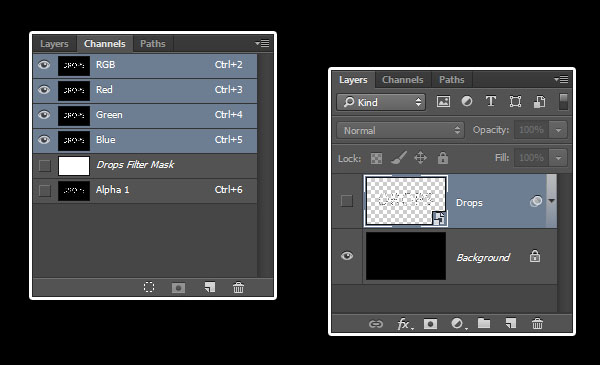
Click the RGB channel, and then go back to the Layers panel.
Make the Drops layer invisible by clicking the eye icon next to it.
Step 2
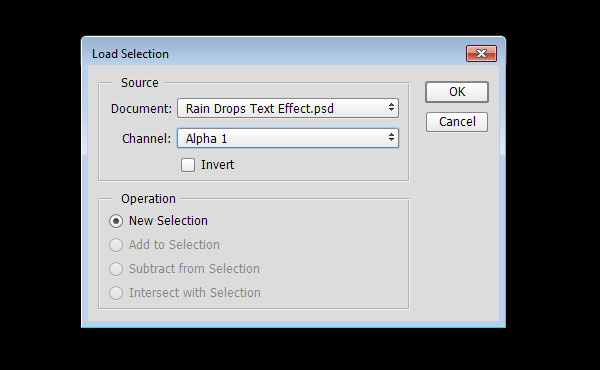
Go to Select > Load Selection, and choose the Alpha 1 channel from the Channel drop-down menu.
Step 3
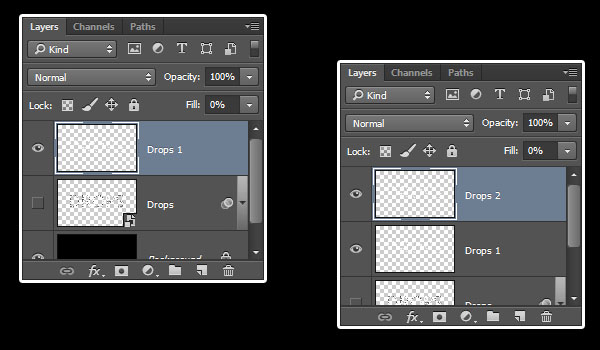
Create a new layer, call it Drops 1, fill the selection with White, and then Deselect.
Step 4
Change the Drops 1 layer’s Fill value to 0, duplicate it, and rename the copy to Drops 2.
Step 5
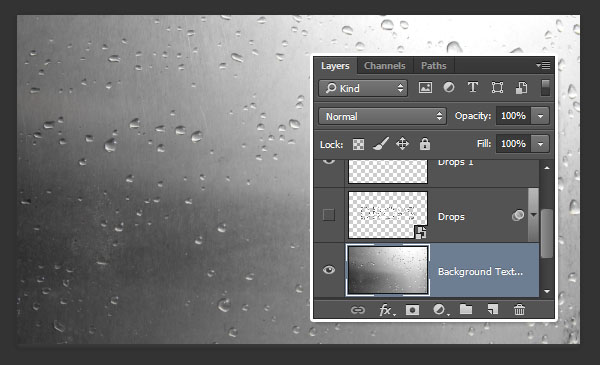
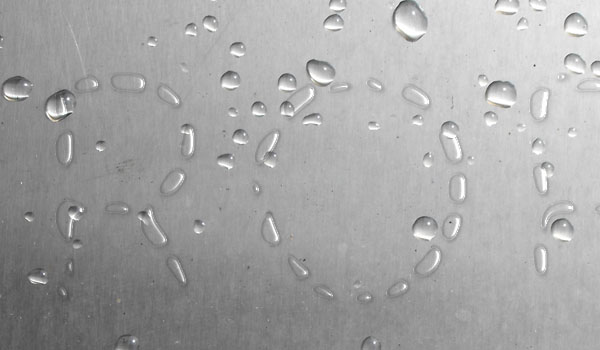
You can add in any background image of your choice, but for this tutorial, we’re going to use a brushed metal with raindrops one.
So add the Water on Metal Stock image on top of the Background layer and resize it to fit within the document.
5. Style the Drops 1 Layer
Double-click the Drops 1 layer to apply the following Layer Style:
Step 1
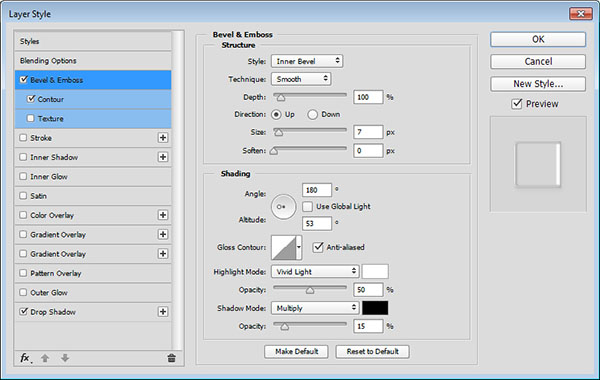
Add a Bevel and Emboss with these settings:
- Size: 7
- Uncheck the Use Global Light box
- Angle: 180
- Altitude: 53
- Check the Anti-aliased box
- Highlight Mode: Vivid Light
- Opacity: 50%
- Shadow Mode – Opacity: 15%
Step 2
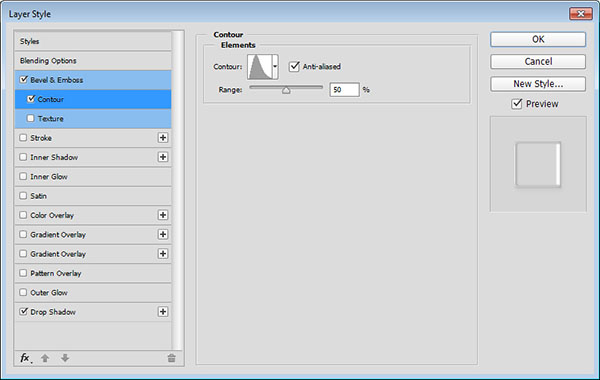
Add a Contour with these settings:
- Contour: Cone – Asymmetrical
- Check the Anti-aliased box
Step 3
Add a Drop Shadow with these settings:
- Opacity: 5%
- Distance: 3
- Size: 5
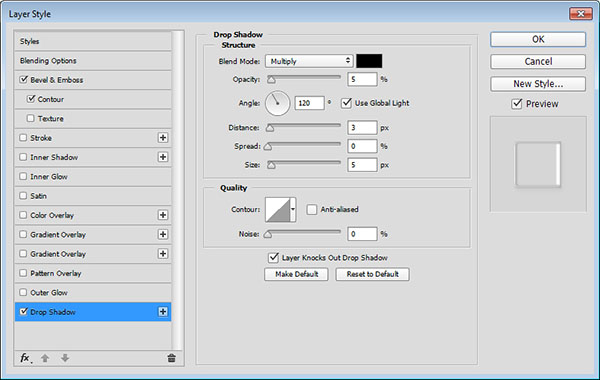
This will style the first layer of drops.
6. Style the Drops 2 Layer
Double-click the Drops 2 layer to apply the following Layer Style:
Step 1
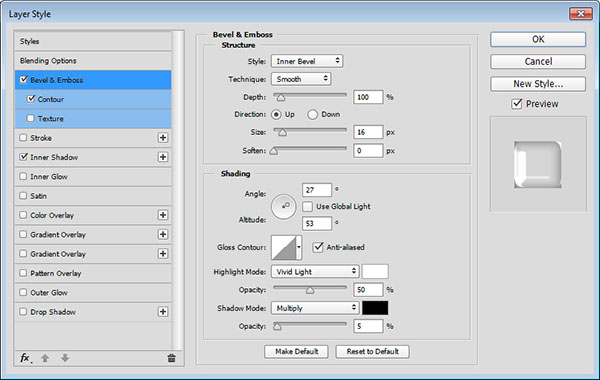
Add a Bevel and Emboss with these settings:
- Size: 16
- Uncheck the Use Global Light box
- Angle: 27
- Altitude: 53
- Check the Anti-aliased box
- Highlight Mode: Vivid Light
- Opacity: 50%
- Shadow Mode – Opacity: 5%
Make sure to change the Angle and Altitude values to match the lighting of the drops on the background image you’re using.
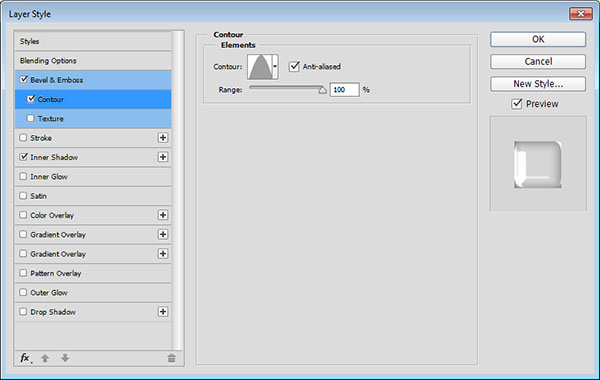
Step 2
Add a Contour with these settings:
- Contour: Cone
- Check the Anti-aliased box.
- Range: 100%
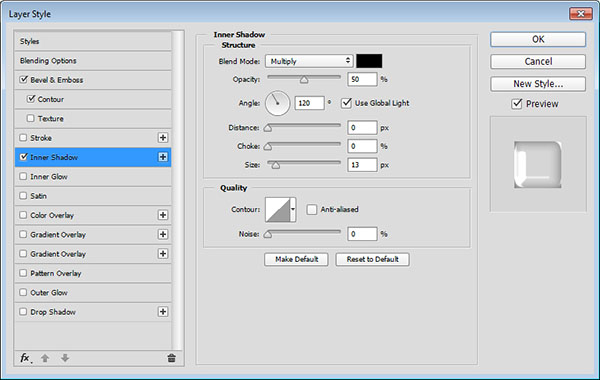
Step 3
Add an Inner Shadow with these settings:
- Opacity: 50%
- Distance: 0
- Size: 13
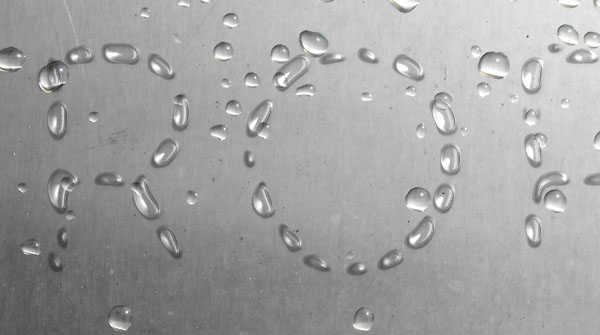
Step 4
This will style the second drops layer. You can adjust your values as needed.
7. Modify the Background
Step 1
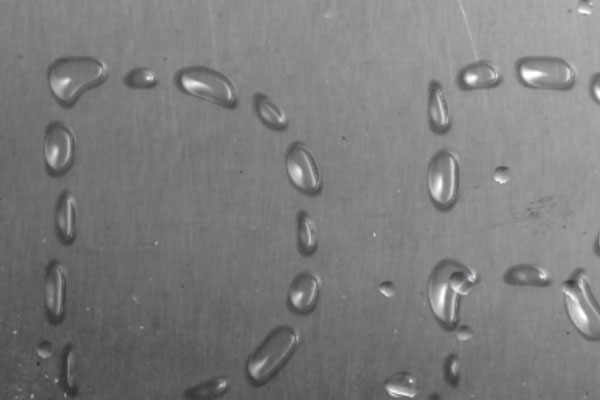
As you can see, the text does not look good with the drops all over the background image. They overlap, have different sizes, and overwhelm the text.
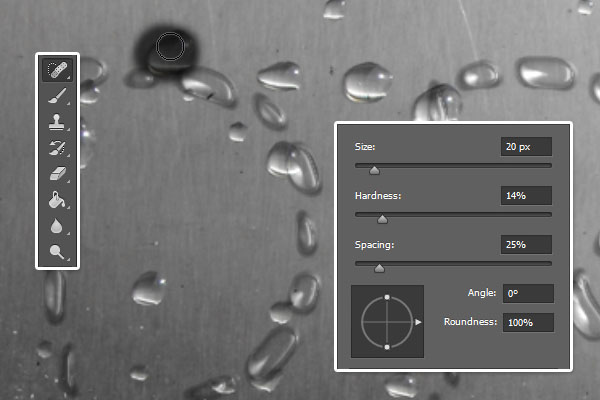
So what we’ll do next is remove some of those drops to enhance the final result. To do so, pick the Spot Healing Brush Tool, and choose a soft round brush with a drop-like size.
Then, paint over each drop you want to remove. You can go over the same area a couple of times until it looks clean.
Step 2
The Spot Healing Brush Tool should work just fine, but feel free to use any other tools you like to get the result you want.
Step 3
Continue working on the background image until you get a result that you like.
8. Add More Textures
Step 1
Now, we’re going to add a blurred texture to adjust the lighting of the drops and make them look more realistic.
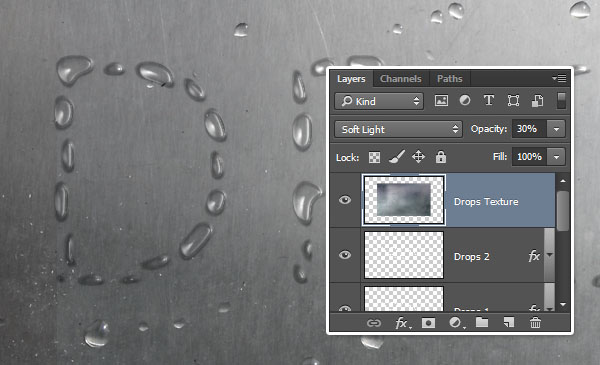
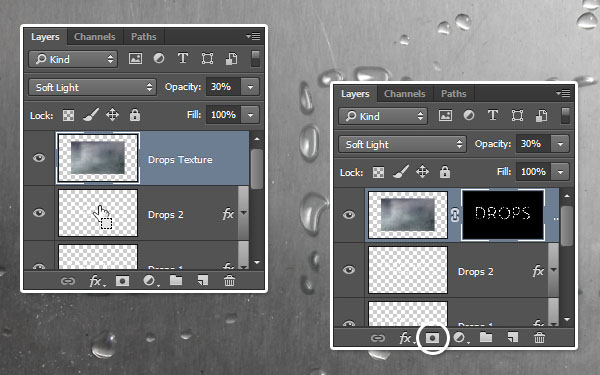
So add the Kagami – Texture 06 image on top of all layers and call it Drops Texture. Resize it to cover the text, then change its layer’s Blend Mode to Soft Light and its Opacity to 30%.
Step 2
Command-click the Drops layer’s thumbnail to create a selection. Then select the Drops Texture layer and click the Add layer mask icon at the bottom of the Layers panel.
Step 3
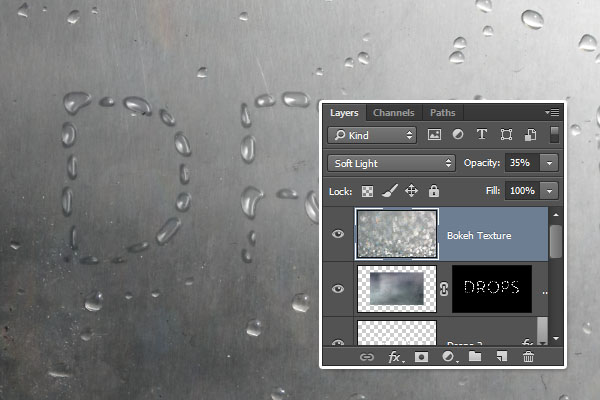
Bokeh textures are a great addition to make a design pop a bit more.
Add the bokeh texture image on top of all layers, resize it as needed, and rename its layer to Bokeh Texture. Change its Blend Mode to Soft Light and it Opacity to 35%.
9. Add Some Coloring
Step 1
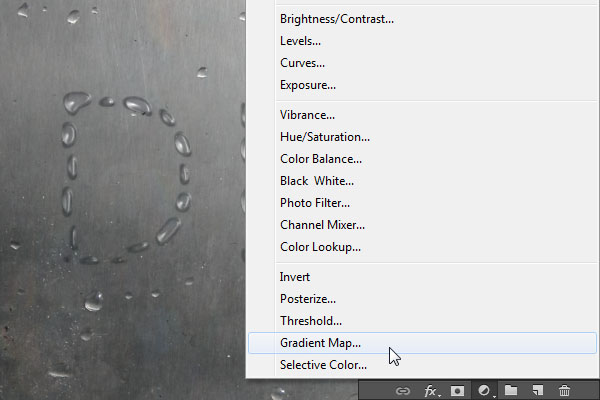
Click the Create new fill or adjustment layer icon at the bottom of the Layers panel and choose Gradient Map.
Step 2
Choose the gradient fill below, check the Dither box, and change the adjustment layer’s Blend Mode to Linear Burn and its Opacity to 20%.
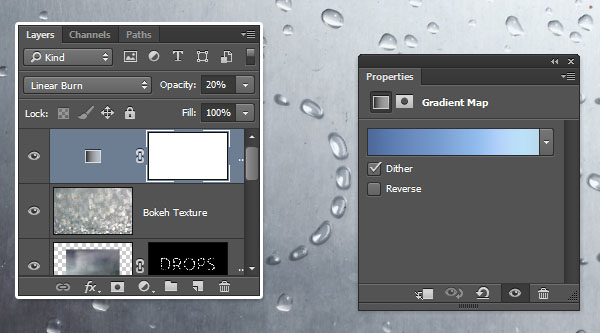
Step 3
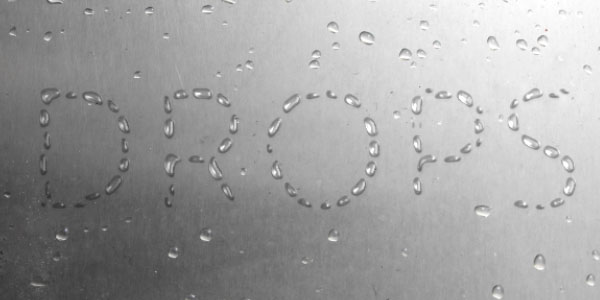
This will add a nice blue coloring to the final result.
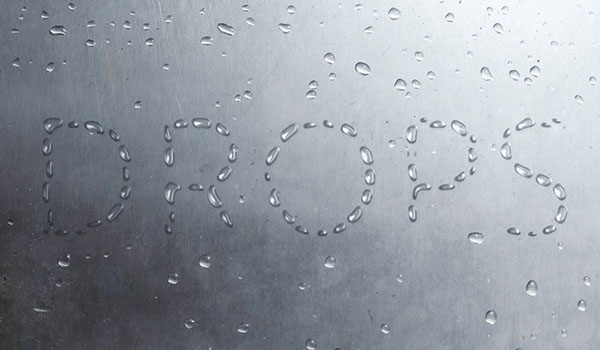
Congratulations! You’re Done
In this tutorial, we created some white text on a black background, and used a couple of filters with an alpha channel to turn the text into little droplets.
Then we styled the drops and added a background image. After that, we modified the background image to get a better and cleaner outcome.
Finally, we added some more textures and an adjustment layer to enhance the coloring of the final result.
Please feel free to leave your comments, suggestions, and outcomes below.