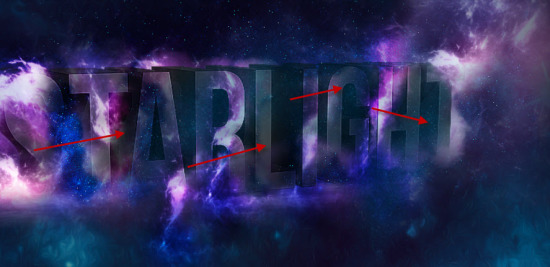
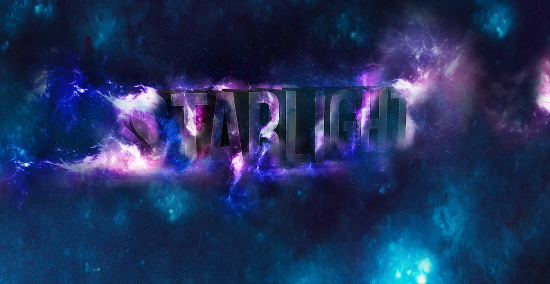
In this tutorial, I will show you the process of creating this 3D star light text effect in Photoshop. We will use a number of manipulation techniques such as layer blending, adjustment layers and various tools such as brush, eraser and free transform tools.
Note: The Photoshop tutorial is done in Photoshop CC – therefore some screenshot may have slighting different layout as in the earlier version. Some brushes are exclusive to Photoshop CS6.
Here is a preview of the final effect I have for this tutorial: (click to enlarge)

PSD File Download
To complete this tutorial, you will need the following stocks:
Nebula Texture Stock by ex-astris1701
Step 1
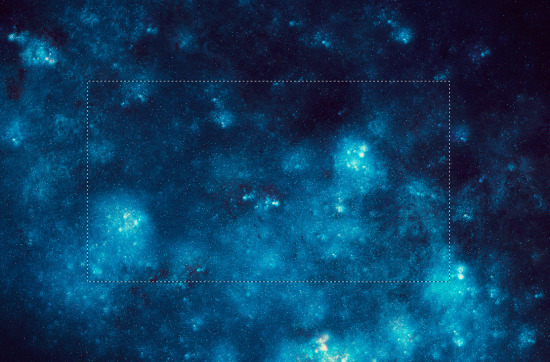
Create a new document sized 1200px * 620px with black background. Load the “Starfield” stock image into Photoshop and select a portion of it as shown below:
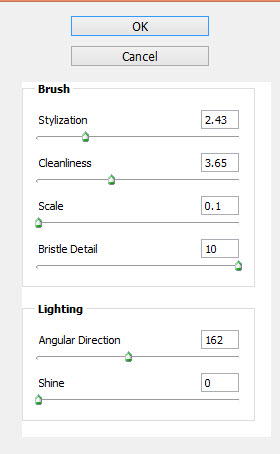
Optional step: Apply the following “Oil Paint” filter (Filter >> Oil Paint, only available in Adobe CS6 or above):
Use a big soft eraser, fade the edges of the starfield layer as shown below:
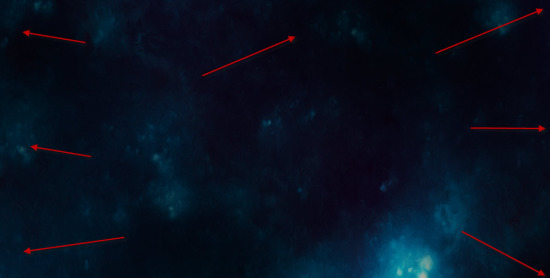
Go back to the starfield stock image and use a Lasso Tool with 40px feather to make a selection as shown below:
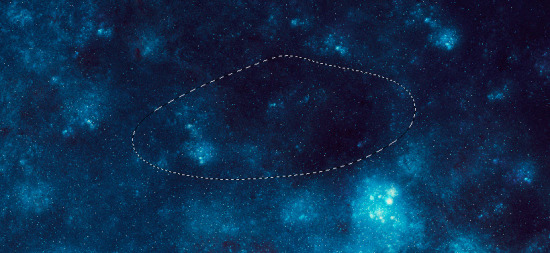
Copy and paste the selection of stars to our document, move the stars to the bottom right and change its layer blending mode to “Screen” and Opacity to around 60%:
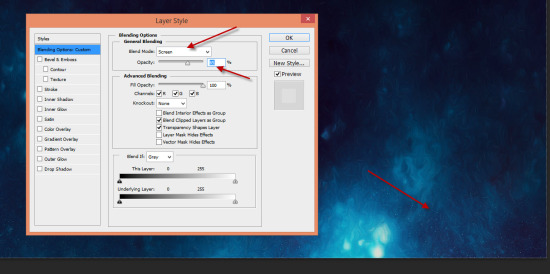
Repeat the above process and add one more stars to the bottom left of the canvas:

Step 2
We will start working on our text in this step. If you have Photoshop CS6 or above, feel free to render your own 3D text using this font. If not, you can simply download my render:
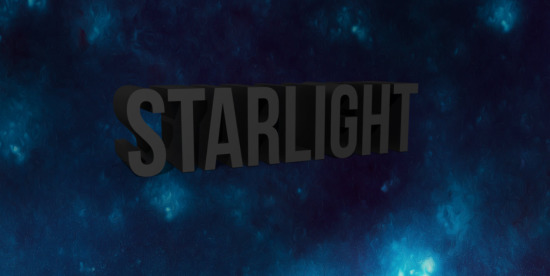
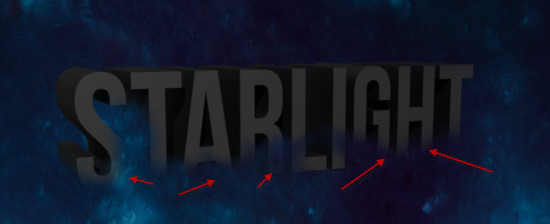
Add a layer mask to this text and use a soft eraser to remove some parts off the bottom of the texts:
Apply the following Unsharp Mask (Filter > Sharpen > Unsharp Mask):
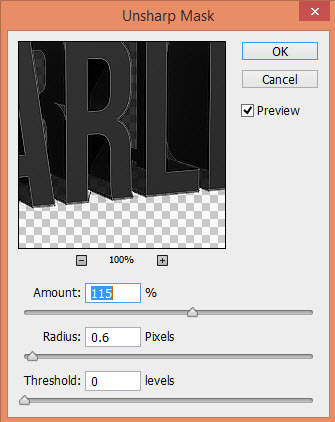
This unsharpmask filter will give the texts a highlighted edge as shown below:
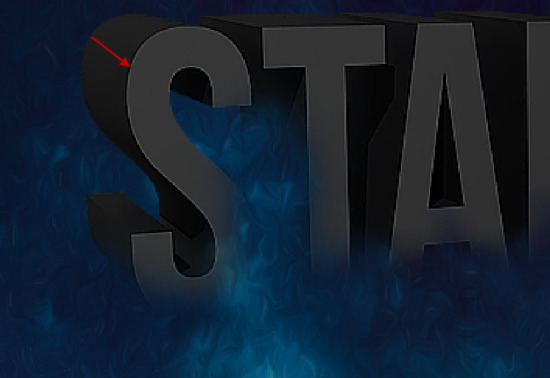
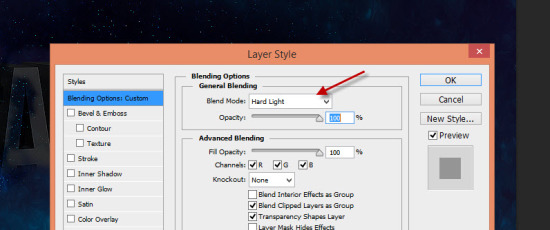
Grab a piece from the “Starlight” stock image and copy + paste it to our document, make sure it covers our texts. Set its layer blending option to “Hard Light”:
Use a soft eraser to remove parts of the texture to remove the letters below:
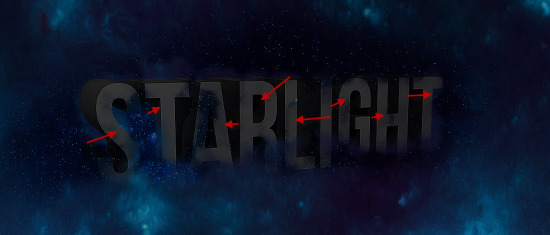
and here is the effect so far:
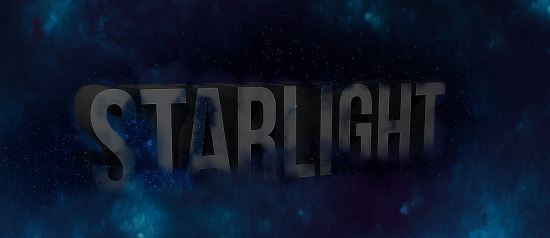
Step 3
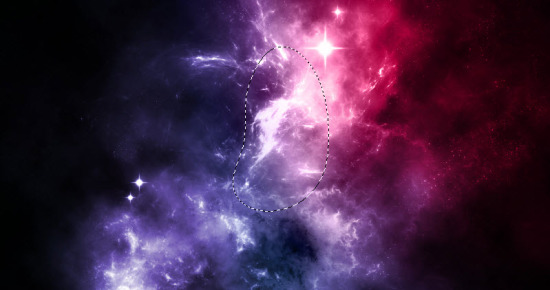
Load the nebula texture into Photoshop and use the Lasso Tool with 40px feather to make a selection as shown below:
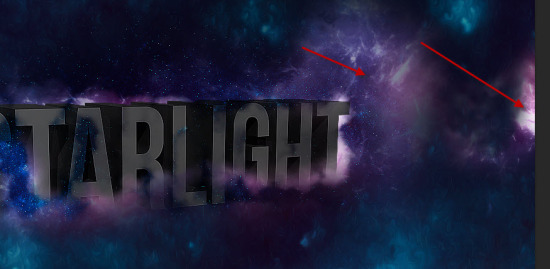
Copy and paste the selection to our document and place it behind our texts. Use a soft eraser to fade its edges as shown below:
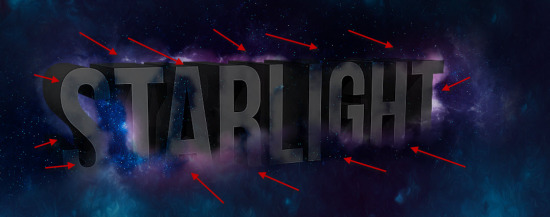
Repeat the above process and add more nebula texture to the right of the text:
Step 4
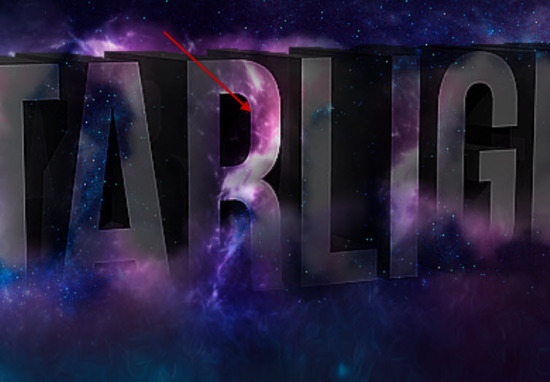
We will add the nebula texture over the text in this step. Use the same selection method as in the previous step, copy and paste some textures from the nebula stock. Make sure you use the free transform tool to adjust the size of the texture, and use the layer blending mode “Overlay”:
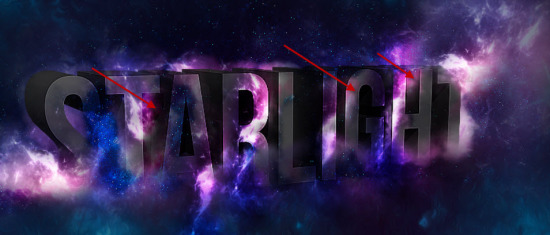
Continue to add more textures over our texts:
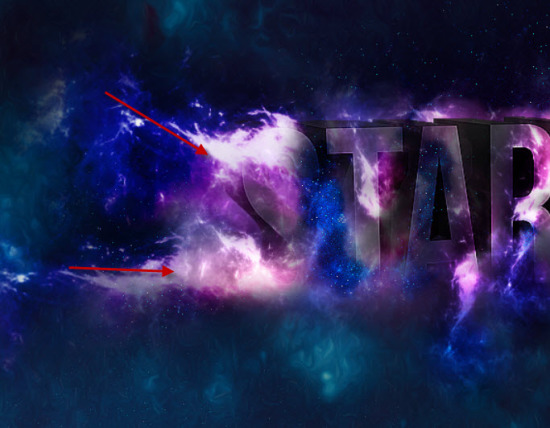
I specifically added some “flaming” nebula texture for the letter S:
Step 5
We can add some stars over our text. Select another piece from the Starfield stock image as shown below:
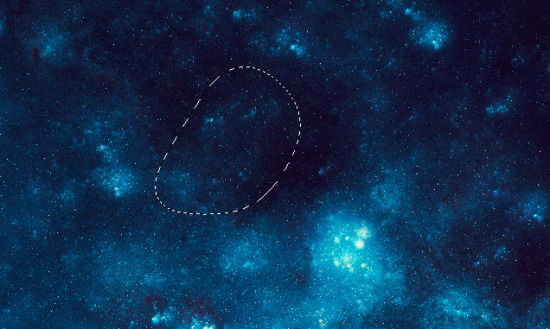
Cover the text with the star texture, then set the layer blending mode of the new star texture layer to “Screen”:
Step 6
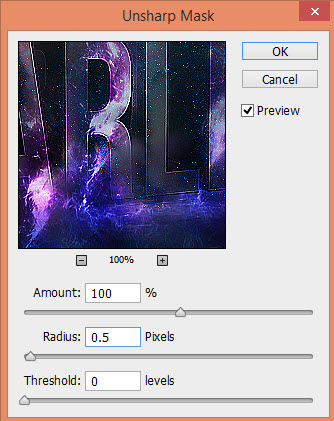
We’re almost done! For final touch-ups, we can flatten the layers, then apply the following “Unsharp Mask” filter to the flattened layer:
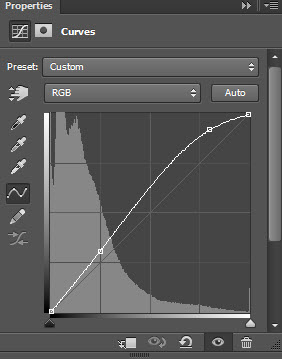
Add the following “Curves” adjustment layer on top:
and here is the final effect: (click to enlarge)
That’s it for this tutorial! Hope you enjoy it and find it useful. Till next time, have a great day!

