In today’s Photoshop tutorial we’re going to create a cool portrait effect using a long passage of text that bends and deforms around the contours of the face. Known as a Calligram, this effect is particularly powerful when used to present famous quotes or speeches by depicting the author/speaker with the actual words. Photoshop’s Displace filter is the key ingredient in this recipe which allows us to accurately wrap the text around the subject.

In my example, I’m combing a stock photo with a transcript of the speech from the movie The American President (1995) to create a totally fictional presidential address, but this calligram effect would be a great style for a series of famous speeches from the real American presidents of the past.
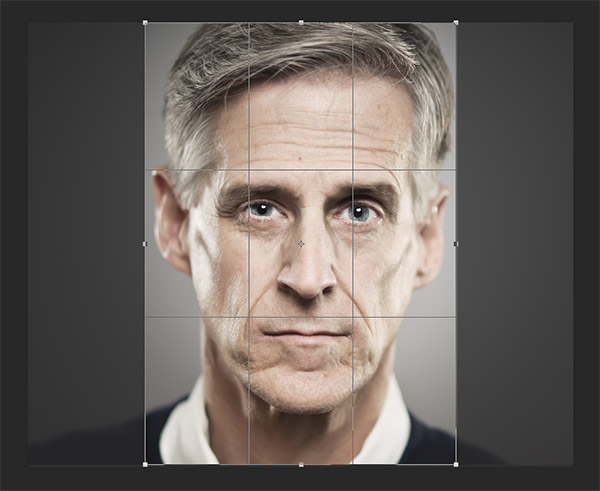
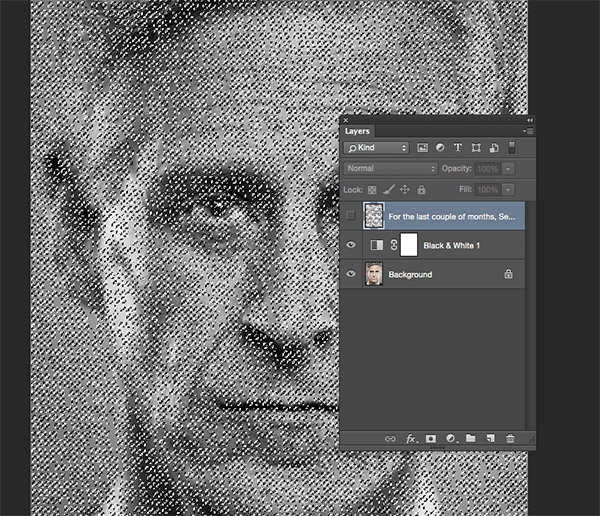
Begin with your chosen image in Photoshop. I’m using this stock portrait of a senior man from Shutterstock. Crop your image to fit into your final poster dimensions.
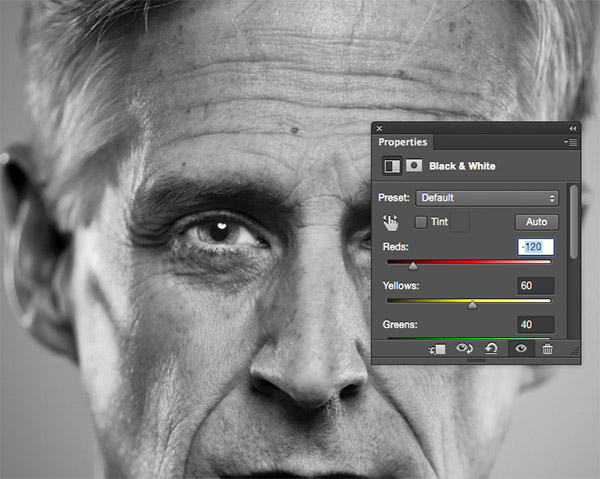
Add a Black and White Adjustment Layer and add more contrast to the image by darkening the Red channel. Unlike a normal Levels or Brightness/Contrast adjustment, altering the Red channel only produces some lovely tones.
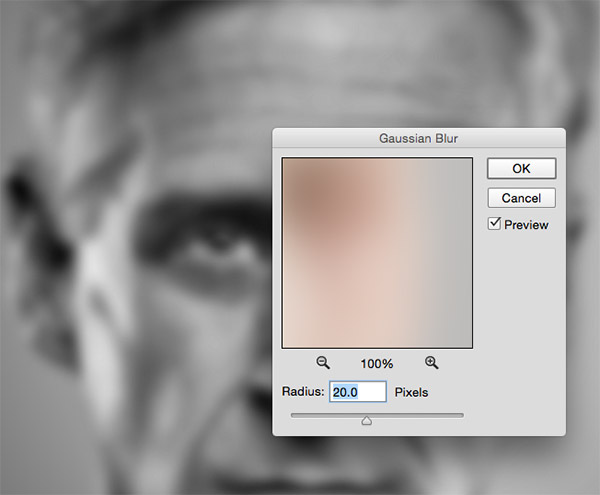
Select the image layer then add a Gaussian Blur from the Filter menu. Enter around 20px for the radius. This blurring will help soften the displacement effect.
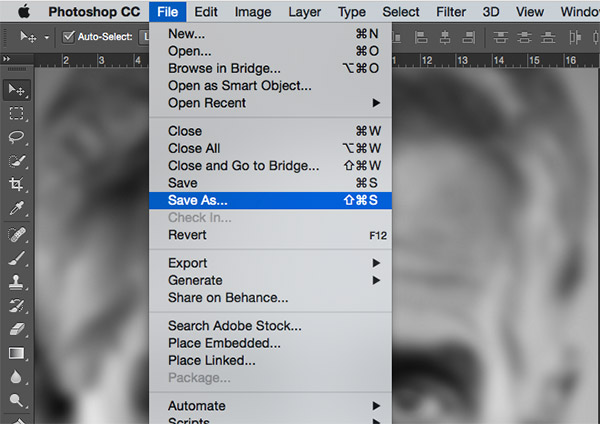
Go to File > Save As and save this document as displace.psd, then use the Step Backward shortcut of CMD+Alt+Z to undo the blurring effect.
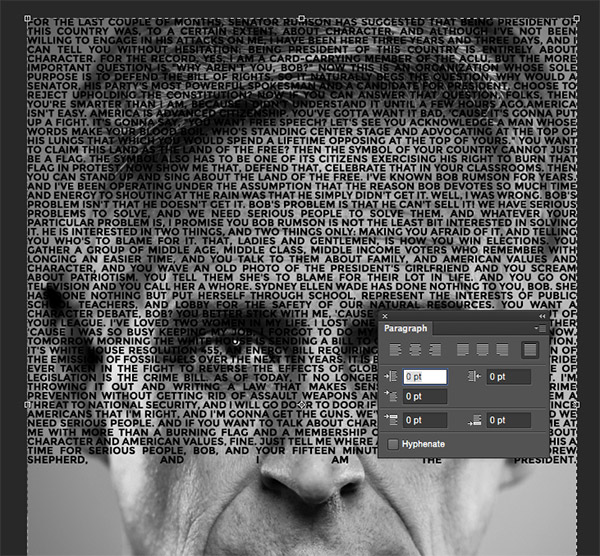
Select the Type tool and draw a container across the entire document. Paste in your chosen quote/speech and delete any line breaks to leave a continuous wall of text. Turn off the Hyphenate option and select a Justified paragraph layout.
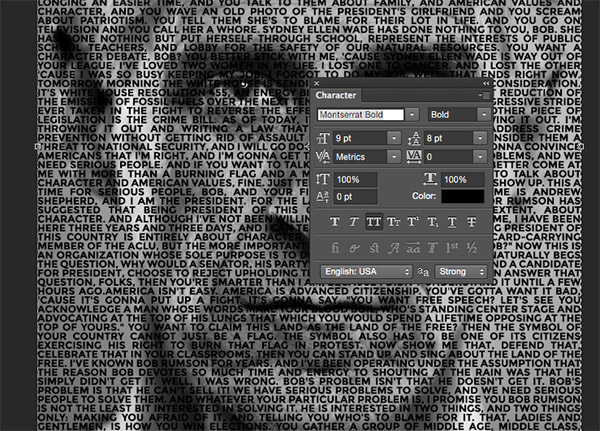
If the text doesn’t completely fill the image simply copy and paste the contents to fill out the required space. Select a font for your design, I’m using Montserrat Bold in uppercase. Reduce the text size and leading so the text densely covers the portrait.
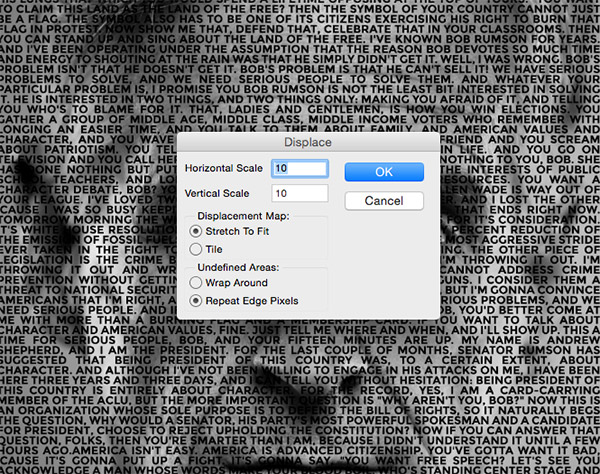
With the text layer selected, go to Filter > Distort > Displace. Agree to Rasterize the type, then enter 10 in the Horizontal and Vertical scale options. After clicking OK, navigate to the displace.psd file we saved earlier.
CMD+Click the thumbnail of the displaced text layer to load its selection, then turn off the layer visibility. Go to Edit > Copy Merged (or CMD+Shift+C) to take a clipping of the face using the outline of the words.
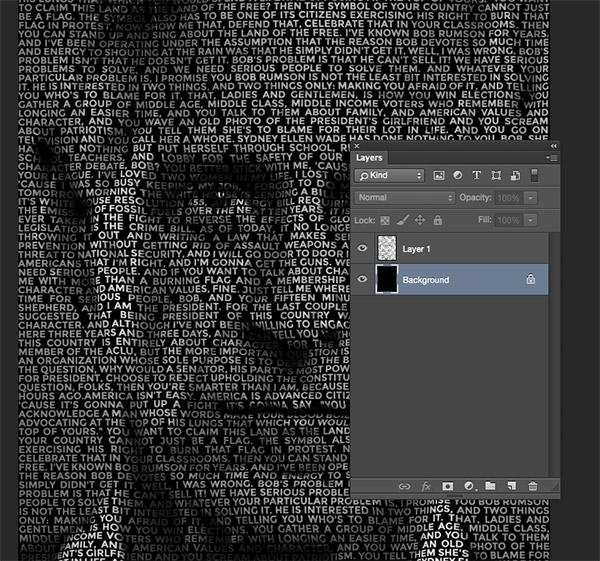
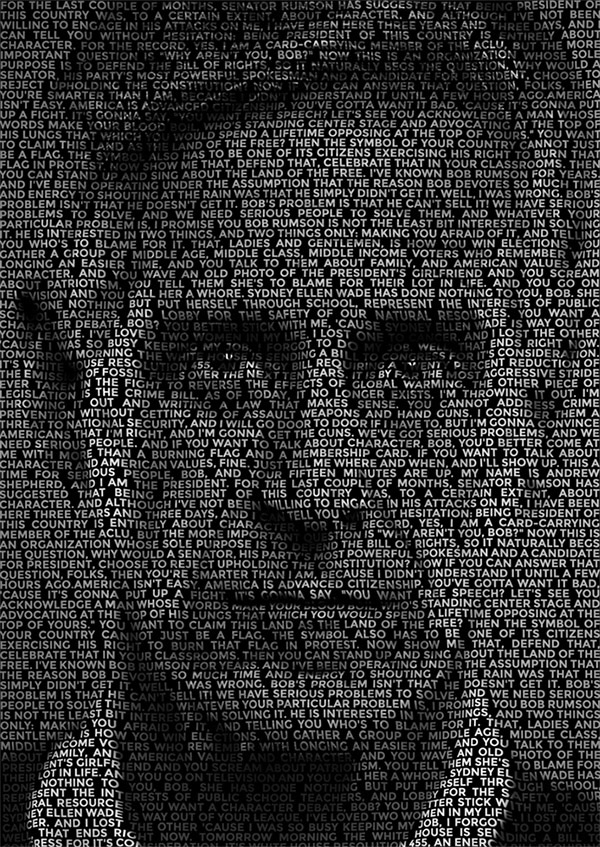
Create a new document, which Photoshop will automatically size to the dimensions of your text clipping. Paste in the artwork, then fill the background with black to see the original portrait constructed out of tiny words that warp around the facial contours.
Thanks to the displacement effect, the portrait image is still clearly visible despite being made from a wall of text. From a distance it looks like a simple pattern overlay, but up close it becomes intriguing to read the tiny words that construct the image.