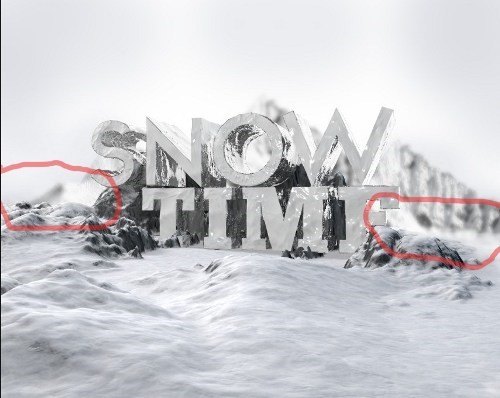
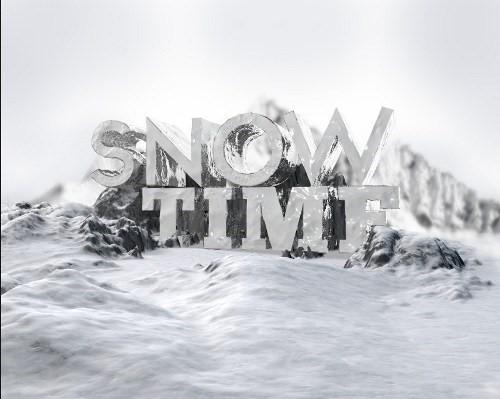
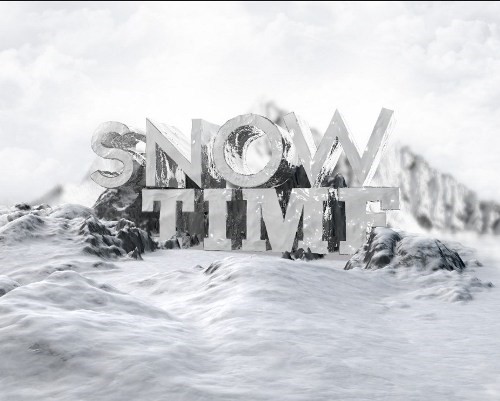
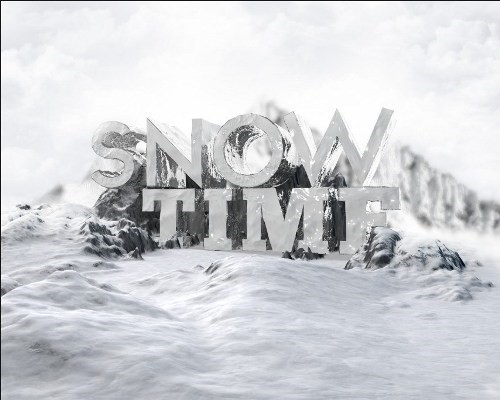
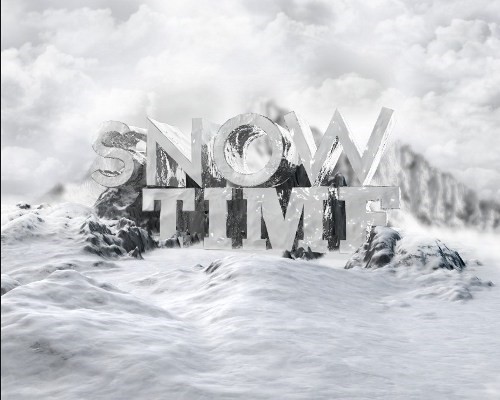
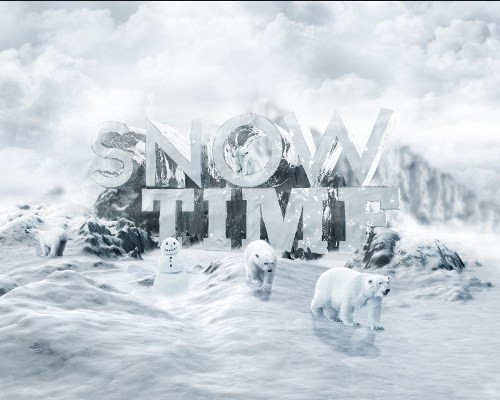
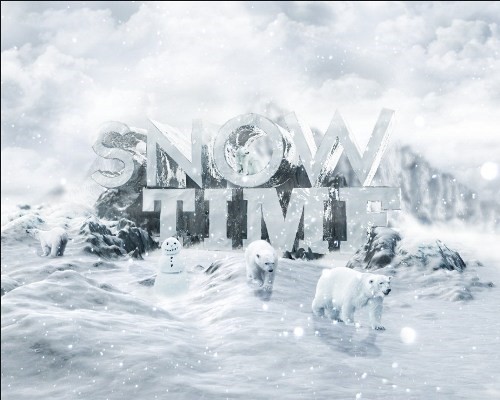
In this tutorial, I will walk you through the steps to create this 3D Snowy Text Effect Using Cinema4D and Photoshop. We will render the 3D text in Cinema4D, then apply the snow effect in Photoshop. Have a try!
Final Image Preview
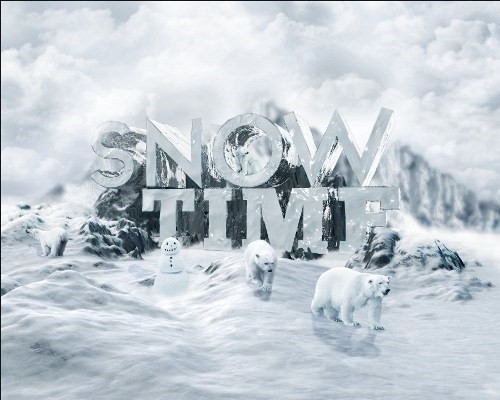
This is my final effect for this tutorial
To complete this tutorial, you will need:
Software:
Photoshop & Cinema4D
Stock Images:
Bear 1- http://arrsistablestock.deviantart.com/art/polar-bear-99584420
Bear 2 – http://lindsayfabulous.deviantart.com/art/polar-bear-107694167
Bear 3 – http://sikaris-stock.deviantart.com/art/polar-bear-stock-1-245809945
Bear 4 – http://monsterbrand-stock.deviantart.com/art/polar-bear-008-363542581
SnowMan – http://jssanda.deviantart.com/art/pre-cut-png-snowman-340416921
Snow 1- http://fairiegoodmother.deviantart.com/art/let-it-snow-stock-4-153069731
Snow2 – http://mimose-stock.deviantart.com/art/snow-at-night-105467263
Snow Material – http://cinema4dmaterials.com/textures/snow-and-ice.html
Mountain Stock – https://www.dropbox.com/s/atb3ldrzlo4tt3/10296.jpg (came with an advanced Photoshop magazine CD stock images)
Let’s get started!
STEP 1
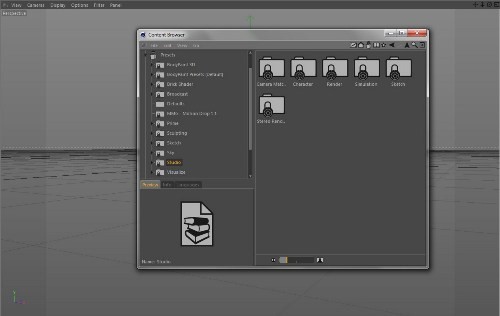
Open up Maxon Cinema 4D and go to > Windows > Content Browser > Studio:
STEP 2
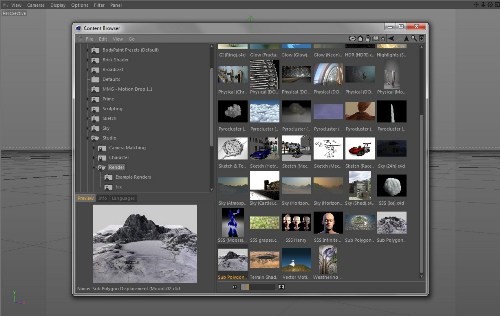
Select Render under the Studio Folders and scroll down to the Sub-polygon displacement mountain 02:
STEP 3
Open the Mountain Render then you should get this image on your C4D which we will be using as our ground and basically create a scene around it.
STEP 4
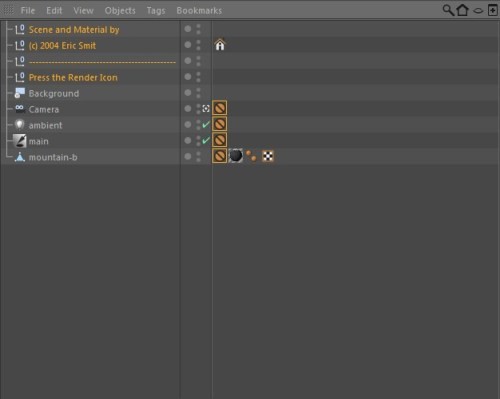
Now thing is we can’t really move the camera angles cause the Render is locked into position by Eric Smit created in 2004 so it says haha.. let us select the orange icons and delete them as well as the other written stuff highlighted in orange as shown:
STEP 5
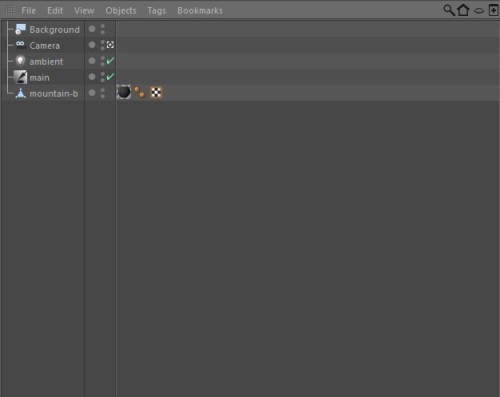
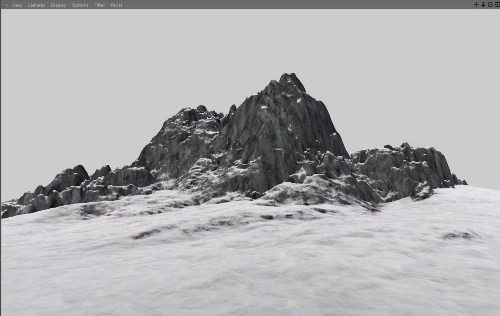
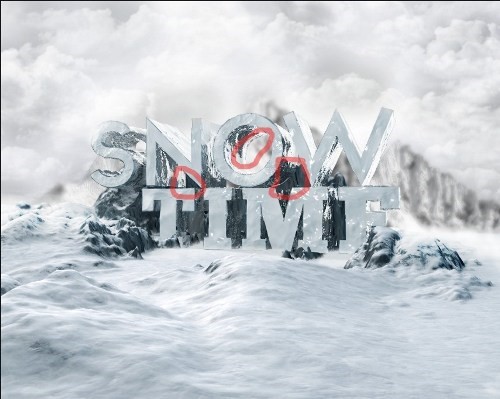
Here is how it looks now before we begin:
STEP 6
As from now the camera is moveable again then we should get a good position to start working on and adding text too, focus on getting the front view of the mountain peak with a good angle that’s lying low almost before the ground similar to this one:
STEP 7
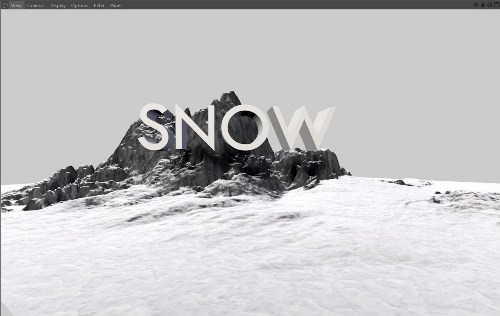
Now let’s add some typography into the scene starting with “Snow” and using a TW CEN MT Font with the depth set 55cm:
STEP 8
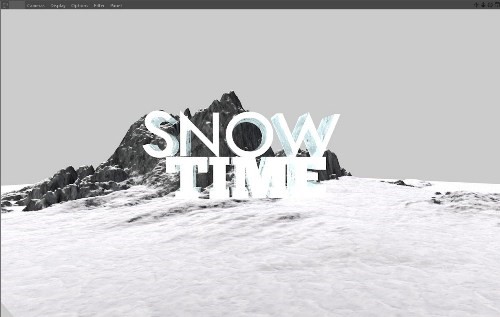
Then add in the “Time” with a ChunkFive Roman font also giving it the same depth of 55cm and Height set on 79cm, if you don’t have the font you can download it on http://dafont.com:
STEP 9
Now open the Realistic Ice Material and apply it to the Snow and Time typo as this should now be your look:
STEP 10
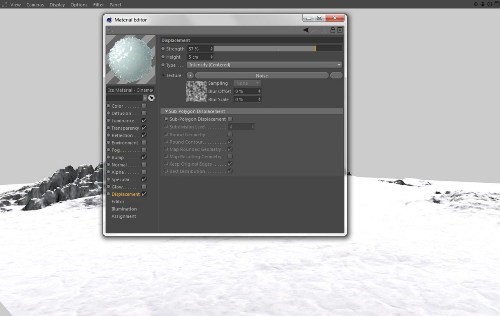
Now here’s a trick that will help you shape the ice on the words, double click on the ice material and turn on Displacement. You will see strength and height which you could use to increase more size on the ice and edges too in ways of experimenting on a new nicer look:
STEP 11
Basically we done with Cinema 4D just keep dragging the words back and forth to get a proper middle form with the Mountain and Words all in the same place also use lights to give it more depth:
STEP 12
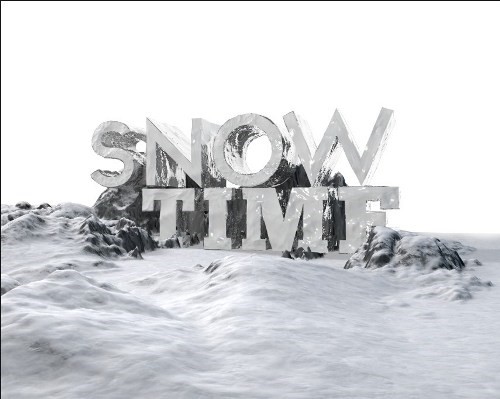
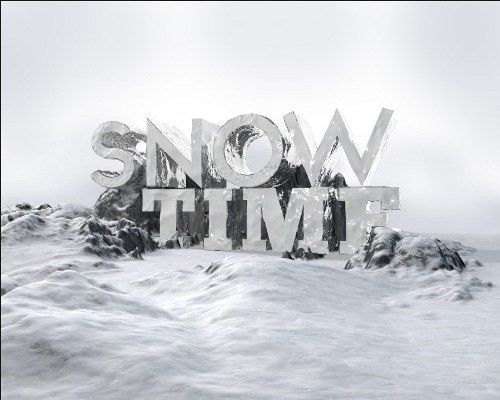
Now save the Image so you can use it in Photoshop and add more to your scene. Here is our image now in Photoshop with the background painted with a Grey soft light brush set on 0% hardness:
STEP 13
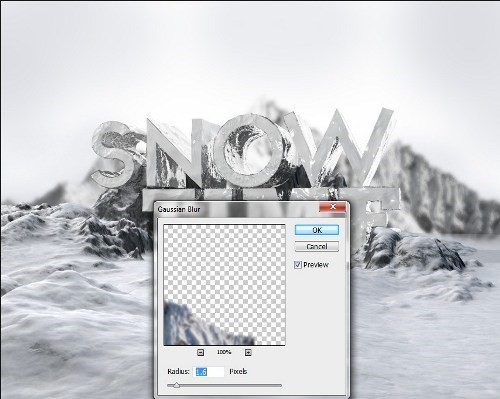
Add Mountains now behind the SnowTime Scene with the Mountain Stock, basically duplicating the same image on the sides and the top part then lastly blur it using Gaussian Blur radius set on 1.6 pixels:
STEP 14
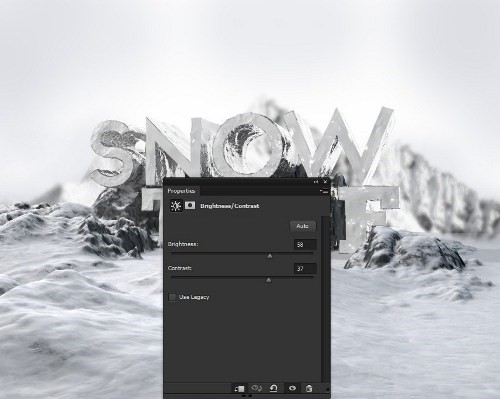
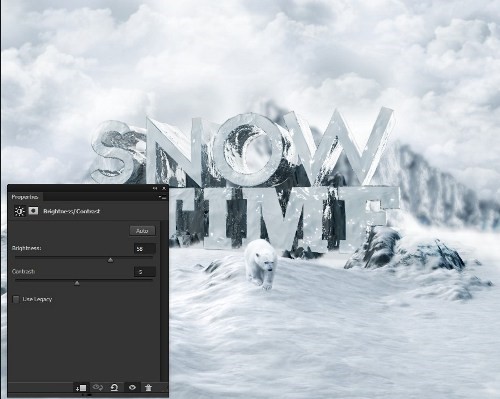
The mountains need some brightness on them to blend well with the front landscape, Grab the Brightness/Contrast adjustment layer set on Brightness – 58 Contrast – 37:
STEP 15
Got a nicer scene now which will need to put in a Fog using a soft brush set on 0% hardness and brush over the sides or download a Fog brush from http://brusheezy.com/tag/fog:
STEP 16
Here’s our image looks now:
STEP 17
Add some clouds using cloud brushes that you can download here http://brusheezy.com/brushes/2187-24-clouds:
STEP 18
Place more Fog on the sides to make it look more reach:
STEP 19
Let’s add some misty look on the areas around the Words mainly the dark areas:
STEP 20
Here’s our look with a better lighter view from the areas we lighted up:
STEP 21
Background seems to be too light let us add a brightness/contrast adjustment layer to settle down the lighting set on Brightness -16 Contrast -28 Remember to use the layer for the background images and not the Cinema4D scene we created:
STEP 22
Select the soft brush once more set on 0% hardness and a light grey color so you can brush around the sky reducing so much lighter sky look and creating a nicer cold atmosphere:
STEP 23
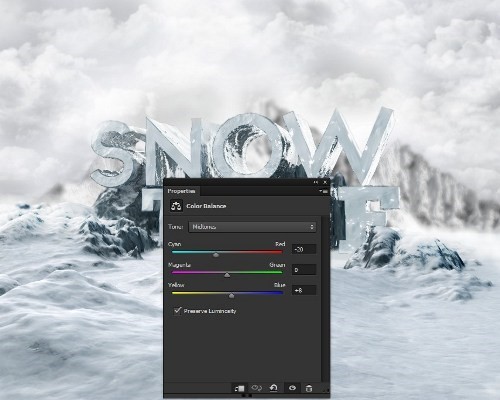
Great look so far, lets add some color to the C4D landscape starting with the Color Balance adjustment layer set on Midtone only with Cyan: -20 Magenta: 0 Yellow: +8:
STEP 24
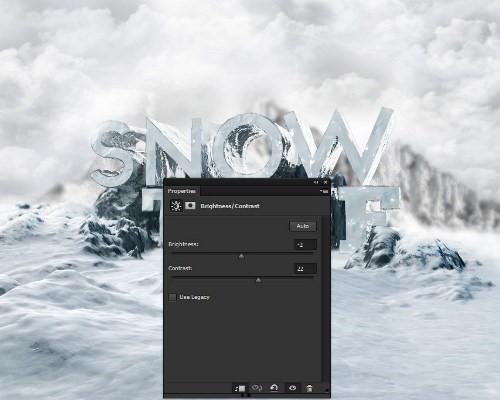
Now a little of some brightness/contrast adjustment set on Brightness: +2 Contrast: 22:
STEP 25
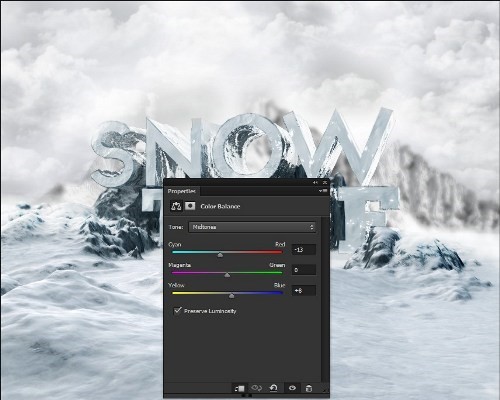
Use a Color balance again now on Midtone Cyan: -13 Magenta: 0 Yellow: +8:
STEP 26
Lastly add some light set on Overlay blending mode using a soft light brush on 0% hardness brushing such areas as shown:
STEP 27
Here is our image looks so far:
STEP 28
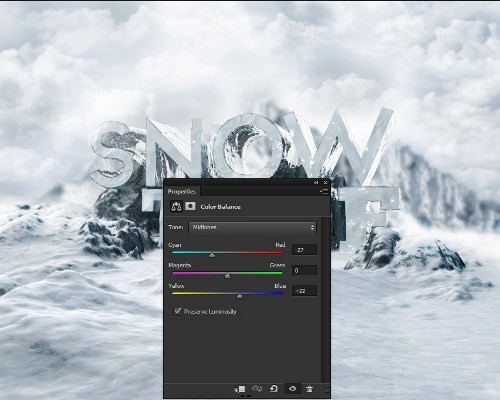
Now moving to the background scene we need to make a bluish atmosphere also using the color balance adjustment layer on Midtone set on Cyan: -27 Magenta: 0 Yellow: +22:
STEP 29
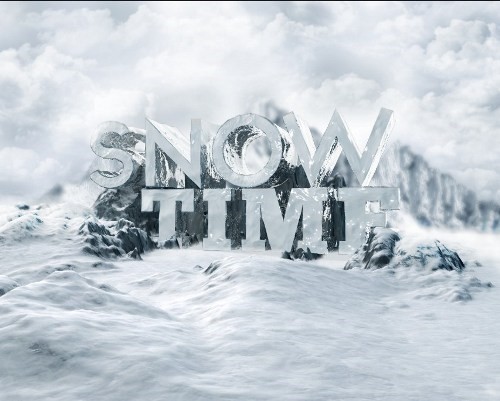
Here’s another preview:
STEP 30
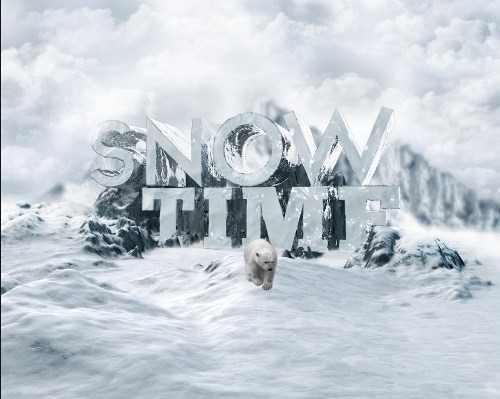
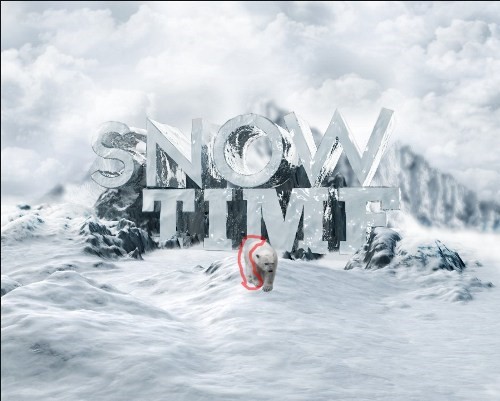
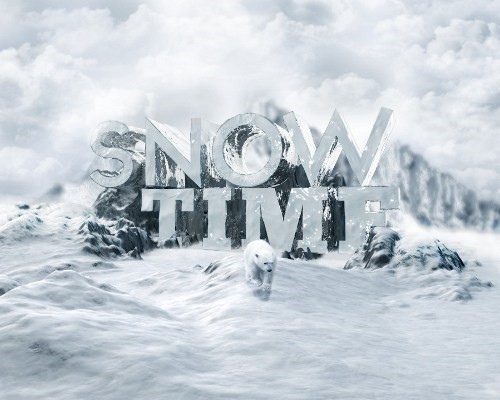
Now our scene looks awesome, let us add in the first polar bear to our scene and rescale {CTR+T} it as shown below:
STEP 31
Use a soft light brush on 0% hardness and brush up the dark areas on the bear to brighten them up:
STEP 32
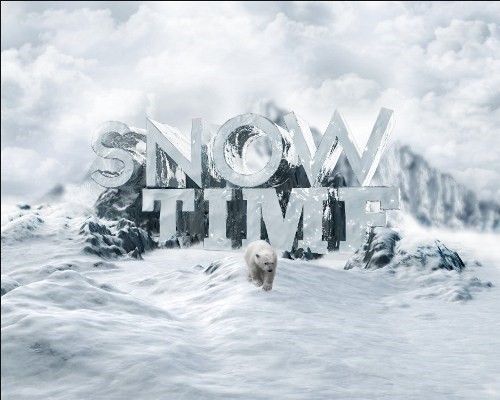
Here’s an outcome of doing so after you have brushed the dark areas on the polar bear:
STEP 33
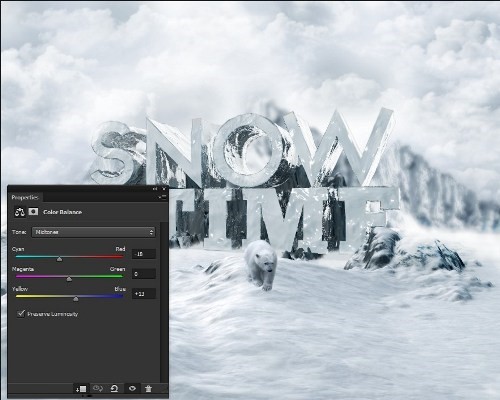
Time for some color using the color balance we going to make the polar bear look like it is in the snow looking bluish starting with the Midtone set on Cyan: -18 Magenta: 0 Yellow: +13:
STEP 34
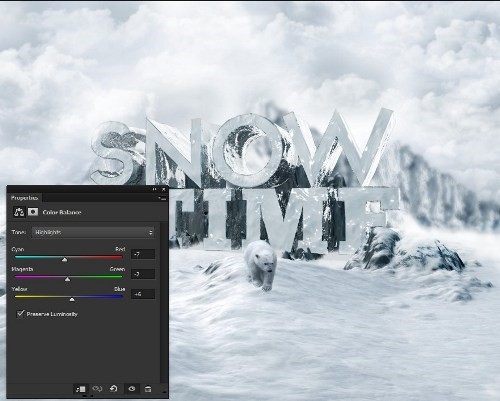
Then select Highlights and set the settings as follows Cyan: -7 Magenta: -2 Yellow: +6:
STEP 35
Now add in a Brightness/Contrast adjustment layer set on Brightness: 58 Contrast: -5:
STEP 36
Lastly set your blending mode on soft light and create a shadow using the same soft brush we use if the shadow isn’t enough just duplicate the same layer again and again to increase the shadow strength:
STEP 37
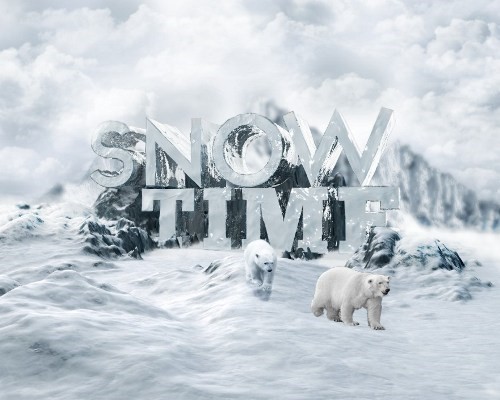
Now let`s add another polar bear into our scene and resize it also:
STEP 38
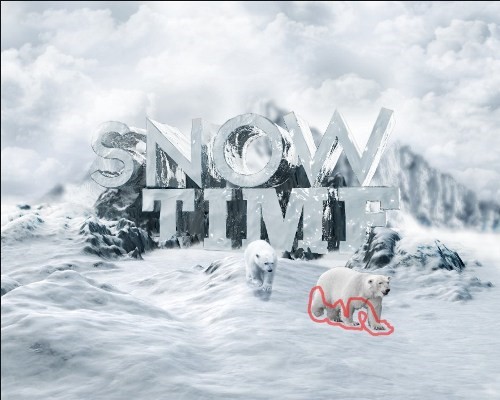
It’s very important to make the feet blend well with the ground therefore we going to apply the same method we used to use a soft brush set on 0% hardness to brush up the areas shown:
STEP 39
Zoom in if you have to, and then add some brightness to those feet:
STEP 40
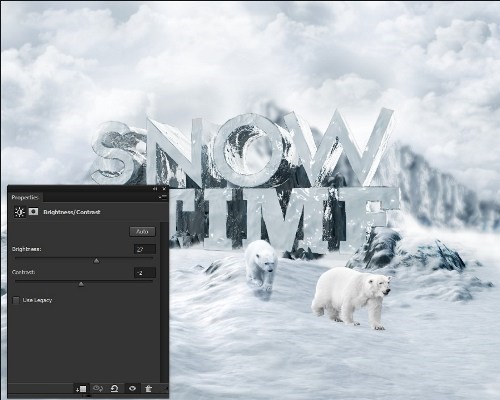
Again same step as before using the Brightness/Contrast adjustment layer to brighten up the bear from its original color set the settings on Brightness: 27 Contrast: -2:
STEP 41
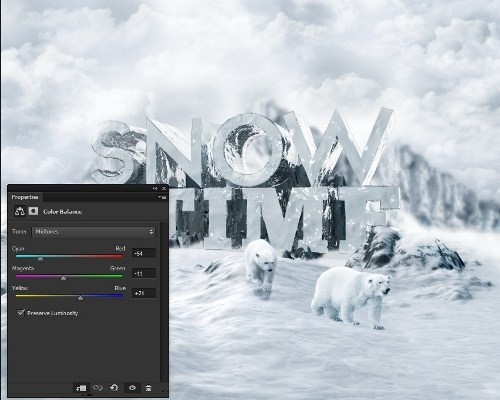
Set the color balance adjustment layer as follows to set the right color for the scene just on Midtone set Cyan: -54 Magenta: -11 Yellow: +21:
STEP 42
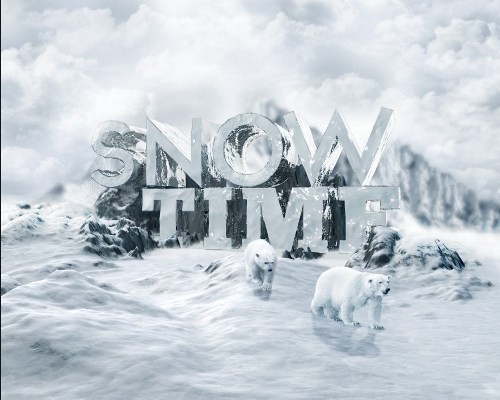
Create a shadow for the polar bear too:
STEP 43
Now repeat the same method we used on the 2 polar bears to the rest of the other polar bears and the snowman too, No other layer has been added just the Brightness/Contrast adjustment layer, Color Balance and adding brightness on the feet with a shadow on it:
STEP 44
I recommend using a Fog brush on creating a mistier look in the sky set the color on pure white:
STEP 45
Add in snow the one named (snow at night) into the image and set the Blending mode to Screen:
STEP 46
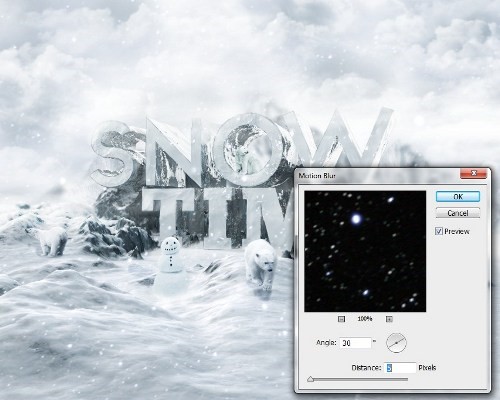
Now duplicate the snow image (CTRL+J) and add some motion for the snow to have some kind of direction and a windy look let’s grab a Motion blur filter and set it on Angle: 30 Distance: 5:
STEP 47
Then time to add in the other snow image titled (let it snow) and set it to Screen also as blending mode then drop the Opacity to 25%:
STEP 48
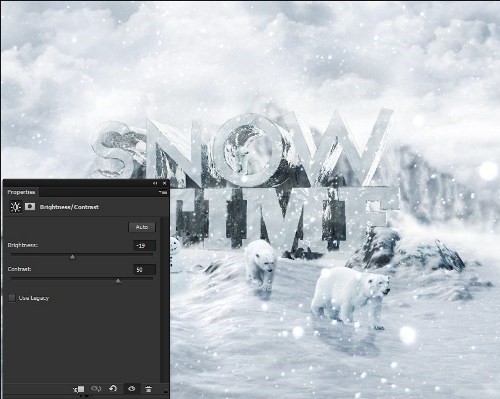
Now for some final touch ups we basically need to use only the Adjustment layers as my usual secret ingredient of ending photo manipulations let’s start with Brightness/Contrast set on brightness: -19 Contrast: 50:
STEP 49
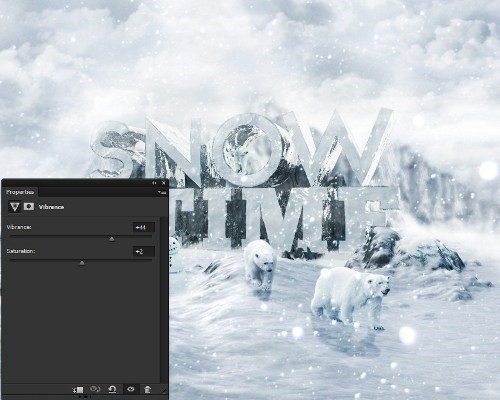
Now add Vibrance set on Vibrance: +44 Saturation: +2:
STEP 50
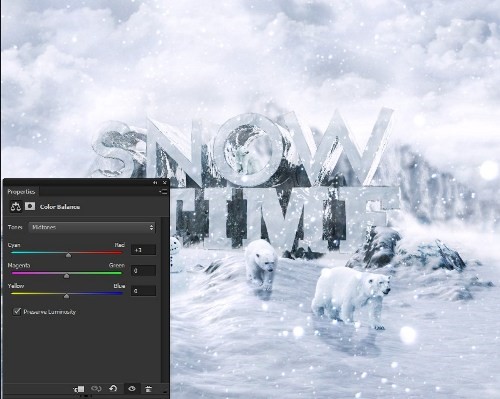
Color Balance set on Midtone only change Cyan to +3
STEP 51
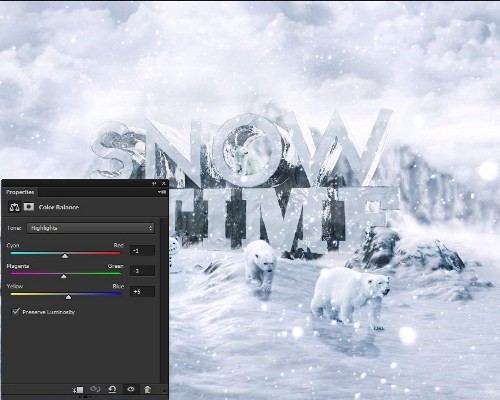
Change the same color balance tone to Highlights now set Cyan: -1 Magenta: -3 Yellow: +5:
STEP 52
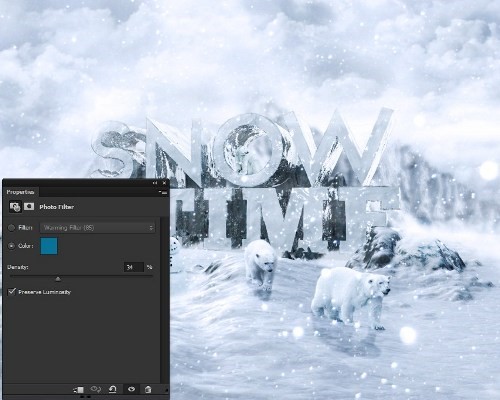
Add Photo Filter set on blue as color #097197 with Density of 34:
FINAL STEP
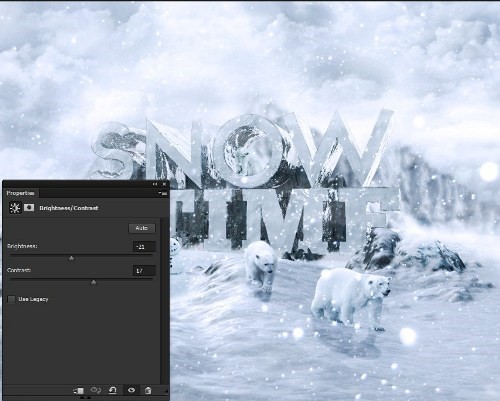
Add another brightness/contrast adjustment layer and set brightness: -21 Contrast: 17. Also erase some areas on the sky using the adjustment layer mask to not look very bright:
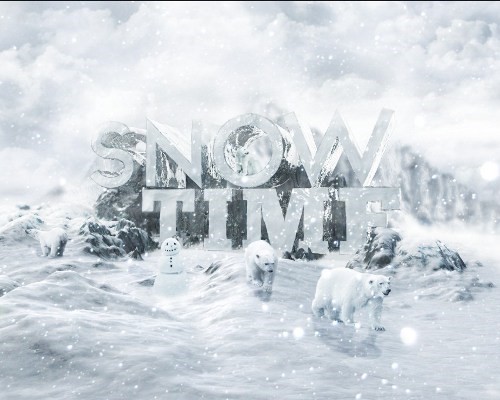
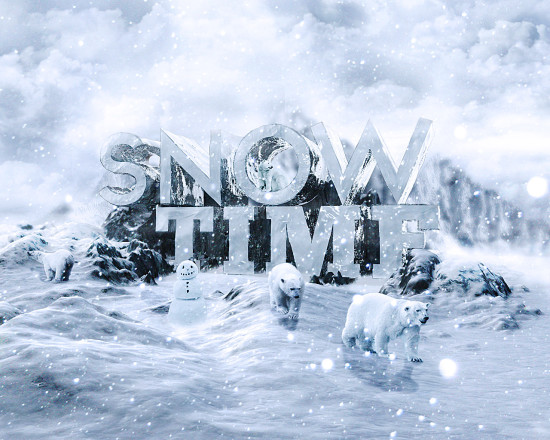
And Congratulations we are done! Here is our final image for this tutorial: (click to enlarge)
Hope you enjoy this tutorial! Till next time, have a great day!

