Tutorial Details
Requirements: Photoshop CS2 and newer
Difficulty: Intermediate
Estimated Completetion Time: 1 hour
In this tutorial we will learn how to remove someone’s head and replace it with object in the background. It does not only apply to heads but to all kinds of objects so you can remove them and replace with a background.
Resources:

1. Open your stock photo in photoshop. File > Open > Open
2. Duplicate background layer so you can edit it. ( CTRL+J )
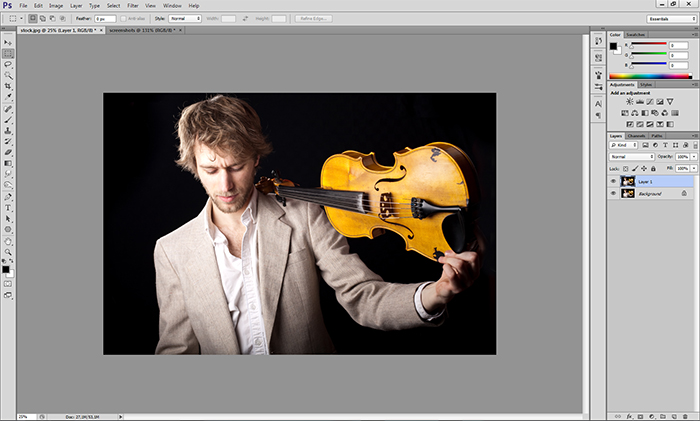
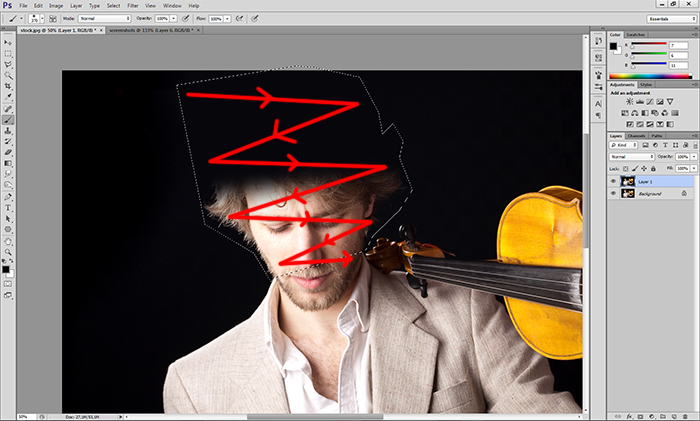
3. Click on Polygonal lasso tool ( L ).
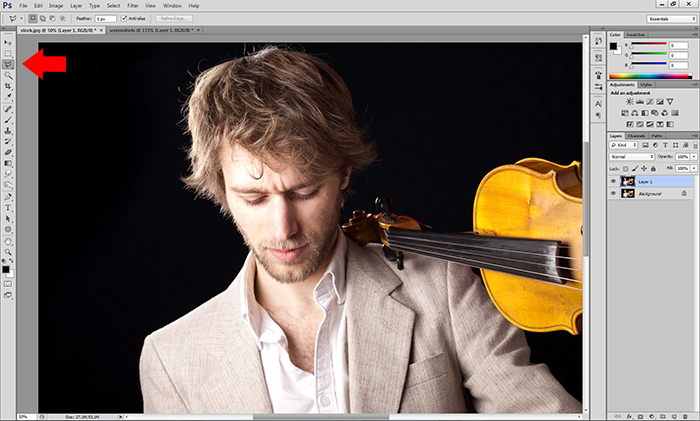
4. Select his head roughly but precise on the ‘meeting’ points.

5. Select Brush tool ( B ) and then right click to bring up brush options. Use a big brush and set hardness to 0%. Opacity on 80%. Use black color.
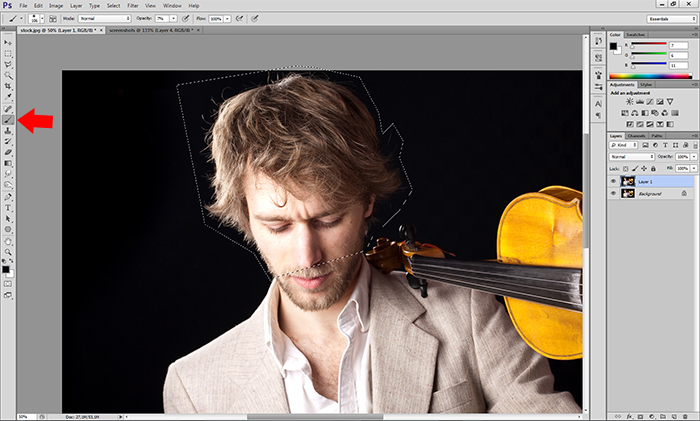
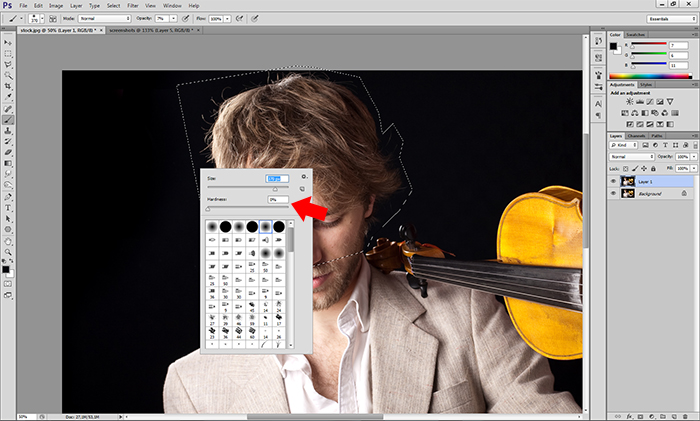
6. Cover the selected area all in black.
7. Zoom on rest of the area and select Pen tool ( P ).
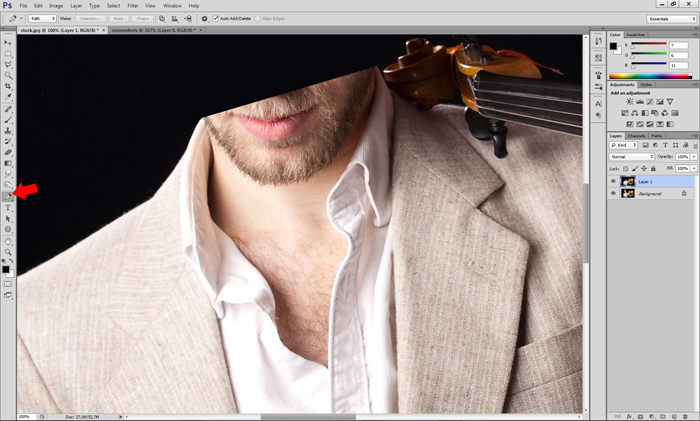
8. Point and click and follow the path, nothing detailed but nothing clumsy.
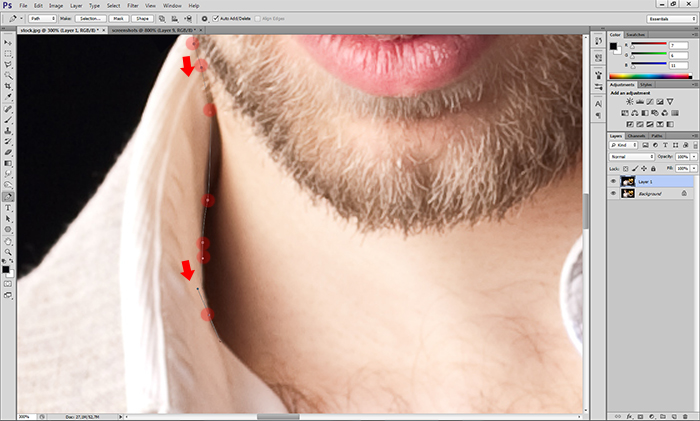
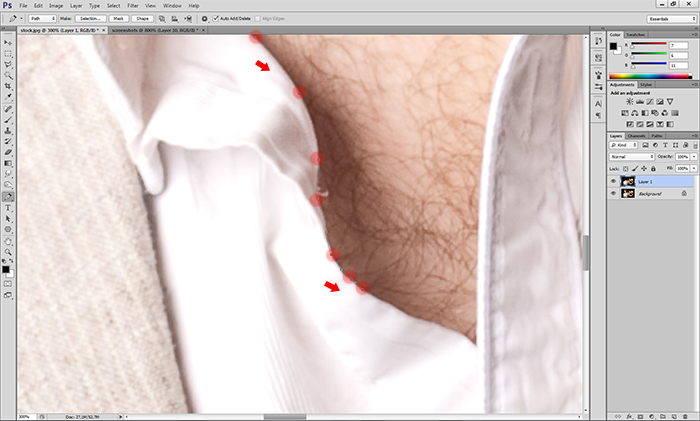
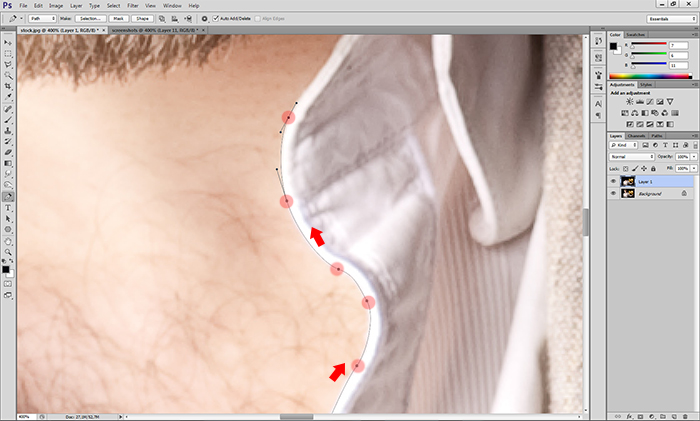
9. After you selected his head and part of torso just link first and last dot together. ( Close the path )
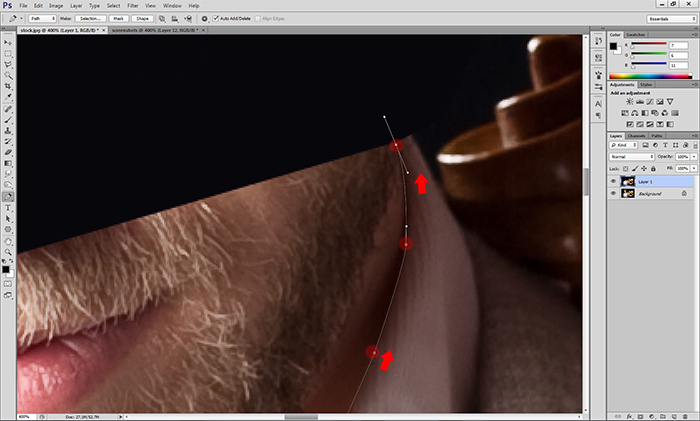

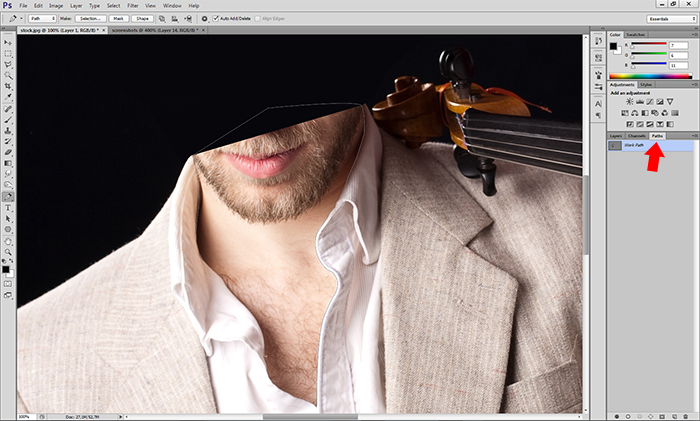
10. Open Paths window. Window > Paths
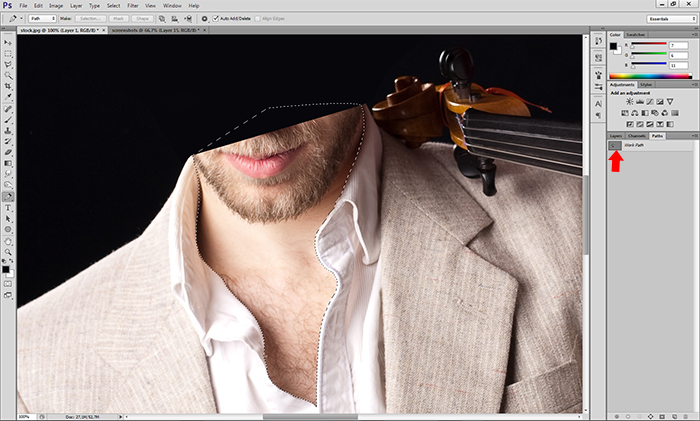
11. Ctrl + Click on the little icon near ‘Work path’ so you add it up to selection.
12. Get back on layers ( Window > Layers )
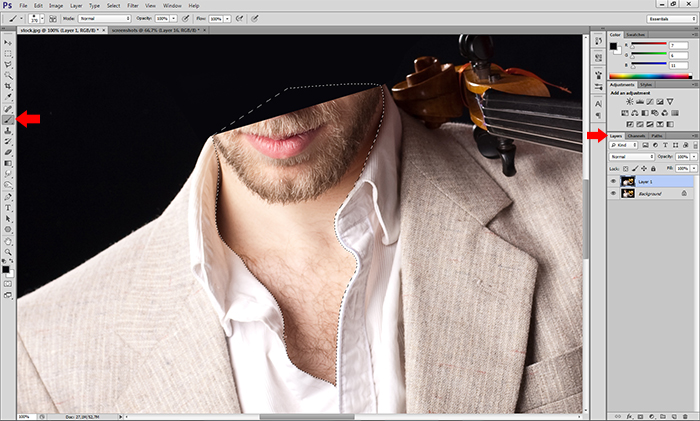
13. Make new layer. Name it ‘black’
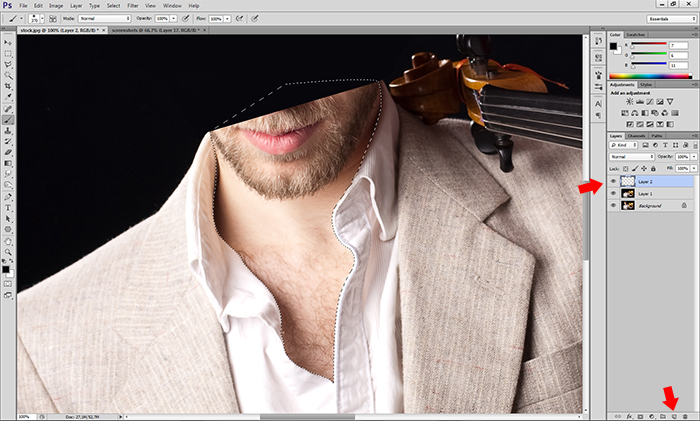
14. Fill it again with black color with brush tool ( B )
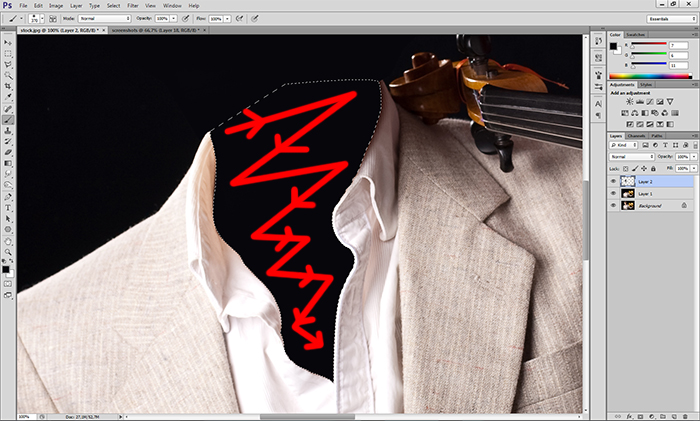
15. Deselect ( CTRL + D )
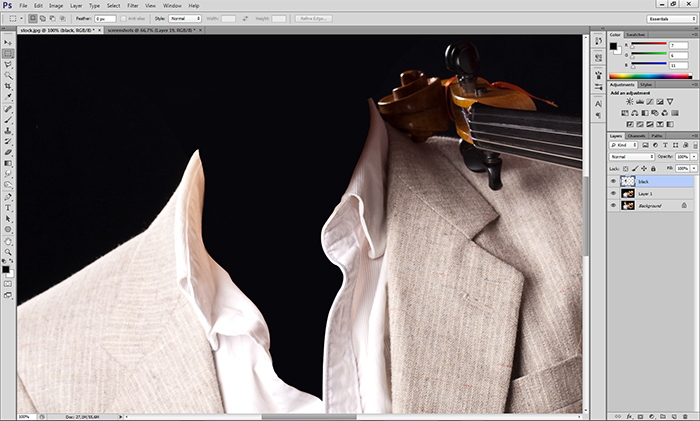
16. Now with polygonal lasso tool ( L ) select this part of his shirt because we need to replicate what was behind his head.
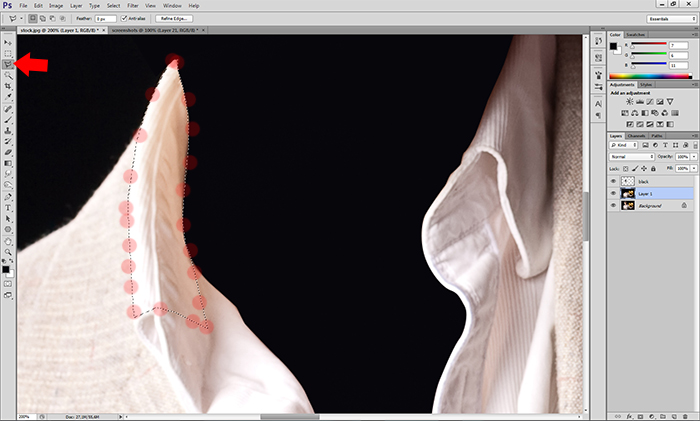
17. Copy + paste ( CTRL+V and then CTRL+C)
18. Now transform it ( CTRL + T )
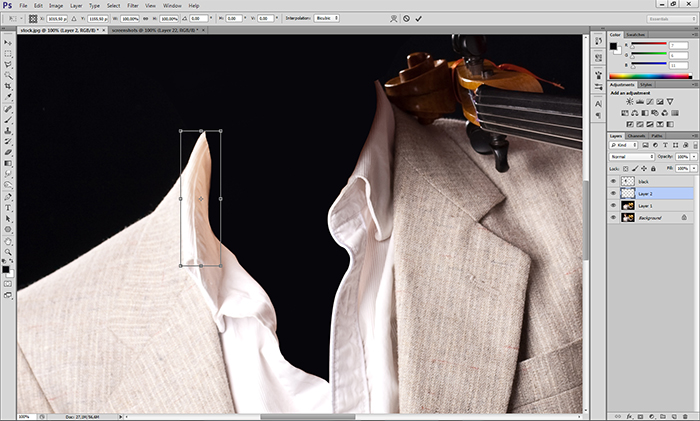
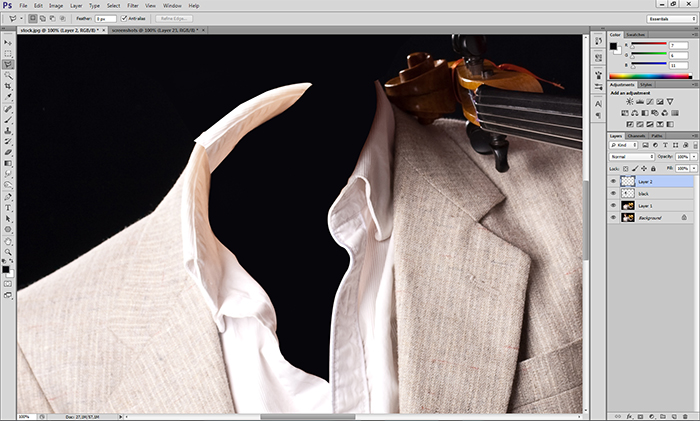
19. Then copy + paste again and transform again. ( exactly what you did in previous 2 steps )

20. Now lower it’s opacity to 50% – 60% so you can see what parts you need to delete
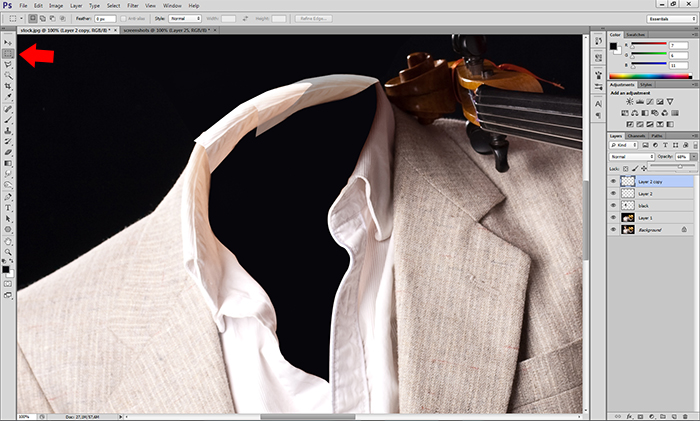
21. Select this little part with Rectangular Marquee tool ( M ) and press DELETE on your keyboard.

22. Deselect ( CTRL + D)
23. Transform it and fit it to left part. ( CTRL + T )
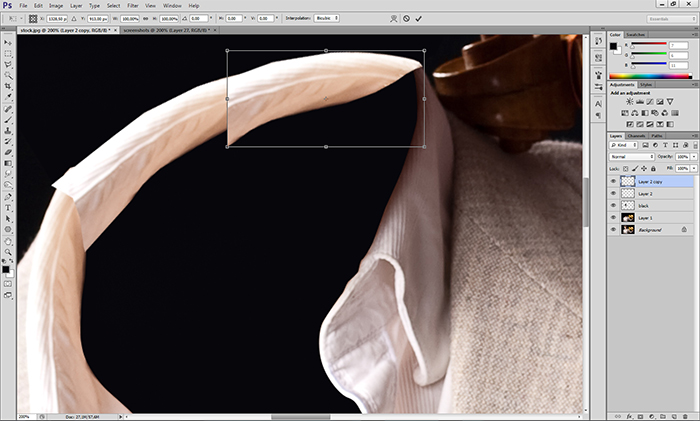
24. Zoom. ( CTRL + SPACE + LEFT CLICK )
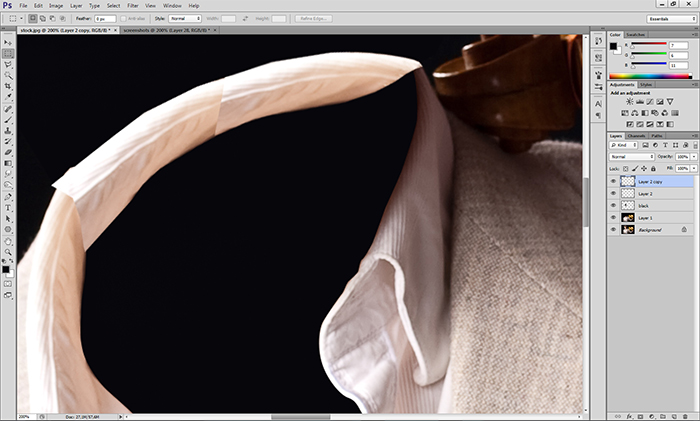
25. Delete overlaping parts with eraser tool ( E ) with opacity on 19%.
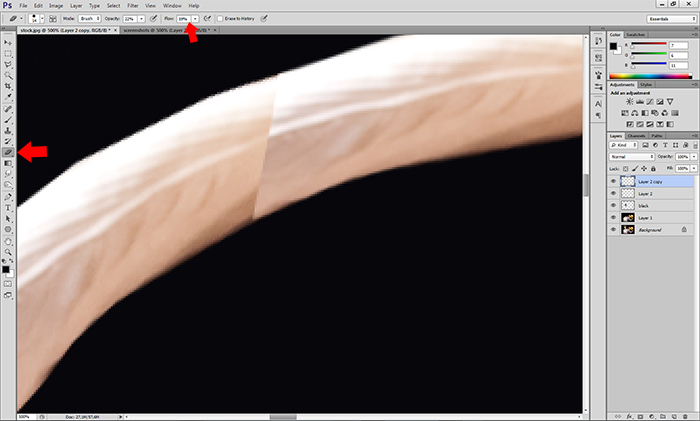
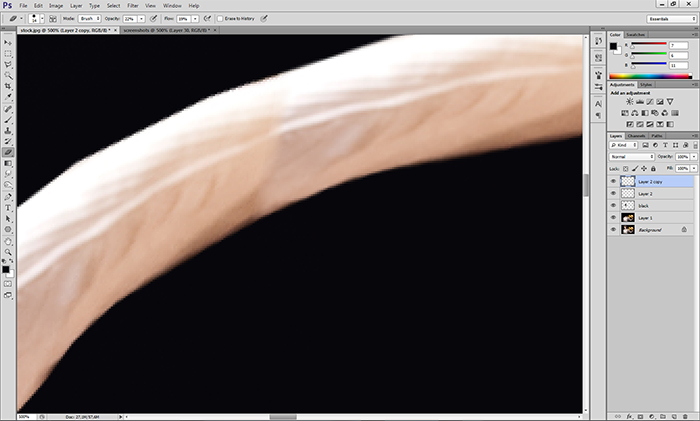
26. Now I used the burn tool ( O ) to recreate shadow. It’s like a brush but it does a variety of different things different things, such as darkening bright colors. Exposure on 25%.
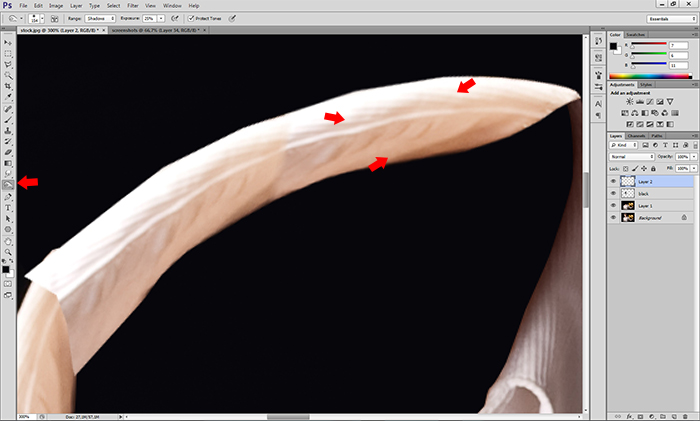
27. Zoom in ( CTRL + SPACE + LEFT CLICK ) on the other overlapping part
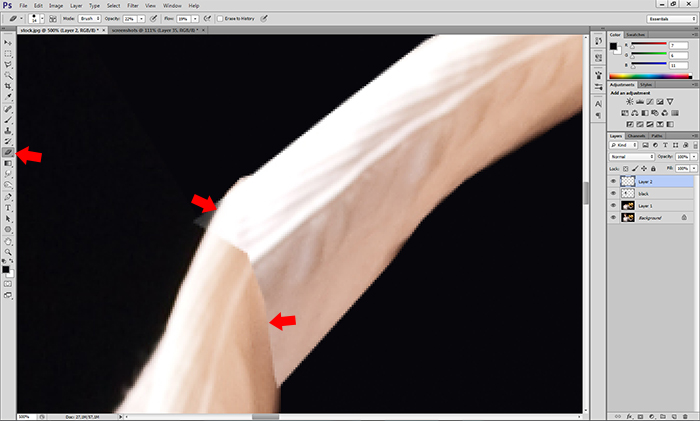
28. Again use eraser tool ( E ) with opacity on 19%
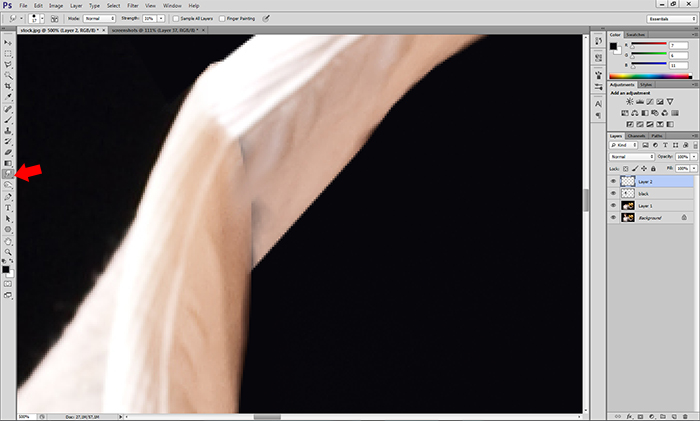
29. Now select smudge tool ( it doesn’t have a shortcut, its above burn tool ). Smudge tool ‘moves’ certain pixels without loosing color to another place. Put strength on 30% and smudge the overlapping part
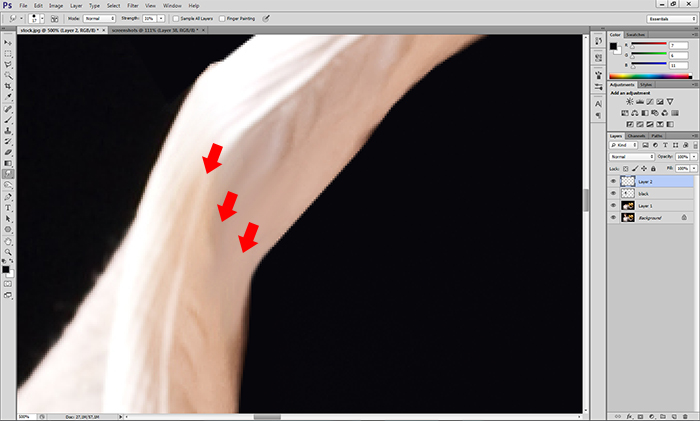
30. Zoom on the other side and smudge it a bit. Again same strength as earlier.
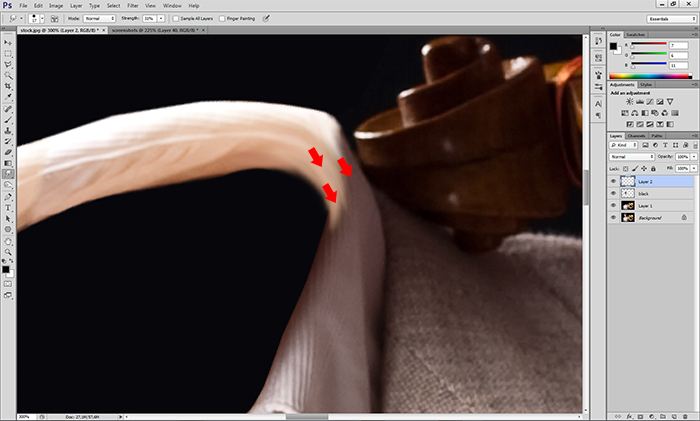
31. Now select with rectangular marquee tool ( M ) this part from the stock photo and copy + paste ( CTRL + C and CTRL + V ) to a new layer.
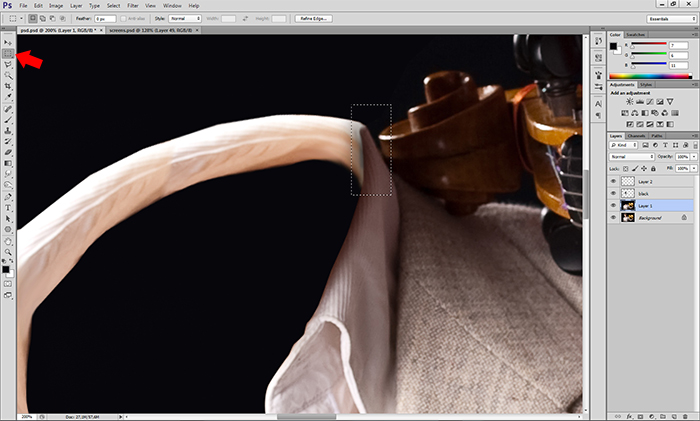
32. Smudge it until it looks like this.
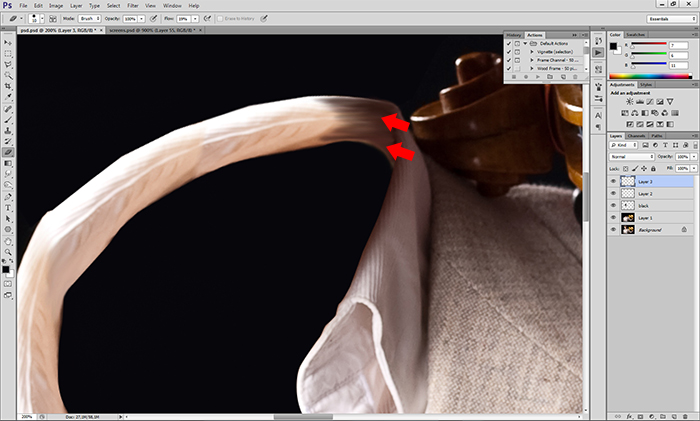
33. Now select burn tool ( O ) and burn it a little bit.
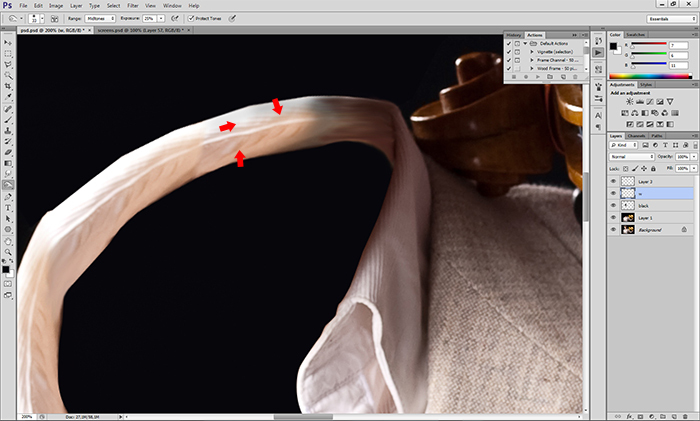
34. Select ‘black layer’ with CTRL+CLICK on its icon near name.
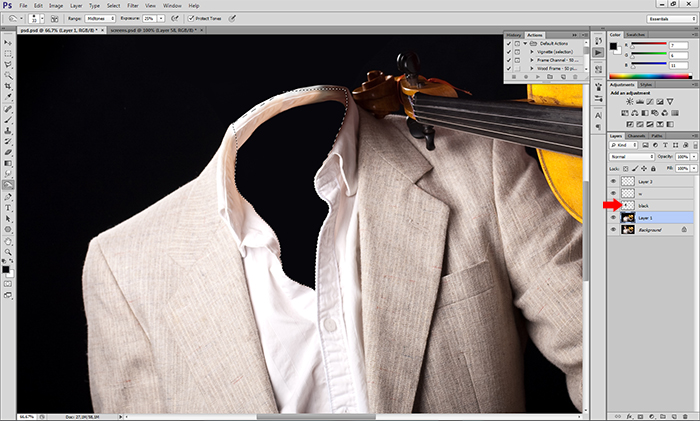
35. Be sure to be on the stock photo layer when moving selection to this point. You can move section simply by clicking it and holding while you move it with your mouse.
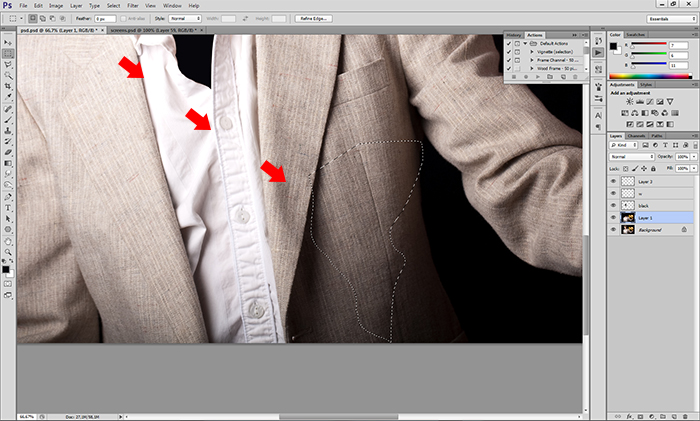
36. Copy + paste and CTRL+T and move it to the black area.
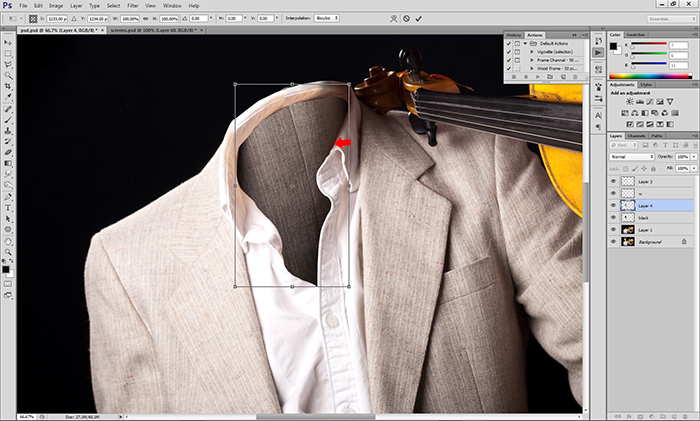
37. CTRL+CLICK on icon next to the layer’s name.
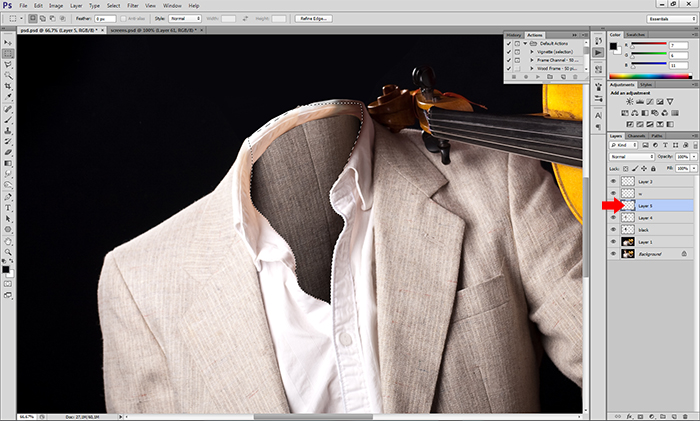
38. Use black brush ( B ) with low opacity ( 40% – 50% ) and draw around end of the selection to create shadow.
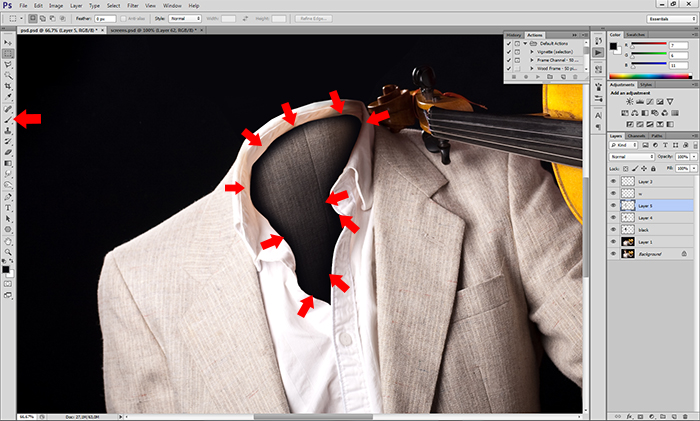

And that’s it. You removed one object from the image and reconstructed parts what were behind it. Congrats!
