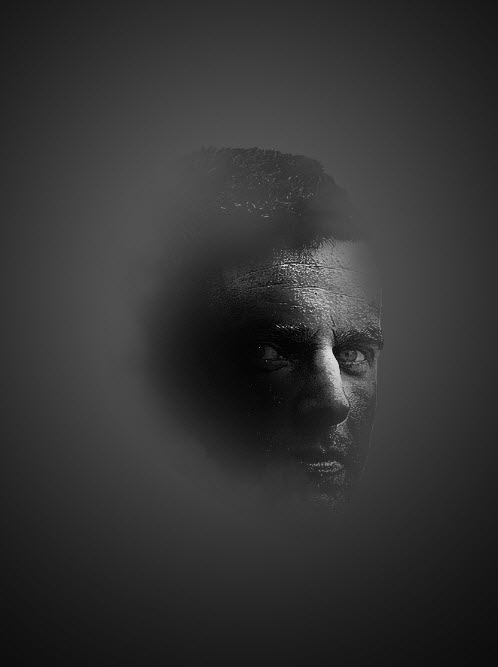
In this tutorial, I will show you the process of creating this Create Facial Photo Manipulation Surrounded by Electrified Orbs in Photoshop. I will show some interesting methods to rendering the electrified orbs by utilizing lightning textures and various Photoshop tools.
We will go through manipulation techniques such as clipping mask, layer mask, layer blending modes and image adjustment layers.
This is an intermediate level tutorial so some steps can be tricky, but why not have a try!
Note: The Photoshop tutorial is done in CS6 – therefore some screenshot may have slighting different layout as in the earlier version. Some brushes are exclusive to Photoshop CS6.
Here is a preview of the final effect I have for this tutorial: (click to enlarge)
OK Let’s get started!
To complete this tutorial, you will need the following stocks:
Step 1
Create a new document sized 860px * 1130px with black background. Create a new layer and use a soft, light-grey brush to paint a spot light from the centre of the canvas:
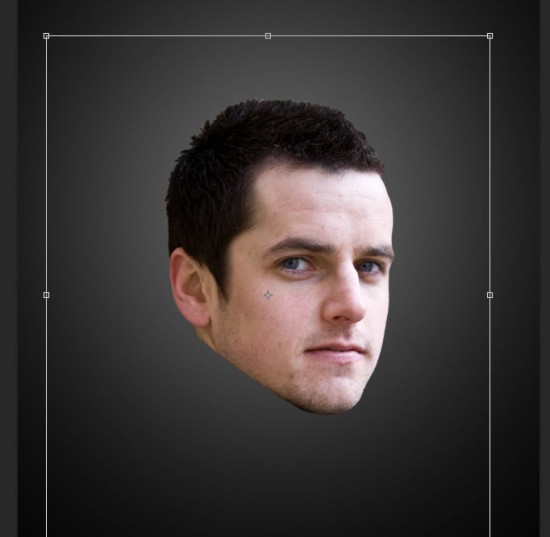
Load the model image into Photoshop, select the head portion and paste into our document, resize and position it to the centre as shown below:
Step 2
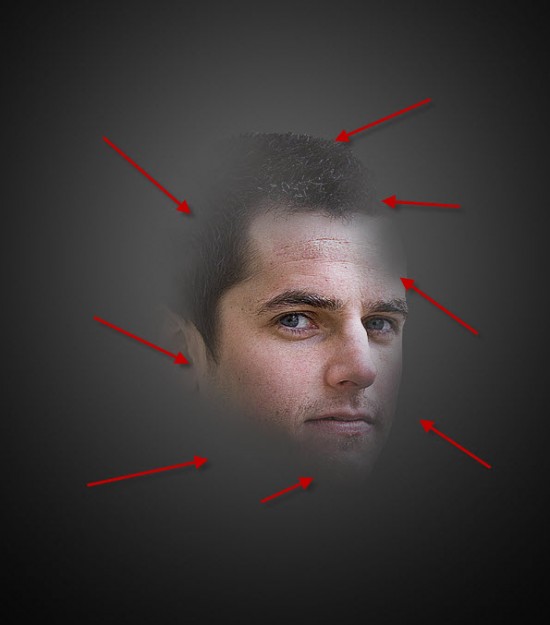
Use a soft erase to remove/fade the edges around the face as shown below:
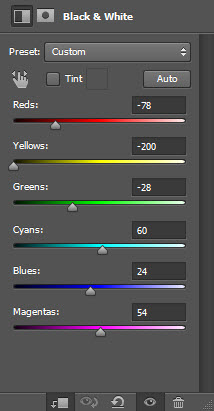
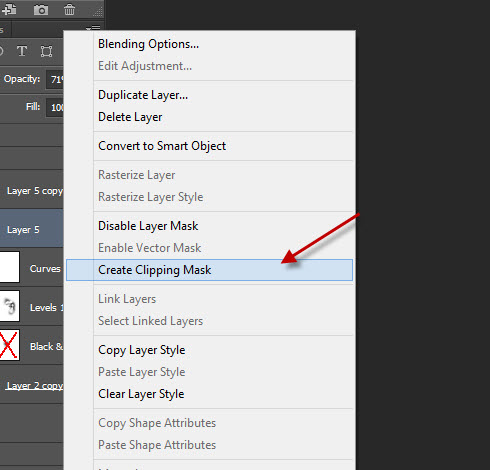
Add the following adjustment layers as clipping masks to this model layer:
Black and White
Levels
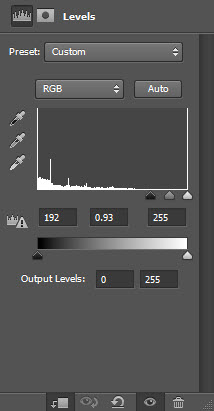
Layer mask on this levels adjustment layer above:
Curves
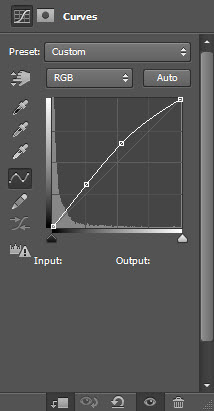
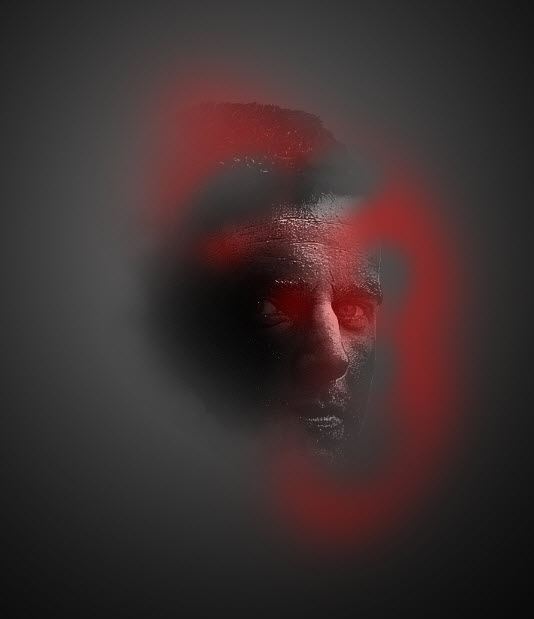
and here is the effect so far:
Step 3
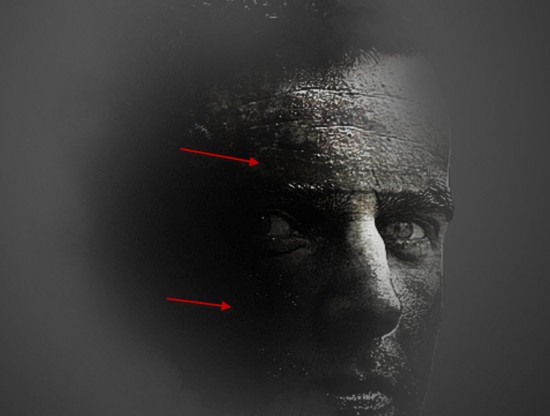
We can now add some roughness to the face with this stone texture. Let’s use the Lasso tool to draw a selection as shown below:
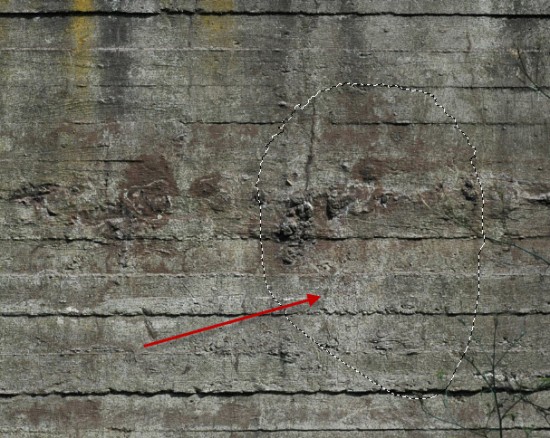
Copy and paste the selection over to our image, put the layer above all previous layers and set it as a clipping mask to the model layer:
Change this layer blending mode to “Vivid Light” for this stone texture layer, with 70% opacity:
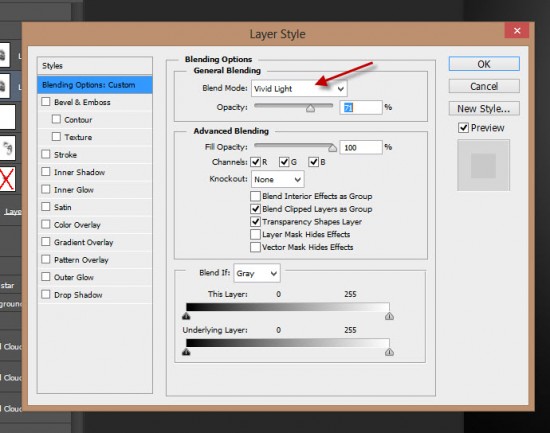
Apply the following layer mask on this stone texture layer:
and here is the effect so far:
Step 4
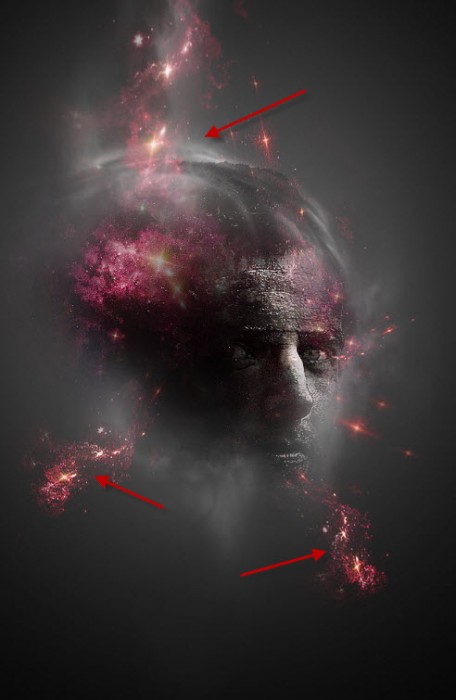
We can add some cloud around the model with the cloud filter, or a cloud brush:
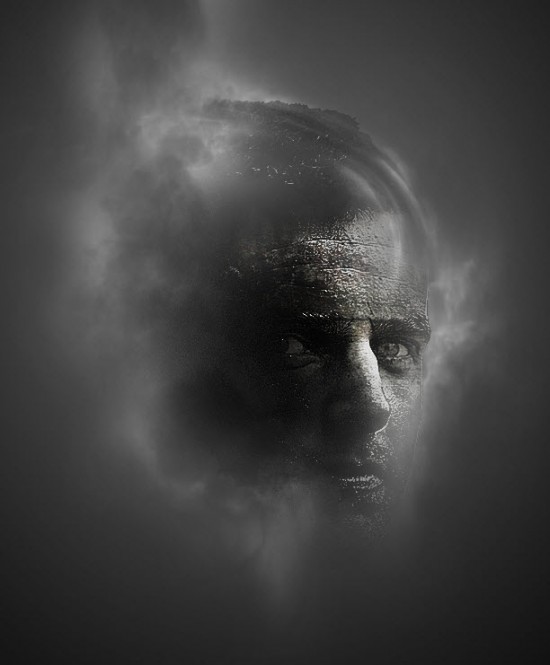
We can also warp the cloud to add some motions into the image:
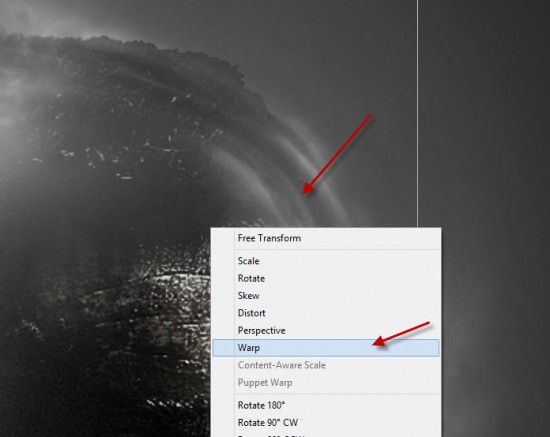
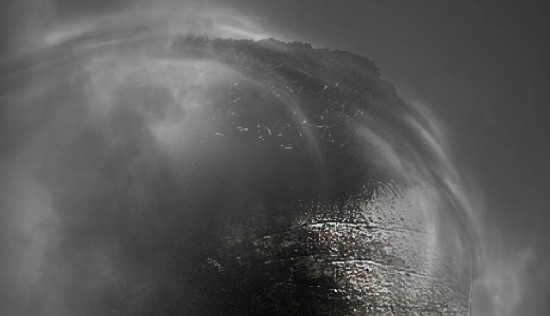
You can check out this video tutorial below (start from 5:15) to find out how to do a cloud warp:
We can now add some space background into our image. Load the space image into Photoshop and select a piece as shown below with a 40px feather Lasso Tool:
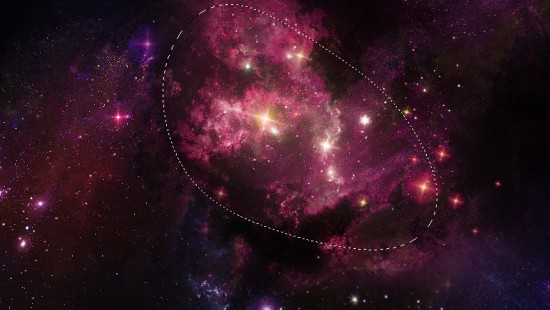
Copy and paste the selection over to our document, put the new layer below the model layer:
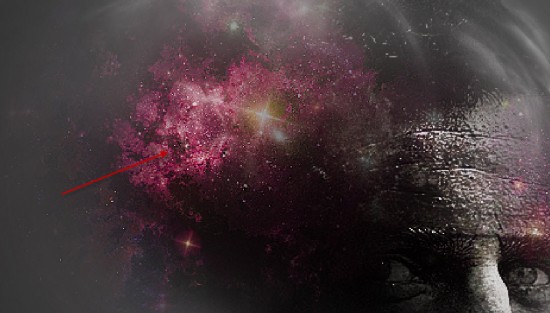
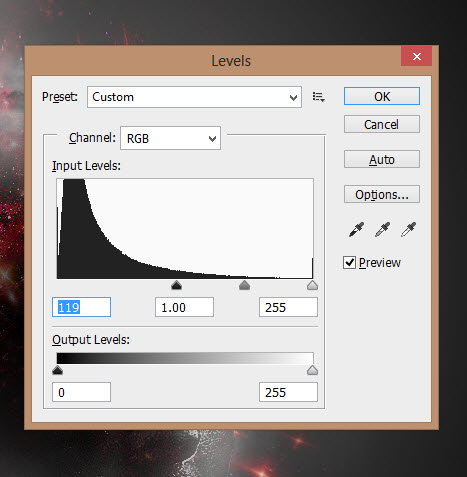
Duplicate this space layer once and apply the following Levels adjustment (Ctrl + L):
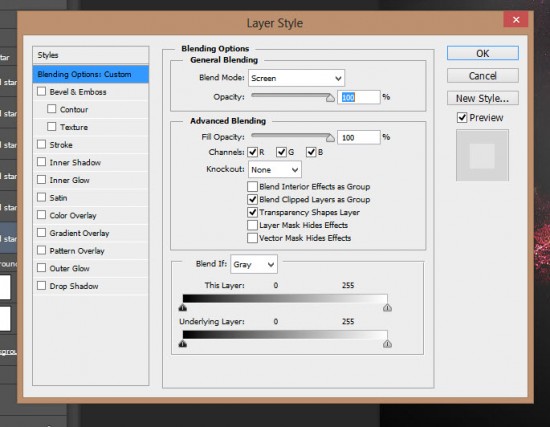
Change the layer blending mode of this duplicated layer to “Screen”:
Reduce the size of this duplicated space layer with free transform tool, and you will have the following effect:
We want repeat the above process and add more space texture around the image, as shown below:
Step 5
We will start make the orbs now. Let’s grab a white, solid brush and paint a dot as shown below:
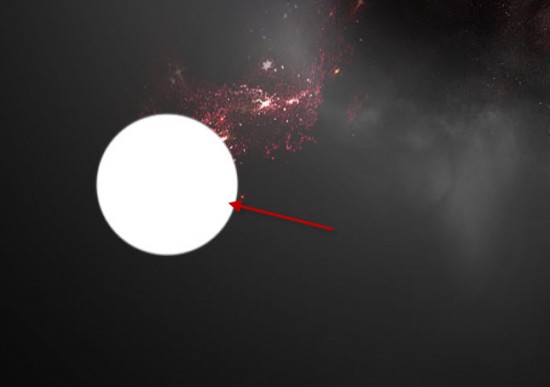
Then use a soft eraser with a slight larger size, do a few clicks to the part of the circle shown below:
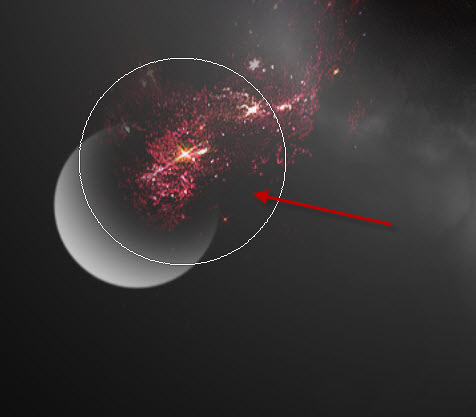
Then, use a soft white brush to paint a dot in the position shown below, and you will have the following effect:
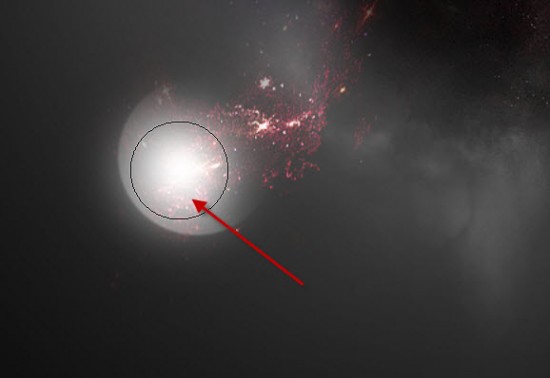
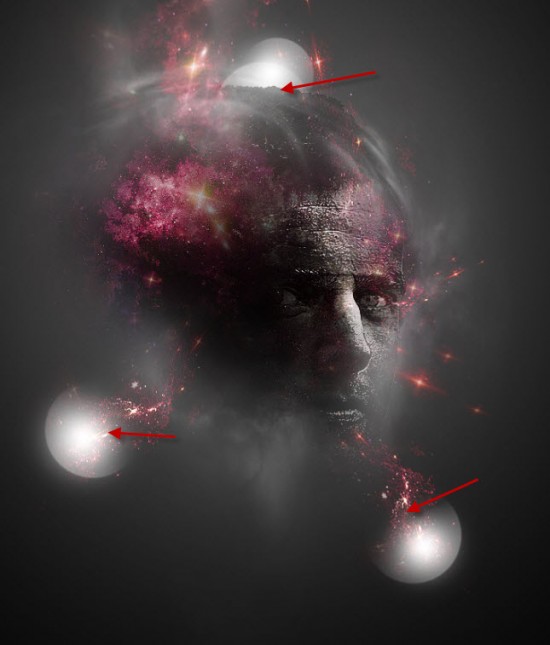
That’s it for the orb-making! Repeat this process and add a few more orbs as shown below:
Step 6
We will add some electrified effect around the orb. Load the lightning image into Photoshop. Use the Lasso Tool with a 30 feather setting to select a portion as shown below:
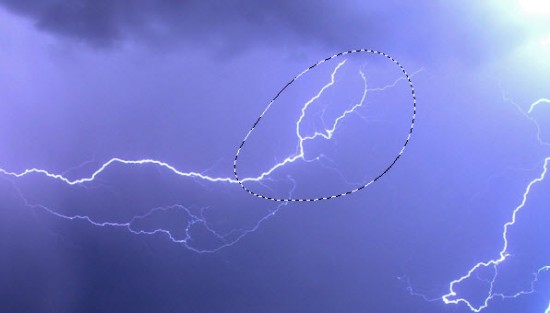
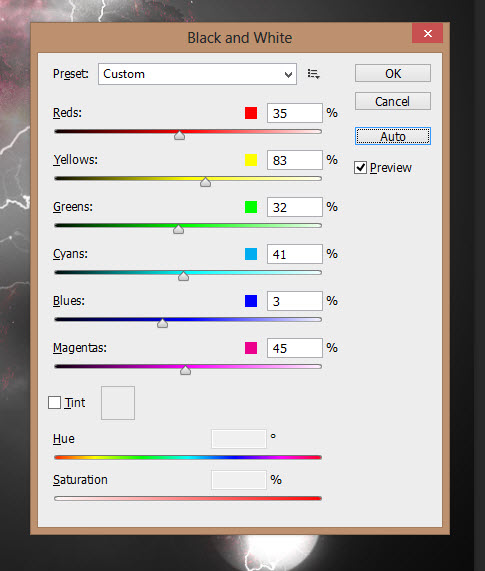
Copy and paste the selection over to our image, then apply the following image adjustments to it:
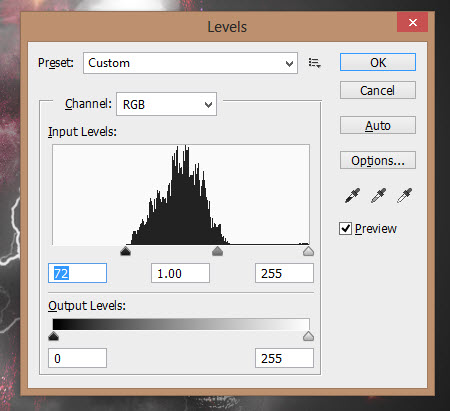
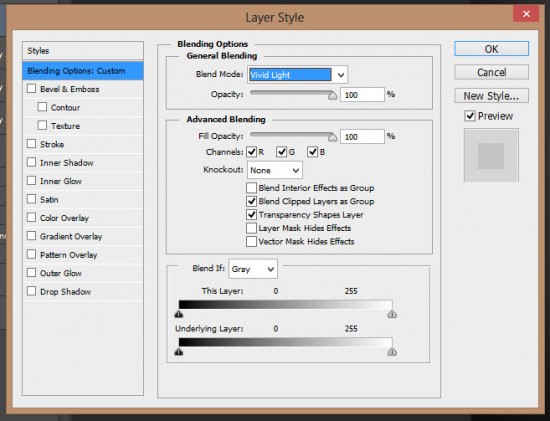
Change the layer blending mode to “Vivid Light”:
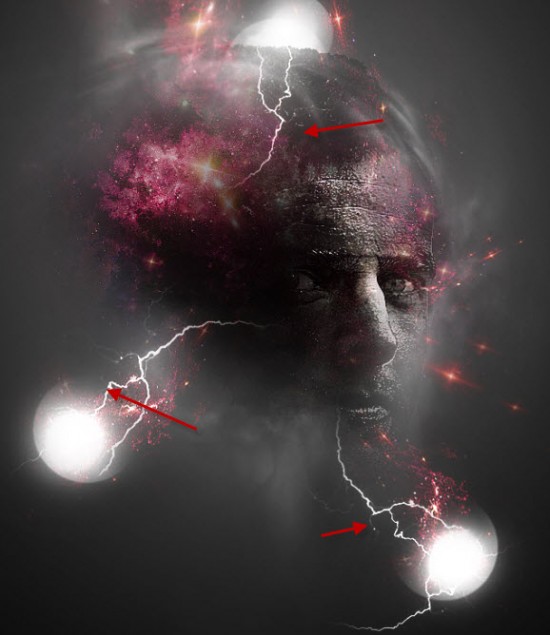
Duplicate this lightning twice and attach them to the orbs, and here is the effect you will have:
Step 7
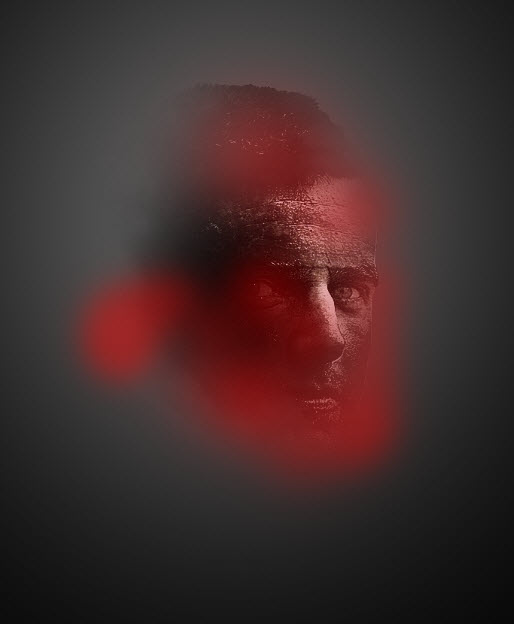
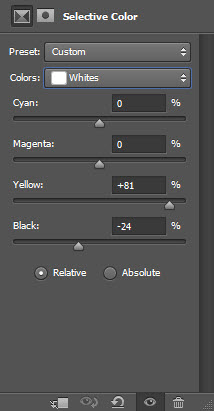
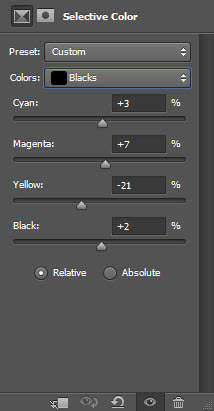
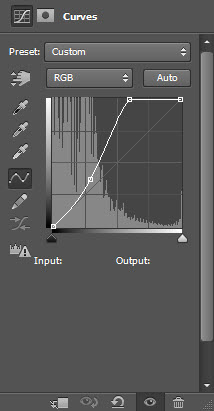
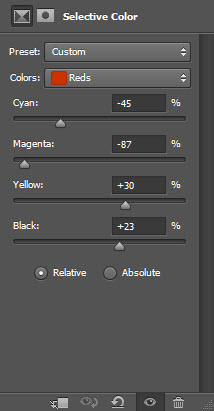
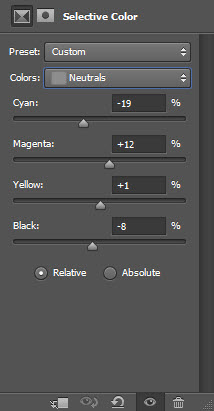
We’re almost done! To add some colours to our image, add the following image adjustment layers:
Selective Color
Curves
Optionally, you can use a particle brush to paint some particles around image:
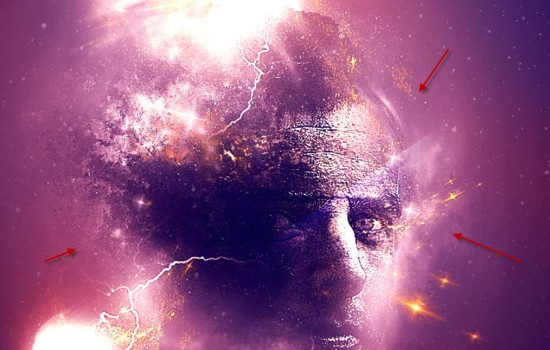
I further added some shining lighting effect around the image, and here is the final effect: (click to enlarge)
Hope you enjoy this tutorial and find it useful. Drop me a comment below if you have any question.
Till next time, have a great day!


