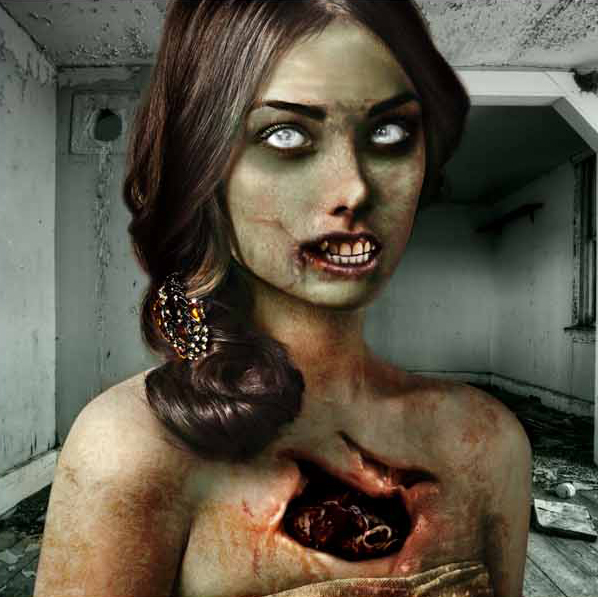
Good day, artists! In light of the Halloween season, we are here to present you a terrifying zombie effect Photoshop tutorial. Let us turn an image of a beautiful woman into a horrifying walking dead in 15 simple steps. Before we start, click the Download button below to access the resource folder that contains everything you’ll need for this tutorial.
Follow the step-by-step instructions below and try to recreate this nerve-racking tutorial by our resident graphic artist, Niño Batitis. Let’s start!
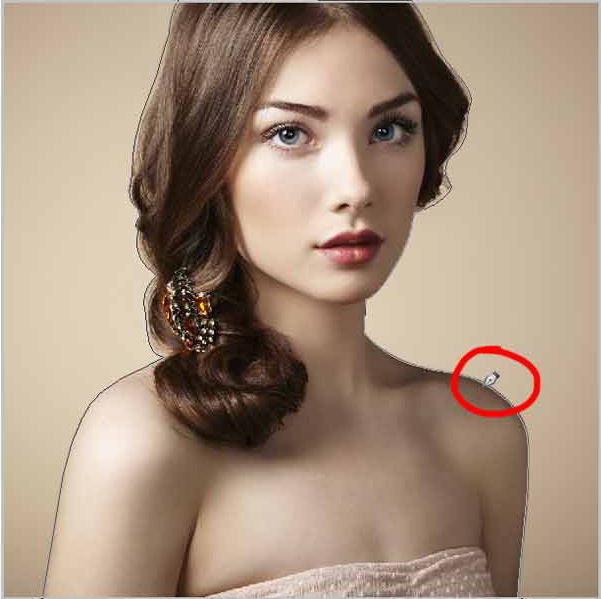
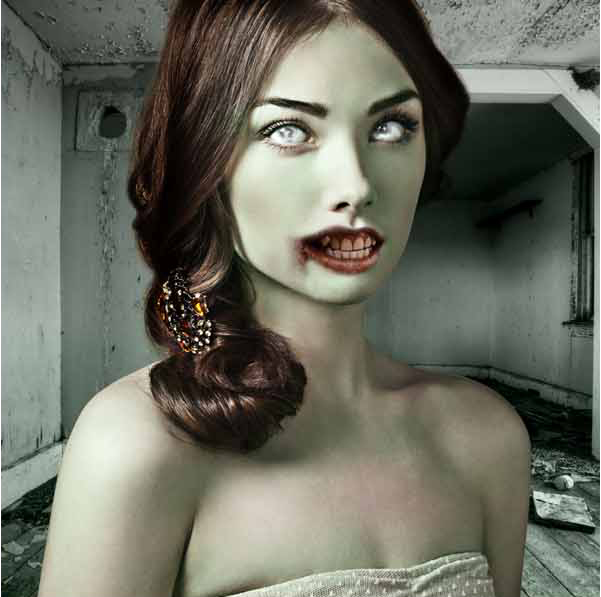
Step 1 — Open the female image from the resources folder in Photoshop. Drop out the background of the image by tracing the contour of the female portrait using the Pen Tool (P), right-click and make the selection, then duplicate (Ctrl+J) the selected part.
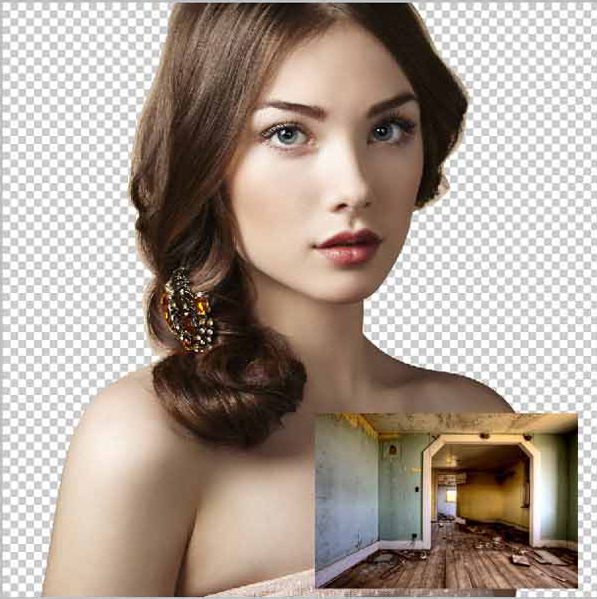
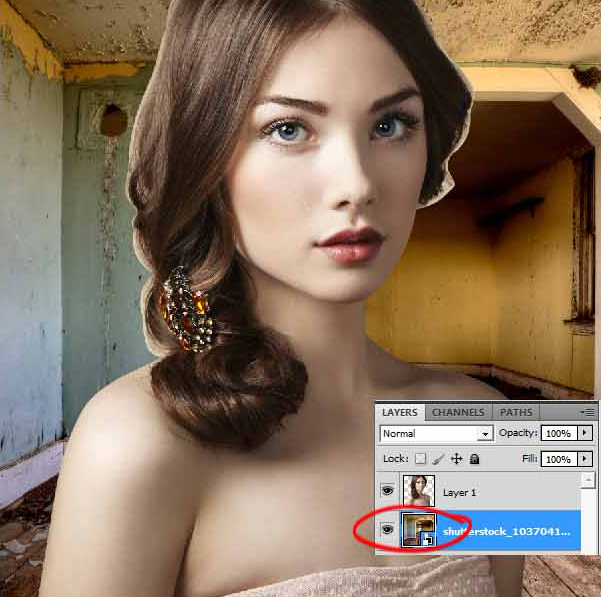
Step 2 — Delete the layer of the female portrait with the background. This will leave us a layer of an isolated image. Place the background image of an abandoned space from the resource folder. Send the background image layer to the back of the portrait and scale (Ctrl+T) it to fill the whole document.
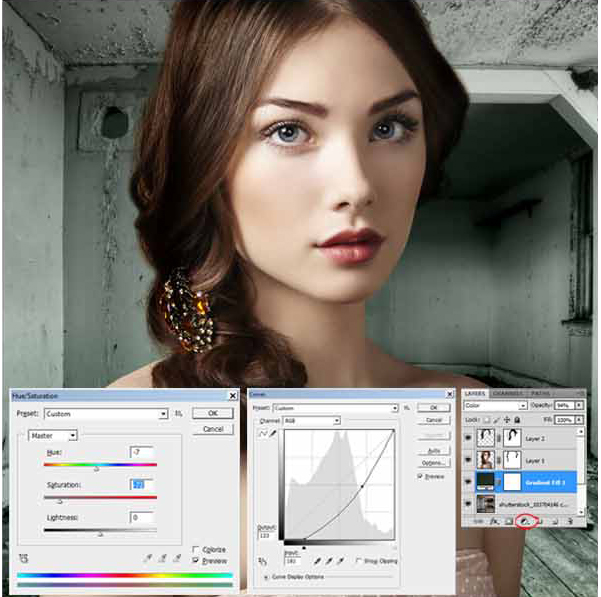
Step 3 — Make the color of the background more eerie by adjusting the Hue/Saturation (Ctrl+U) and Curves (Ctrl+M) settings.
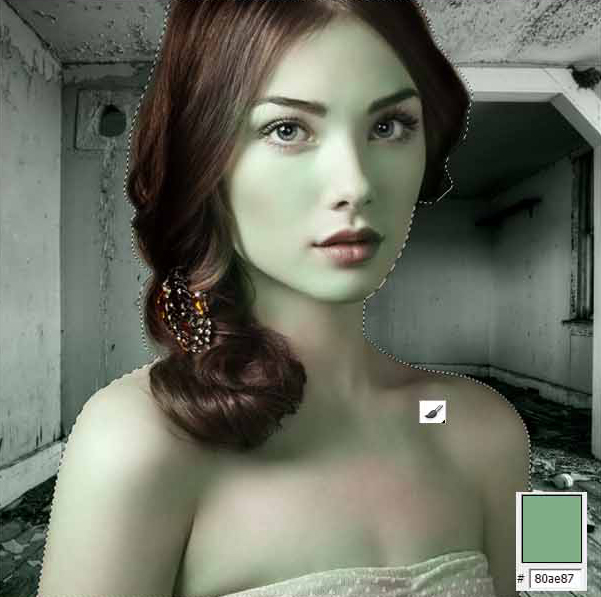
Step 4 – Let us make the skin tone of the portrait paler. Create a new layer (Ctrl+Shift+N), hold Ctrl key, and click on the thumbnail of the portrait in the layers panel to make a selection. We do these steps to make sure the adjustments we’ll make will only happen within selected area. Apply a #80ae87 with 10% Opacity color on the new layer using the Brush Tool (B), and set the layer’s blending mode to Color.
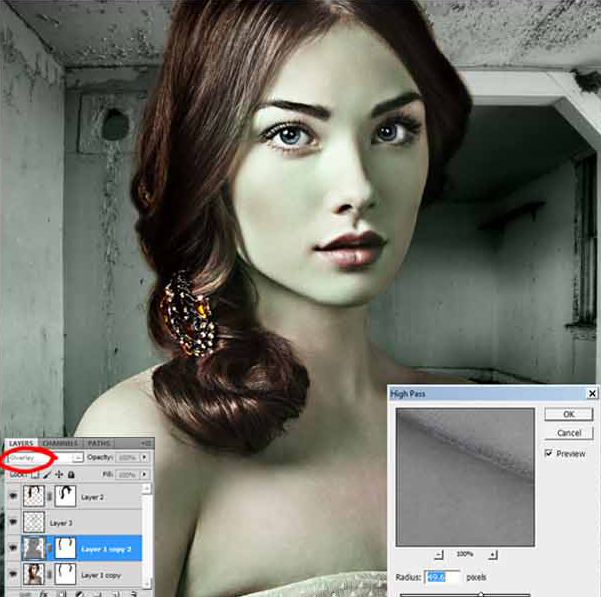
Step 5 — Duplicate the female portrait layer then go to Filter > Other > Highpass and set its blending mode to Overlay. We do this adjustment to exaggerate the shadows and highlights of the image.
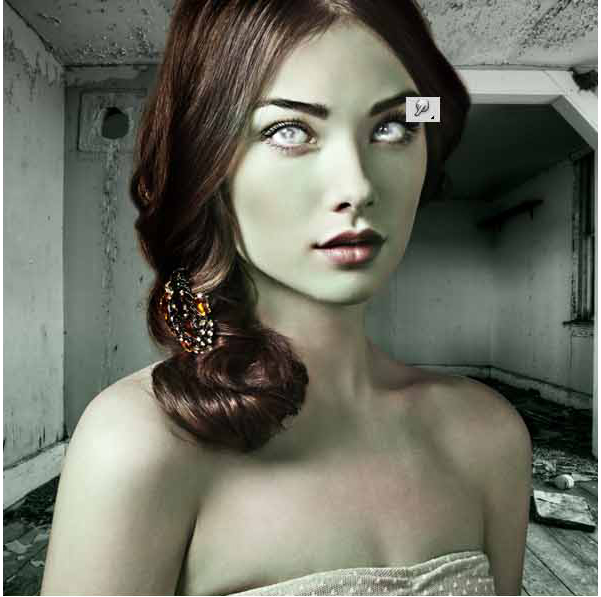
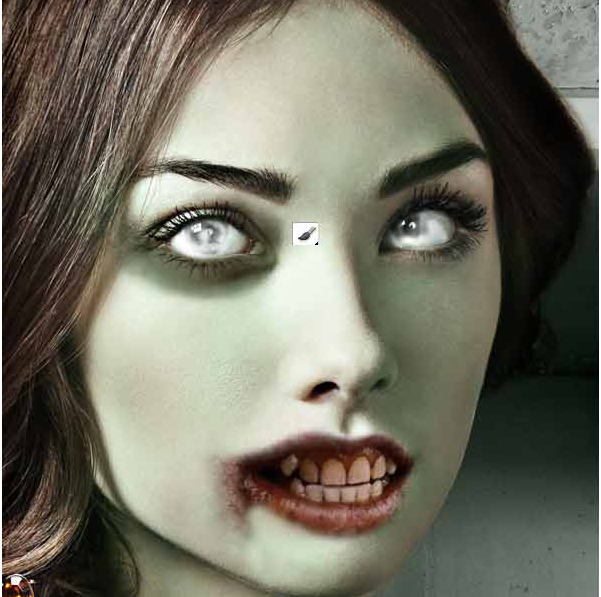
Step 6 – Smudge the eyeball to create a zombie-like eye effect using a 100% Smudge Tool. You can also use the Dodge and Burn Tool (O) until you get your desired output.
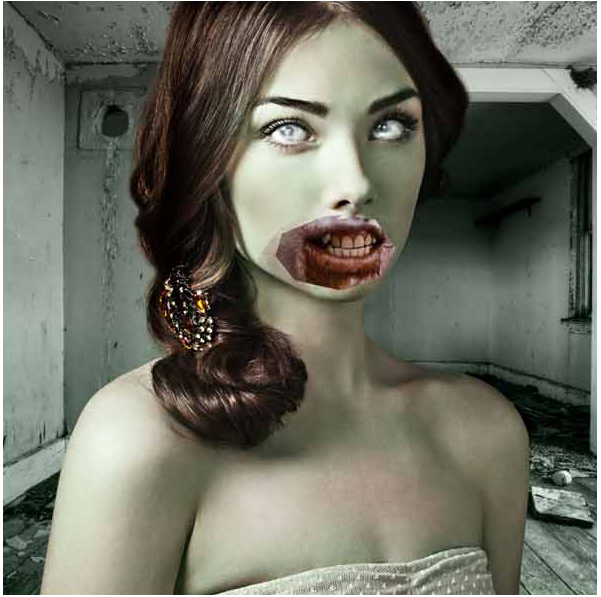
Step 7 — Place the zombie image on top of all the layers. Erase (E) some parts of the zombie image until only the mouth is left. Scale and position the zombie mouth on top of the portrait as seen on the image below. Erase the remaining parts of the zombie mouth until it fits the portrait image.
Step 8 — Adjust the Hue/Saturation (Ctrl+U) and Color Balance (Ctrl+B) of the zombie mouth so that it matches the skin tone of the portrait.
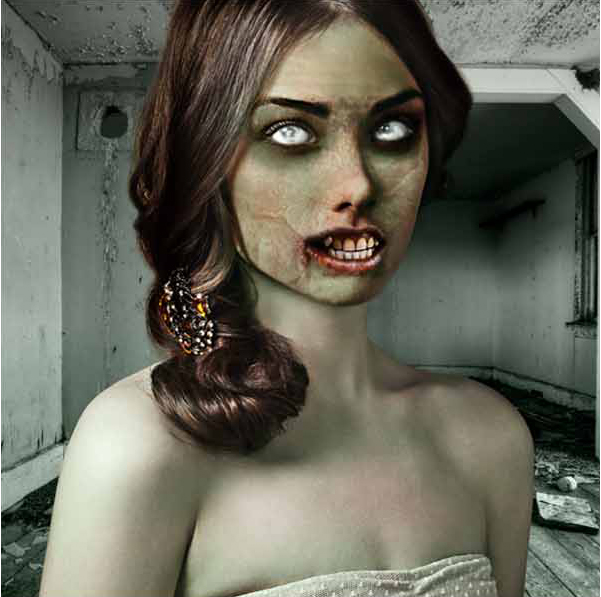
Step 9 – Create a new layer and change its blending mode to Multiply. Darken the areas around the eyes of the portrait by using the Brush Tool (B) with #7d7e67 color and 20% Opacity.
Step 10 — Place the wound image from the resource folder on top of all layers. Change its blending mode to Linear Burn and its Opacity to 60%. Erase (E) some parts of the wound image that you need not see within the portrait. Free Transform (Ctrl+T: Scale, Rotate, etc.) or duplicate (Ctrl+J) the wound image to create the damaged effect on the portrait’s skin as seen on the image below.
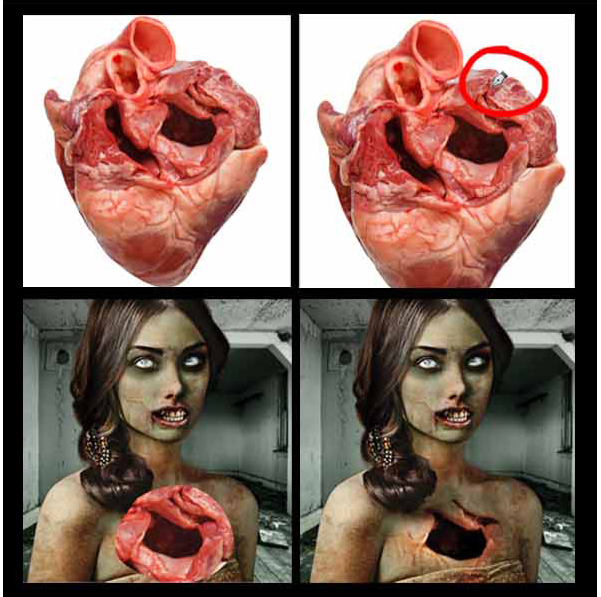
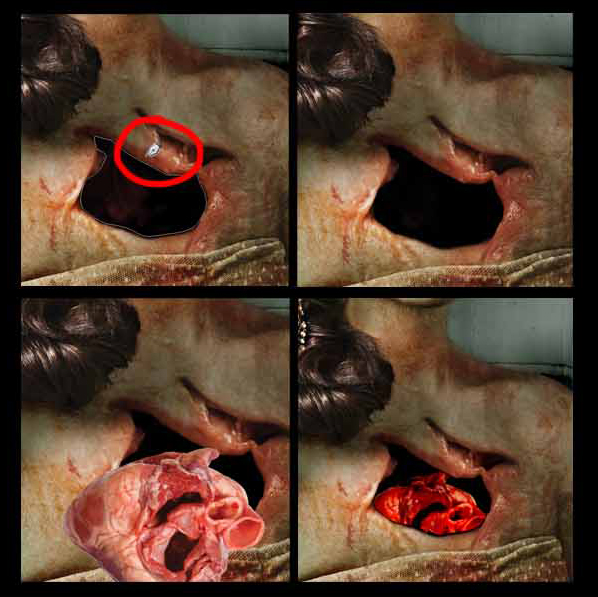
Step 11 — Place the heart image from the resource folder on top of all layers. Using the pen tool (P), isolate the part as seen on the image below. Scale and position it on the chest of the portrait and change its blending mode to Hardlight. Erase excess parts using the eraser tool in 20% Opacity.
Step 12 — Place another heart image on top of all layers and isolate the part as seen on the image below. Select the layer of the first heart image and path the hole in the chest we created using the pen tool (P). Make a selection and duplicate (Ctrl+J) the path. Now select the layer of the second heart image, scale and position it on the hole-like part, and create a clipping mask (Alt+Ctrl+G) to make it look like the heart is peeking from the hole.
Step 13 — Erase parts of the heart using the eraser tool in 5% Opacity. Adjust its color through adjustments on Hue/Saturation (Ctrl+U), Curves (Ctrl+M), Levels (Ctrl+L), and Color Balance (Ctrl+B).
Step 14 — Select the portrait layer and create highlights/shadows using the Dodge or Burn tool (O).
Step 15 — For the final touch, create a new layer (Shift+Ctrl+N) and apply a white brush in 10% Opacity within the image. We do this to make the portrait blend with the background and make the whole image more realistic.