In this tutorial, you’ll learn how to quickly adjust brightness and contrast in your CapCut videos. CapCut, a free mobile video editor, makes this very easy.

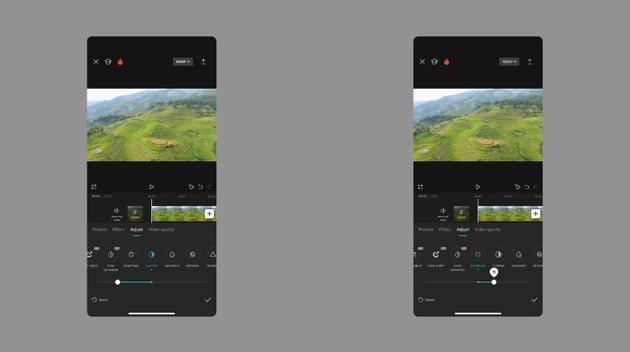
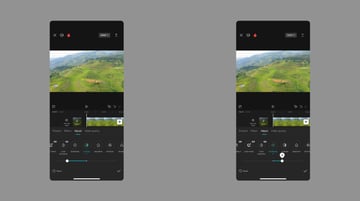
You’ve captured video right from your phone, and you’re sure it looks absolutely stunning—it sure did in person! But when you go to share your clip, it’s too dark. Or maybe different parts of a scene blur together. You have a problem.
But fortunately, you have an easy fix. That’s thanks to brightness and contrast adjustments in CapCut. Let’s learn how to use them.
Why adjust brightness and contrast in a CapCut video?
With CapCut, brightness and contrast adjustments are effortless. But what are the benefits of making these edits? How do they help your videos look their very best?


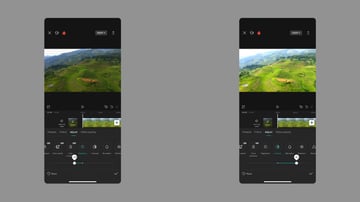
You’ll enjoy several key advantages when you adjust the brightness and contrast. In short, CapCut is the easiest way to make these edits. You—and your audience—will be impressed by the visual styles that you unlock.
Keep these benefits in mind:
- CapCut is free, and you can carry it anywhere. The free CapCut mobile app works from anywhere. Capture an amazing video and want to share it instantly? With CapCut, you can make these edits, from wherever you may be.
- Brightness and contrast adjustments help videos look their best. Brightness and contrast edits can be two things: corrections and edits. Sometimes, you have to adjust these settings so that a video is watchable. In other cases, they’re optional edits to add unique styling. Either way, they’re an essential part of video editing.
- You can maintain a consistent visual style. Some content creators thrive on shadowy, dark clips. Others embrace light and brightness. By adjusting brightness and contrast, you can easily create a unique visual style that audiences will associate with your work.
- You can correct issues captured in filming. When you record a video, it can be extremely difficult to perfectly capture visuals. Often, scenes are too bright, too dark, or don’t have the right contrast. Thanks to CapCut, you can quickly correct videos you captured so that they look their very best.
As you can see, no video is complete without adjusting the brightness and contrast. Now, let’s learn how to do exactly that, step by step.
How to quickly adjust brightness and contrast in CapCut (step by step)
Adjustments to brightness and contrast in CapCut are amazingly easy. To demonstrate, we’ll use CapCut on an iPhone running iOS 17. If you’re an Android user, you can download CapCut from the Google Play Store. And if you prefer editing on your desktop, CapCut is available for Mac and Windows PCs too.
You’ll see stock video footage in use. Download it from Envato if you’d like to follow along.
1. Launch the Adjust menu in CapCut
With a video open in CapCut, take a look at the layout of the editing menus. Front and center, you’ll see the video itself previewed.
Here, you’ll see any edits that you make previewed in real time. Directly below the preview is the Timeline. With the Timeline, you’ll control the sequence and timing of all the multimedia in your video project.
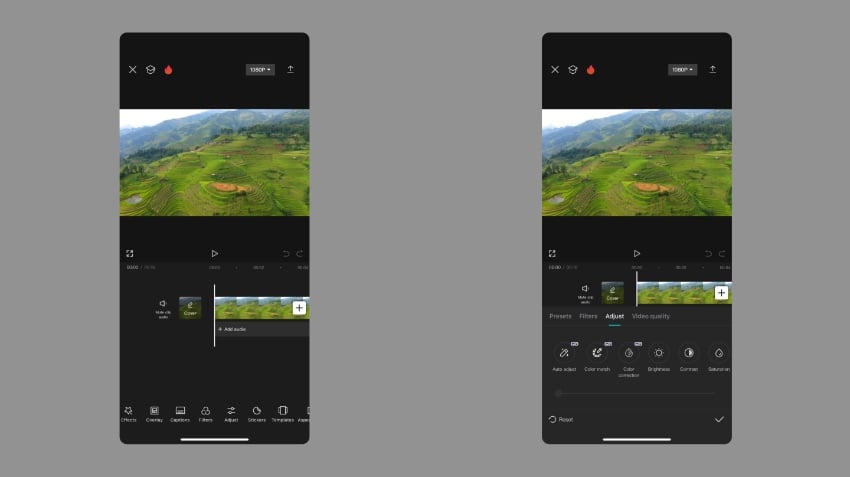
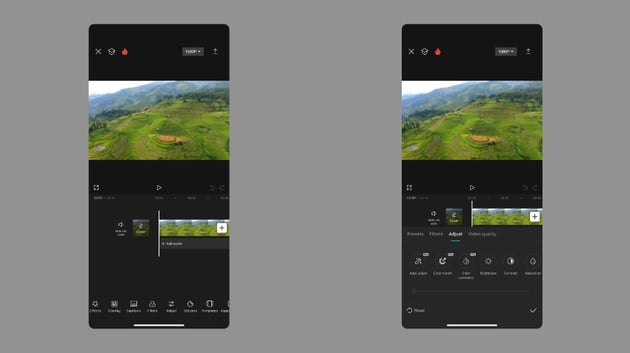

Below the Timeline is the toolbar menu in CapCut. It’s here that you’ll find all the crucial edits and effects needed to make the magic happen.
On the toolbar, you’ll see options like Edit, Audio, Text, and more. Brightness and Contrast are found here too, but they’re part of the Adjust menu. To open it, scroll the toolbar to the right and select Adjust by tapping on it.
2. Adjust the brightness
With the Adjust menu open, you’ll see a row of menu buttons across the bottom of your screen. One of the first is Brightness. If you’re ready to adjust the brightness of your video, tap Brightness.

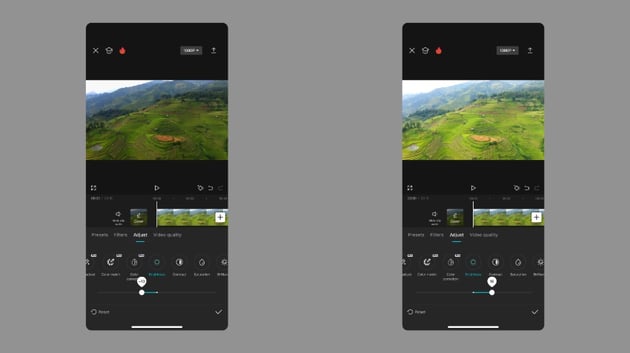

When you choose Brightness, a slider appears. Want to make your video brighter? Drag the slider to the right. To dim it down, move it to the left. Watch your changes appear in the previewed video in real time.
3. Adjust the contrast
Once you’ve adjusted the brightness in CapCut, you can adjust the contrast as well. Keep in mind: these edits work independently. You don’t have to change one to change the other. But often, once you’ve adjusted the brightness, it’s helpful to change the contrast as well.

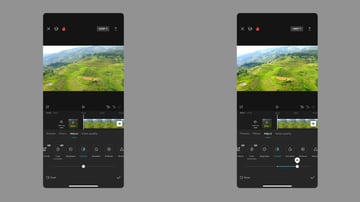

Back on the Adjust menu, tap the Contrast button. Once more, you’ll see a slider appear. Drag it left or right to quickly control the contrast edits in your video.
Just like that, you’ve learned how to edit brightness and contrast using CapCut! There is no perfect setting combination to use. Spend some time during each edit dialing in the adjustments that work best for your footage.
Learn more about social videos and CapCut effects
As a mobile editor, CapCut is really geared towards social media videos. It offers an array of features that let you create impressive social designs. And with CapCut, you can enjoy many useful tools to create unique style effects.
Here at Envato Tuts+, we know that learning video editing can be tough. But it doesn’t have to be! Check out these helpful tutorial guides to elevate your skills in moments:
In this tutorial, you learned how to adjust the brightness and contrast in CapCut quickly. Both of these features are found on the Adjust menu tab. While they work independently, it’s best to use them together. With the right brightness and contrast settings, you can edit your videos to make them look perfect.
Adjusting contrast and brightness with CapCut only takes a few seconds. You can save a scene from being blown out or add extra impact with these tweaks. Test them out today.