You’ve shot a video, and you’re editing it with CapCut, but the colors don’t look quite right. Maybe they don’t match what your eyes saw as you recorded, or perhaps they just don’t look the way you want. Learn how to shift and adjust hues in CapCut to bring your creative vision to life.

In this tutorial, you’ll learn how to quickly change the hue of a video in CapCut. In moments, you can dramatically transform the dominant colors of your video project.
Why adjust the video hue in CapCut?
In video editing, hue relates to color tones. Coupled with brightness and saturation, it’s a core input to how a video appears to a viewer’s eye. Color is displayed on wavelengths, and changing the hue controls which wavelength is dominant. It’s really color at its heart: if we see red, the hue is red; if we see blue, the hue is blue.


CapCut, a free mobile video editor, makes it easy to change the hue. But why is a hue adjustment part of a successful video edit in CapCut?
Consider this:
- You can correct colors. Cameras seldom perfectly capture color, and even the best cameras are susceptible to defects caused by poor conditions out in the field. Hue adjustments let you correct footage after you capture it.
- You can create a unique style. Many popular videos are notable for using edited, funky hues. By changing the hue of your videos, you can create an unforgettable visual style across clips.
- Hue adjustments set the mood of a clip. Changing the hue isn’t just a corrective edit—it can be a style design too. You can set a mood by enhancing one color over others.
- CapCut is free and easy to use. CapCut is totally free—you don’t have to make a purchase to change the hue of a video, and then export and share it. Plus, it’s mobile-centric, meaning you can carry it with you. If you have your phone with you, you can change video hues from anywhere.
As you can see, CapCut is the best way to adjust the hue of a video. Now, let’s learn how to do exactly that, step by step.
How to adjust the hue in CapCut quickly
Let’s learn how to adjust the hue in CapCut quickly. To do that, I’ll use CapCut on an iPhone running iOS 17. If you’re an Android user, no problem—you can download CapCut from the Google Play Store. And if you prefer editing on your desktop, CapCut offers versions for Mac and Windows PCs.
I’ll demonstrate with a stock video clip from Envato. Download it now if you want to follow along.
1. Launch the Adjust panel in CapCut
When you edit in CapCut, adjusting the hue of a video is very simple. Begin by launching the app and opening a project.
In CapCut, a project contains all of your multimedia and effects. Think of it as the working file for any video edit.
With a project open, get familiar with the CapCut layout onscreen. In the upper half of your display, you’ll see a video preview that lets you monitor edits in real time. When it comes time to change the hue, you’ll see your changes displayed instantly.
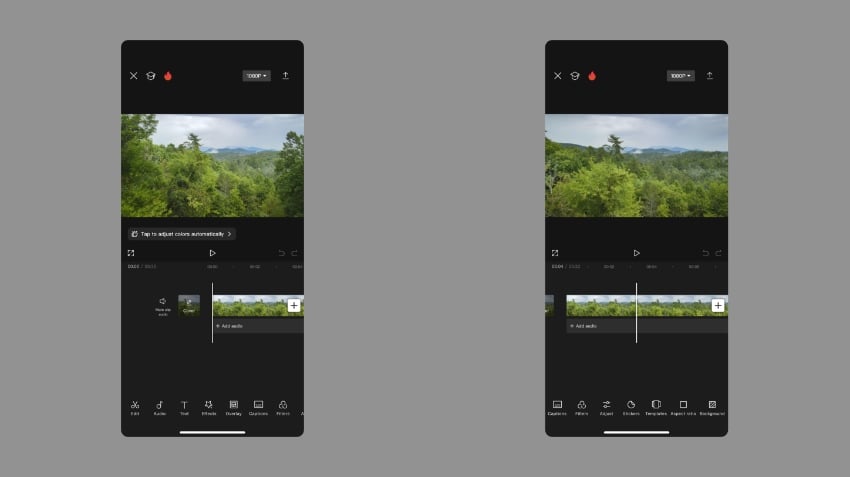
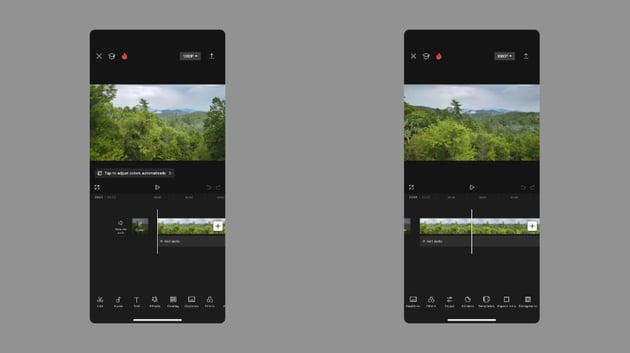
Below the preview is the Timeline. On the Timeline is a filmstrip where you can move through a video frame by frame. And below the Timeline, you’ll see CapCut’s toolbar. This is a series of menu options shown across the bottom of your screen.
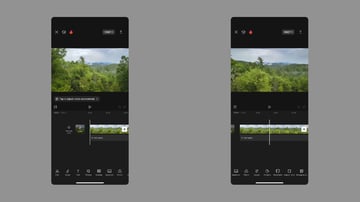
On the toolbar, scroll over to the right with your finger. Stop when you see the Adjust button. This is the menu you need. Tap Adjust to launch the panel.
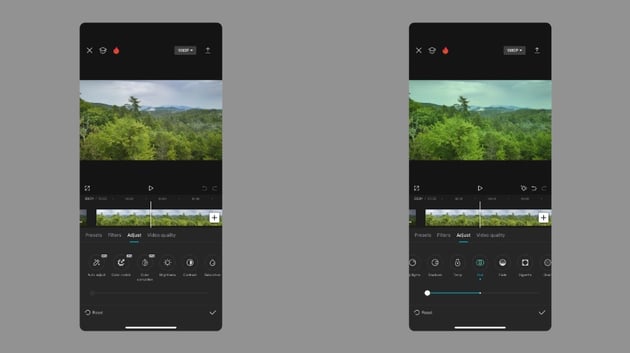
2. Find the Hue effect
With the Adjust menu open, you’re ready to change your video’s color hue! Look across the middle of the menu popup. You’ll see an array of style and effect categories. Each one is classified with its own clickable button. They begin with Auto adjust, Color match, and so on. Once more, scroll to the right.
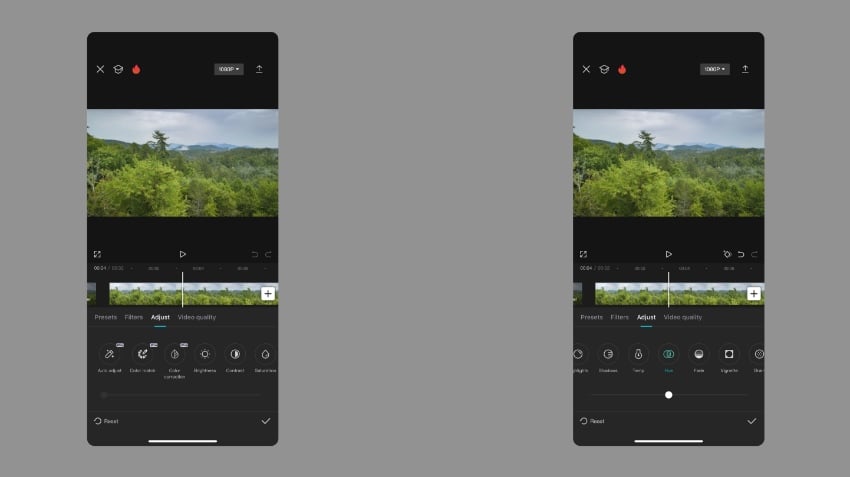
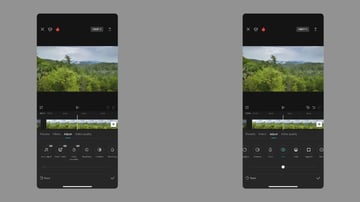
After the Temp option, you’ll see the Hue button. Here’s where the magic happens! Tap Hue to launch the controls.
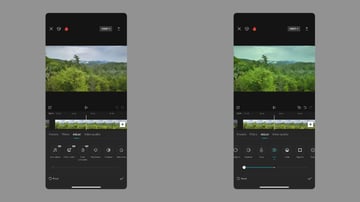
3. Edit and adjust the hue in CapCut
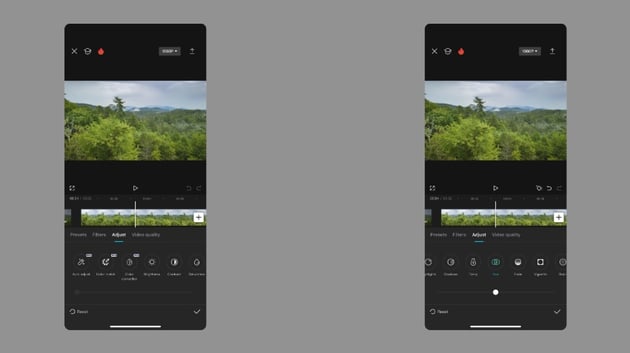
With the Hue menu open, you’ll see a slider appear. By default, it’s positioned in the center. This means that no hue edits have been made. It’s time to get to work!
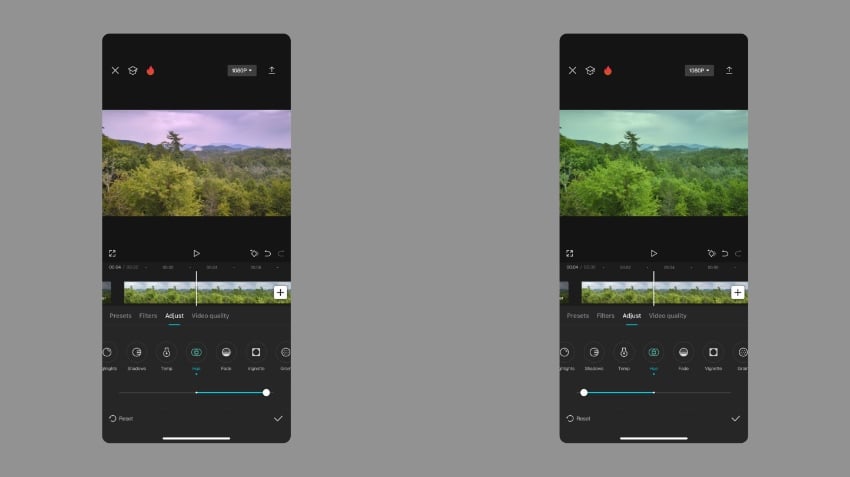


To control the hue in CapCut, drag the slider left or right. Watch your video preview closely. As you move the slider, different color tones become lighter or darker.
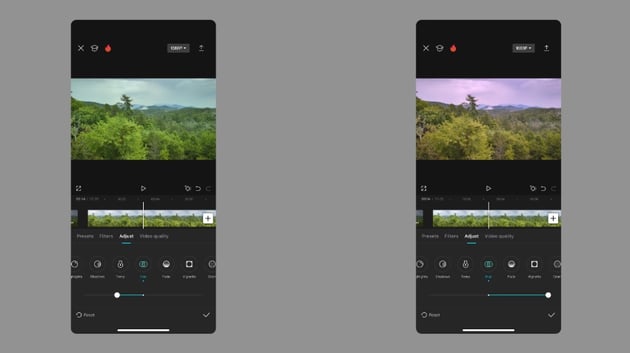
There’s no single setting that works for every single video. It’s really a trial-and-error process. Each unique video has its own color palette—no two are alike. Hue settings will react differently with every video.
Move the slider around until you settle on the hue that you want. Found your desired setting? Tap on the checkmark icon, and you’ll lock in the hue change. It’s that easy.
Learn more top CapCut and social video tips & tricks
With CapCut, you can do almost any video edit that you want. And with its focus on quick social media clips, you can share in minutes. But how can you make your videos stand out?
Here at Envato Tuts+, we have top tutorials just for you. Want to elevate your CapCut and social media video skills? Check out these guides for a quick boost of your skills!
In this tutorial, you learned how to quickly adjust a video’s hue in CapCut. As you can see, it’s a fast and simple edit. Launch the Adjust menu, choose Hue, and move the slider to your desired setting. That’s all it takes!
Hue adjustments in CapCut are easy, yet powerful. They help you control exactly how colors are displayed to your audience. Whether you use these tools for correction or creative control, they’re easy to use. Don’t forget them the next time you create a CapCut project.