In this tutorial, you’ll learn how to outline a font in Cricut Design Space. I will cover everything you need to know about outlining text in Cricut Design Space—even if you have never used the software before!
How to Outline a Word in Cricut Design Space
Let’s see how to outline letters in Cricut. With your word selected, you will now be able to use the Offset feature. To start off with, we will look at the most popular option, where we have two different layers—think of it as a background to the font.
Step 1
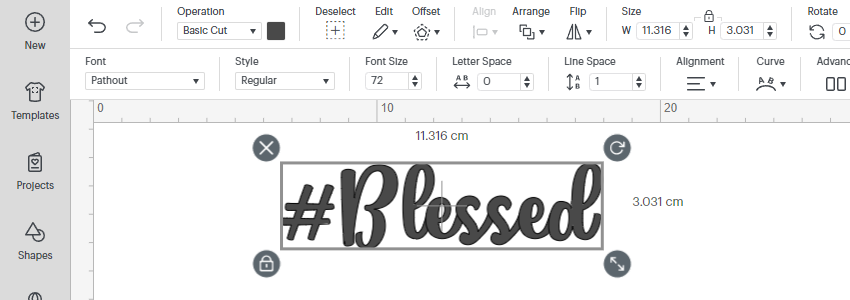
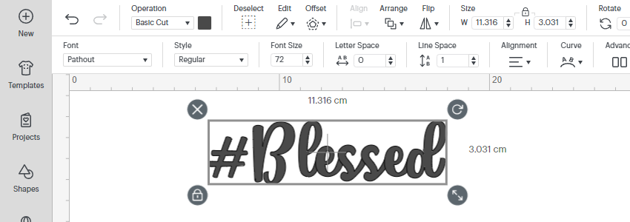
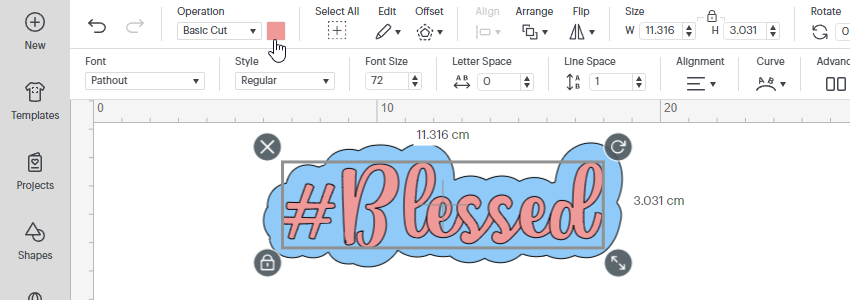
Here is the text I’ve added to my current project using the Text option. I found this very satisfying font, Pathout Script, from Envato Elements, which we’ll use in this tutorial on how to outline a font for Cricut.
Step 2
Make sure you have the word selected, and the word Offset will no longer be greyed out, so you can now click on it.


Step 3
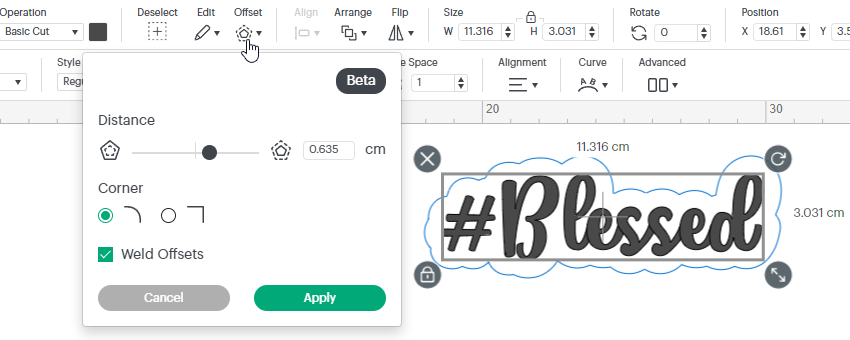
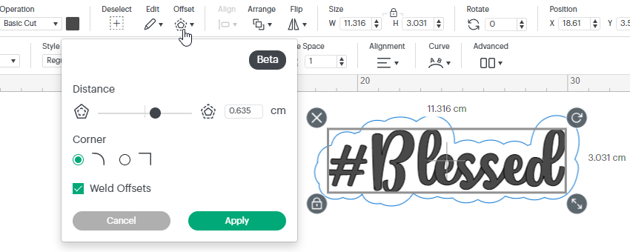
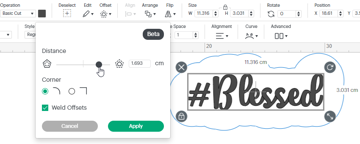
Once you have clicked on the offset button, a little popup will show, and this is where you can control the size of the offset.
Step 4
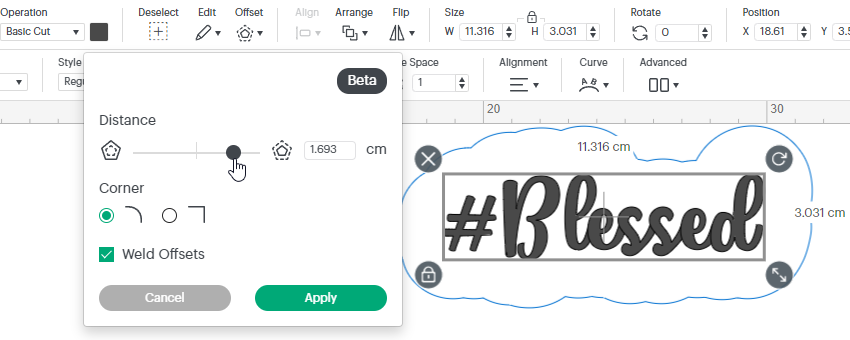
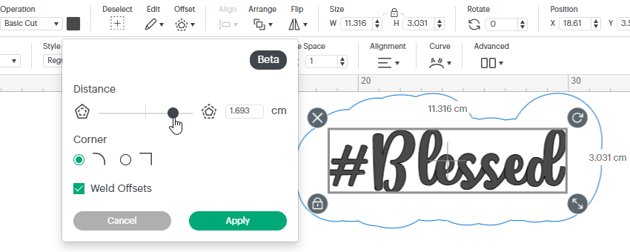
If you slide it more to the right, it makes the Distance larger. The closer you bring the dot to the middle of the line, the smaller the offset will be.
Step 5
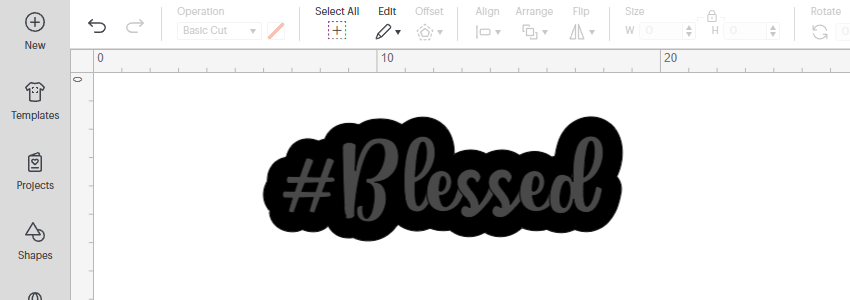
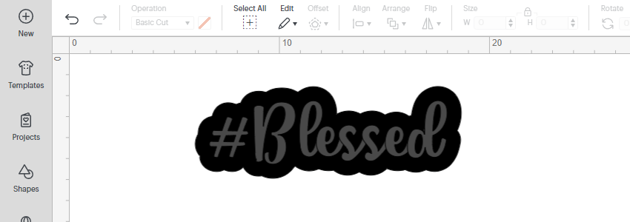
Once you are happy with the size of the offset, click Apply, and that’s how you outline a font for Cricut!
Awesome Work, You’re Done!
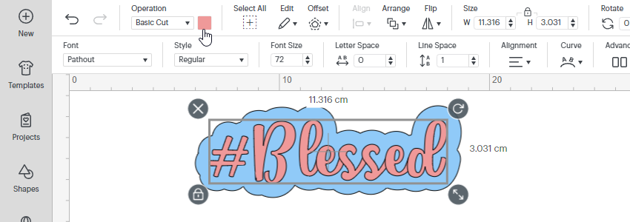
Congratulations! You have successfully learned how to outline a font in Cricut. Now you can change the colour of the text and outline, and end up with so many different possibilities.
Discover More Amazing Cricut Tutorials and Resources
I hope you liked this tutorial on how to outline a font in Cricut Design Space. Now that you know how easy it is to outline text in Cricut Design Space, there are endless possibilities! If you’re a Cricut enthusiast, don’t forget to check out these cool tutorials and resources to learn even more: