Show off your creative work and nail that next job interview with this stylish portfolio design template.
In this tutorial, I’ll show you how to make a brochure in InDesign. This multipage document is perfect as a portfolio template. It is versatile and easily adaptable to any work you want to show off. This InDesign brochure template tutorial is structured to show you how to set up master pages so you can easily add more pages to your document as you need.
InDesign brochure templates are incredibly useful if you are aiming to pass your work on to clients. If you are working in a studio, having a brochure template on hand to work through projects will help you save time. We will touch on the most necessary panels to make your InDesign template functional for yourself and other users.
In a hurry? We’ve got amazing InDesign brochure templates and portfolio layout templates in InDesign over at Envato Elements and GraphicRiver. Go check them out!
What You Will Need for Your Adobe InDesign Portfolio Template
You’ll need access to Adobe InDesign; if you don’t have the software, you can download a trial from the Adobe website. You’ll also need:
Download the assets and make sure the font is installed on your system before starting. When you are ready, we can dive in!
1. Setting Up a Portfolio Design Template
Step 1
In InDesign, go to File > New. Name the document Portfolio Design Template and set the file to the following dimensions:
- Width to 8.5 in
- Height to 11 in
- Orientation to Portrait
- Units to Inches
- Pages to 12
- Check Facing Pages
Margins: set the Top, Bottom and Outside margins to 0.75 in and the Inside margin to 0.5 in. Set the Bleeds to 0.125 in (it’s best to seek your professional printer’s preference).
Click Create.

Step 2
For this portfolio design template, we will work with three Layers. Organizing layers is an important practice when designing a template as the layers will make it easier for the user to edit.
Bring up the Layers panel by going to Window > Layers. Double-click on Layer 1 and rename it Background.
On the Layers panel main menu, select New Layer. Name it Images. Click OK.
Additionally, create a new layer named Copy. Click OK.

Step 3
Head over to Window > Color > Swatches to expand the Swatches panel. Choose New Color Swatch button from the main menu. Set the Swatch Names and values to the following:
- Light Green: C=30 M=0 Y=25 K=0
- Dark Green: C=50 M=0 Y=40 K=15
- Purple: C=35 M=55 Y=10 K=0
Click Add and OK after you input each of the color values.

Step 4
For this InDesign template, we will create a list of Paragraph Styles that we will use to format the portfolio design template.
Head over to Window > Styles > Paragraph Styles to open the Paragraph Styles panel. On the main menu, select New Paragraph Style, and set the Style Name to Title. Select the Basic Character Formats option from the left side menu. Use the following settings:
- Font Family: Bergen Sans
- Font Style: Bold
- Size: 36 pt
- Leading: 36 pt
- Tracking: 300
Click OK.

Create a New Paragraph Style, and set the Style Name to Contents and Name. Set the Basic Character Formats option to the following:
- Font Family: Bergen Sans
- Font Style: Semi Bold
- Size: 14 pt
- Tracking: 100
Click OK.
Create a New Paragraph Style, and set the Style Name to Copy. Set the Basic Character Formats option to the following:
- Font Family: Bergen Sans
- Font Style: Regular
- Size: 9 pt
Click OK.
Create a New Paragraph Style, and set the Style Name to Pull-quote. Set the Basic Character Formats option to the following:
- Font Family: Bergen Sans
- Font Style: Bold
- Size: 24 pt
- Tracking: 100
Select the Character Color option from the left side menu. Set the color to the [Paper] swatch. Click OK.
Create a New Paragraph Style, and set the Style Name to Folio. Set the Basic Character Formats option to the following:
- Font Family: Bergen Sans
- Font Style: Semi Bold
- Size: 8 pt
- Tracking: 200
Click OK.
Create a New Paragraph Style, and set the Style Name to Contact Information. Set the Basic Character Formats option to the following:
- Font Family: Bergen Sans
- Font Style: Semi Bold
- Size: 10 pt
- Tracking: 300
Click OK.

2. Setting Up Master Pages for Your Adobe InDesign Portfolio Template
InDesign brochure templates work successfully only if you are taking advantage of Master pages. You can create one or multiple layouts saved as Masters for later use. You can quickly add more pages to your brochure design by adding pre-designed Master pages. Let’s take a look at how to use them:
Step 1
Head over to the Pages panel (Window > Pages) and double-click on the A-Master pages.
Go to Layout > Create Guides. In the Create Guides option window, use the following settings:
- Rows Number: 5
- Rows Gutter: 0
- Columns Number: 3
- Columns Gutter: 0.1875 in
- Fit Guides to: Margins
Click OK.

Step 2
On the Layers panel, select the Copy layer.
Using the Text Tool (T), create a text frame and add content. To add a page number, right-click while in the text frame and select Insert Special Character > Markers > Current Page Number.
Using the Paragraph Styles, set the text frame to the Folio style.

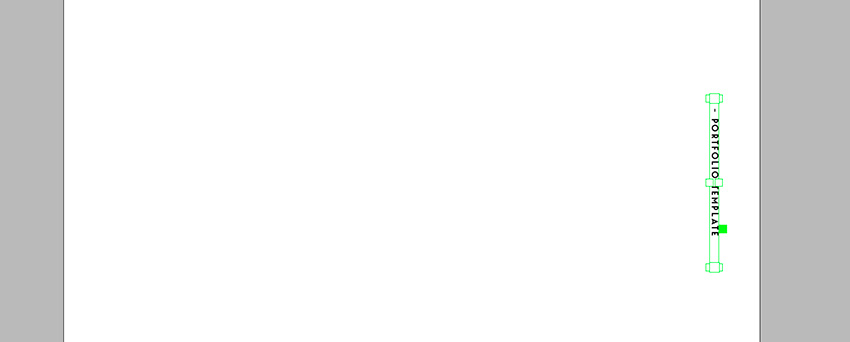
Step 3
Select the Rotate Tool (R) from the toolbar and rotate the text frame 90°. Place the frame outside the left side margin.
Press Option and drag the frame to duplicate it. Place the duplicated frame on the opposite page. Use the Rotate Tool (R) to rotate the frame -90°.

Step 4
Head over to the Pages panel and from the main menu select New Master.
In the New Master window, set Based on Master to A-Master. Click OK.

Step 5
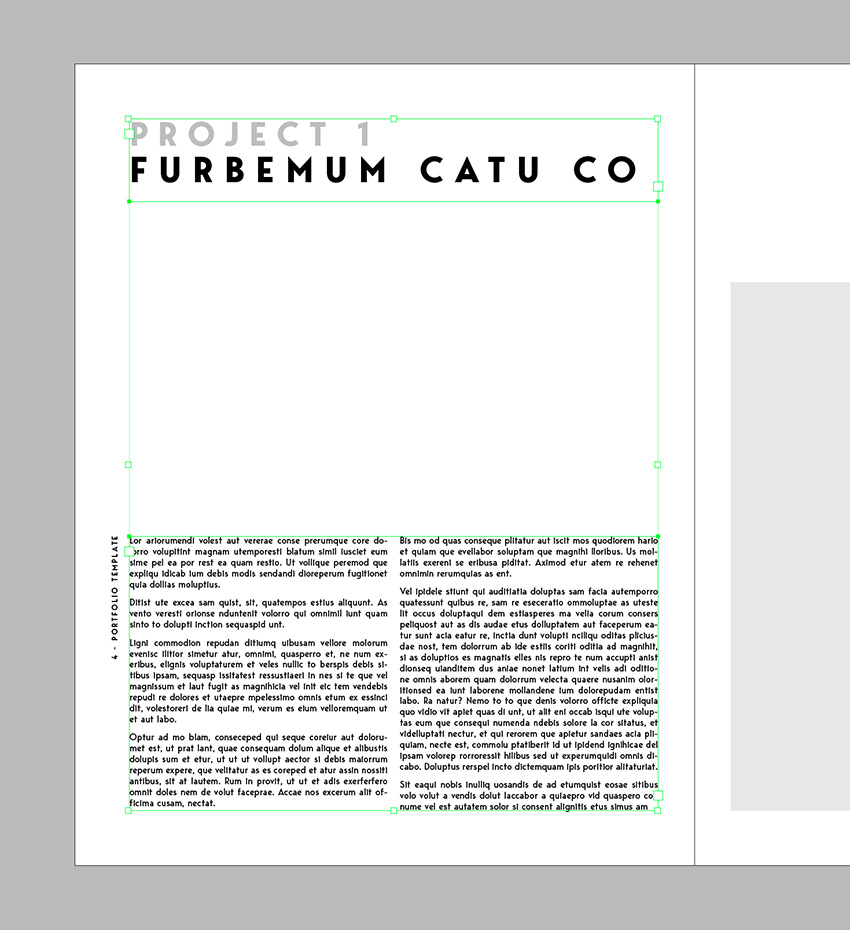
This new B-Master will be the projects layout in the InDesign brochure template.
Using the Text Tool (T), create a text frame at the top of the left page. This will include the title of the project.
Using the Paragraph Styles panel, format it to the Title style.
Select the first line of text and, on the Swatches panel, set the Tint to 30%.

Step 6
Using the Text Tool (T), add a text frame that fits the width of the margins. Press Command-B to open the Text Frame Options window. Set the Number of Columns to 2.

Add fake text by selecting the frame and heading over to Type > Fill with Placeholder Text. We can edit this later on.
Using the Paragraph Styles panel, set the text to the Copy style.

Step 7
On the opposite page, we will include an image of the project. On the Layers panel, select the Background layer.
Using the Rectangle Tool (M), create a rectangle that measures 5.8 in. in Width and 11.25 in. in Height.
Using the Swatches panel, set the color to the Light Green swatch. Set the Tint to 50%.

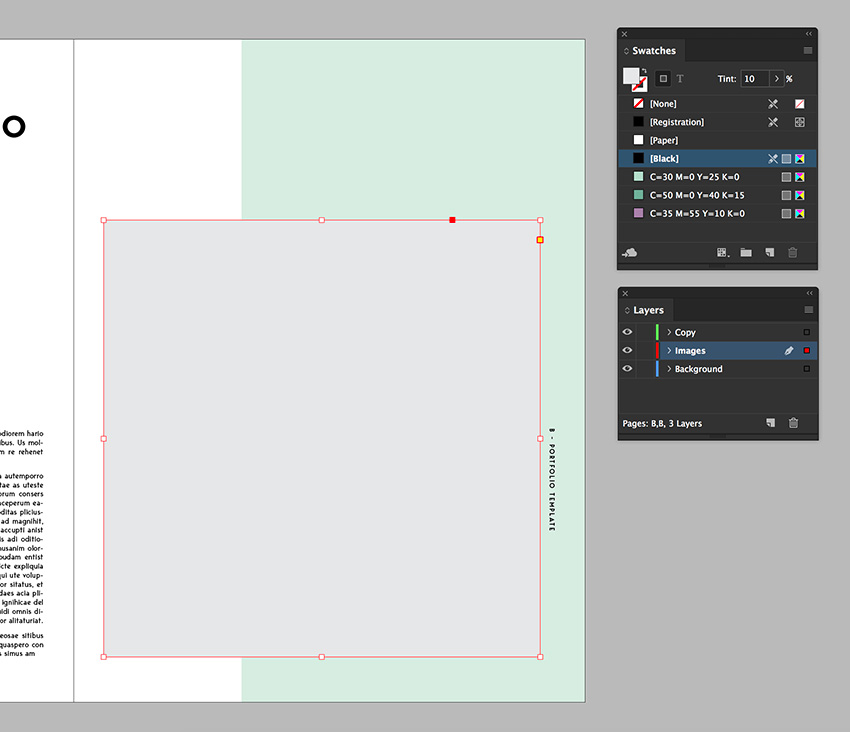
Step 8
Select the Images layer on the Layers panel. Using the Rectangle Tool (M), create an even square that measures 7.25 in. in Width and Height.
Using the Swatches panel, set the color to Black and the Tint to 10%.
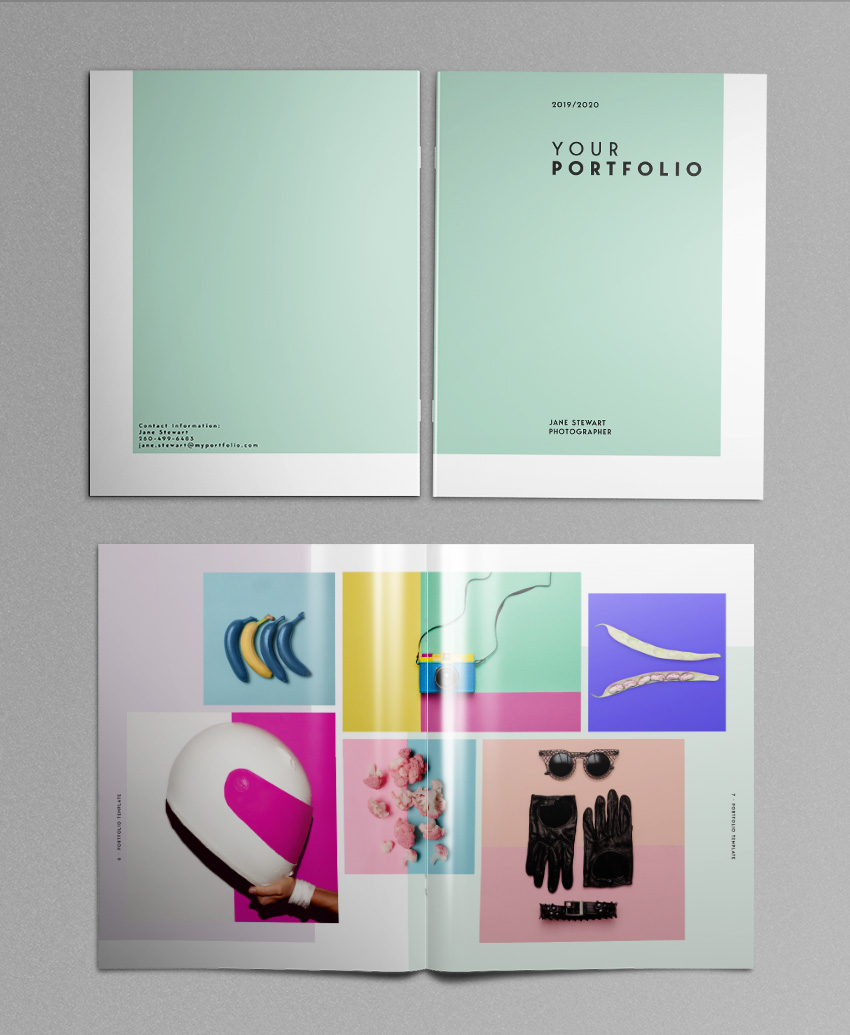
3. Designing the Cover for Your Adobe InDesign Portfolio Template
Step 1
Before we start working on the InDesign brochure template cover page, we need to delete the folio that was created on the A-Master page.
Press Shift-Command as you click on the folio and press Delete. This will override the item to either delete or customize it.
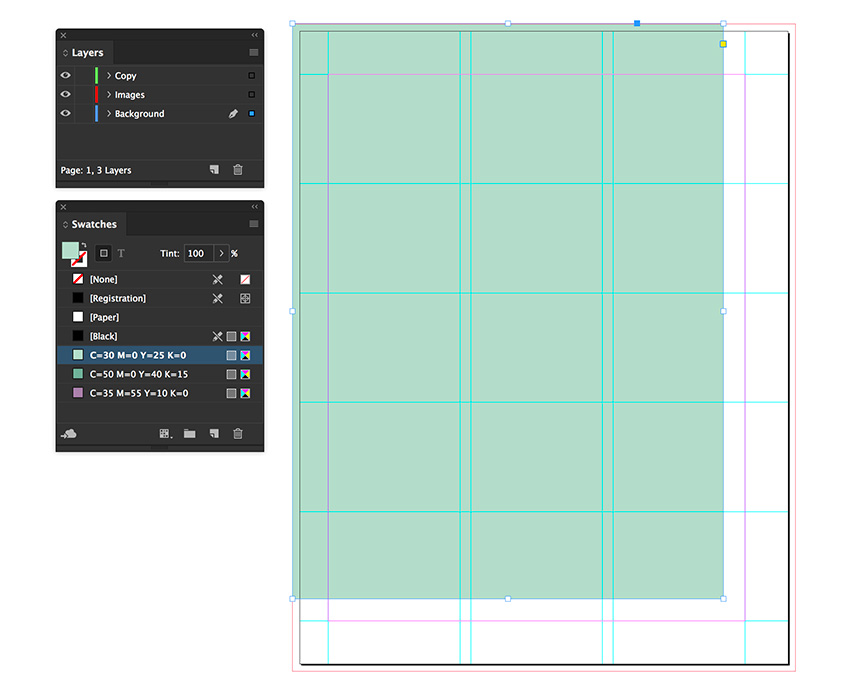
On the Layers panel, select the Background layer.
Using the Rectangle Tool (M), create a rectangle that measures 7.5 in in Width and 10 in in Height.
Using the Swatches panel, set the color to the Light Green swatch.
Step 2
On the Layers panel, lock the Background layer and select the Copy layer.
Using the Text Tool (T), create a text box to include the year of the portfolio.
Using the Paragraph Styles panel, set the text frame to the Contents and Name style.
Place the text frame on the second column and under the top margin.

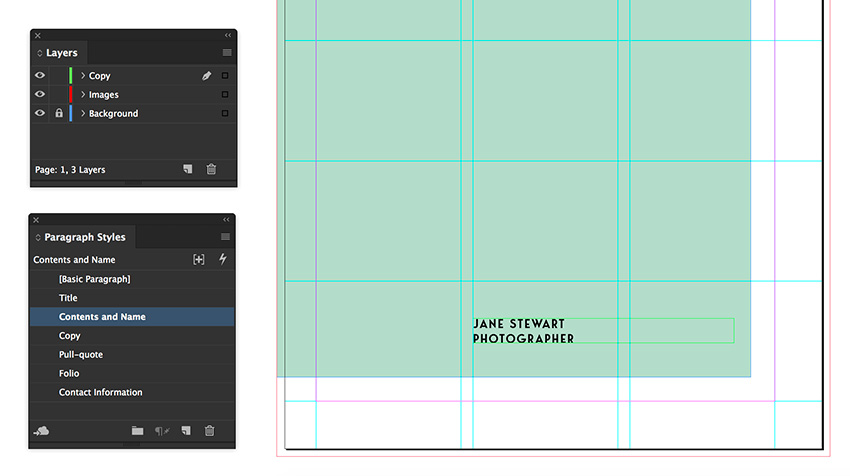
Using the Text Tool (T), add a title to your portfolio design template.
Using the Paragraph Styles, format the text frame to the Title style.
To add contrast, select the first line and head over to the Control panel. Set the family to Regular.
Place the text frame on the second column and first row.

Create a text frame using the Text Tool (T) to include your name and occupation.
On the Paragraph Styles panel, select the Contents and Name style to format the text frame.
Place the text on the second column and the last row.
4. Designing the Contents Spread of Your Adobe InDesign Portfolio Template
Step 1
Press Shift-Command as you click on the folio and press Delete to override the items.
On the Layers panel, unlock the Background layer and select it.
Using the Rectangle Tool (M), create a rectangle that measures 10.25 in Width and Height. Place the rectangle on the left page—it should go over the gutter across the right page.

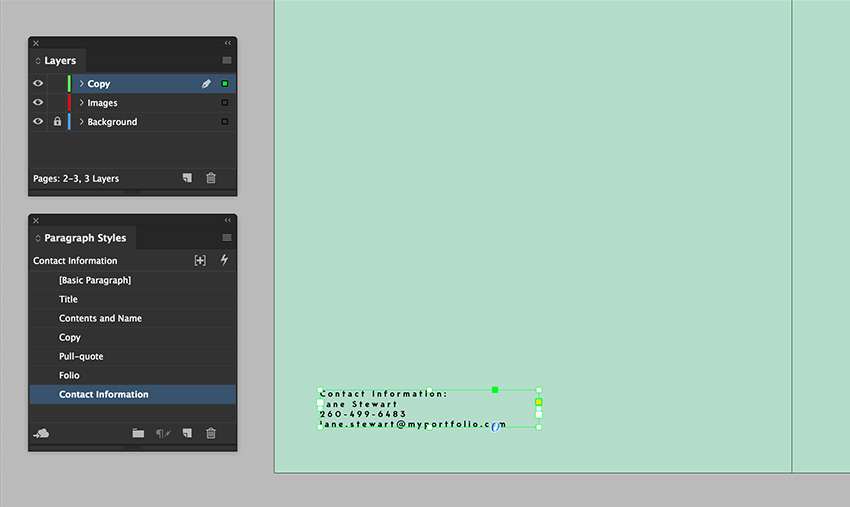
On the Layers panel, lock the Background layer and select the Copy layer.
Using the Text Tool (T), create a text frame on Page 2. Add contact information and, using the Paragraph Styles, format it to the Contact Information style.
Place the frame on the bottom left portion of the page.
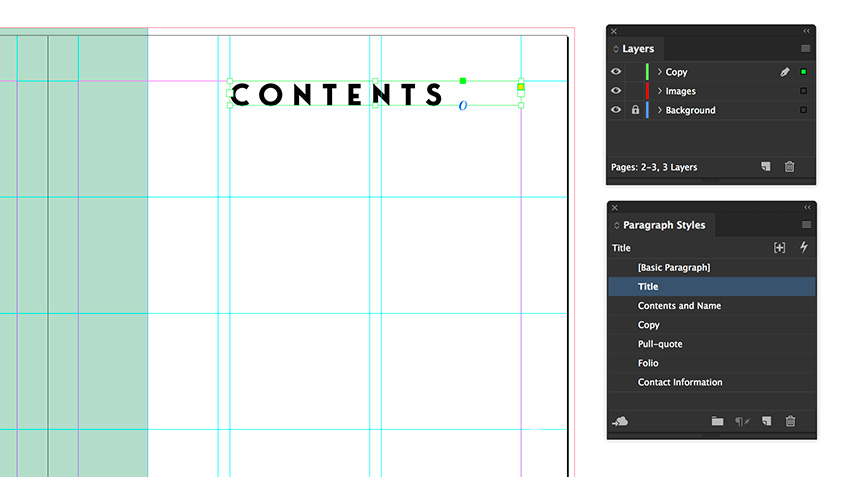
Step 2
Create a text frame with the Text Tool (T) and place it under the top margin on Page 3. Add text, which in this case will be Contents.
Using the Paragraph Styles panel, format the text to the Title style.
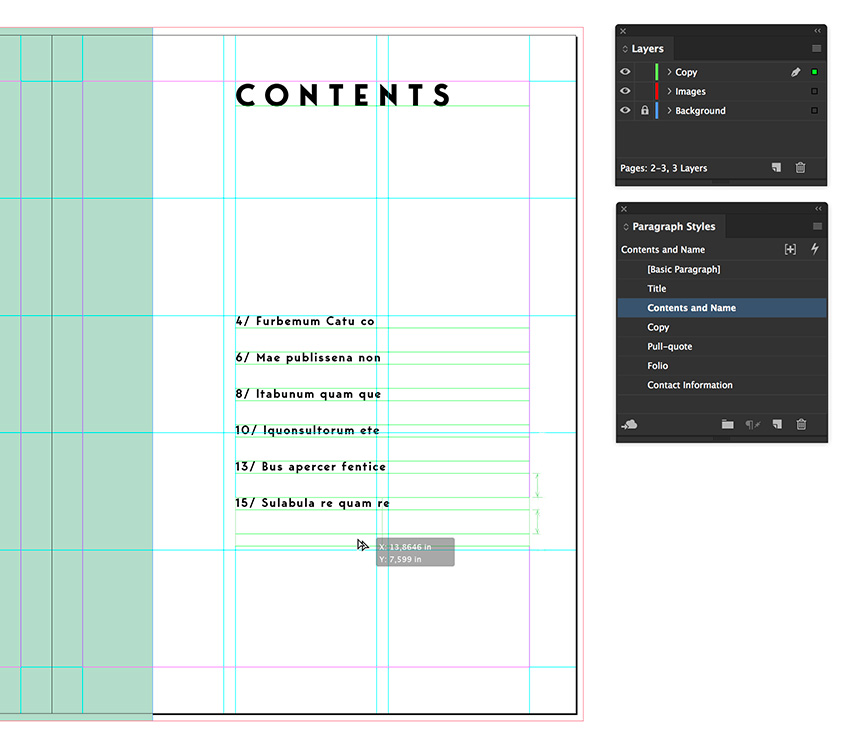
Create a text frame to include page numbers along with their contents.
Use the Paragraph Styles to style it to the Contents and Name style.
Duplicate the frame several times by pressing Option and dragging.
5. Designing the Inside Spreads of Your Adobe InDesign Portfolio Template
Step 1
On the Pages panel, right-click on the B-Master pages. Select Apply Master to Pages. In the Apply Master window option, set Apply Master to B-Master and To Pages to 4, 5, 10, 11. Click OK.

Step 2
Let’s work on Page 4 of the InDesign brochure template. Press Shift-Command and click on the title and the copy to Override the text frames. This will allow you to select the items like any other items on a page and edit the content as you wish.
Step 3
On Page 5 of the brochure design, you also have the option to override items. In this case, press Shift-Command and click on the grey square to activate it.
While selecting the element, press Command-D to Place an image. Navigate to the Pink bananas holding hand image. Click Open.

Step 4
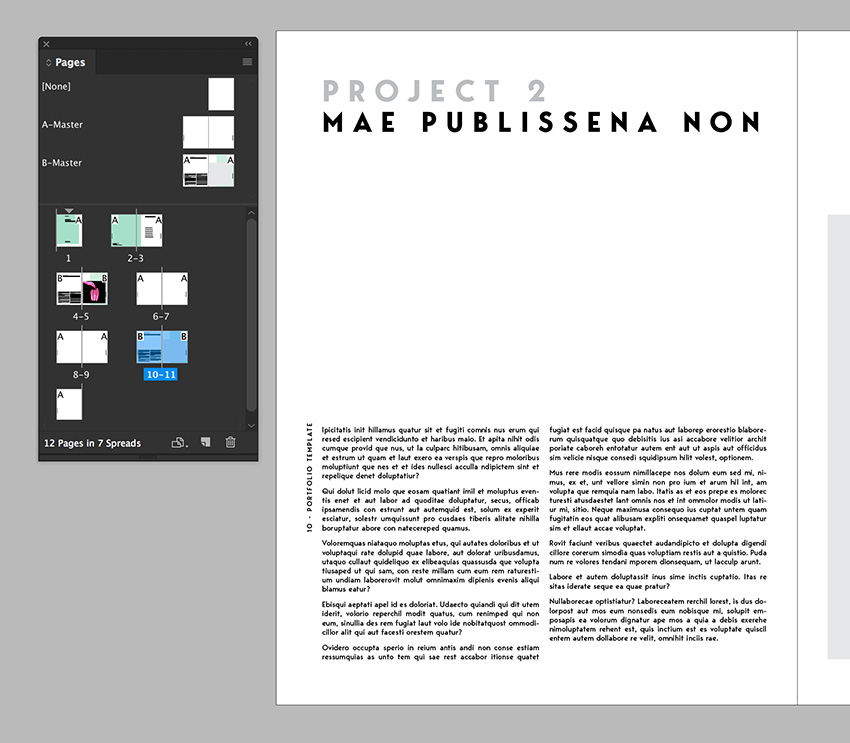
Let’s jump to Pages 10-11 of the portfolio design template.
Press Shift-Command and click on the title and the copy to Override the text frames. Add your own content on these frames as you would normally.
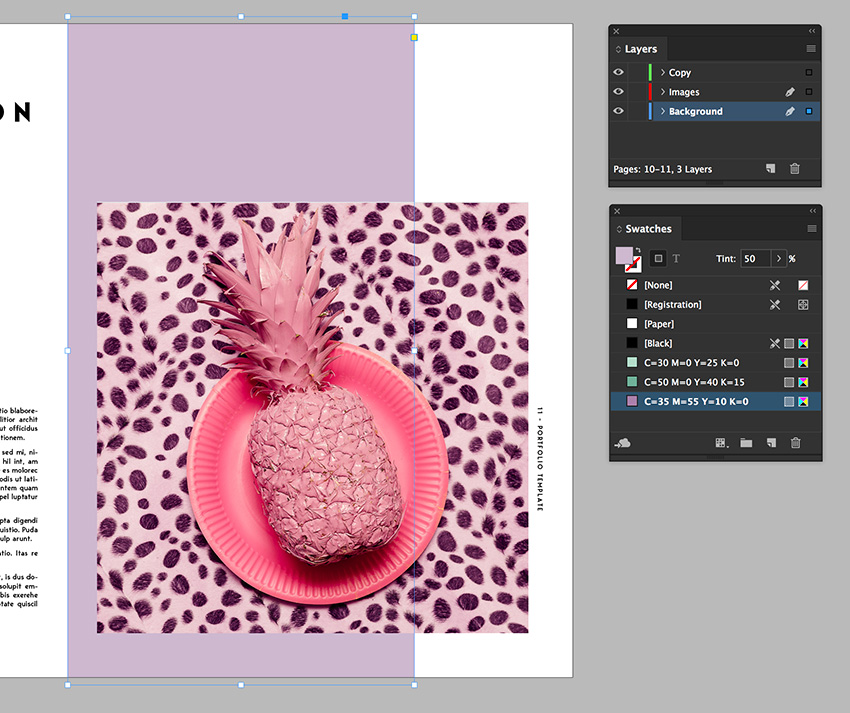
On Page 11, press Shift-Command and click on the grey square to activate it. While selecting the element, press Command-D to Place an image. Navigate to the Pink pineapple and animal print image. Click Open.
You can also adjust the color of the background. On the Layers panel, unlock the Background layer.
Press Shift-Command and click on the rectangle behind the image. Move the rectangle to the opposite side of the page. Using the Swatches panel, set the color to purple.
6. Designing a Gallery Spread for Your InDesign Portfolio Template
Step 1
On the Layers panel, select the Background layer.
Using the Rectangle Tool (M), create a rectangle on each page of the brochure design. This will give dimension to the spread. Feel free to use any size you’d like. Below, I’ve used the guides to help with the placement and alignment.
Use the Swatches panel to set the color, and set the Tint on each rectangle to 20%.

Step 2
Using the Rectangle Tool (M), create a shape on the spread to house images—any size is fine. Below, you can see it in black.
Open the Text Wrap panel by going to Window > Text Wrap. On the panel, activate the Wrap around bounding box button and set the Offset on all sides to 0.1875 in.

Step 3
Duplicate the shape multiple times by pressing Option and dragging. Resize them to fit different picture formats. Use the Offset we set in the previous step as a margin.

Step 4
Press Command-D as you select each frame to Place an image within it.

7. Designing a Pull-Quote Spread on Your InDesign Portfolio Template
Step 1
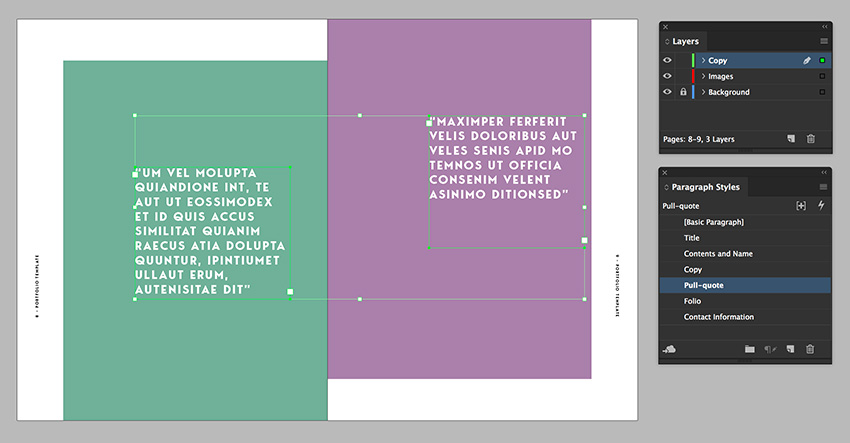
On the Layers panel, select the Background layer.
Using the Rectangle Tool (M), create a rectangle on each page. You can use any size you’d like—I’ve used a Width of 7.25 in. and a Height of 10 in. Place both rectangles towards the gutter and at opposite heights.
Use the Swatches panel to set the color to the Dark Green and Purple swatches.

Step 2
Lock the Background layer and select the Copy layer on the Layers panel.
Using the Text Tool (T), add a text frame to each page. Add your copy and, using the Paragraph Styles panel, format the frames to the Pull-quote style.
Step 3
Using the Line Tool (), create lines above and below the pull-quotes. On the Control panel, set the Stroke Weight to 3 pt. On the Swatches panel, set the Stroke color to [Paper].

8. Designing the Back Cover of Your InDesign Portfolio Template
Step 1
Press Shift-Command to override the page number and press Delete.
Copy the light green rectangle from the cover by pressing Command-C. Head over to the back cover and press Command-V to Paste. Place the rectangle on the top right of the page.

Step 2
Copy the information text frame from the inside cover by pressing Command-C. Head over to the back cover and press Command-V to Paste. Place the text frame on the bottom left of the light green rectangle.

9. How to Export a File for Printing
After you’ve finished designing your Adobe InDesign portfolio template, it’s time to export it for printing. Before you do that, it’s useful to take a look around all the edges to make sure all the images and vectors bleeding out are touching the bleeds.
Step 1
To export the file, go to File > Export. Name the file Portfolio Design Template and choose Adobe PDF (Print) from the Format dropdown menu. Click Save.

Step 2
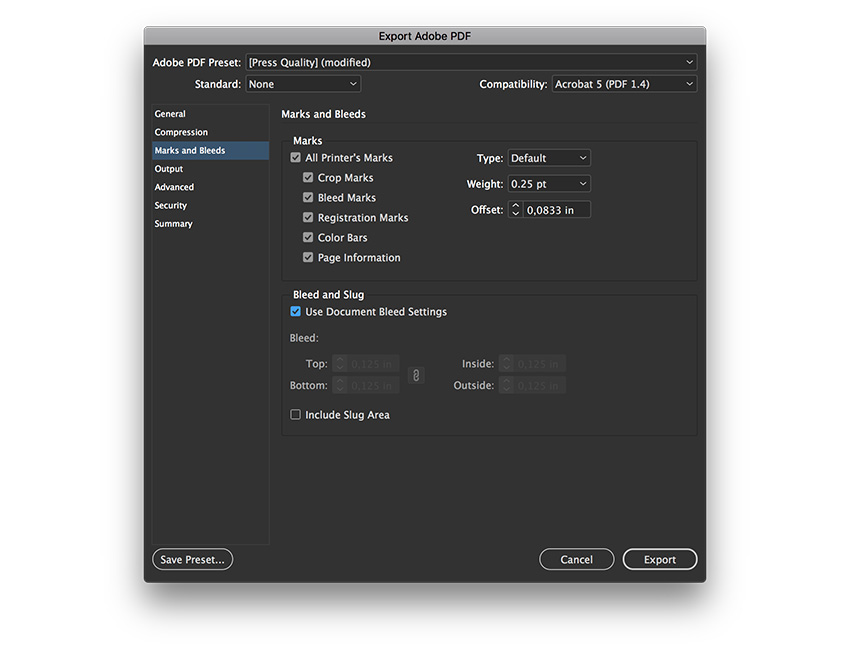
In the Export Adobe PDF window, set the Adobe PDF Preset to Press Quality.

On the left side of the panel, select Marks and Bleeds. Check All Printer’s Marks and Use Document Bleed Settings. Click Export. You will have a ready-to-print PDF file.
Great Job! You’ve Finished This Tutorial!
InDesign brochure templates are incredibly helpful for clients and can be time-savers when you’re on a tight deadline. In this tutorial, we learned how to make a fashion portfolio template in InDesign. We covered essential elements that will help anyone edit a template quickly and easily. Today, we learned to:
- set up a print-ready portfolio template in InDesign
- use the Swatches panel to add custom colors
- add Paragraph styles panel to format typography
- create organized layers on the Layers panel
- successfully use Master pages to add as many pages as necessary to the document
- create a gallery wall to display multiple images
If you are new to InDesign and need a graphic design portfolio template in InDesign or fashion portfolio template right away, head over to Envato Elements and GraphicRiver. We’ve got many options to explore!

If you’re looking for more InDesign brochure template tutorials, take a look at this awesome list: