
* { box-sizing: border-box; } body {margin: 0;}*{box-sizing:border-box;}body{margin-top:0px;margin-right:0px;margin-bottom:0px;margin-left:0px;}
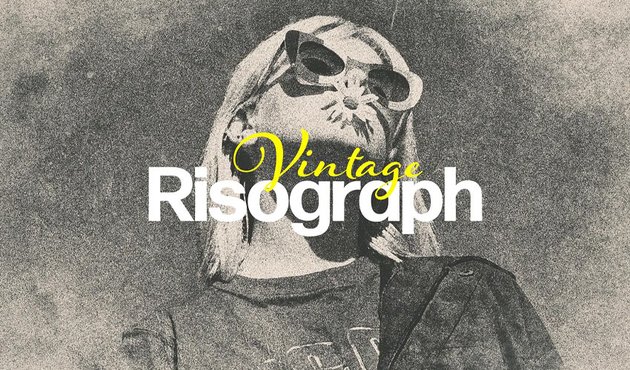
Today we will be learning how to make risograph effects in Photoshop using just two gradient maps and one layer mode, along with a couple of layer styles. Add a riso print texture to finish everything off, and you have the perfect 90s effect!
Want to make a risograph texture effect even faster? Check out one of the many add-ons and actions on Envato Elements that will create a risograph effect in a matter of seconds!


What Is a Risograph?
So what is a Risograph? A Risograph is actually a brand of digital printers created by the Riso Kagaku Corporation, a Japanese company, in the 1980s. It was created to print both cheaply and quickly. A Risograph builds a print layer by layer, layering one color on top of another, resulting in a crisp but slightly imperfect print every time. While the print is imperfect, many artists believe its imperfect nature only adds charm and style to the distinct look a Risograph print has.
Interesting, right? Now you know what a Risograph is, but what if you don’t have the time to go through this tutorial? You can watch how to make Risograph effects in Photoshop in this new video from the Envato Tuts+ YouTube channel:
What You’ll Learn in this Risograph Texture Tutorial
- How to create an old print effect Photoshop background
- How to create a Risograph effect
- How to create a dual-tone Risograph effect
- How to blend images using layer modes
- How to create a vintage color grade
What You’ll Need
- 10 Handmade Paper Textures
- Retroset
- Woman
- Human Rib Cage
- Human Skull
- Bouquet of Chamomile Flowers
- Ribbon Untied
- Rose Petals
1. How to Create an Old Print Effect Photoshop Background
Step 1
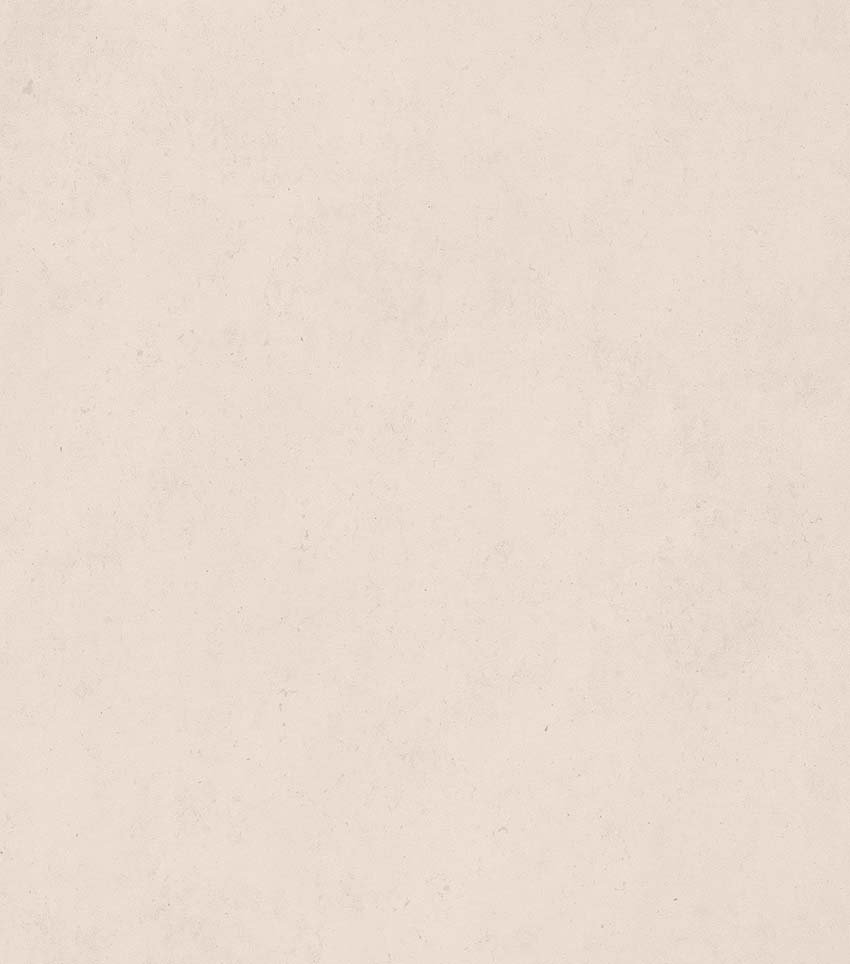
First, let’s set up our canvas, starting with a pale tan or peachy fill layer and a Risograph texture or Risograph grain.
We are then going to layer a paper-like texture on top, setting that layer to Multiply. This is texture 08 from the 10 Handmade Paper Texture on Envato Elements.

Step 2
Next, to add even more Risograph grain, let’s apply a square grid Pattern fill layer at the top of our layer stack, set to Overlay.
I used Square Grid number eight from the Retroset collection. I turned it into a pattern by opening it up in its own document and going to Image > Define Pattern.
This layer will stay at the top of our layer stack from here on out, so I recommend Locking it. That finishes up turning our base into an old print effect Photoshop canvas.
2. How to Create a Risograph Effect
Step 1
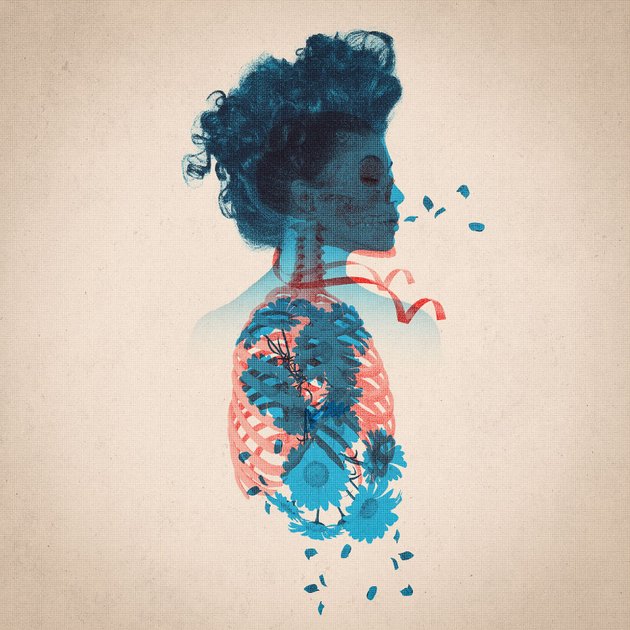
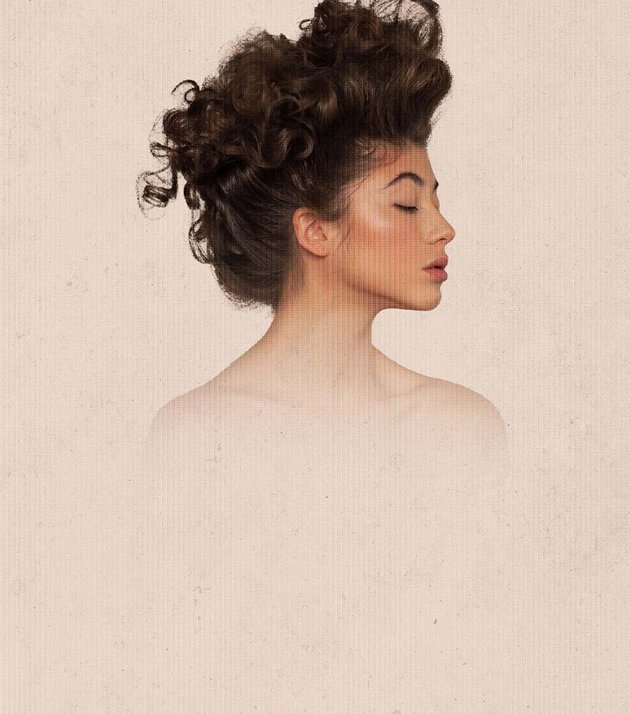
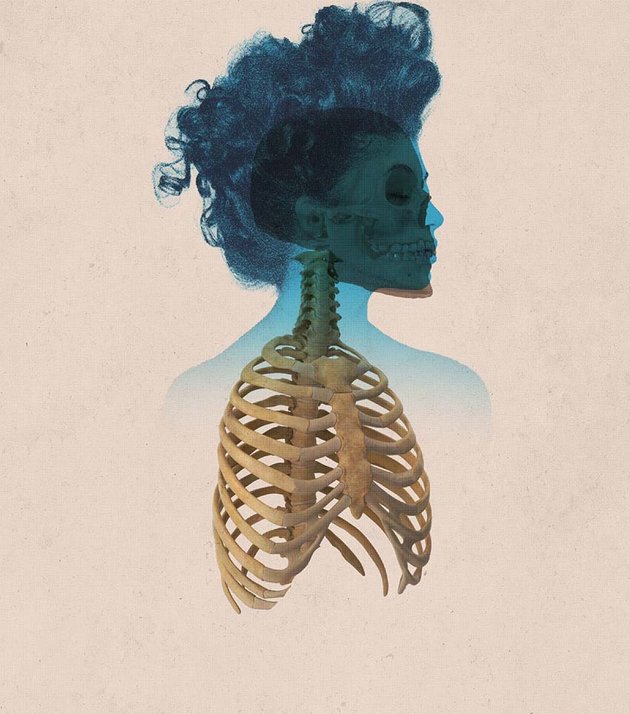
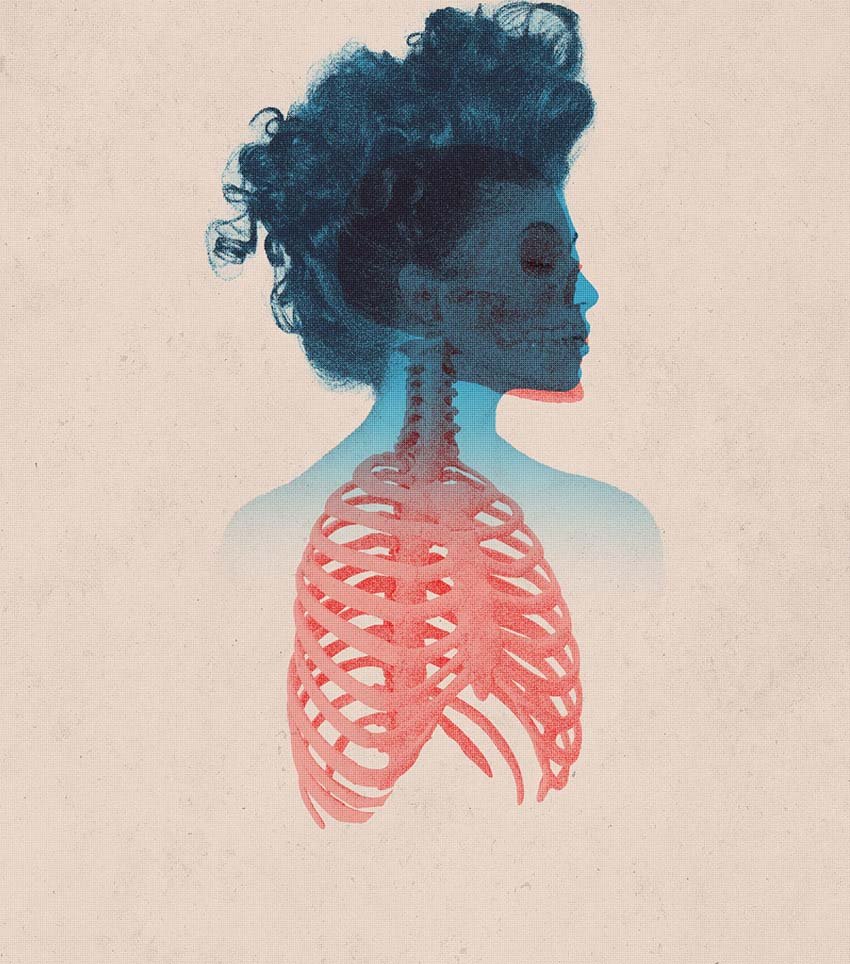
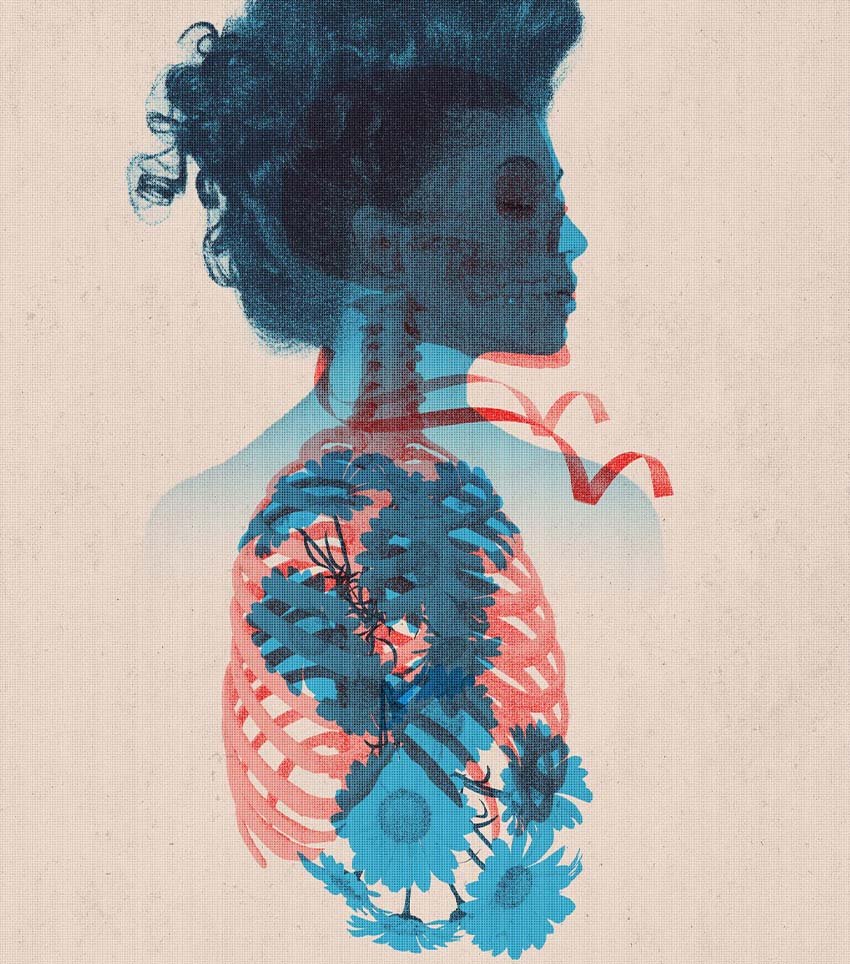
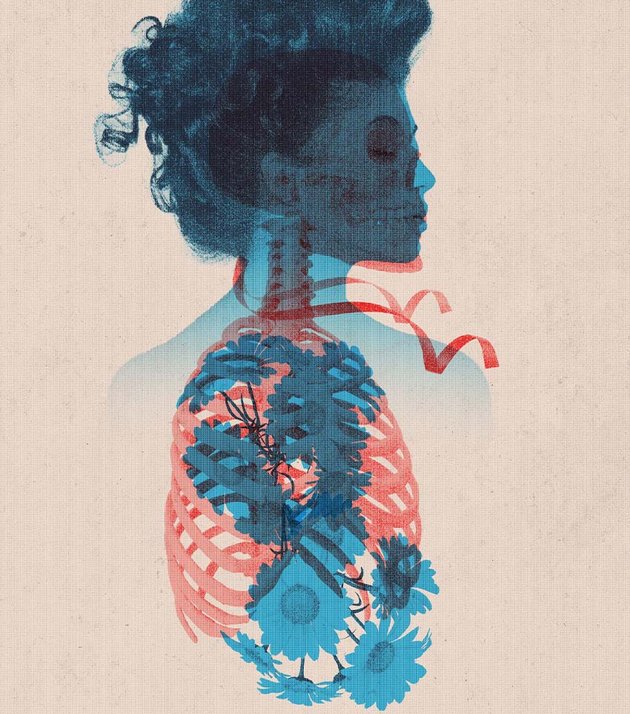
So next, let’s place and size an extracted subject, in this case, a woman, onto our canvas. Size it so that they are placed towards the top of the canvas, with room to place the future ribcage and flowers.
Then set that subject to Multiply and Right-click > Convert to Smart Object.


Step 2
Next, let’s add a Layer Mask, and using a large soft round brush, let’s mask out the bottom of the subject, creating a nice smooth fade.


Step 3
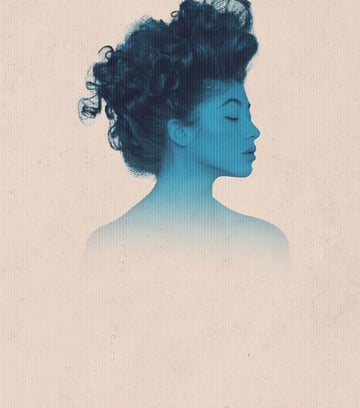
Now, we are going to create a Gradient Map adjustment layer and clip it into the subject.
This layer will determine the colors of your design, which, in our case, is a two-tone design of blue and red, so let’s create a blue Gradient Map. Start with a darker royal blue 2f3450 for our dark areas, and then a lighter and brighter aqua blue 56d5ff for our highlights.


Step 4
With the color established, we can go to Image > Adjustments > Levels and bring up the Black Output Level to around 73. This will change from image to image; we just want the subject to have less contrast.


Step 5
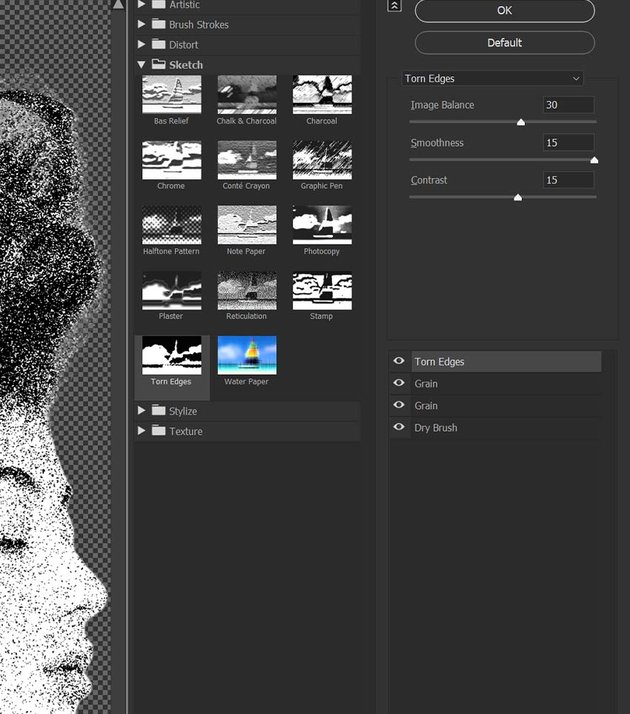
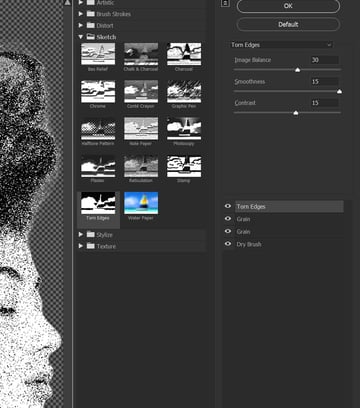
Finish up the subject by going to Filter > Filter Gallery and choosing the following settings:


3. How to Create a Dual-Tone Risograph Effect
Step 1
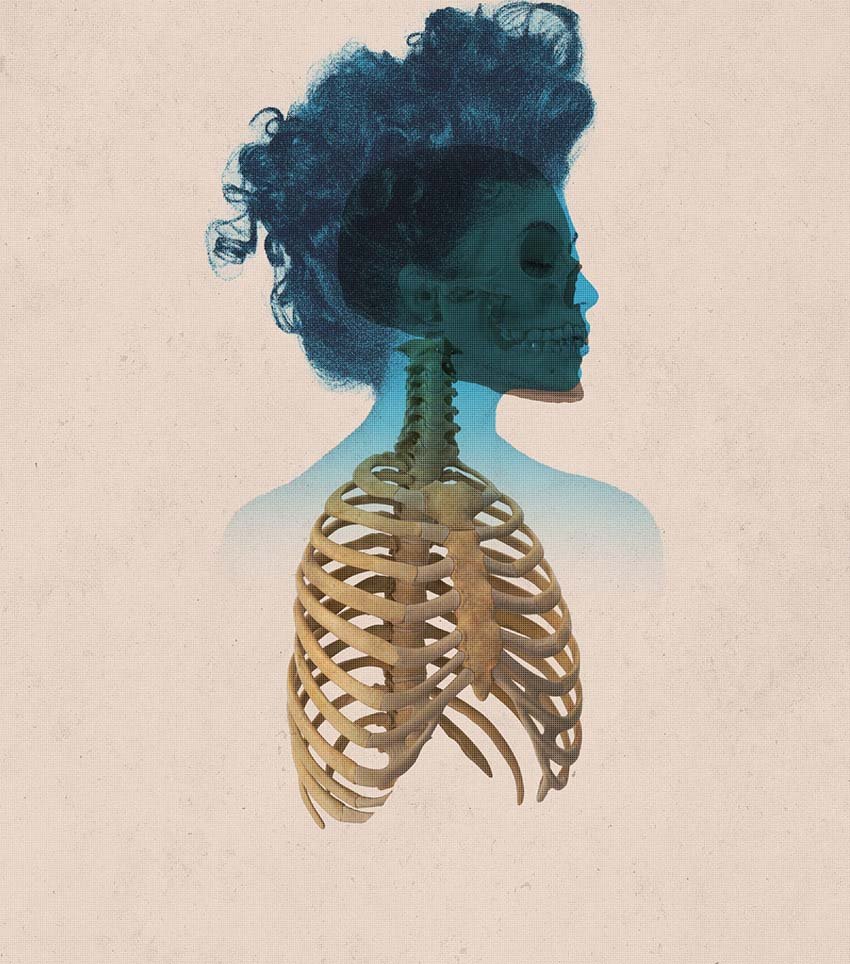
With our subject done, we can start constructing our skeleton, consisting of two 3D elements: a ribcage and a skull.
You can adjust these elements to be the exact angle you need. In this case, we want the ribcage to be straightforward and the skull to match the subject’s angle.
Step 2
Drop both of these assets into the .PSD, leaving out their shadow, setting their layer mode to Multiply, and turning them into Right-click > Smart Objects if they aren’t already.
Place them so that they match up with the subject’s pose. We aren’t going for anatomical correctness; just place them in the general area where they exist.

Step 3
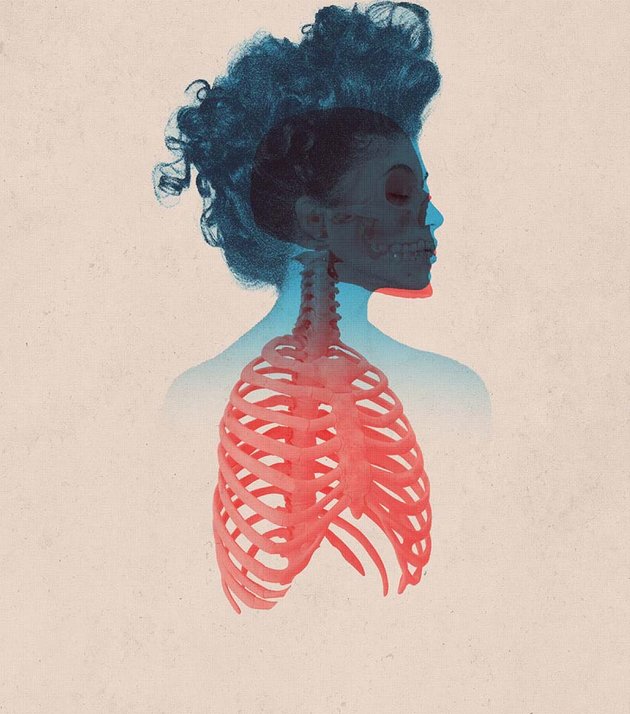
And then, we’re going to create and clip a Gradient Map layer into the ribcage and create a pure red dd0000 to light pink ffc8c8 color grade. It should be similar to what our blue color looked like, but this time in red.
Copy and clip that Gradient Map into the skull layer as well.

Step 4
Then we are going to hold Alt and drag and drop the Levels and Filter Gallery smart filters onto both the ribcage and the skull layers.
You can only do this if both the subject and ribcage layers are Smart Objects. Otherwise, you’ll have to reapply the same Levels and Filter Gallery settings to every new element by hand.


Step 5
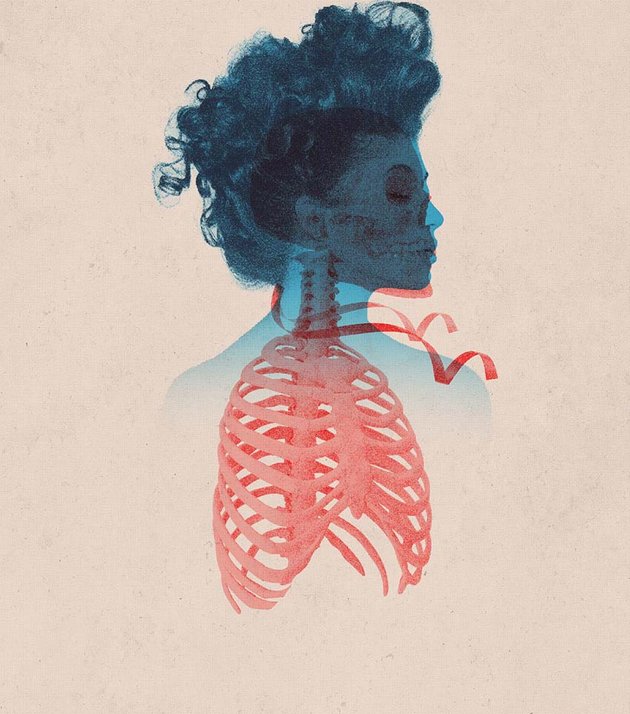
Let’s finish up the red elements by adding two red ribbon pieces around the neck area using this 3D asset. Split them in half by duplicating the layer and masking out the unwanted portion of the ribbons.
Place and rotate the ribbons horizontally around the neck. Place one of the ribbon pieces over the subject layer, while the other goes behind the subject layer.
Bring the lower ribbon’s layer Opacity down to 50%. Apply the same red Gradient Map, Levels adjustment, and Filter Gallery settings to the ribbons.


4. How to Blend Images Using Layer Modes
Step 1
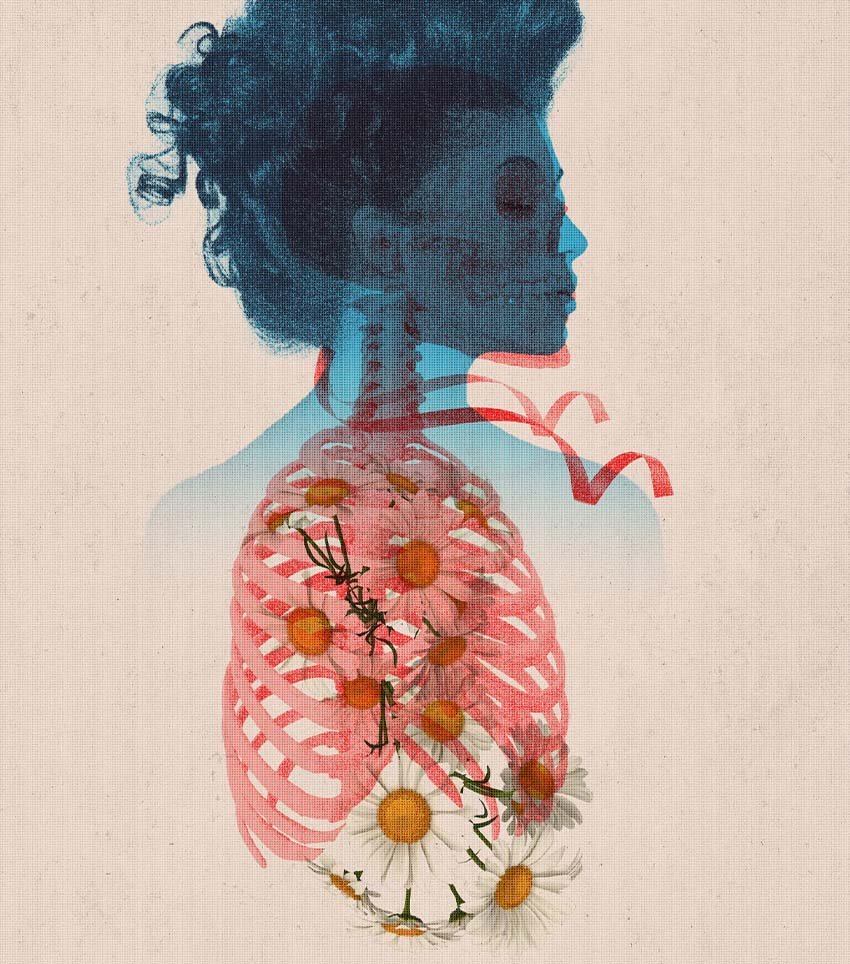
Now, let’s add the flowers to our subject’s ribcage, blending them using layer modes. Again, we’ll be using 3D assets, so we don’t have to worry about extracting anything, and we can angle them if needed.
Place the flowers over the ribcage and set their layer mode to Multiply.

Step 2
Copy and clip the blue Gradient Map from the subject layer onto the flower layers.

Step 3
And then copy both the Levels and Filter Gallery settings onto the flower layers.
Step 4
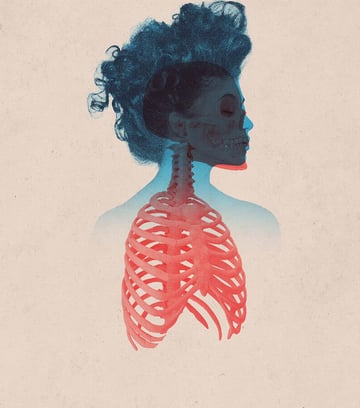
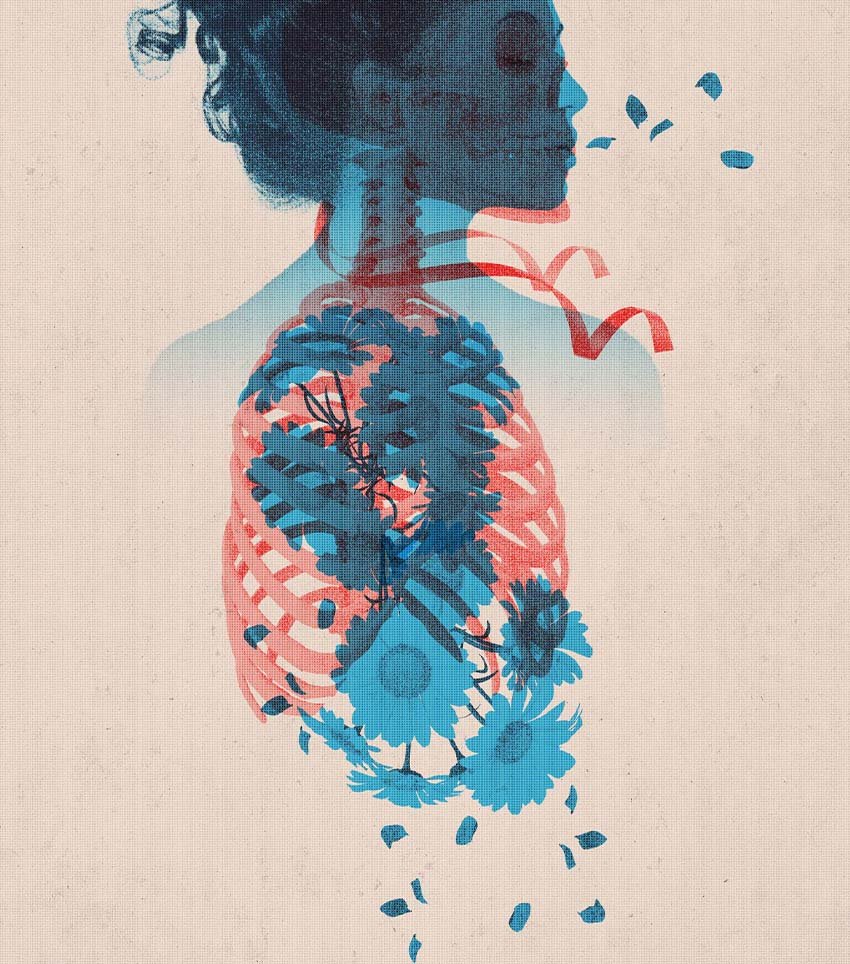
Repeat the above steps using falling petal 3D assets to create petals falling from the lungs of the subject as well as coming from her mouth.


5. How to Create a Vintage Color Grade
Step 1
Grab all of your layers so far, and then Right -click > Convert to Smart Object. This will convert the whole image into one big smart object.
Step 2
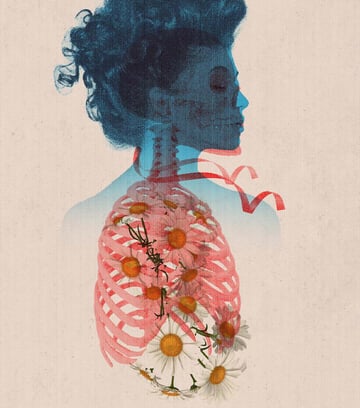
Let’s add a Filter > Camera Raw Filter to the new subject. Go to Effects and set it to 36 and -25 for the Grain and the Vignetting.
And finally, add a bit more brightness by creating a Color Lookup adjustment layer set to Filmstock 50, at 30% Opacity.
Remember, if you want to edit your design, just double-click the smart object layer, make your changes, save, and everything will update. No need to replay your Camera Raw filter!


You Did It!
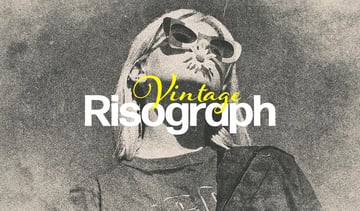
And that is how to make a Risograph effect in Photoshop! Use any combination of elements and colors as well as riso print textures to create dozens of different designs. While the way we did it above gives the feel of an old print effect in Photoshop, try using other textures to create a mixture of both current day and 90s effects.
Find the Best Risograph Actions and Add-Ons
Want to know how to make Risograph effects more quickly? Check out these Risograph printing effect add-ons!
Risograph Double Exposure Effect (PSD)
Create a high-quality Risograph like the one we created in this tutorial, but in seconds, using the Risograph Double Exposure Effect pack! Retro noise and dual-tone colors never looked so good, and it’s as easy as dropping in your own images.
Risographia for Adobe Photoshop (PSD)


The Risographia for Adobe Photoshop takes Risographs and makes them even easier to create! Choose from almost 19 different stunning effects! There is even a tutorial included to show you how to use them.
Risograph Grain Photo Effect (PSD)


There are several ways of creating noise in Photoshop, but the Risograph Grain Photo Effect does it better. Apply this effect to everything from posters to social media posts. It’s a classic!
Vintage Risograph Photo Effect (PSD)
Looking for a vintage 90s effect full of noise and grudge? Then the Vintage Risograph Photo Effect pack is for you! There are six different color grades and grain effects that will bring an instant vintage feel to any photo.
Risograph Grain Effect for Photoshop (PSD)


Creating noise in Photoshop has never been easier, thanks to this grain effect template! Just drag and drop your images into the Smart Object, and the effect will be applied. You get a choice of three grain intensity options, five grain textures, and 50 gradients!
Looking to learn more? Why not check out the following tutorials:
 Photo ManipulationHow to Create Viking Portrait Art in Photoshop
-
Photo EffectsHow to Make a Crystal Effect in Photoshop
-
Adobe PhotoshopHow to Make a Gold Statue in Photoshop
-
Photo ManipulationHow to Make a Matrix Effect in Photoshop
-
Adobe PhotoshopHow to Make a Heavy Metal Album Cover Art in Photoshop
-
Adobe PhotoshopHow to Create an Ink Brush in Photoshop