


* { box-sizing: border-box; } body {margin: 0;}*{box-sizing:border-box;}body{margin-top:0px;margin-right:0px;margin-bottom:0px;margin-left:0px;}
In this tutorial, you’ll learn how to curve text in Procreate. I’ll explain everything in so much detail that everyone can curve text in Procreate, even those who have just opened Procreate for the first time.
What You Will Learn in This Procreate Text Curve Tutorial
- How to add text in Procreate
- How to make curved text in Procreate with the Warp tool
1. How to Add Text in Procreate
In this section, we are going to add text in Procreate. I have this amazing script font, Maria Aishane Script from Envato Elements, which we’ll use in this curved text Procreate tutorial. We will begin by creating a banner, and then we’ll add the text inside the banner.
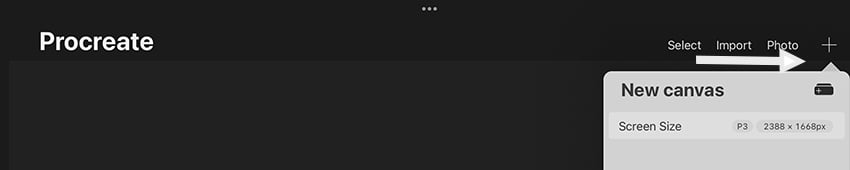
Step 1
Go to Procreate > + and you’ll get a drop-down menu. Click on the Custom Canvas icon at the top.


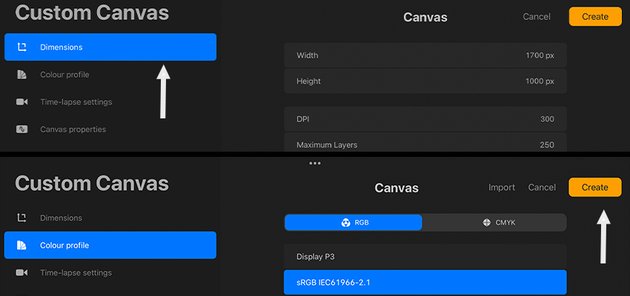
Step 2
Create a Custom Canvas with these settings:
- Width: 1700 pixel
- Height: 1000 pixel
- DPI: 300
- Color Profile: sRGB


Step 3
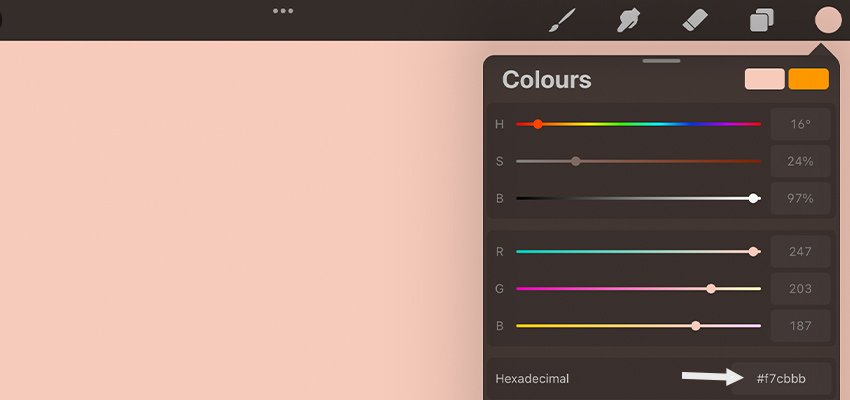
On layer 1, you can add a background fill.
- Color:
#f7cbbb


Step 4
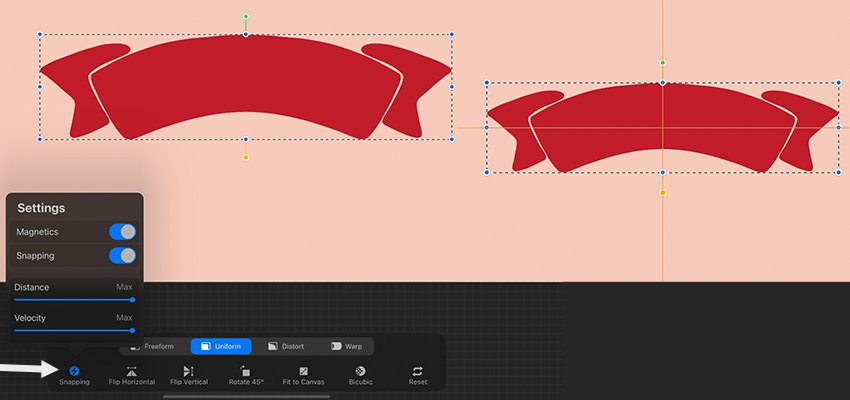
On layer 2, you can create a banner using a smooth ink brush. Here, I have used a solid ink 1 brush from the Pro Painters Procreate Brushset. Feel free to use any smooth brush of your choice.
Turn on Snapping. When you move the text with Snapping on, yellow guidelines will appear on-screen, and this shows that the banner is centered.
- Color:
#c21d2a

Step 5
Now let’s move on to adding text in Procreate. I’m using the Maria Aishane Script font in this Procreate text curve tutorial. Once the text is added, rasterize the layer.
- Color:
#fef1de


2. How to Make Curved Text in Procreate With the Warp Tool
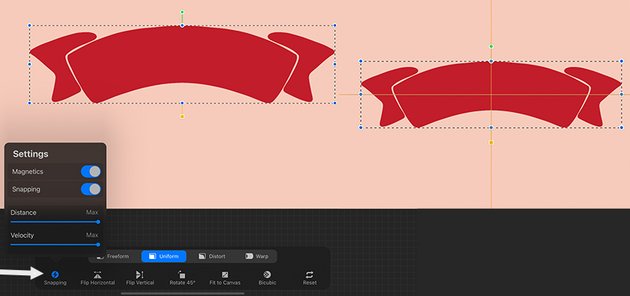
With the text layer selected, choose the Warp option under the Transform tool tab. Depending on your curve, you will have to make adjustments. Here, we want the text to gel well with the banner. Hence we need to pull the ends of the text down and push the middle up. Keep fiddling with the warp option until you get the curve you’re looking for.


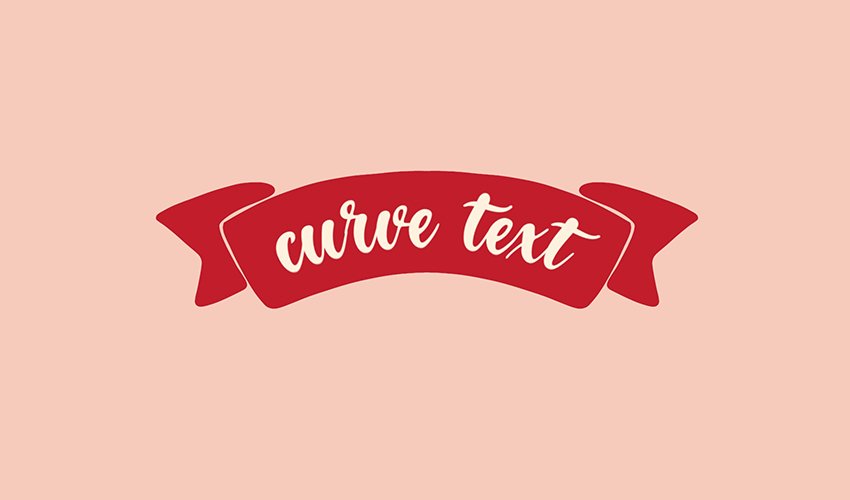
That’s It! Now You Know How to Curve Text in Procreate
Congratulations, you have succeeded! You’ve learned how to curve text in Procreate. Here is our final result:


Did you like this tutorial on how to make curved text in Procreate? Then you may also like these Procreate tutorials from Envato Tuts+:
 ProcreateHow to Animate in Procreate
-
ProcreateHow to Make a Perfect Circle in Procreate
-
Procreate30+ Best Procreate Tutorials for Beginners and Advanced!
-
ProcreateHow to Blend in Procreate
-
ProcreateA to Z of Procreate: Tips, Tricks, and Hacks!
-
BrushesHow to Create and Customize Procreate Brushes