In this quick tip, we’ll be discovering how to invert colors in Photoshop. Learning how to use Photoshop to invert colors is surprisingly helpful for a load of different photo effects and has some very practical uses as well.
As always, there is more than one way to achieve the same result, so let’s take a look at all three methods.
How to Invert Colors in Photoshop
Option 1
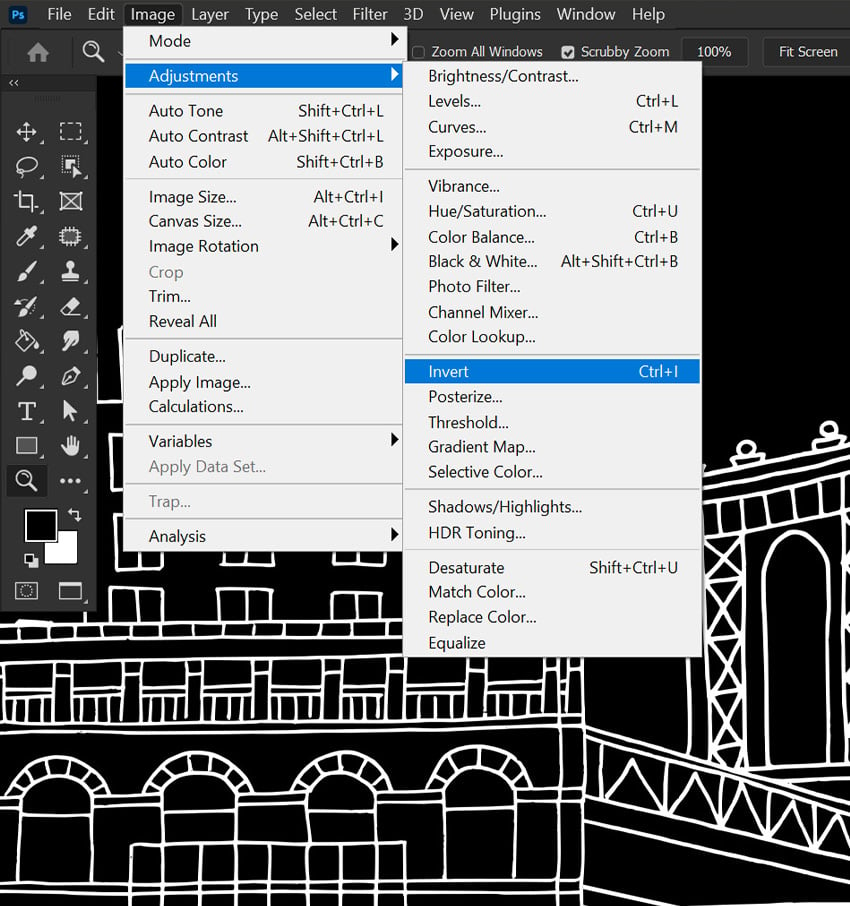
Today I will be using the inverse color Photoshop adjustment to change this illustration from white to black. However, you can apply this to photos and other colorful graphics just as easily.
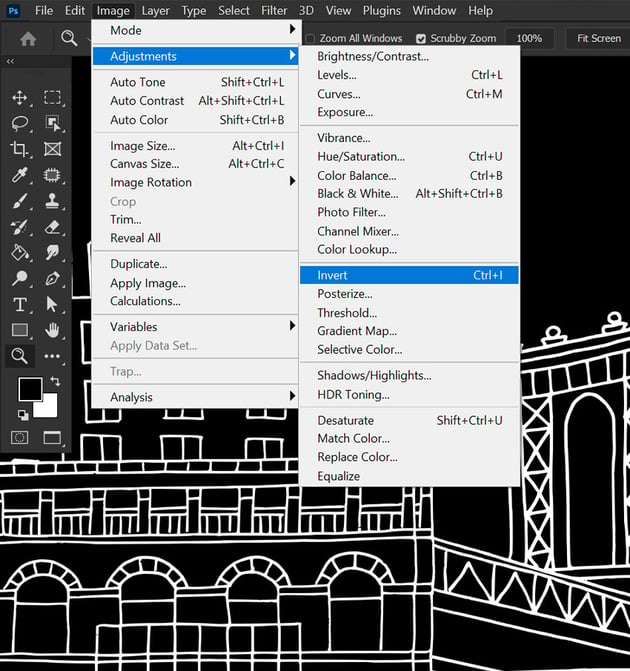
First, go to Image > Adjustments > Invert.
Option 2
Our next option for how to reverse colors in Photoshop is to use shortcuts. The shortcut to Invert colors is Control/Command-I. This is the quickest way when wondering how to make a negative color in Photoshop.
Option 3
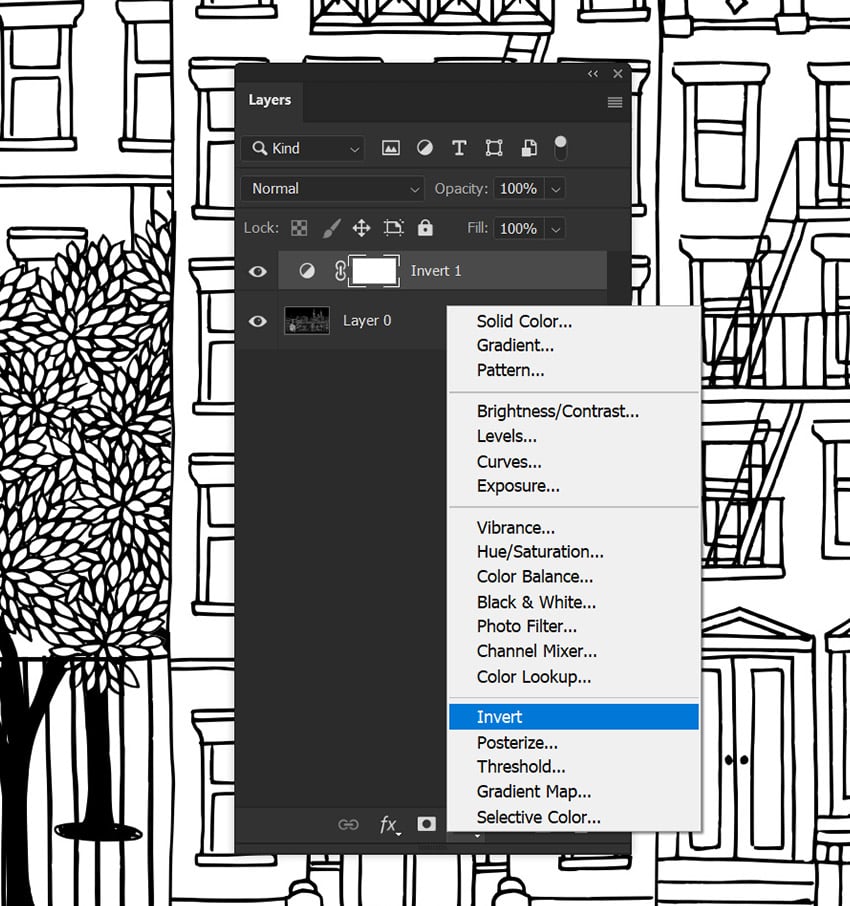
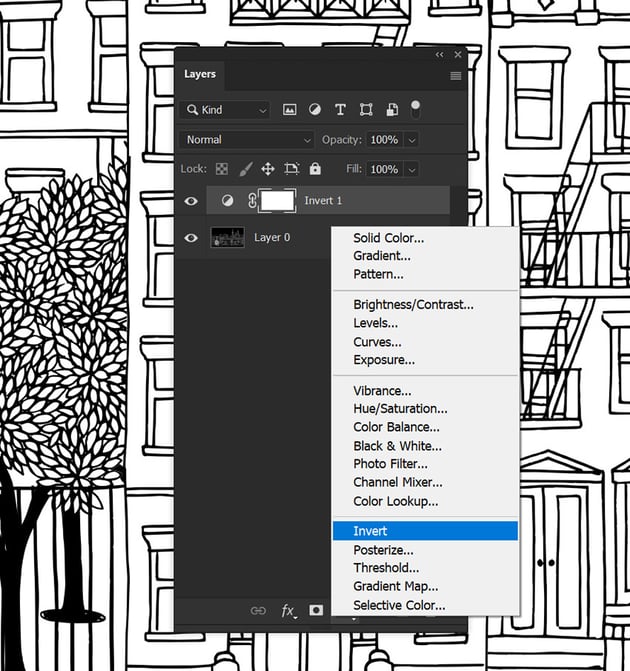
Finally, you can reverse colors using adjustment layers. You can locate your Adjustments panel by going to Window > Adjustments.
Next, select the Invert adjustment layer, shown as an icon of a half black and white circle in a square. An Invert adjustment layer will apply an inverted color effect to everything located below the adjustment layer.
That’s It!
That’s how to invert an image in Photoshop. While inverting the colors of an image may seem like a niche effect you won’t use much, there’s so much you can do with it. Quickly changing logos and graphics from black to white (and vice versa) is one of the most common uses. Now that you know how to make a negative color in Photoshop, see what cool photo effects you can come up with!
Want to learn even more? Check out these other awesome tutorials: