WordPress not sending emails correctly, or at all, is an issue that a lot of WordPress website owners have experienced. Failure to resolve the issue on time can lead to unhappy customers, loss of potential customers, and as a result, loss of revenue.
In this article, I’m going to show you how to fix the “WordPress not showing email” issue, and I’ll share with you some tips on how to fix it with the most-used contact form plugin. Whether you’re using a regular WordPress site or a WooCommerce store, I’ll show you how to get emails up and running again.
Why WordPress Isn’t Sending Email
If you’re having problems with WordPress not sending emails, it’s most likely due to one of these reasons:
- Emails are sent, but they go to the spam folder.
- Your server isn’t configured correctly.
- Your contact form plugin is sending “spoof” emails.
In this article, I’ll show you how to solve all three of these problems.
Email delivery issues are typically not due to a problem with the server, but rather because either the email is not set up correctly in the WordPress installation or there is an incompatibility.
Most email clients like Gmail have ways of determining whether an email is spam or not. Emails coming from WordPress commonly get flagged as spam and don’t actually end up reaching the recipient’s inbox.
Let’s see some reasons why your emails might be marked as spam.
Reasons Why WordPress Emails Go Into Spam
1. Your Email Address Is Blacklisted
If the sender’s domain or IP address has a poor reputation due to being associated with other spammy emails in the past, this can cause emails sent from WordPress to go to spam.
To address this, you’ll need to ensure that your SMTP provider has a good reputation before using their services. Furthermore, you can ask your customers to whitelist your emails by adding your email address to their contacts.
2. Your Email Address Looks Unprofessional
Certain email addresses are more prone to getting marked as spam than others. Examples are info@, contact@, sales@, or something similar.
Check the email address you’re sending emails from. This is typically the admin email address, but if it’s any of the spam-prone emails above, try changing the email address to something more professional-looking.
Don’t forget to divert any emails sent to that address to your normal address so you don’t miss any replies. You can do this by creating an alias for your email address.
3. Set Up Email Authentication
Lack of proper email authentication is another reason your WordPress emails might be going to spam. To solve this, you simply need to make sure your email address has been confirmed before sending emails from it.
The following guide shows you how to set up an SMTP in WordPress, and you’ll learn how to properly authenticate your email too.
How to Set Up SMTP in WordPress to Send Email
SMTP stands for Simple Mail Transfer Protocol, and this will help us with our email deliverability to make sure that our emails end up in the recipient’s inbox.
To solve the issue of WordPress not being able to send out emails, you need to install and configure an SMTP plugin in your WordPress website.
Create an Email Account
Before setting up the SMTP plugin in WordPress, you’re required to set up an email account in your hosting account and retrieve the email configuration settings, including the email address, name, SMTP host, and port number.
The process for setting up an email account is roughly the same regardless of your web host:
- Sign in to your hosting account dashboard.
- Find the email settings for the domain you’re working with.
- Look for the option for creating an email account.
- Create a new account:
- Use a professional name, e.g. [email protected].
- Set your password.
- Fill in any other required information.
Here’s the interface for setting up an email account on SiteGround:

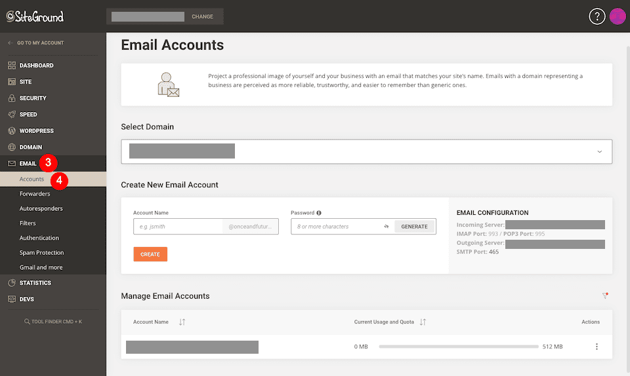

When you finish, ensure that you take note of the email configuration settings because you’ll use them later when configuring SMTP in your WordPress site.
Install and Set Up the SMTP Plugin
Let’s go over how to add SMTP to WordPress.
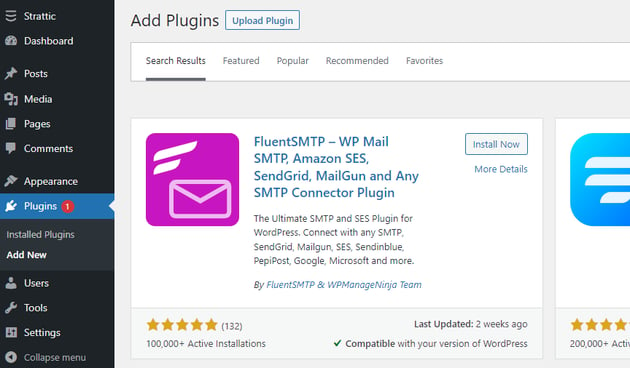
First, log in to your WordPress dashboard. In the sidebar menu, go to Plugins > Add New and use the search box to search for FluentSMTP.
Click Install Now, and then click Activate.
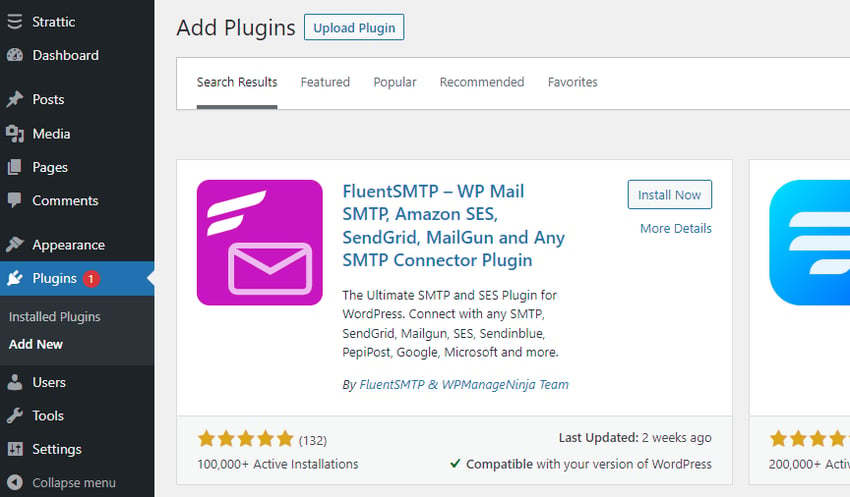

Though there are many great SMTP plugins for WordPress, I choose FluentSMTP for its wider support for different WordPress versions and its ability to connect with a wide variety of SMTP, including Google, Mailgun, and SendGrid.
Once the plugin is activated, we need to configure an email service provider connection. Click on Settings underneath the plugin name to open the settings page.
FluentSMTP gives you the option to choose from a variety of email service providers.
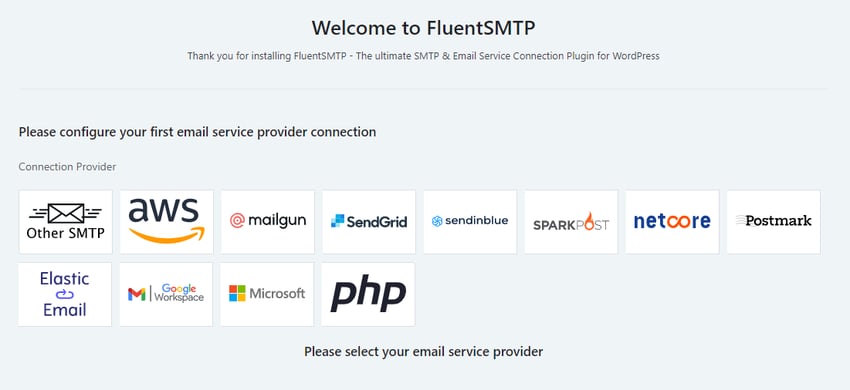
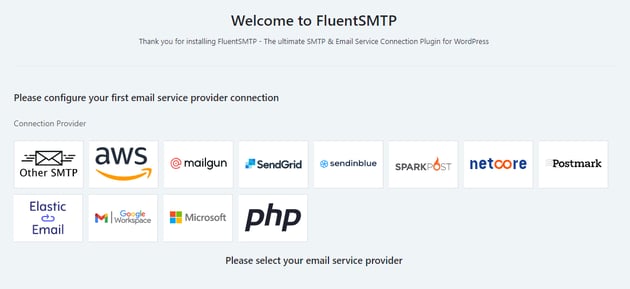
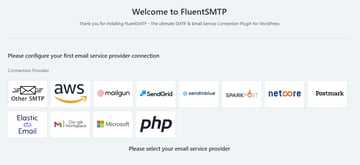
Select your email service provider. In this case, we’ll go with the Other SMTP option because we’ll be working with the email we created on our web host.
Next, you’ll have to configure your sender settings with your from email, from name, SMTP host, and port (get those details from your email account under the mail configuration settings):
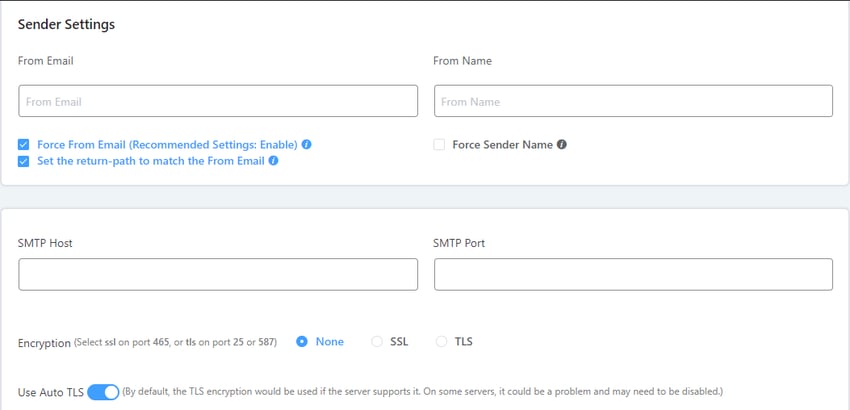
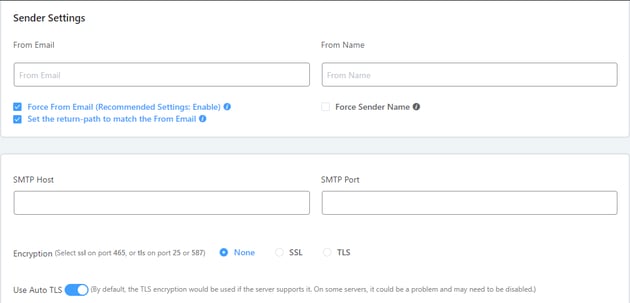
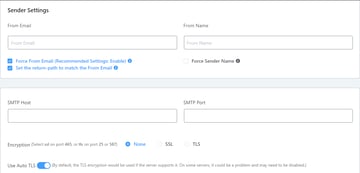
Change the encryption to SSL, leaving Use Auto TLS and Authentication checked. Finally, click Save Connected Settings.
Now, our SMTP for that email address has been set up.
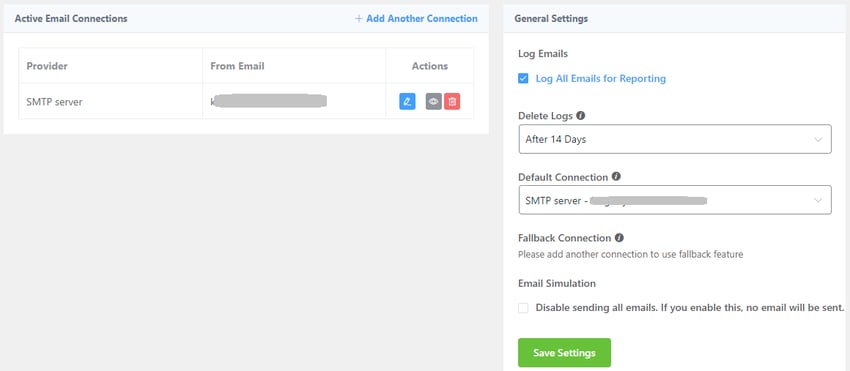
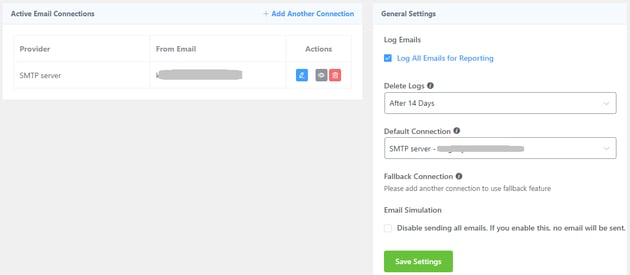
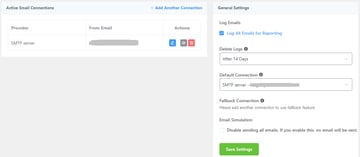
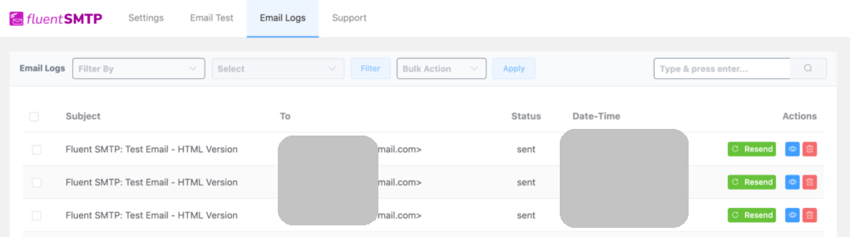
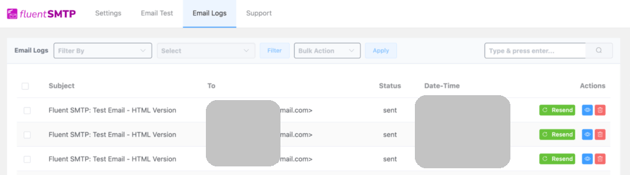
The awesome thing about FluentSMTP is that it keeps logs of all outgoing and incoming emails, so you can know when an email is sent successfully or when it fails to send.
Next, make sure that emails are now working. Most SMTP plugins allow you to send a test email right from the plugin’s interface in WordPress. All you have to do is provide the recipient email, typically your own email address:
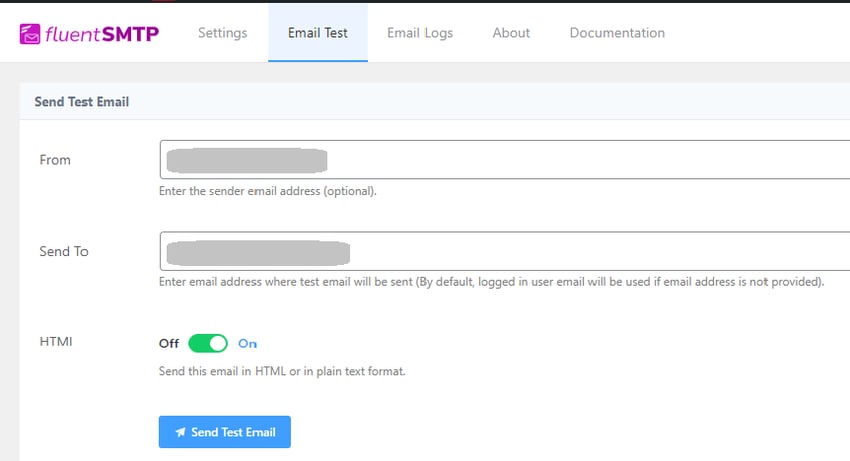


Now, click the Send Test Email button to send the test email. You should get it in your inbox if all the settings are correct.

Your contact form will automatically send messages to this email address, and you can rest assured that they’ll land in the inbox and not the spam folder.
How to Configure Your Form Plugin to Send Email Correctly
If you’re still having problems with entries to forms not sending despite properly configuring your server to send emails, then your form most likely needs some tweaks to its settings.
For this demonstration, we’ll use Contact Form 7, one of the oldest and most popular free WordPress form plugins. We’ll fix this issue by changing the address emails are being sent from.
In your WordPress admin, go to Contact > Contact Forms.
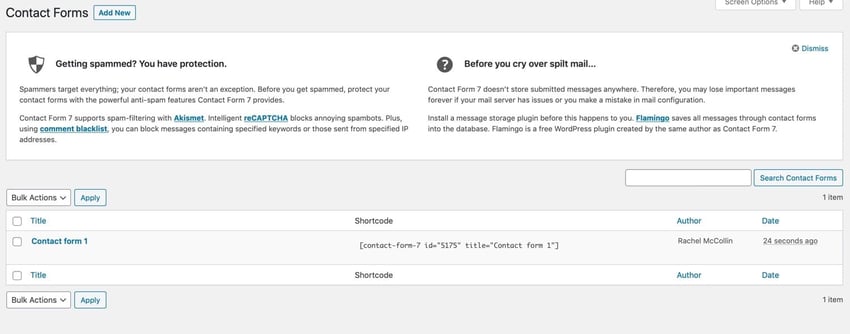
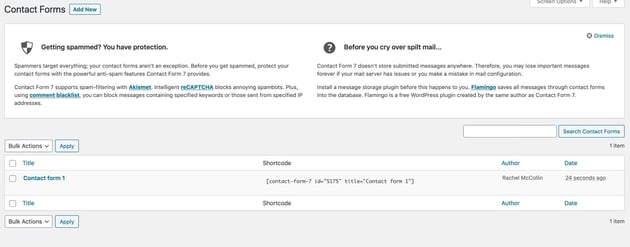

Select the form you’ve created, and then open the Mail tab.
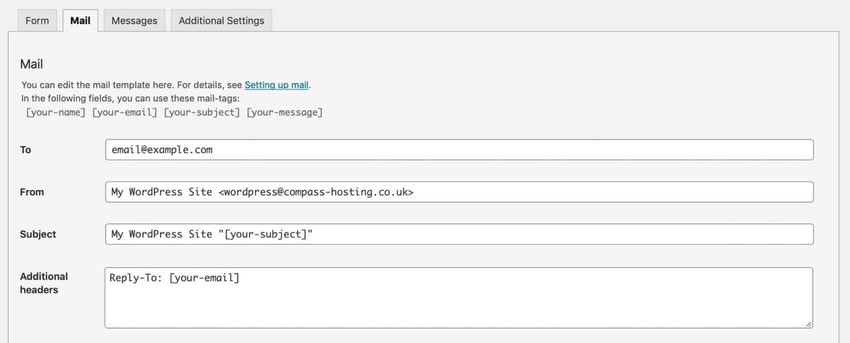
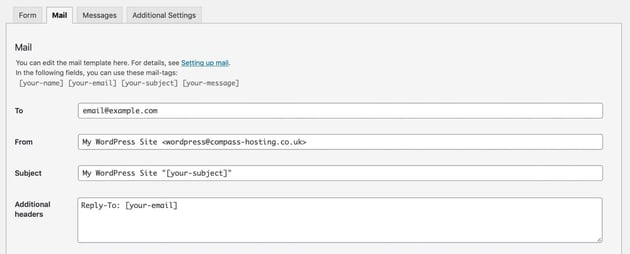
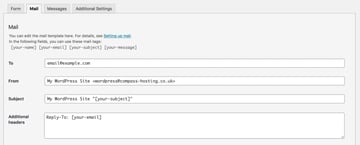
Ensure that the From field uses the admin email address of your site, not the email address input in the form. It’s okay to use that in the Reply to field but not the From field.
Try not to use the same email addresses for the From and To fields. Use different addresses instead.
Save your changes, and test things by completing the form yourself.
Conclusion
Troubleshooting WordPress not sending emails can be a difficult and frustrating process. However, by following the steps outlined in this article, you should be able to identify and resolve the issue quickly and easily. If the issue persists, it may be necessary to contact your web hosting provider or WordPress support for further assistance.