Welcome to our guide on Audacity editing! This is your one-stop resource, whether you’re a novice or an intermediate user in audio editing.
Audacity is a free, open-source software loved by podcasters, musicians, and video editors. It’s packed with features for all from sound manipulation to video audio enhancement.


In this guide, we’ll teach you how to edit in Audacity, starting from the basics like starting up and recording, to advanced skills like volume compression and mixing.
So, whether you’re a budding podcaster, musician, or looking to enhance your video’s audio, this guide is for you. Let’s begin our journey into Audacity audio editing!
Jump to content in this section
Getting Started with Audacity
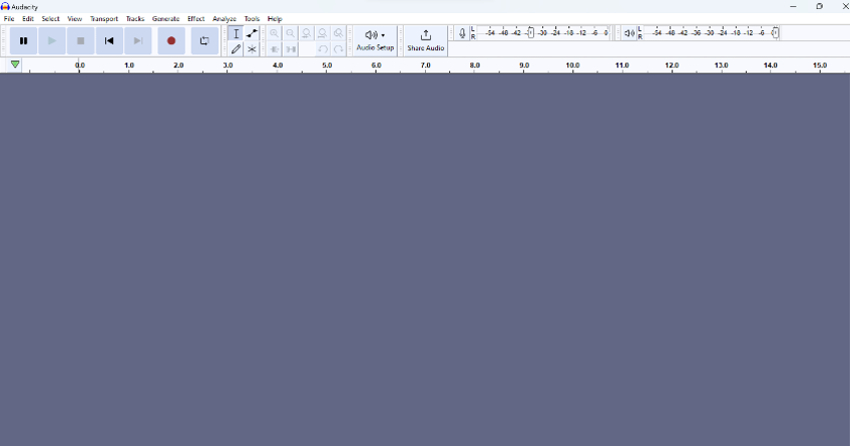
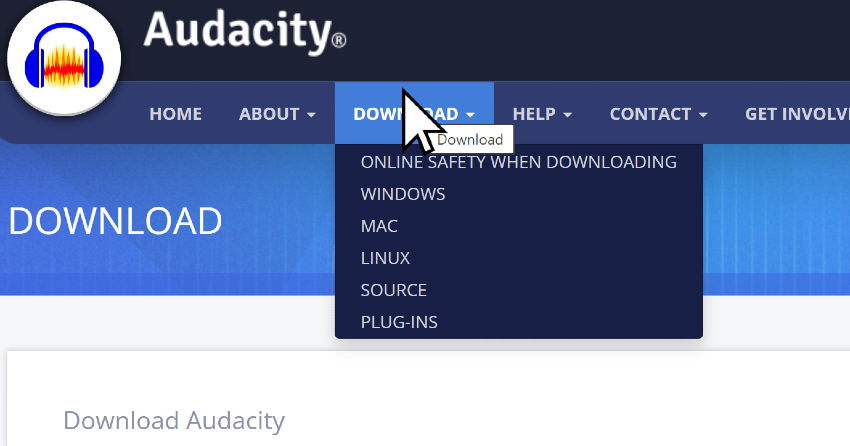
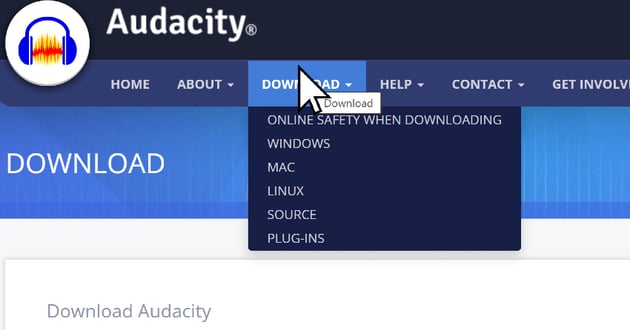
First things first, you’ll need to download and install the Audacity audio editing software. It’s a straightforward process. Just head over to the official Audacity website, follow the prompts, and you’ll be all set in no time.
Now that you have Audacity installed, it’s essential to ensure it’s using the right microphone. Your computer might have multiple mics or audio inputs, and we need to make sure Audacity picks up the correct one.
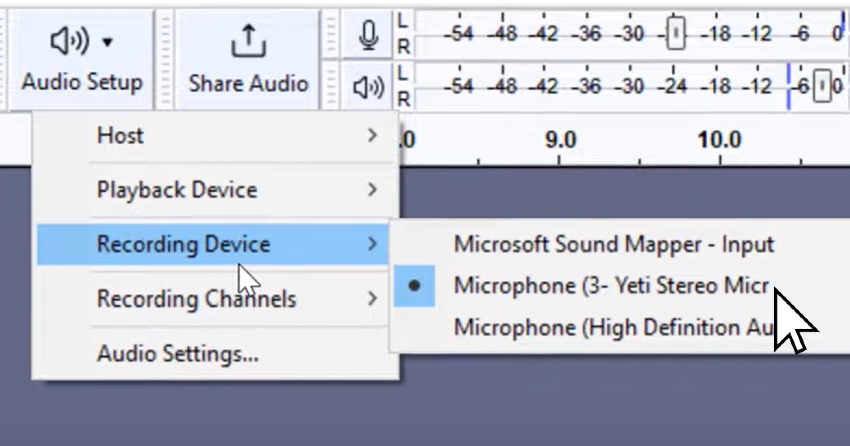
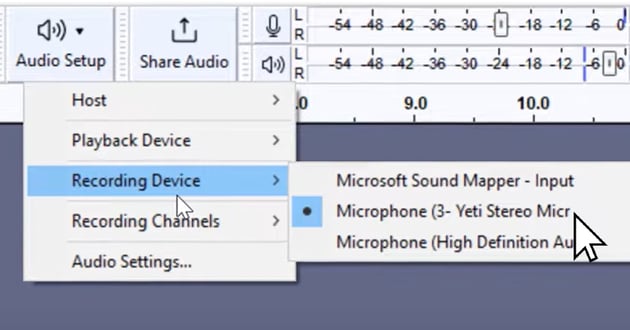
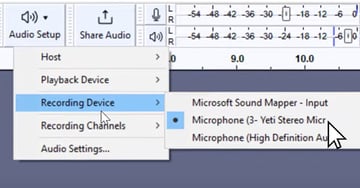
Navigate to ‘Audio Setup.’ From there, move down to ‘Recording Device,’ where you’ll see a list of all installed devices. If you’ve plugged in an external device like a Yeti stereo microphone, make sure you select that.
There’s nothing worse than recording an entire session only to realize it was captured using the low-quality built-in laptop mic!
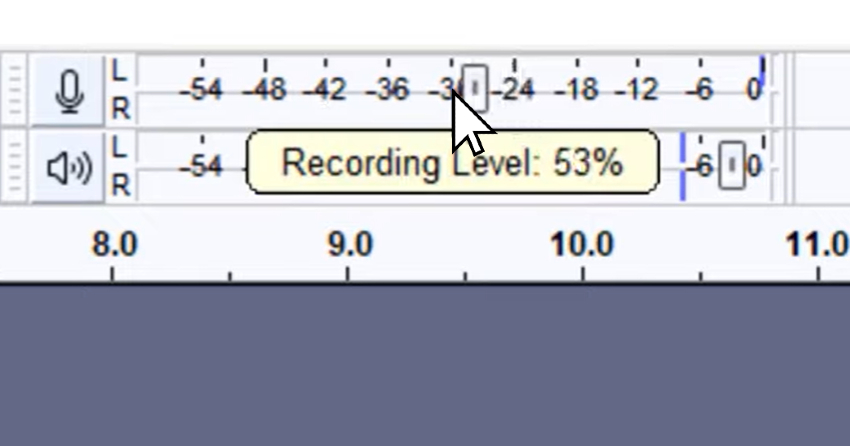
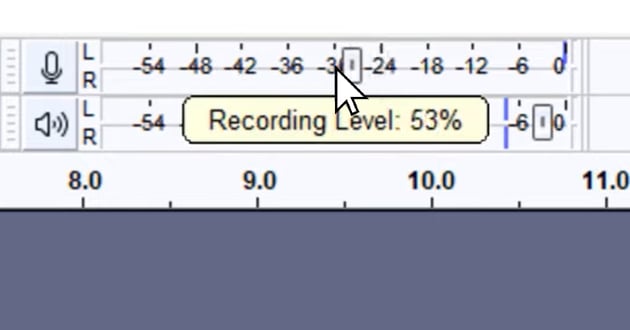
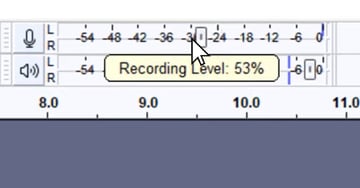
But having the right mic selected isn’t enough; we also need to ensure it’s picking up the sound at the correct volume. That’s where the ‘Recording Level‘ control comes into play. Moving it down makes the microphone volume quieter, while moving it up picks up more sound. However, beware of going too far; you don’t want to introduce distortion into your audio.
A handy trick is to use the ‘Start Monitoring‘ feature. This allows you to see your volume levels as you speak. To access this tool, right-click the volume slider and choose ‘Start Monitoring‘.
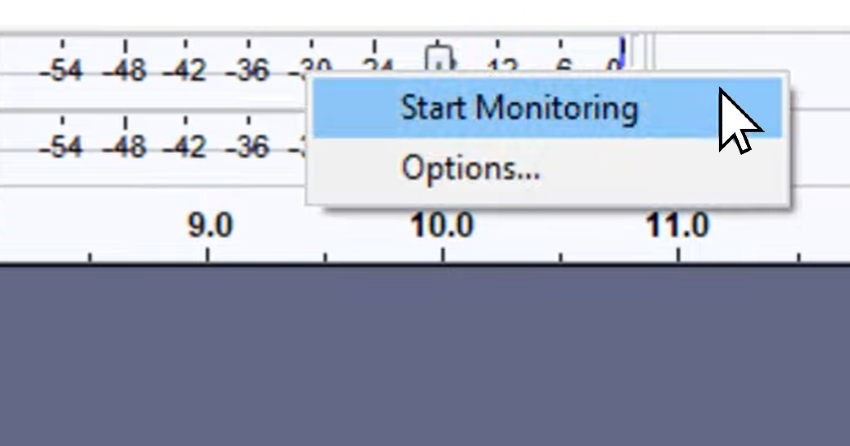

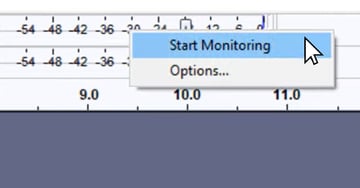
Aim to keep your primary speaking volume below the clipping line to avoid any unwanted distortion.
It’s crucial to get this right. You want your recording to be as loud as possible without crossing into distortion territory, known as ‘clipping.’ It’s always better to have a recording that’s too low than too high because you can amplify the sound later on. So, how do you monitor this?
Well, with Audacity, you’ll see a visual representation of what you’re saying right there in the waveform. This graphical depiction of your audio allows you to check for any instances where your audio may clip. If you see any spikes reaching the top of the waveform, you’re likely clipping, and you need to turn your recording level down a bit.
Recording in Audacity
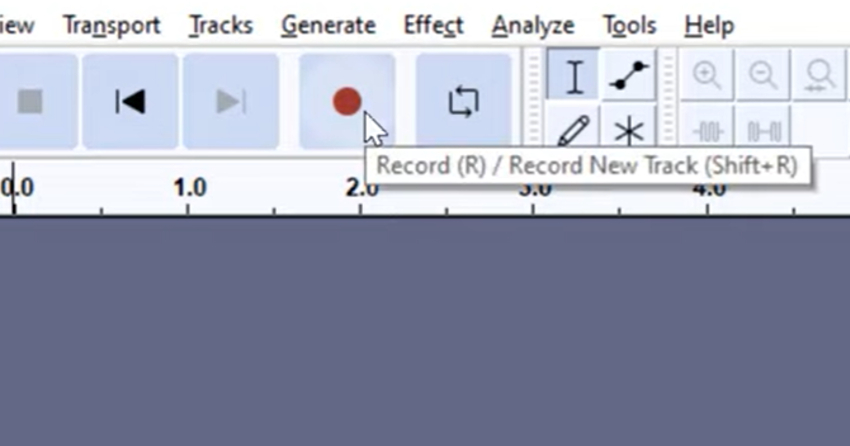
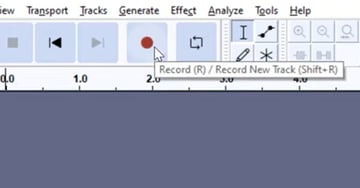
Once you’ve adjusted your volume, go ahead and hit that big red Record button. As you start speaking, you’ll be able to see the waveform change in real-time. When you’re done, just hit Stop. It’s as simple as that.

When you’re done recording a section, simply click ‘Stop‘ to stop the recording. But what’s next? Well, now you can listen back to your recording. You can use the Play button to start playback from wherever you’ve clicked on the waveform. Want to hear how the last few sentences sounded? Just click on that part of the waveform and click ‘Play‘.
Basic Playback and Navigation
After recording your audio, it’s time to familiarize yourself with the basic playback and navigation features of the Audacity editing software. Mastering these controls will ease your editing process and make it more efficient.
To start playback from a specific point in your recording, simply click on the desired location within the waveform. The playhead (the vertical line that moves across the screen as your audio plays) will jump to that spot, and you can hit the space bar to begin playing. Don’t worry if you miss the mark; hitting the space bar again will stop the playback, allowing you to reposition and start over.
You’ll also notice a timeline running along the top of your workspace. This provides a handy reference for the duration of your recording. For instance, if your playhead is positioned at the number ’12,’ that means you’re 12 seconds into your audio. Understanding this timeline is crucial for precise editing and syncing your audio with other elements in your project.
Zooming and Viewing the Project
If you want to zoom in or out of specific parts of your track, the handy zoom feature is there for you.. Whether you’re working on intricate details or looking at the broader picture, zooming in and out allows you to view different parts of your project with ease.
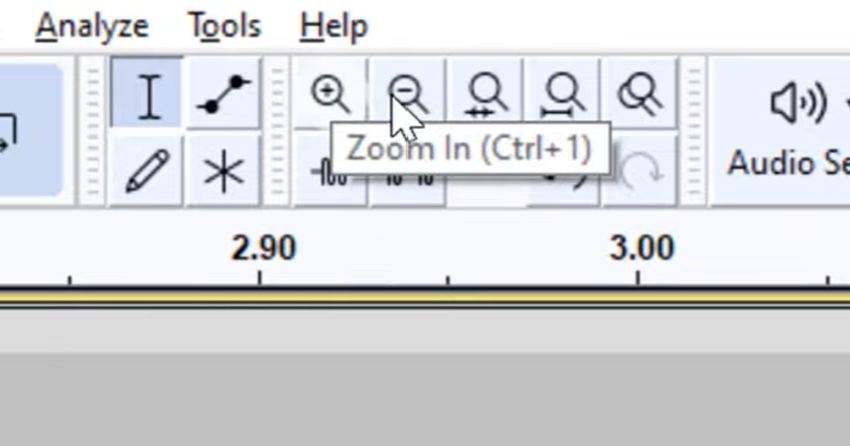
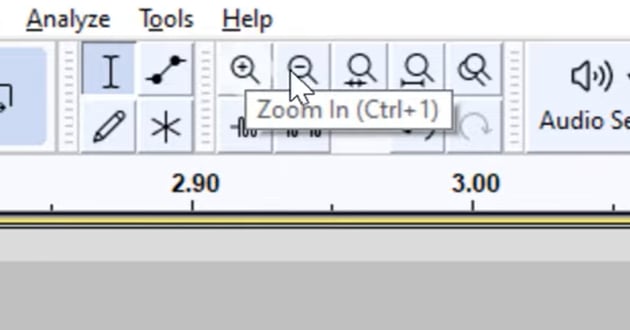

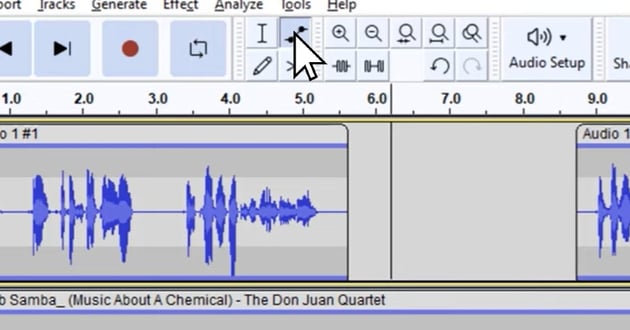
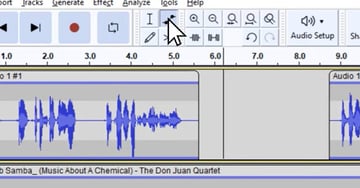
To start, let’s talk about how to zoom in. If you look towards the top of your Audacity interface, you’ll find a magnifying glass icon with a ‘+’ sign in it. Clicking on this icon will zoom into your project, providing a closer look at the waveform. This detailed view is particularly useful when you need to make precise edits in your audio.
But what if you want to see the bigger picture? That’s where the zoom out feature comes into play. Just beside the zoom in icon, you’ll find another magnifying glass, this time with a ‘-‘ sign. Clicking on this will take you back, enabling you to view more of your project on the screen.
However, if you want to see your entire project at once, Audacity has got you covered with the ‘Fit Project’ button. This tool adjusts your view so that the entire recording fits within the width of your screen. It’s a fantastic way to get an overview of your project, especially when working with longer audio files.
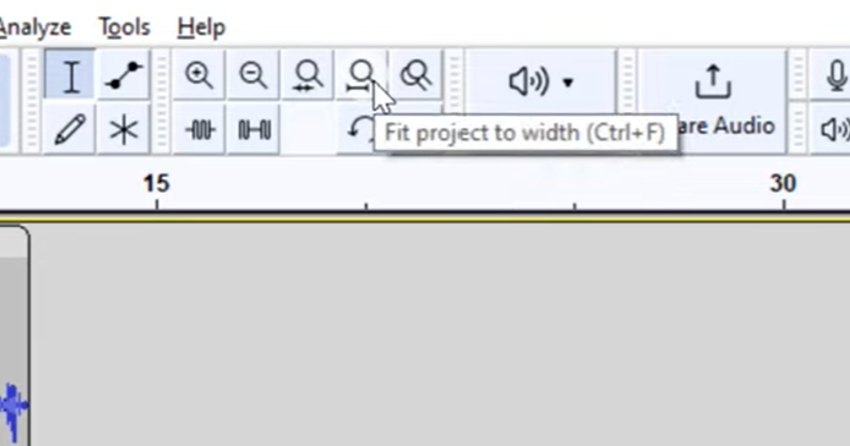
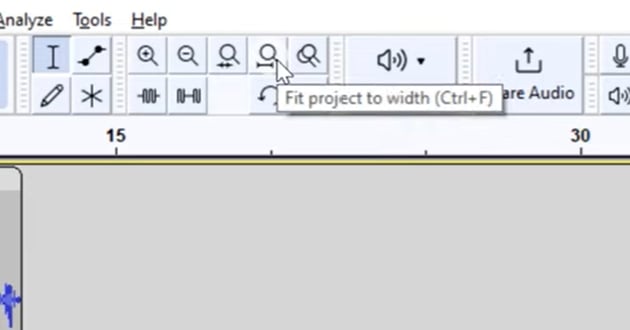
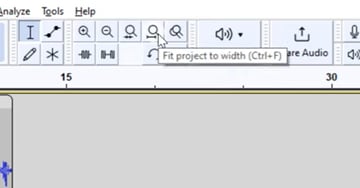
Located among the zoom buttons, this nifty tool adjusts the view so that your whole recording fits neatly within the width of your screen. One quick click, and voila! Your entire project is visible, making it easier to navigate through different sections and manage your editing tasks.
Applying Compression to Even Out Volume
In the world of audio editing, maintaining consistent volume levels across your project is crucial. It ensures a pleasant listening experience and keeps your audience engaged. One of the most effective tools for achieving this in Audacity is the compressor effect.
When you apply compression to an audio track, you’re essentially evening out the volume levels. This effect works by reducing the loud parts of your audio without affecting the quieter sections. In other words, it narrows the dynamic range, making your audio more balanced and easier to listen to.
To use the compressor effect in Audacity, start by selecting the part of your audio that you want to compress. You can do this by clicking and dragging over the waveform. You can highlight a specific section or the entire track. If you want to select the whole track quickly, just click in the empty space next to the waveform.
Once you’ve made your selection, navigate to the ‘Effects‘ menu at the top of your screen. Here, you’ll find a plethora of options, but for now, we’re interested in the ‘Compressor.’
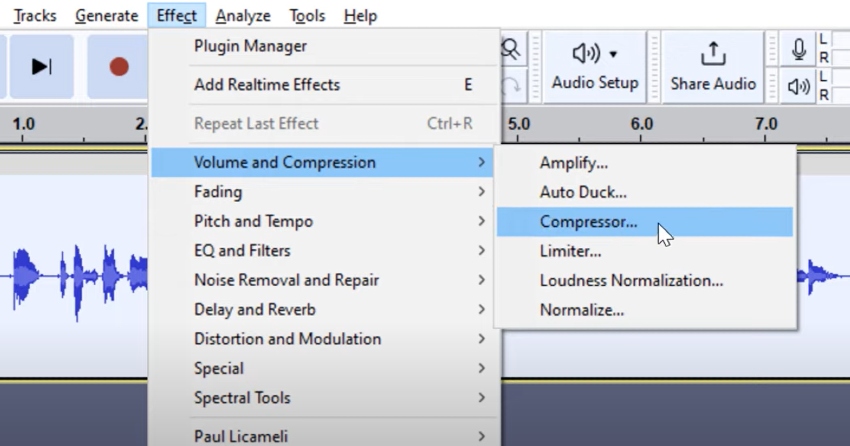


Click on this, and a new window will pop up with various settings. If you’re new to compression, don’t be overwhelmed. The default settings are often a good starting point, especially for beginners.
After adjusting your settings, hit ‘Apply,’ and Audacity will immediately apply the compression to your selected audio. The changes might be subtle, but if you look at your waveform, you’ll notice that the peaks are a bit taller, indicating that the volume has been evened out.
Remember, any changes you make in Audacity can be undone by hitting ‘Ctrl+Z’ or by selecting ‘Undo‘ from the ‘Edit‘ menu. This feature allows you to experiment freely with different effects and settings without worrying about making irreversible mistakes.
Importing and Arranging Music
Once you’ve recorded your voice track and applied the compression to even it out, it’s time to add some music to your project. Audacity makes it quite simple to import and arrange audio tracks.
Let’s start with importing a music file. You can do this by simply dragging and dropping the file into the Audacity window.
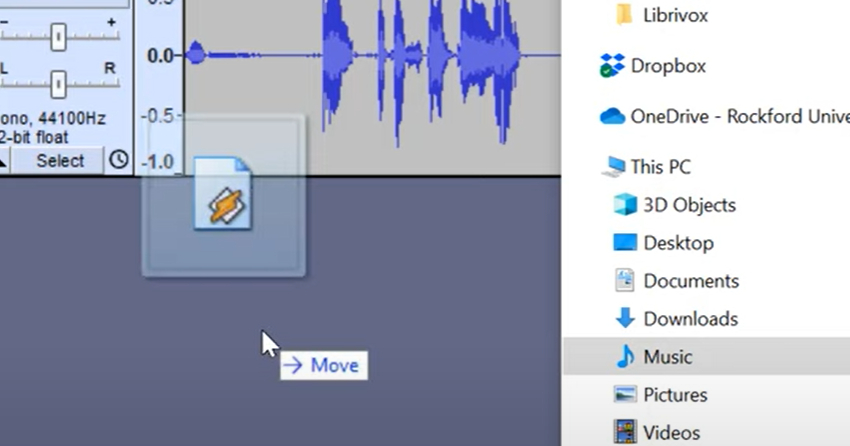

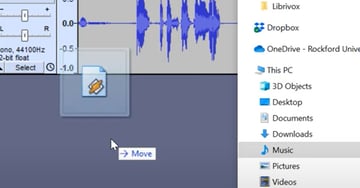
Remember, the file should already be downloaded on your device. When you drop your music file into Audacity, don’t be alarmed if your voice track seems to disappear. It’s still there, just zoomed in because the music track is longer.
Now, let’s talk about arranging the music in your timeline. You might realize that you don’t need the entire music track for your project. To delete unwanted parts, simply click and drag to highlight the section you want to remove, and then hit the ‘Delete’ key on your keyboard.
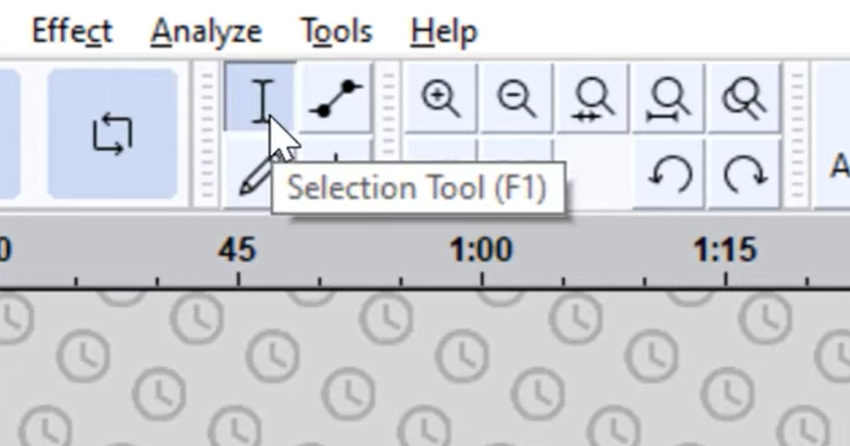
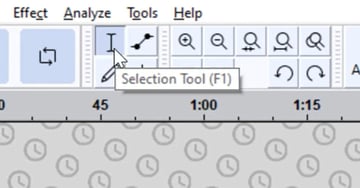
It’s important to note that Audacity has different tools that change how clicking and dragging works. By default, you’re using the ‘Selection Tool,’ which allows you to highlight and delete sections of your track.
After importing and arranging your music in Audacity, the next step is to familiarize yourself with the selection and editing tools. These tools are essential for Audacity audio editing as they allow you to control which parts of the audio track you’re working with and make necessary changes.
Firstly, let’s talk about the ‘Selection Tool,’ the default tool in Audacity. This tool is critical for highlighting sections of your track that you want to edit or delete. You can select it by clicking on its icon at the top of the screen. If you ever find that clicking and dragging doesn’t highlight a section of your track, ensure that you have the ‘Selection Tool‘ activated.

As you get more comfortable with Audacity editing software, you’ll discover various keyboard shortcuts that can speed up your workflow. For instance, if you want to highlight everything to the right of a point in your track, click on that point and hold Shift + K. Conversely, holding Shift + J will highlight everything to the left. Once highlighted, you can hit the ‘Delete’ key on your keyboard to remove that part of the audio.
Editing the Audio Clips
Once your audio files are imported into Audacity, the real fun begins. This is where you transform your raw recordings into a polished final product. Let’s dive into splitting and rearranging audio clips.
Splitting Audio Clips – In your project, you might notice that your speaking track has one line while the music track has two lines. This is because the music recording is in stereo, with separate tracks for the left and right audio channels. However, this won’t affect our audio editing process.
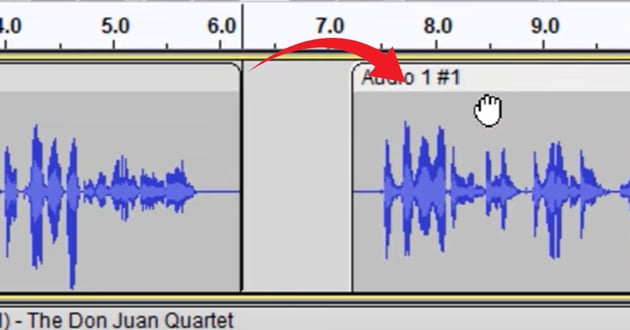
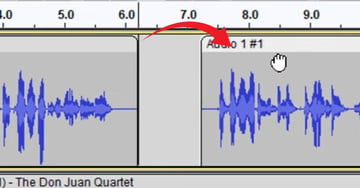
Now, let’s say you want to shorten a part of your audio but think you might want it back later. Audacity has a clever feature for this. With the ‘Select Tool,’ hover over the top part of a track until you see a ‘left‘ and ‘right‘ arrow. Dragging this will cut the clip, but don’t worry, it’s not permanently deleted. You can always drag it back out if you need that section again.
Rearranging Audio Clips– Picture a scenario where you want your audience to hear some background music, then have a moment where the music swells up as you stop speaking. This means we need to split your vocal track.
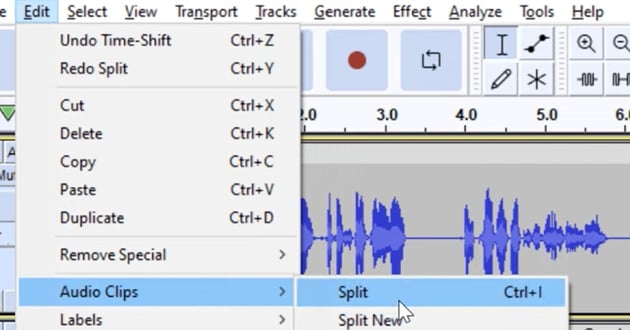
To do this, click where you want to split the track using the ‘Select Tool’ and press ‘Ctrl + I‘, or by ‘File > Audio Clips > Split‘.


Now, you’ll notice a slight change in your track, indicating it’s split into two separate clips. You can move these around independently, allowing you to arrange your audio precisely how you want it.

One handy feature in Audacity is ‘Sync Lock.’ When turned on, it allows you to move multiple tracks at once. You can toggle ‘Sync Lock’ on and off under the tracks menu. This is especially useful when you want to maintain the relative position of tracks while moving them around.
After mastering the process of splitting and rearranging your audio clips in Audacity, let’s dive into another essential feature: adjusting volume. For this, we’ll be using the ‘Envelope Tool,‘ a powerful function in Audacity editing software that lets you manually control volume levels.
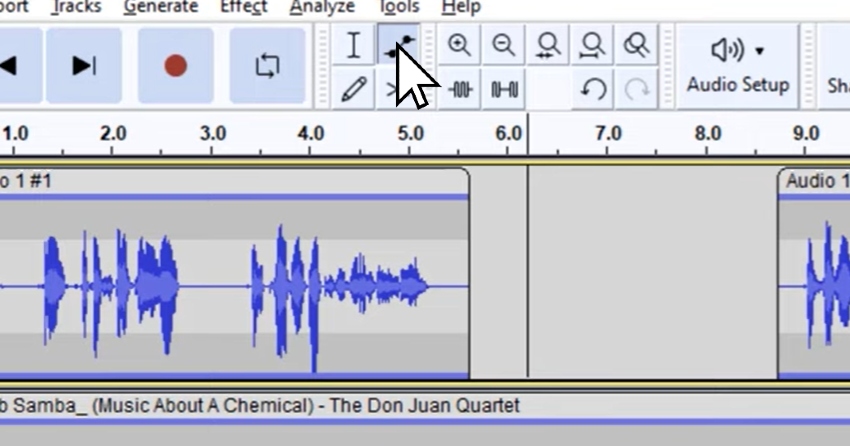
To activate the ‘Envelope Tool,’ click on its icon at the top of the screen or press F2. Once activated, you’ll notice your project appears slightly different. This change indicates you’re now ready to start manipulating the volume of your tracks.
To begin with, click somewhere on your audio track. You’ll see a dot appear, which is known as a ‘pivot point.’ This pivot point is where the volume adjustment will begin. The beauty of the ‘Envelope Tool’ is that it allows you to adjust the volume in relation to these pivot points.

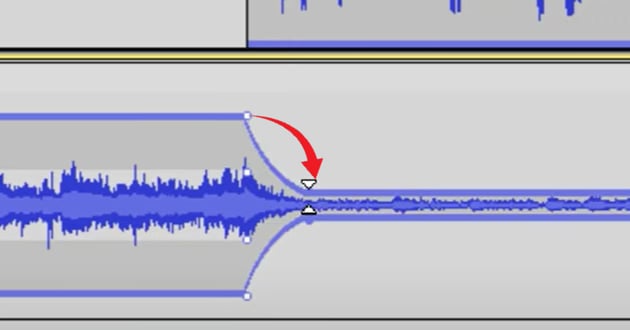
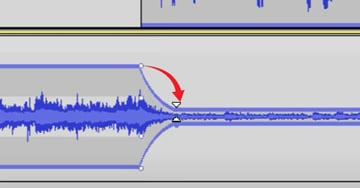
For instance, if you click somewhere else after setting a pivot point and then move your cursor up and down, everything before the pivot point remains the same, while the volume after the pivot point changes. If you drag upwards, the volume increases, making the track louder. Conversely, dragging downwards decreases the volume, making the track quieter.
Remember, in Audacity editing, the smaller the waveforms (those bumps and nooks), the quieter the sound, and the taller they are, the louder the sound.
You can create multiple pivot points along your track to gradually increase or decrease the volume over a certain duration. This technique is particularly useful for creating smooth volume fades in and out.
The ‘Envelope Tool‘ is a testament to the flexibility and control Audacity provides when editing audio. Experiment with it, and you’ll discover how much it can enhance your audio projects. In the next section, we’ll move on to mixing and previewing your project in Audacity—another key step towards creating polished and professional audio content.
Previewing Your Project
Once you’ve mixed your tracks, it’s time to preview your project. This step is crucial to catch any inconsistencies or issues before finalizing your audio piece.
Hit the ‘Play’ button and listen attentively. Are the transitions smooth? Does the volume feel balanced throughout? Remember, you’re not just listening for pleasure; you’re analyzing. Make notes of any parts that require further editing.
If something doesn’t sound quite right, don’t hesitate to tweak it. Audacity editing software is flexible, allowing you to make changes until you’re satisfied with the result.
Section 11: Exporting Your Project
Saving Your Project – Saving the project is meant for your personal use. It allows you to access all the individual tracks and edits in your project at a later time, so you don’t have to do everything in one sitting. Here’s how you can save your project:
1. Go to the ‘File’ menu > Select ‘Save Project.‘
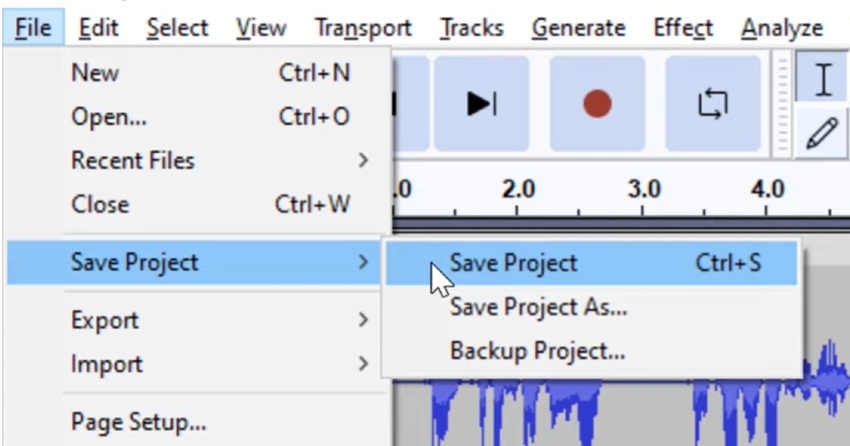
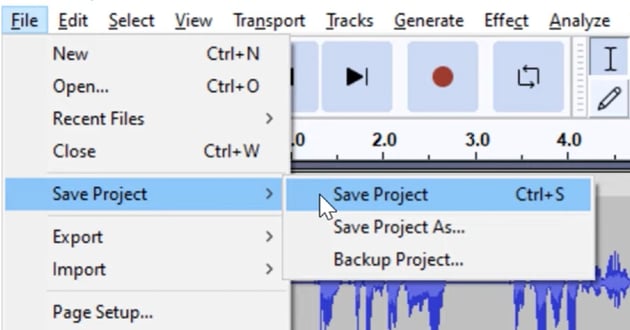
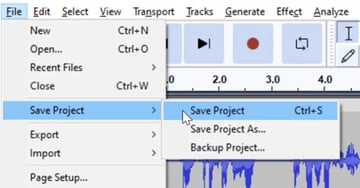
2. Name your project (we’ll use ‘Test for Video’ as an example)3. Click ‘Save.’
Your project will be saved as an AUP3 file. Note that this file type is not meant to be shared with others; it’s meant for you to return to your project and continue editing whenever you wish.
Exporting Your Audio
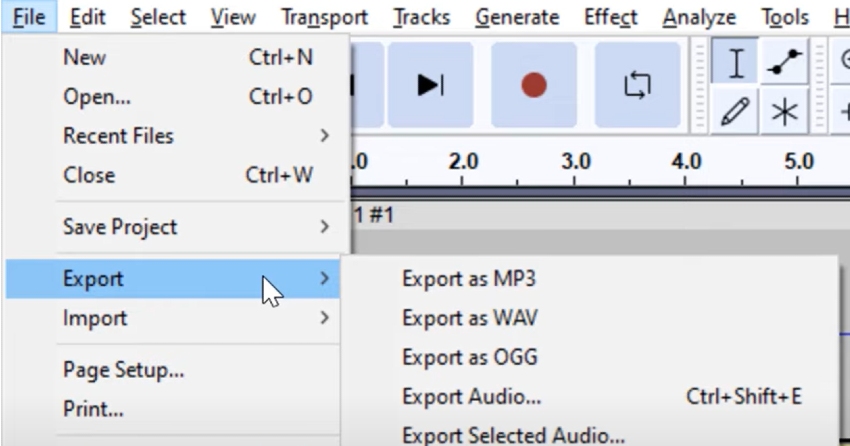
If you’ve reached a point where you want to share a draft or a final version of your audio, that’s when you’d export your project. Unlike saving, exporting creates a file that others can listen to without being able to edit. Here’s how you can export your audio:
Step 1
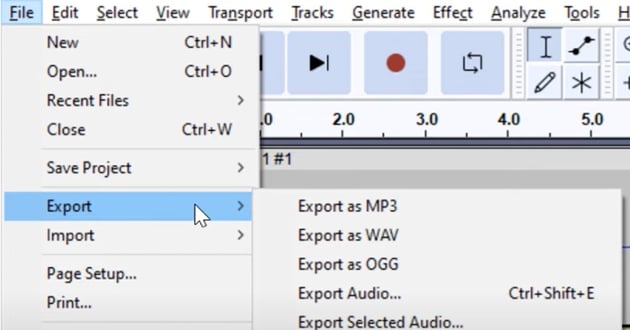
Go to the ‘File‘ menu.
Step 2
Hover over ‘Export‘ to see various formats available for export.

Step 3
Choose the format that suits your needs. For high-quality, large files, choose ‘Export as WAV.‘ For smaller, compressed files, choose ‘Export as MP3‘ or ‘Export as OGG.’
Step 4
Name your file and choose the location where you want to save it.
Step 5
Adjust the quality setting. For MP3 files, the larger the number, the better the sound quality. For OGG files, select the highest number possible.
Step 6
Decide whether you want your audio file to be mono or stereo. Unless you need your project to be mono, leave the box unchecked.
Step 7
Click ‘Save.’
TIP: Editing Metadata Tags – After clicking ‘Save,’ a new window will pop up asking you to edit the metadata tags. These tags provide information about your audio file that goes beyond the filename. They include details like the track title, artist name, album title, etc. Filling out these tags makes your audio file look more professional when opened on an audio player or a smartphone. Once you’ve filled out the necessary fields, click ‘OK’ to finalize the export process.
Conclusion
So there you have it: your comprehensive guide to mastering the art of Audacity editing. We’ve embarked on an enriching journey together, diving into the depths of this powerful software and surfacing with newfound knowledge and skills.
Remember, in the realm of Audacity audio editing, you are the artist, and Audacity is your canvas. So, paint your audio masterpiece with the strokes of your creativity. Happy editing!