
Designing for the web has always been a fast-developing field where a professional has to skillfully combine visual information design, aesthetics and composition priciples with the most relevant current ideas and trends to satisfy the expectations of his client.
A good web designer has a clear vision of the main aim of the website they are creating and the particular message they are trying to convey.
With the rise of Bootstrap, Foundation and similar frameworks, it’s clear that layouts are in danger of becoming more ‘samey’ than ever before. We’re all very familiar with that ‘Bootstrap Look’, right?
In this context, the need for a little design differentiation is more urgent than ever. I think that one of the most difficult tasks for a web designer is to find some creative angle to make work which can be considered as different and unique.
In other words, ideally we’d all love to build layout and site experiences that couldn’t easily replicated by the masses.
The rule to follow to accomplish this first task is to use imagination and avoid the most commonly used images, framing tricks, compositions or effects.
More and more professionals are trying to create some pretty cool graphics and animations with pure CSS, exploiting all its hidden potential, as in this case.
OK, perhaps this is too much.
Let’s try with this construction from Roman Cortes. Even though it may not be not accessible to everyone, it’s a fine reminder of what CSS3 can let us do.
But what if I am not a CSS expert and don’t have such advanced competences? Or if I perhaps don’t have the time (or inclination) to draw images with CSS, and instead prefer to leverage what I’ve learned about Photoshop or Illustrator?
Thankfully Photoshop can help us to achieve good results and create visual less conventional treatments.
In this tutorial you’ll see how to create a photo-filled text in few simple steps that you could use to adorn your next project.
Photoshop in Action
This tutorial will help us to understand how simple is to insert a photo inside a text using Adobe Photoshop CS6. We’re going to use a very few and very well-known commands of the program and I assure you that the result you’ll achieve is awesome.
We can use our personal photos or images we have found surfing the Web. There are no limits and all we have to do is follow our fantasy.
Let’s start our project choosing a photo we particularly love, we are fond on, or we would like to work on and think about the typeface we’re going to use for this.
I choose a beautiful view of the Tower Bridge, the wonderful combined bascule and suspension bridge that spans the River Thames. It is close to the Tower of London, from which it takes its name and has become an iconic symbol of this town.
Obviously, feel free to work on also on a subject of your choosing.
Let’s see how to go on.
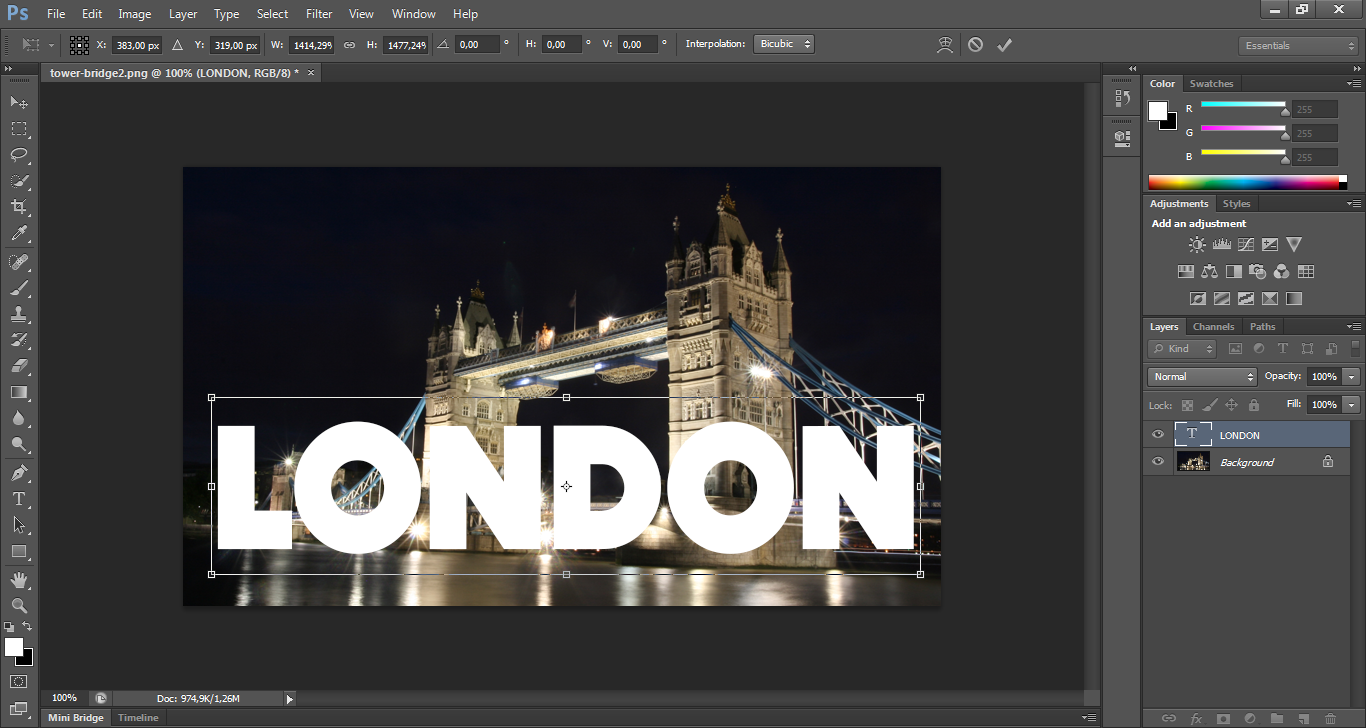
1). Set up your text
Open the photo that will be our base and click on “Text” in the tool palette on the left.
At this point, select font, size, colour and text align in the options above. A block sans-serif font will often work best, but feel free to experiment. I ended up choosing Dock11 as my typeface because of its simplicity (available in the Sans category, you can download it here).
As for the colour, I chose one which would contrast strongly with a dark background, a left text align and then I set its size (note that size will be settled again at the following step).
After this, type your message and compose it within your document. Since I choose a photo of London, the obvious text for me is name of the city. Put your text wherever you want. I preferred to move it at the bottom of the photo.
2). Size your text to the space
Next, on the keyboard press Ctrl + T in order to select the space of the text and drag with the cursor the anchor points to stretch the text and then increase its size.
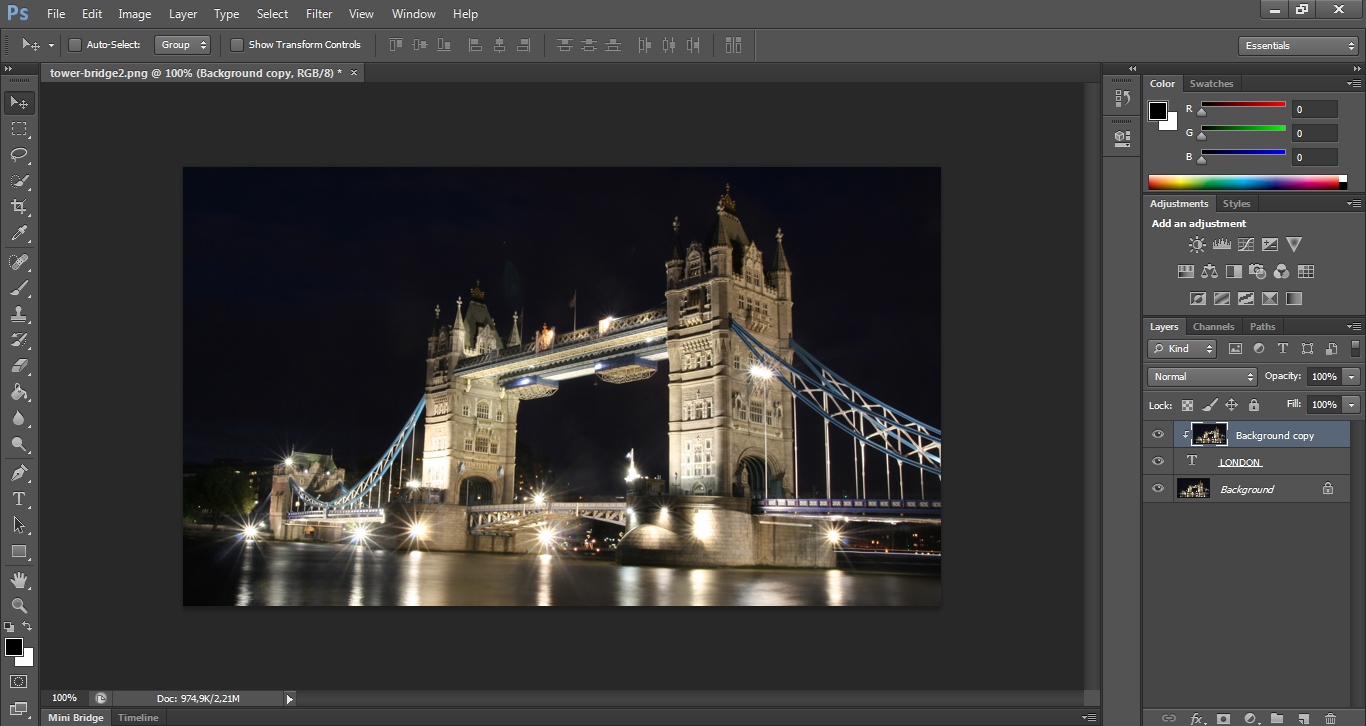
3). Create a clipping mask
Now place the cursor on the Background layer, right click > Duplicate Layer. We’ll create a new level called Background copy. Drag the layer Background copy above the London text.
(Note that after this step, our text “will temporarily disappear”).
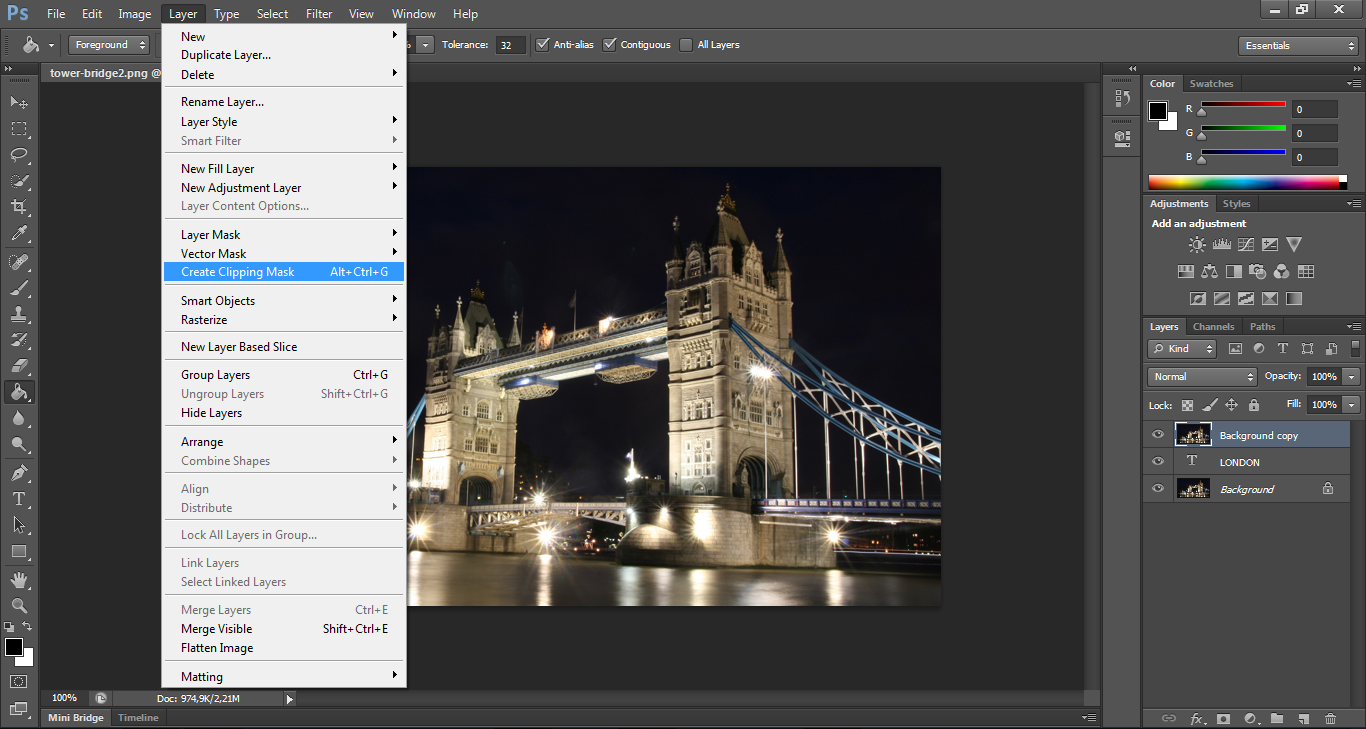
After you create a clipping mask, the level with the name ‘Background Copy’ in the level panel will appear indented with a small arrow facing down, but the image will not change.
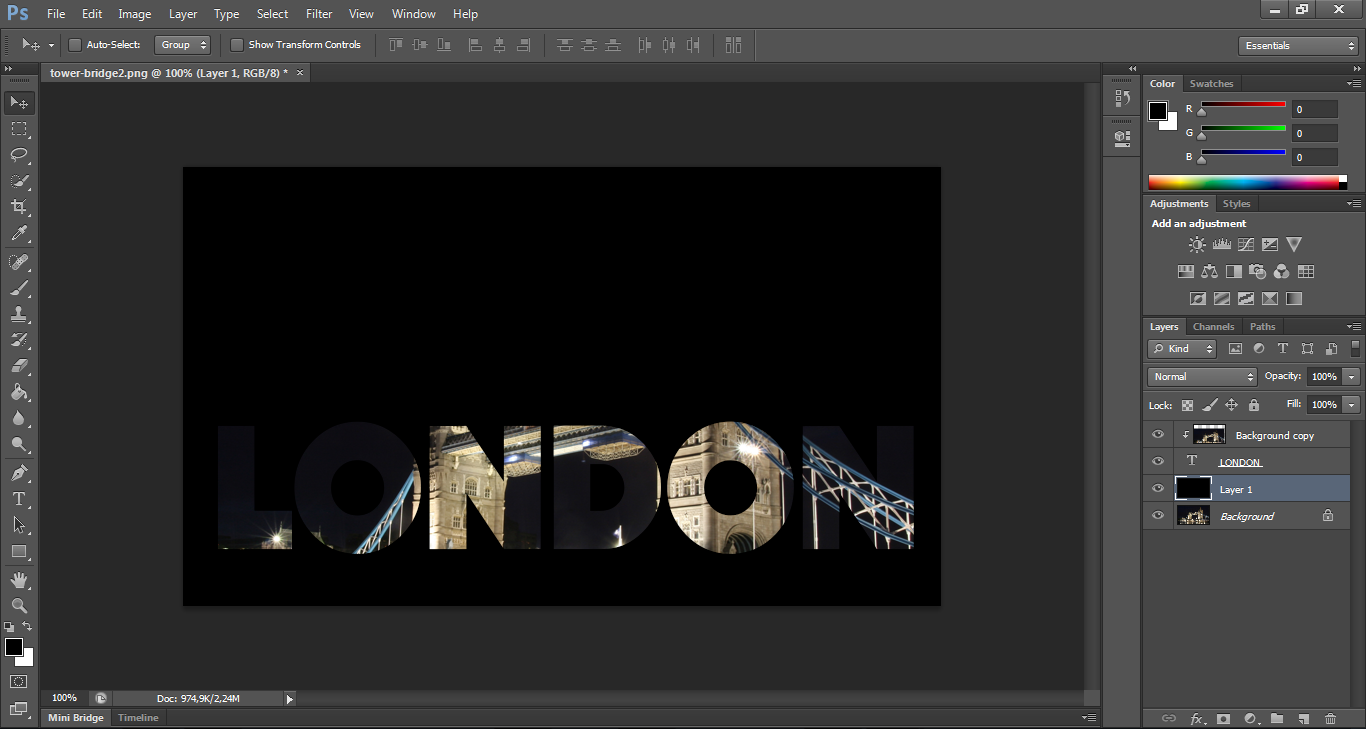
Select the textual level and with Ctrl pressed, click the New Layer button (the second last icon starting from the left) down in the level panel to create a new level which will have to be positioned under the textual level.
Then, reset the both the foreground colour and the second colour pressing ‘D’. Use the foreground colour (black) to fill the level 1 we created before. If you prefer anything other than black as your background colour, feel free to change it.
Finally click on the move tool and shift the image below until the result we want to achieve.
Here is our background image in our text!
You can consider to use a Bevel and Emboss layer effect to enhance the look of your new title and make the letters stand out.
Conclusions
The effects we can apply to text are almostendless. You can enjoy yourself using a great variety of images to fill your message and tune the effect for your purposes.