This article is for beginners who want to explore how artificial intelligence powered tools can help create stunning video effects with AI, fast. Whether you’re a 3D artist, video editor, animator, or just someone curious about what’s possible, we’ll walk you through how it works, and how to use AI tools to make your videos look like they belong on the big screen.
But let’s jump straight in with which AI tools are actually beginner friendly.
There are loads of AI tools out there right now, but some are way more beginner-friendly than others, especially when it comes to creating cinematic effects. Here are a few of my recommendations if you’re just starting out.
1. VideoGen from Envato

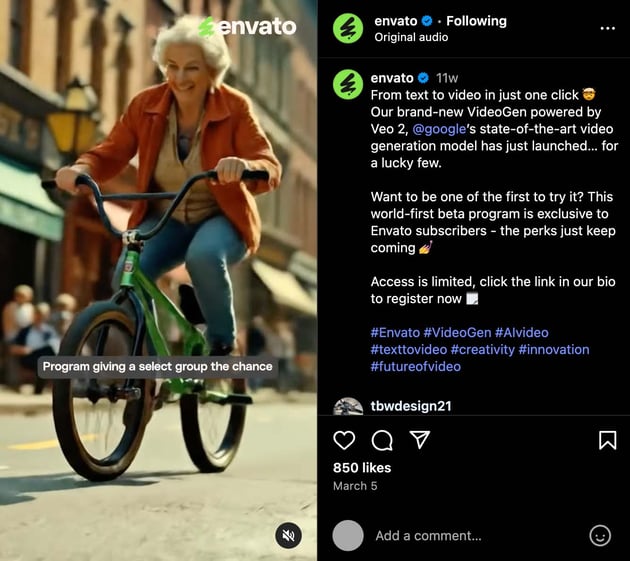
Envato’s own video text-prompt to video tool, available to all subscribers. The tool works well for social media posts, presentation visuals, and YouTube thumbnails. It’s particularly helpful when you need to create video content but don’t have a background in video production.
Here’s what was created with VideoGen, in just a few minutes, using the prompt An orange with a face, hanging in the tree with other oranges, until a blackbird lands on it and begins pecking.

Pros:
- Super intuitive and beginner friendly.
- Included in Envato subscription.
- Fast—short videos take around 10 minutes to generate.
- No downloads needed because it runs right in your browser.
Cons:
2. Runway ML


A browser-based video editor built from the ground up with AI at its core. Honestly, this is one of my favorite tools to experiment with.
Pros:
- Super intuitive and beginner friendly.
- Green Screen tool makes background removal fast and accurate.
- Great for inpainting (removing objects), relighting, and generating missing frames.
- No downloads needed because it runs right in your browser.
Cons:
- Free version has limitations on export quality and usage.
- Processing times can be slower for larger videos.
3. Adobe Premiere Pro + Adobe Firefly

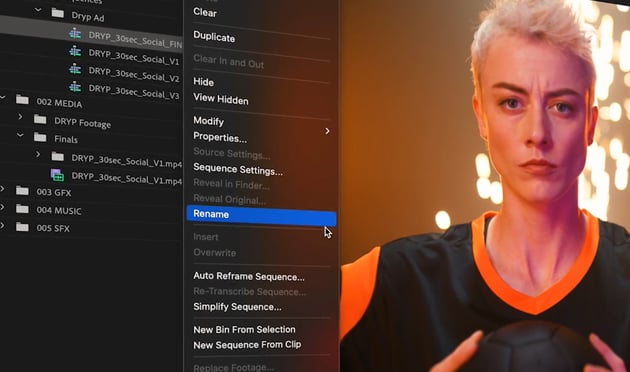
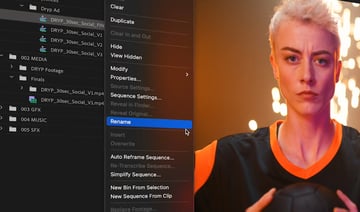
If you’re already editing in Premiere, you might be using AI without even knowing it. Adobe Firefly is baked right into the software!
Pros:
- AI tools like Auto Reframe, Generative Extend and Scene Edit Detection save tons of time.
- Integrated color grading tools make cinematic looks easier to achieve.
- Seamless handoff to After Effects for more advanced video effects AI.
Cons:
- Steeper learning curve for absolute beginners.
- Requires a subscription (and it’s not cheap!).
4. DaVinci Resolve (Neural Engine)

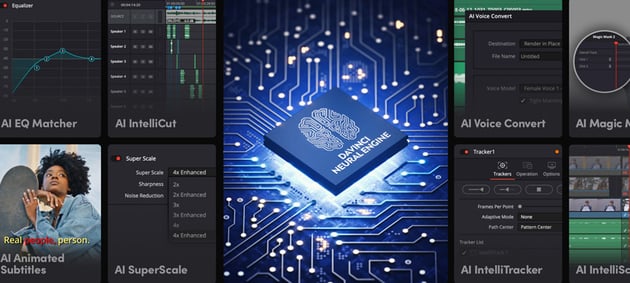

DaVinci Resolve is a powerhouse for color grading, and the Neural Engine adds a bunch of AI magic to the mix. It’s more advanced than some of the other options here, but still very accessible for beginners with a little exploration.
Pros:
- AI tools like Face Refinement, Smart Masking, and Speed Warp are incredible.
- Industry standard color grading built right in.
- Free version is very powerful with few limitations.
Cons:
- Interface can feel overwhelming at first.
- Best performance requires a powerful machine.
5. CapCut

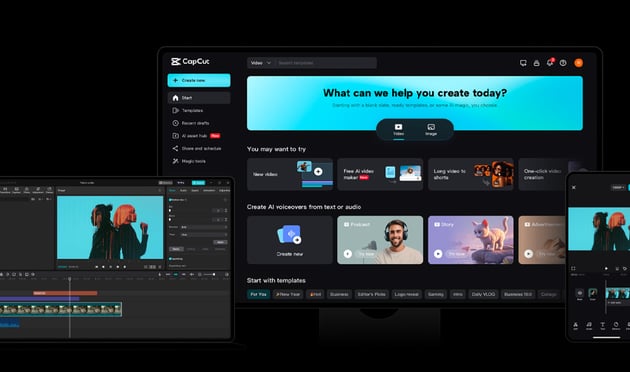

CapCut has gone from mobile app to a full blown video editor that you can use on your desktop PC! If you’re creating short cinematic clips for social media, this tool is fast, free, and surprisingly powerful for how simple it is to use.
Pros:
- Simple, clean interface with drag and drop editing.
- AI background removal and motion tracking are easy to use.
- Ideal for quick cinematic social media clips.
Cons:
- Limited customization for advanced VFX.
- Watermarking on free version (unless you create an account).
6. Canva Video Editor

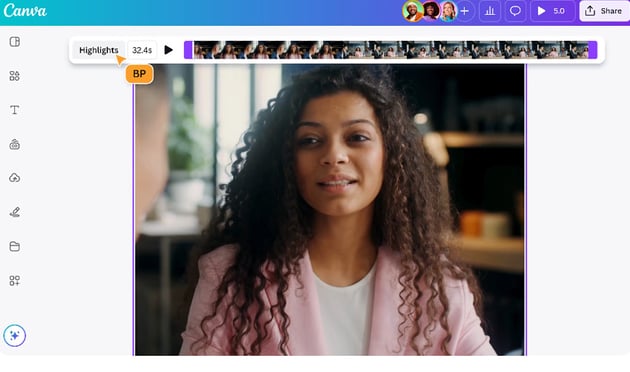

Not a traditional VFX tool, but a surprisingly solid choice for quick edits with a polished look. It’s got some pretty slick AI features built in and it’s a great place to start if you’re more of a designer than a video editor.
Pros:
- Built in AI tools for timing, transitions, and text effects.
- Great for beginners or graphic designers crossing into video.
- Easy to use and perfect for storytelling driven content.
Cons:
- Limited control over video layers and video effects AI.
- Not ideal for complex cinematic visuals.
What is AI in video editing?

AI in video editing is like having a really smart assistant who understands what’s in your footage and can help you edit faster (and sometimes better). It doesn’t just follow instructions, it actually learns patterns from massive amounts of video data and applies that knowledge to your project.
Here’s a breakdown of what that actually means:
- AI understands what’s in your video: It can recognize faces, objects, motion, backgrounds, and even lighting patterns.
- It automates complex tasks: Think automatic background removal, object tracking, or scene relighting. Things that normally requires a lot of technical know how.
- It speeds up your workflow: With AI tools taking care of a good part of the work, you no longer need to spend hours or even days keyframing or rotoscoping. Instead, you can concentrate on your creative decisions.
- You stay in control: AI doesn’t take over your project, it just takes care of the tedious stuff and gives you a solid starting point to work from.
If you’re brand new to video effects, AI is honestly the easiest way to get cinematic results without getting overwhelmed. You don’t need to be an expert, you just need the right tool and a bit of curiosity.

This is the most exciting part! There is just so much that AI can do. AI-powered tools can now handle a large portion of VFX work. Here are some of my favorite use cases:
- Automatic rotoscoping and background removal: Perfect for when you want to cut out a subject or replace a background without green screens or headaches.
- Motion tracking and object detection: Need to add text or effects that follow a moving object? AI can track it for you in seconds.
- Scene relighting and sky replacement: Some tools let you literally change the lighting or swap a dull sky for a dramatic sunset, all with a few clicks.
- Style transfer and color grading: You can apply a cinematic “look” or match the color palette of your favorite film with the help of AI-driven LUTs and filters.
- Slow motion and frame interpolation: Even if your footage wasn’t shot in high frame rate, AI can generate those missing frames and create super smooth slow-mo.
- Audio syncing and smart cuts (bonus): While not video effects AI per se, some tools also use AI to sync dialogue or cut scenes to music automatically.
Honestly, it’s like having a mini VFX studio built into your laptop. And the best part? Most of these tools are super intuitive, even if you’ve never touched After Effects or DaVinci Resolve before.
Creating cinematic effects might sound complicated, but with AI tools on your side, it’s honestly more accessible than ever. You don’t need to know how to animate explosions or spend hours keyframing masks. You just need a bit of planning, a creative eye, and the right tools doing some of the heavy lifting.
Step 1: Start with strong footage and storytelling
Even the best AI tools can’t fix a boring shot. If you want cinematic results, it helps to start with footage that already has a bit of drama or mood baked in.
- Use natural lighting: Or simple setups with clear contrast and depth.
- Think about movement: Slow pans, push-ins, or handheld shots can add energy.
- Frame your shots intentionally: Use the rule of thirds, leading lines, or negative space for that filmic look.


Step 2: Use AI for cleanups and time saving tasks
This is where AI really shines. Instead of spending hours doing frame by frame cleanup work, you can let the tools handle the technical stuff while you focus on the creative.


Step 3: Add cinematic polish
Now’s the fun part: turning clean, edited footage into something that feels cinematic. This is where your personal style really comes in. Use AI to help you get the vibe right.
- Color grading: Use AI assisted color tools (like Lumetri in Premiere or Neural Engine in Resolve) to apply a film inspired LUT or match tones between scenes.
- Motion effects: Try AI generated slow motion or speed ramps to add drama. Add depth of field and smooth out cuts or add subtle camera moves.
- Visual textures: Light leaks, lens flares, film grain. All these little touches go a long way in selling that “big screen” feel.


Step 4: Refine with manual adjustments
AI tools are great at getting most of the job done. But what about the final parts and the finishing touch? That’s where your creative instincts come in. I always take a final pass without any AI help, just to make sure everything flows and feels right. Trust your gut here.
- Adjust colors and effects manually: This is to avoid that over processed and super sharp “AI look.”
- Watch the pacing and emotional flow: Cinematic editing is about rhythm as much as visuals.
- Layer effects intentionally: Don’t overdo it! Subtlety is usually more powerful.


The future of cinematic visuals is here


I honestly think we’re in such an exciting time for creative work. AI tools are breaking down barriers that used to make cinematic effects feel out of reach, especially for solo creators or small teams. I’ve been blown away by how quickly you can clean up footage, add drama, or even relight a scene without spending hours in post. It’s not about cheating the process, it’s about getting to the creative part faster and having more fun while you’re at it.
That said, AI can’t do everything. Sometimes it gets things wrong, or you end up with something that looks a little too… auto generated. That’s where your own creative taste comes in. Use AI as your assistant, not your director. Let it take care of the boring bits so you can focus on making something that feels like you. So go ahead, play, experiment, break things. You don’t need a Hollywood studio to make something cinematic anymore. Just a good idea, a bit of curiosity, and maybe a few AI tricks up your sleeve.