Today, we will be learning how to create a rubber stamp texture and design in Affinity Photo. In this tutorial, we will use simple shapes and blending tools to create an authentic-looking stamped texture that is completely customizable. Let’s get started!
What you’ll learn in this Affinity Photo tutorial
What you’ll need
Find more on Envato!
1. How to create a grunge paper background
Step 1
First, let’s create an 1850 x 1550px canvas. Feel free to go larger for your stamp effect. Next, drop an old grungy paper texture onto the canvas.
Apply a Black & White adjustment layer to the texture, bringing the Opacity to 80%. This will desaturate the texture.
Hold Shift to keep the aspect ratio of the layer you’re resizing.

Step 2
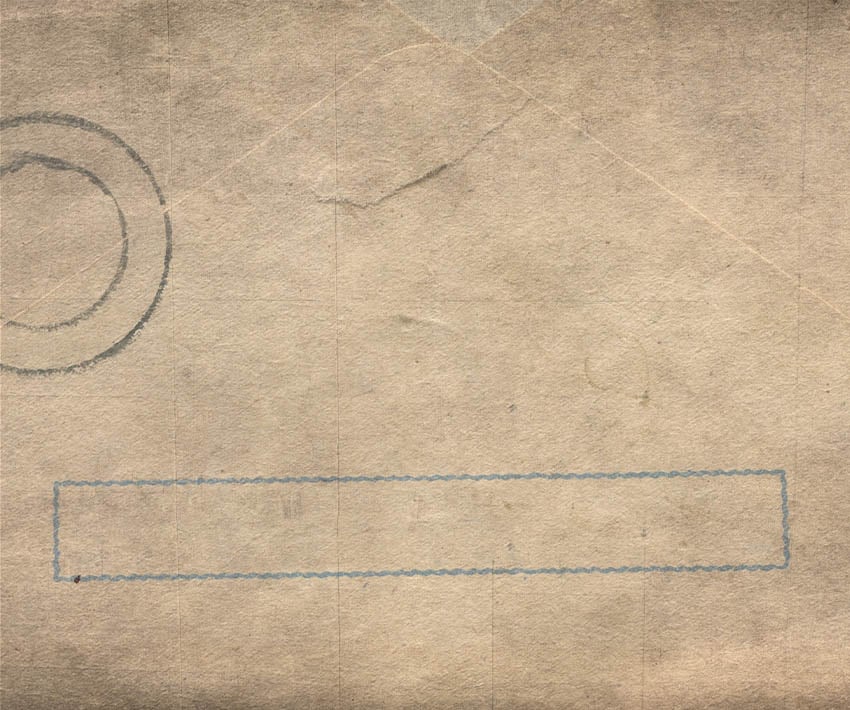
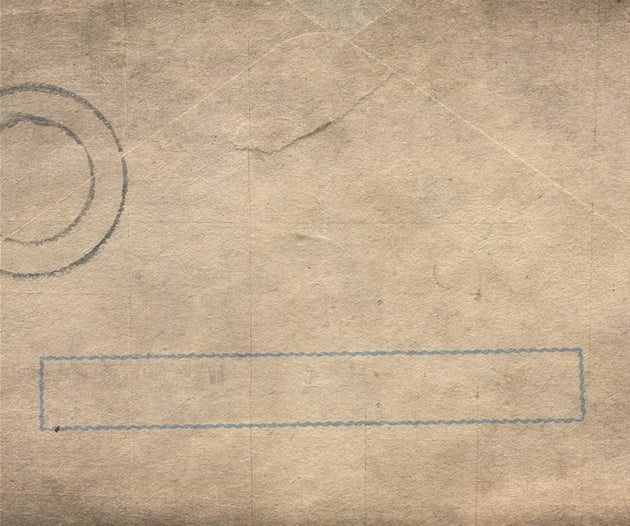
Drop an old vintage envelope texture onto the canvas, over the paper texture. Set its layer mode to Multiply. Bring the Opacity to 70%.
For added detail, you can layer as many textures on top of each other as you’d like.
2. How to create the base of the rubber stamp effect
Step 1
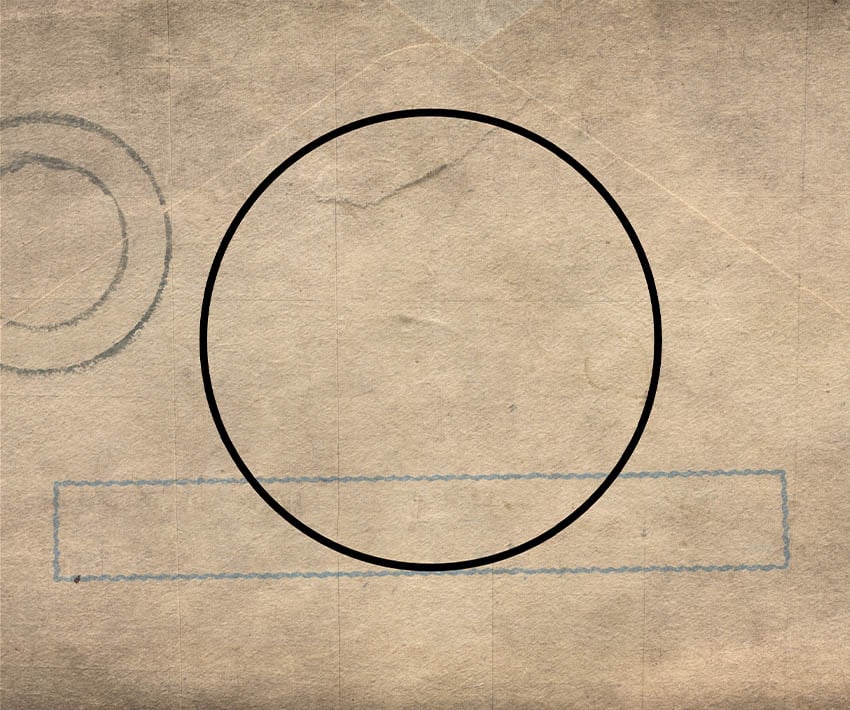
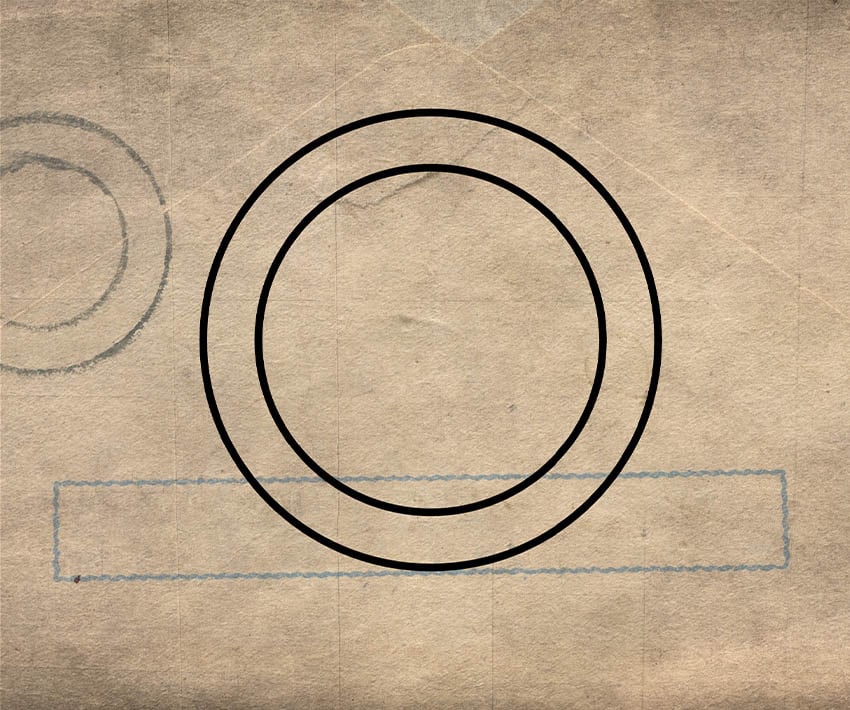
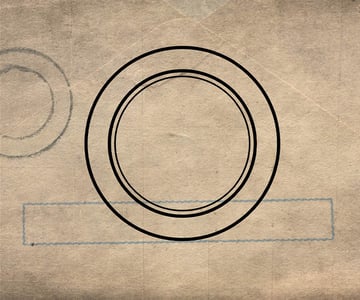
Select the Ellipse shape tool. Create a large black circle in the middle of the canvas. In the upper option bar, Click Fill and bring the Opacity slider to the left. Set the circle’s Stroke to Black and 4 pt.
The size of your stroke will change depending on the size of your canvas and your ink stamp texture design.

Step 2
Repeat the above step to create a second circle inside the original.

Step 3
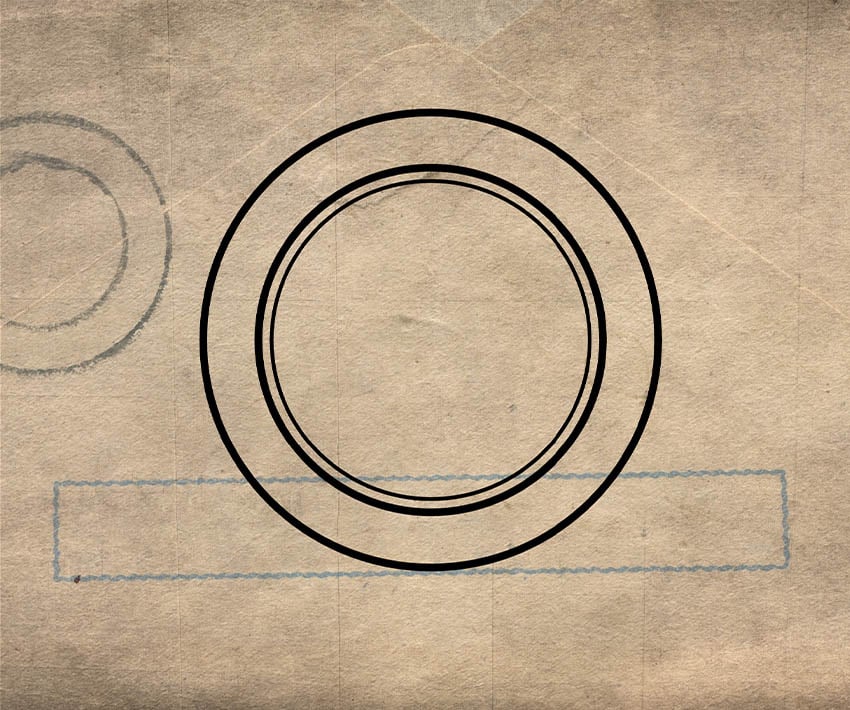
Repeat the step one more time to create a third circle with a Stroke set to 2 pt.
Step 4
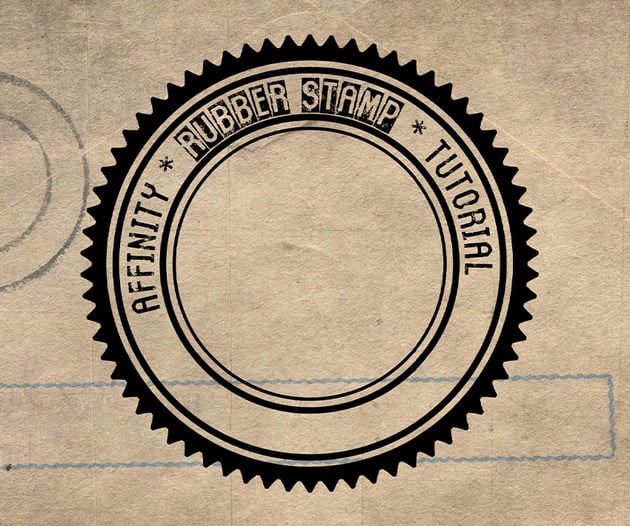
Click and hold the Ellipse shape tool and select the Cog tool.
Create a cog slightly larger than the current largest circle. Set the cog shape settings to:
-
Fill
#000 -
Stroke
#0002 pt - Teeth 66
- Inner Radius 95%
- Hold Radius 90%
- Tooth Size 6%
- Notch Size 6%
- Curvature -17%
These settings don’t need to be exact. Play with them until you have a design that you like.



3. How to add text to the rubber stamp texture
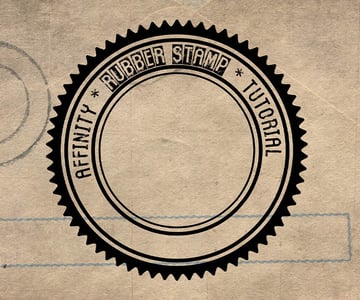
Duplicate the second circle shape using Control/Command-J.
Select the Artistic Text tool and choose the Rubbero font. Hover over the duplicated circle until the cursor shows a line. Click to add text to the path of the line.
- Use the Green Triangle to move and adjust your texture position on the path.
- Use Reverse Text Path in the upper settings bar to flip the text if necessary.

4. How to add a person to the stamped texture
Step 1
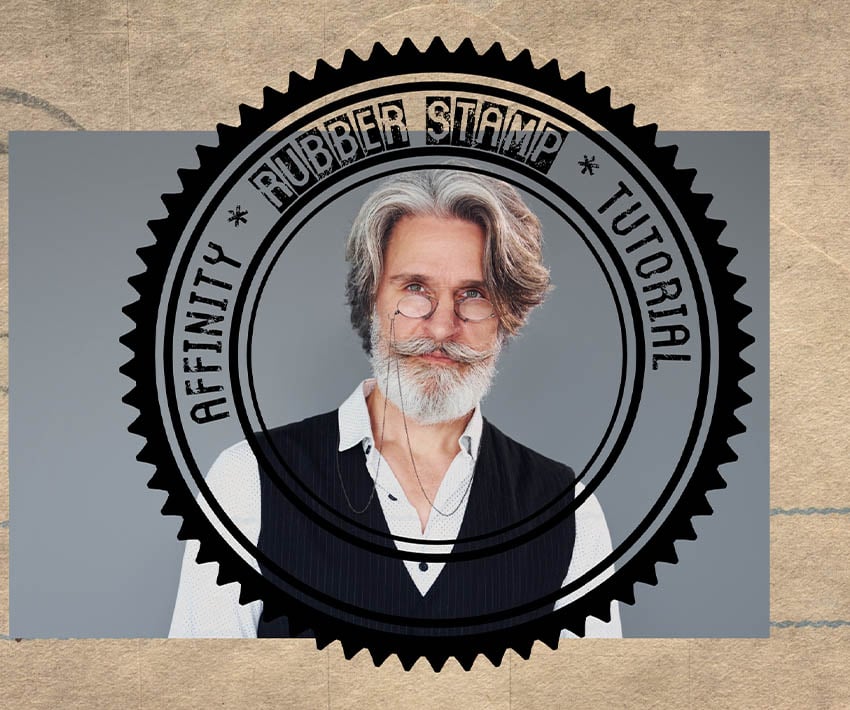
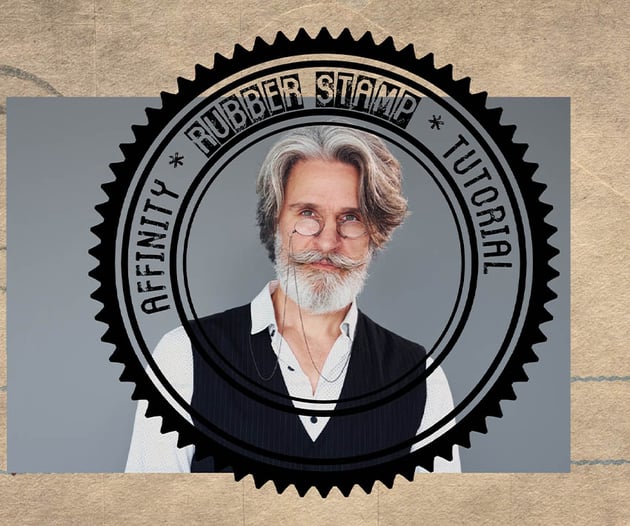
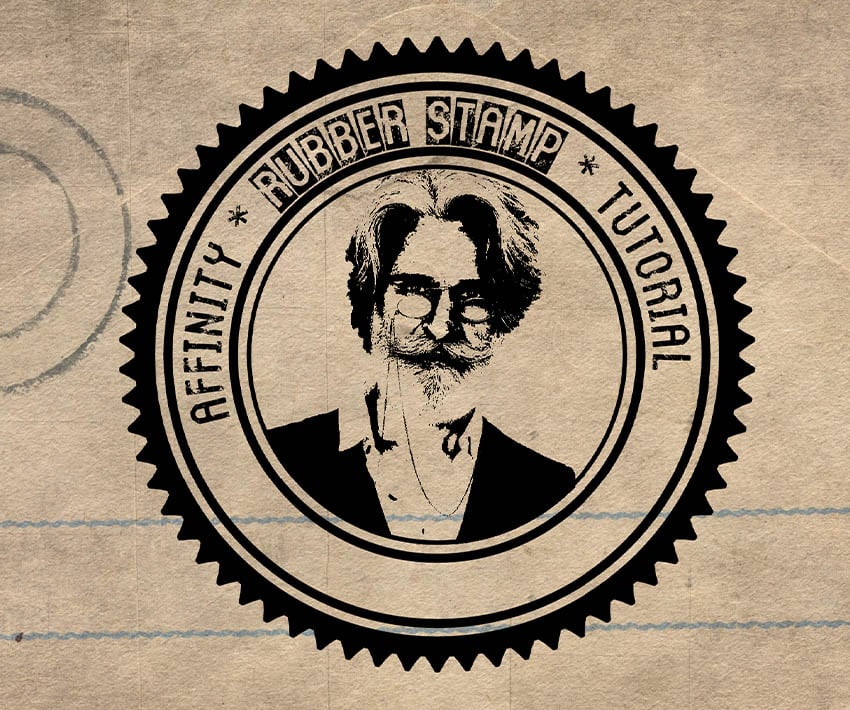
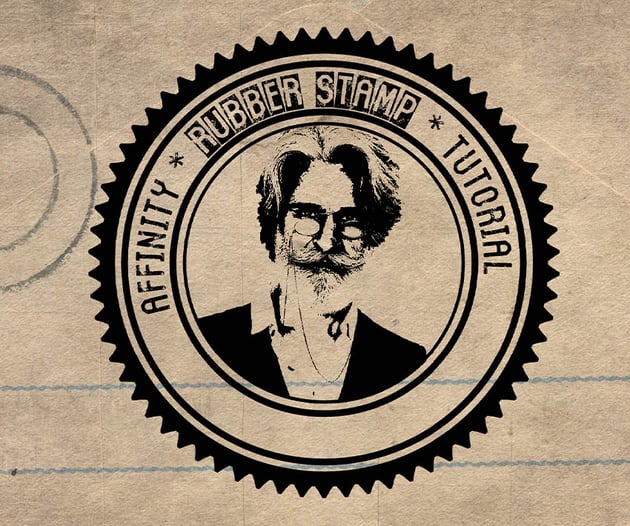
Drop a photo of your subject behind your circle shapes.
Use the Elliptical Marquee tool to create a circular selection around the subject, and add a Layer Mask to mask the subject into a circle.
You can also use other images, like objects or pets.
Step 2
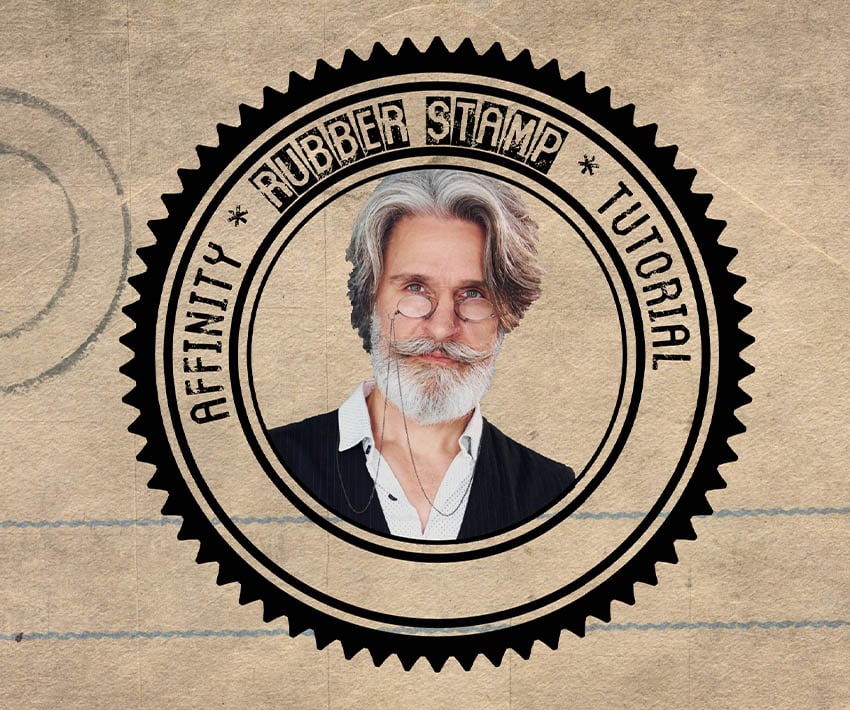
Use the Selection Brush tool to select the subject. Add a second Layer Mask to mask away the subject’s background.
This doesn’t need to be a clean or precise selection as we’ll be adding a grunge effect to the stamp.

Step 3
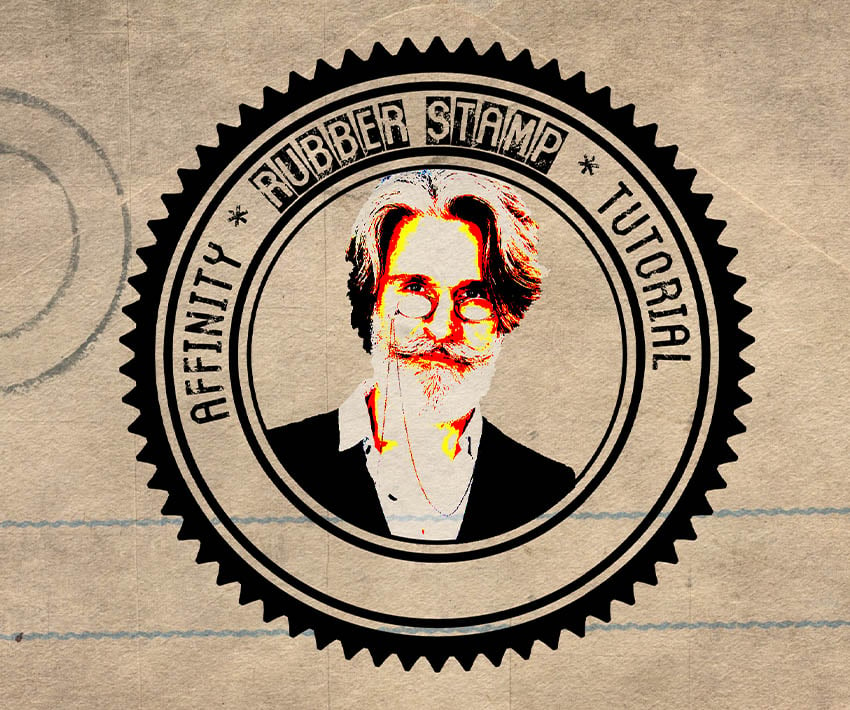
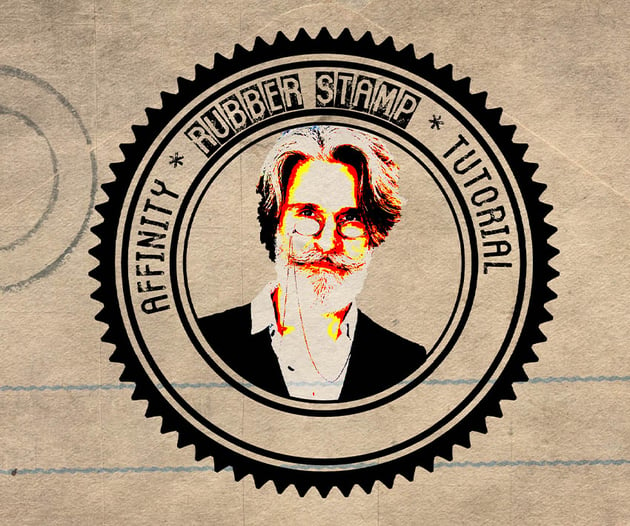
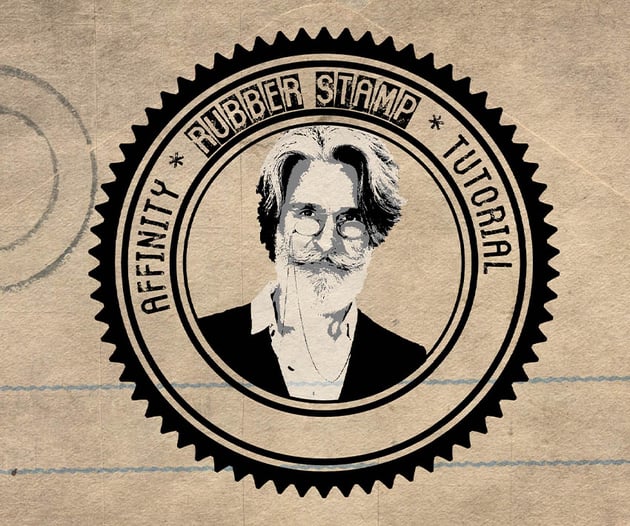
Add a Posterize adjustment layer to the subject. Set the Levels to 2.
Step 4
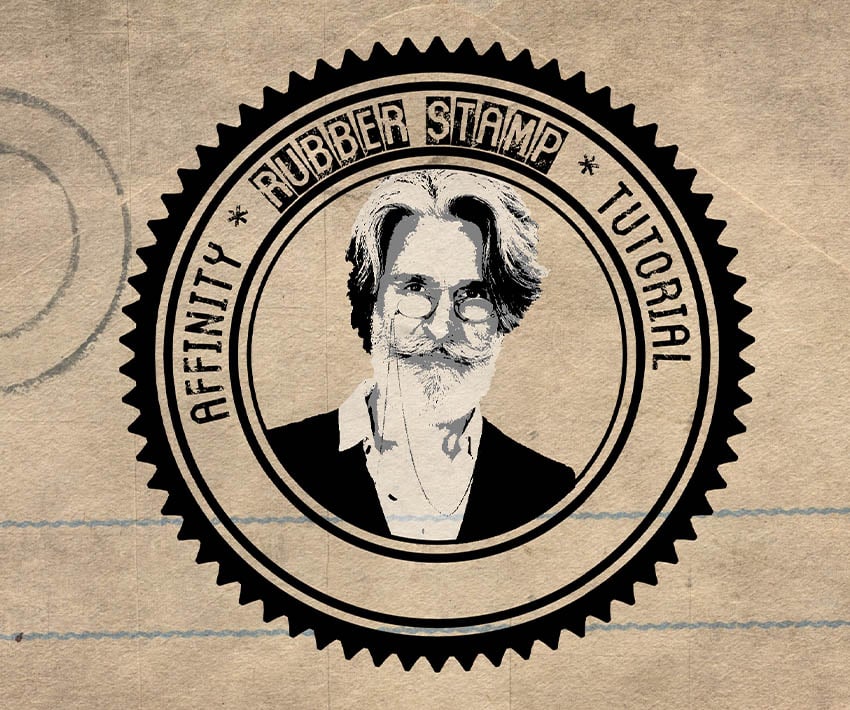
Add an HSL adjustment layer to the subject, above the Posterize layer, and bring the Saturation to -100%.
Step 5
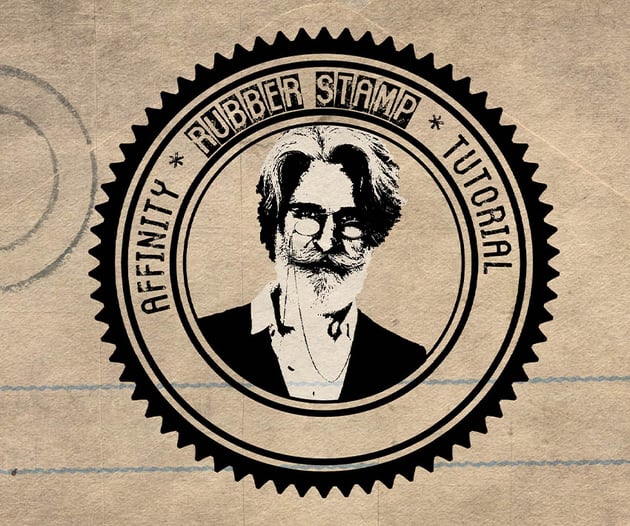
Add a Levels adjustment layer to the subject, above the HSL layer, and bring the Black Level to 80%.
Your settings may vary. Also note that the order in which you stack the adjustment layers does matter.

Step 6
Set the subject layer to Multiply.

5. How to add a grungy stamp texture
Step 1
Group all of your stamp layers by selecting the layers and hitting Control/Command-G. Name the group “Stamp.”
Hold Shift to select multiple layers at once.
Step 2
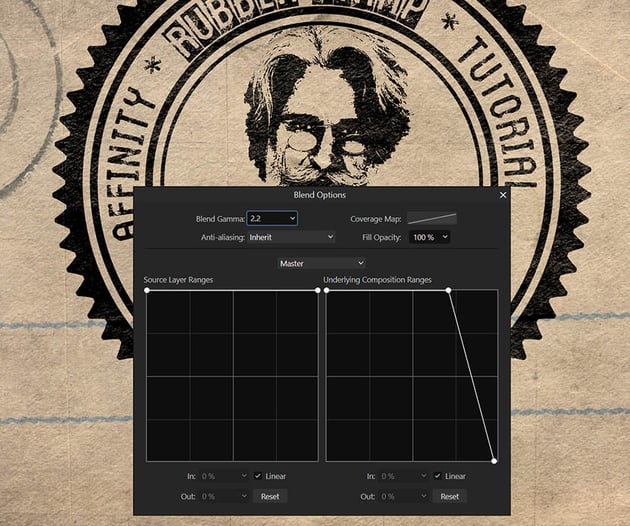
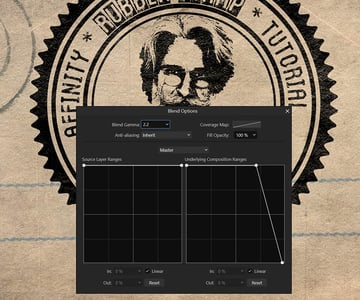
We can add a grunge effect to our stamp in one of two ways. First, let’s open the Stamp group’s Blend Options by clicking the Cog icon to the right of the Opacity and Layer Blend Mode settings.
Adjust the curve in Underlying Composition Ranges to remove the grouped layers from showing in the lightest values of the layers beneath them. This will cause a distressed effect.
Your settings should look similar to what you see below.
Your settings don’t have to be exact. Play with the curve to get a feel for how they work and adjust the level of distress.

Step 3
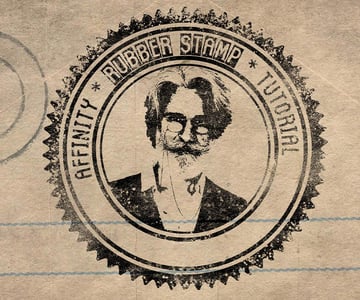
The second option is to add a layer mask to the Stamp group.
Now, using different brushes from the Dry Media and Spray and Spatters default brush folders, manually mask in some grunge texture.
You can add a Filter > Sharpen > Unsharp Mask set to 100% Radius to the layer mask to make it appear even sharper and grungier.


Step 4
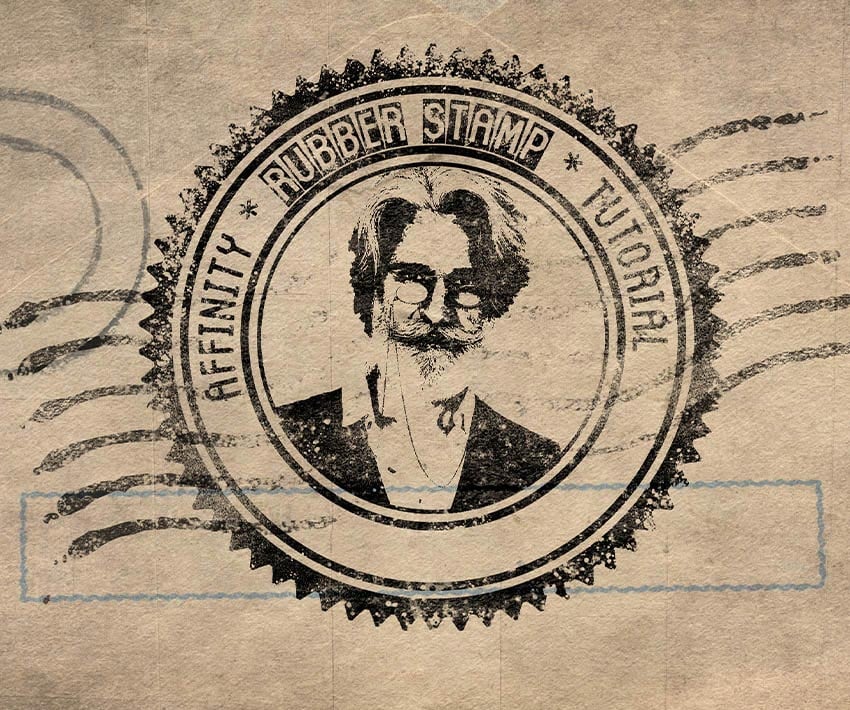
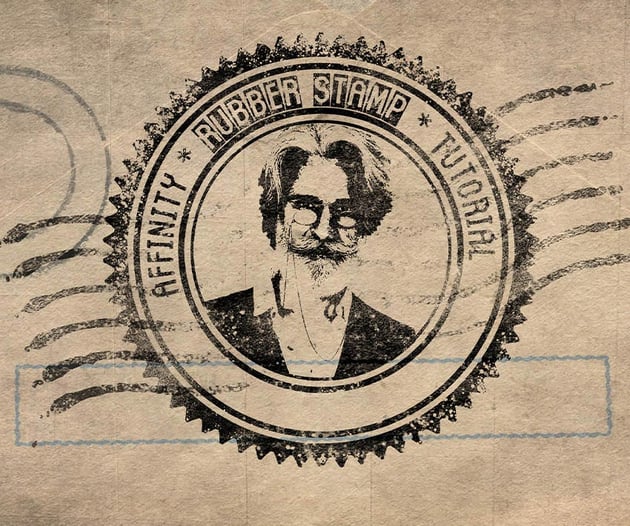
Add more vintage postcard shapes and designs to create more detail. Apply the same techniques as above to make them appear grungier.
6. How to create a multi-colored stamp texture
Finally, let’s add a Color Fill layer style to the Stamp group. Set the Blend Mode to Lighten, Opacity to 100%, and Color to a muted red #88172D color.
Set the Stamp group to Multiply if you want to place the stamp over more complex details and designs.

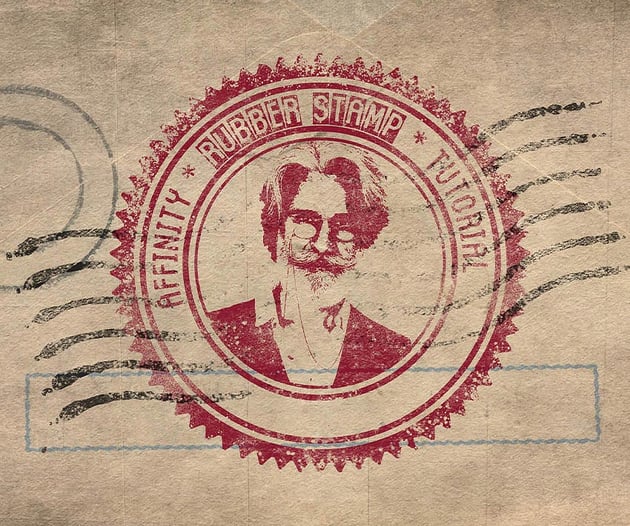
That’s how to create a rubber stamp effect in Affinity Photo!
That’s how to create an ink stamp texture. This design is completely customizable, from color to shape. Don’t be shy about experimenting with different design elements. The three adjustment layers we used to simplify the subject’s portrait do all the work!
And the best part? This effect is non-destructive, so you can go back and tweak your design at any time.


Did you have fun learning how to create a rubber stamp effect? Check out more Affinity Photo tutorials below.
