As the name suggests, a sidebar on a website is a vertical column that can be placed on either side of the main content or blog post on a webpage. While blog posts provide the main content to your readers, a sidebar can help you improve reader engagement.
A sidebar doesn’t necessarily have to be displayed on the left or right side of the main content. It can also be placed in the footer as well. In the context of WordPress, a sidebar simply means a section of your website that contains some widgets.
Most websites have the same sidebar active across all their blog posts. However, it is also possible to have multiple sidebars to show across multiple types of content.
In this tutorial, I will show you how to add a sidebar to your website in WordPress with easy-to-follow steps.
Planning the Content to Place in a Sidebar
Before we add a sidebar to our website, it is important to plan what kind of content we want to place there. The type of content that you place in a sidebar will depend on your ultimate goal. Here is a list of common content snippets that you can place in a sidebar.
- Search Bar: Adding a search bar to any blog or website will help readers find the content that they want to read much more easily. It can also give you important insights into user behavior if you are logging their searches.
- Recent Blog Posts: Adding a list of recent blog posts to your website sidebar can give a traffic boost to all your latest articles.
- Related Blog Posts: Showing a list of related blog posts in the website sidebar can provide additional value to readers who might want to dig deeper and learn more about the content that they are reading.
- Most Popular Posts: Similarly, showing a list of your most popular posts in the sidebar can get more eyeballs on content that’s already popular. This content has already proven to be useful to readers, so viewers might appreciate the links.
- Latest Comments: Users are more likely to engage with a post if they see other people posting comments. Adding a section that shows the latest comments on your blog posts can help keep your community active and engaged.
- Social Media Links: You probably have a Facebook, Instagram, Twitter, or YouTube account where you regularly post updates related to the website or other content that the readers might find useful. Placing links to all your popular social media accounts in one place can help you get more followers.
- Promotional Content: A sidebar can be a source of additional revenue for you if you place sponsored content or ads somewhere in it.
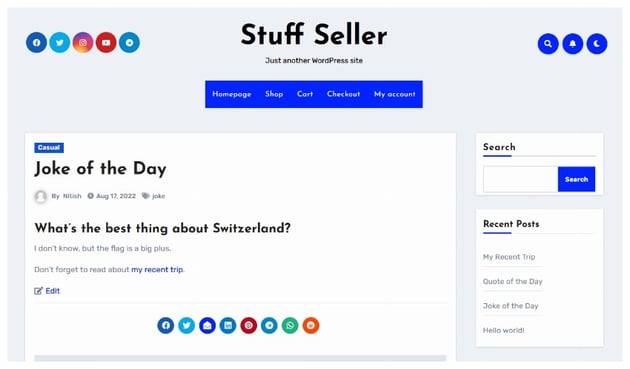
For this tutorial, I will create a sidebar that contains a search bar, a list of recent posts, and social media links.
Choosing the Right Theme
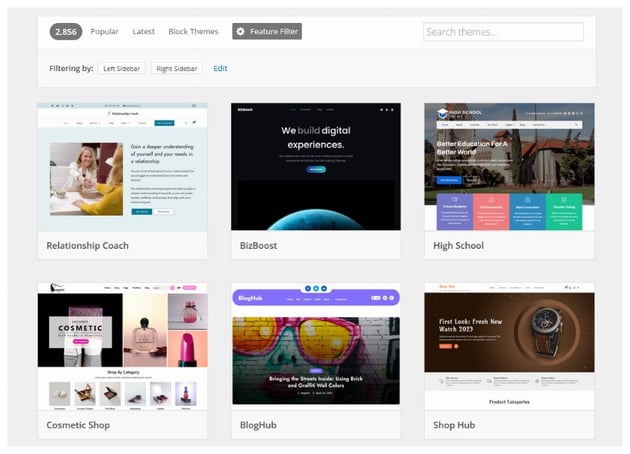
Not all WordPress themes will support sidebars. Therefore, it becomes important for you to check beforehand if your theme supports them or not. You can also filter the themes available in the WordPress directory to only show themes that support sidebars.

I am using the Blogus theme in this tutorial, but you can use any other theme you like.
It is also possible to add a sidebar to your existing theme by creating child themes, but it gets a bit technical. We will be adding a sidebar to our theme without using any code here.
Changing the Blog Layout
Once you have installed and activated the plugin, you should head over to Appearance > Customize from the WordPress admin dashboard.
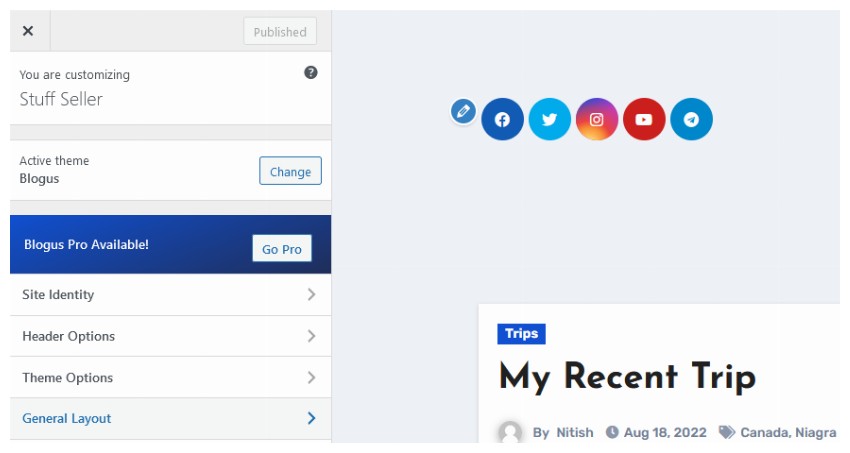

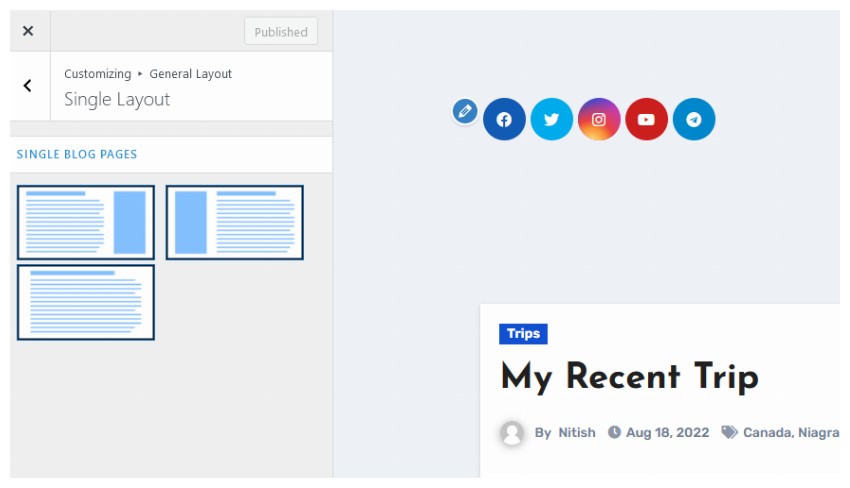
Now, we will go to the General Layout menu option and update the layout of a single blog post as well as the blog homepage or index page.
Choose Single Layout from the menu options, and you will see something like this. You can update the layout of the blog homepage in a similar manner by selecting a layout from the Blog Layout option.


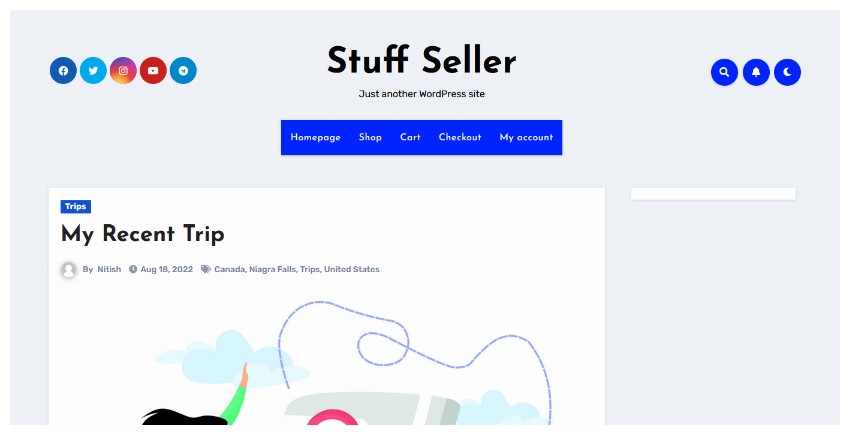
This will add an empty sidebar to all our blog posts, as shown below.

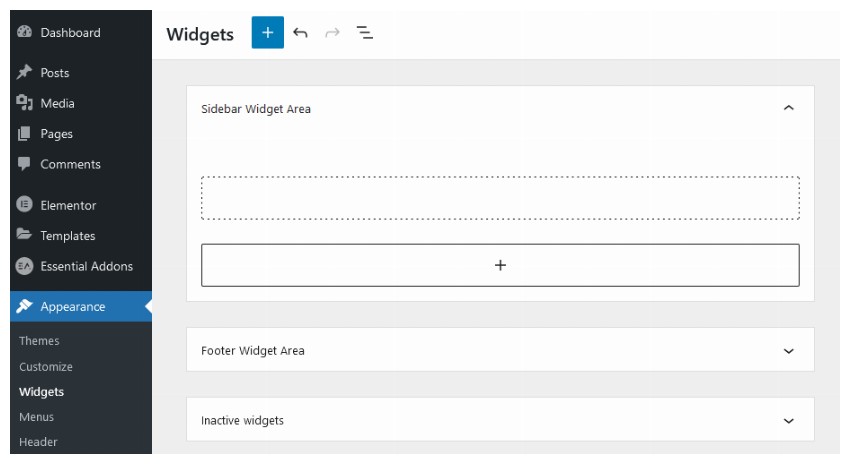
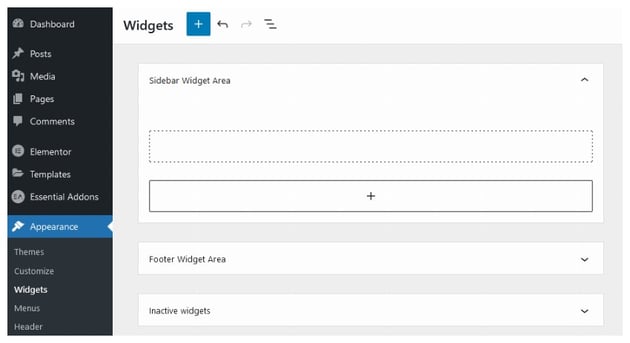
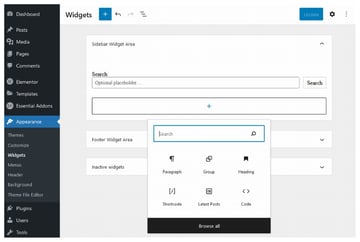
We will now add widgets to our sidebar to display relevant content. Head over to Appearance > Widgets, and you will see something like the image below. Expand the Sidebar Widget Area to get started.
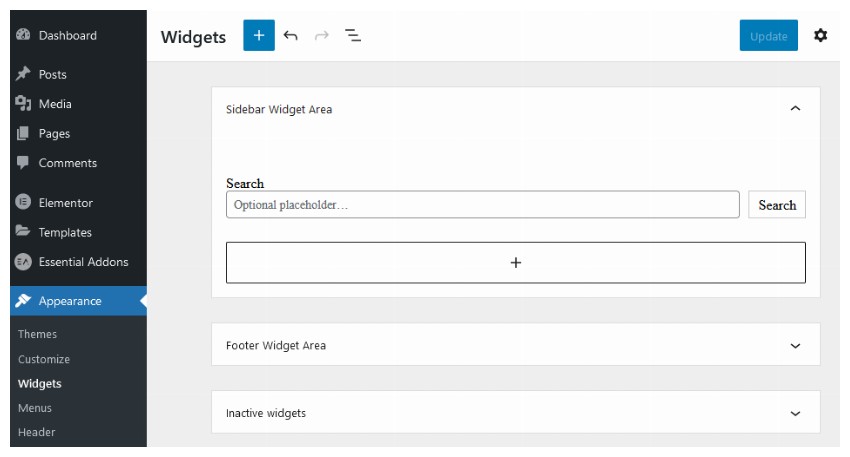
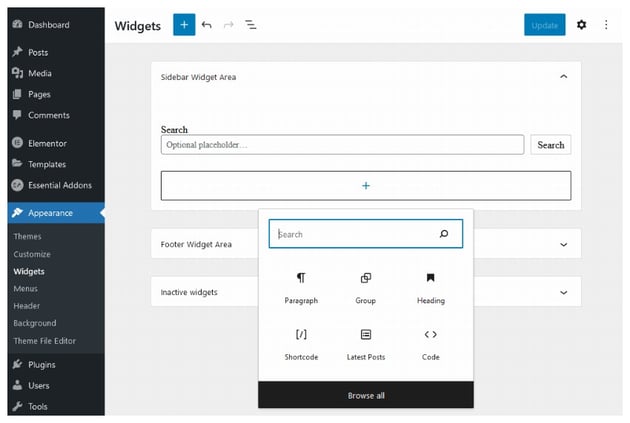
Click the + icon to add a new block, and then click on Browse All. This will open a list of all available widgets and blocks. Find the Search widget and drop it into the first block container.


Now click the + icon below the search widget and choose Group from the pop-up that appears. You will get the option to select a layout for the block group. Choose the Stack option to arrange the blocks vertically.

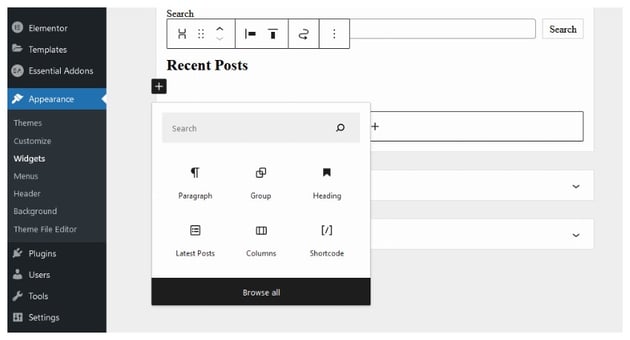
Now, add a Heading block to the top of the group, and set its content to Recent Posts.
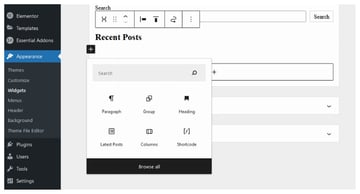
We will now add another widget to this same group by clicking the + icon. Select Latest Posts from the pop-up that appears. If you don’t see it in the pop-up, click on Browse All and find it there.

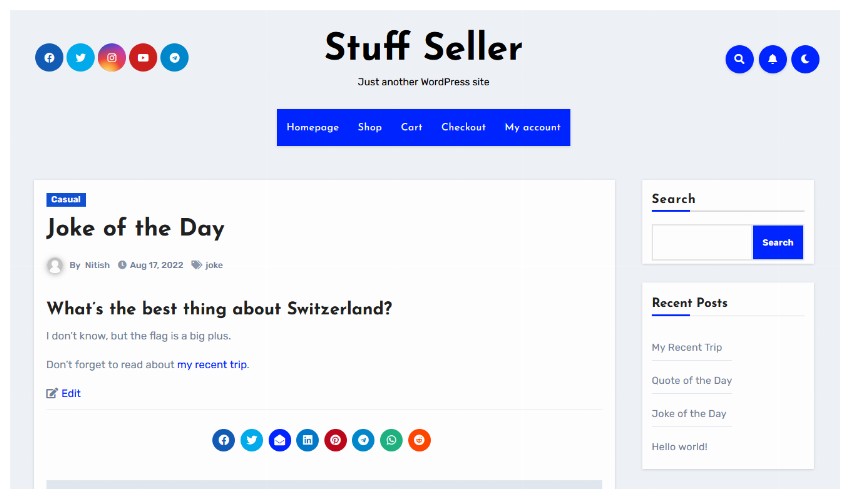
Click on the Update button and then reload any blog post, and you will see something like the image below.

Including the heading block and the latest posts widget in the same group was important because we did not want them to have their own separate boxes like the search bar.
Now, click the + icon below the list of recent posts and add another Group block here. Set the Layout to Stack in order to display all constituent blocks vertically.
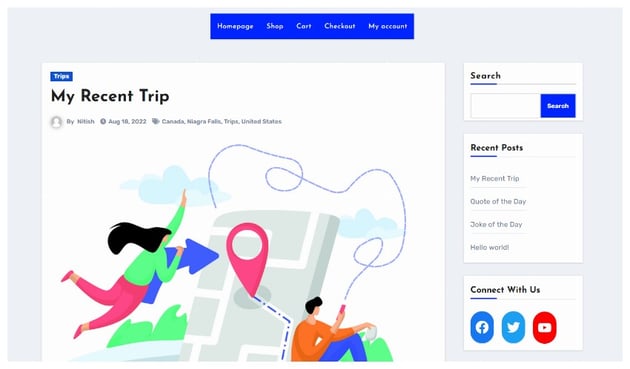
Add a Heading block to the new group and set its content to Connect With Us. Again, click the + icon, and select the Social Icons widget after clicking on the Browse All button. This will show you the following image.
You will now be able to link to all your social media accounts. You will have to click on the icons after adding them to provide the links to your accounts. The icons will only start to appear on the front end once you have provided a link.
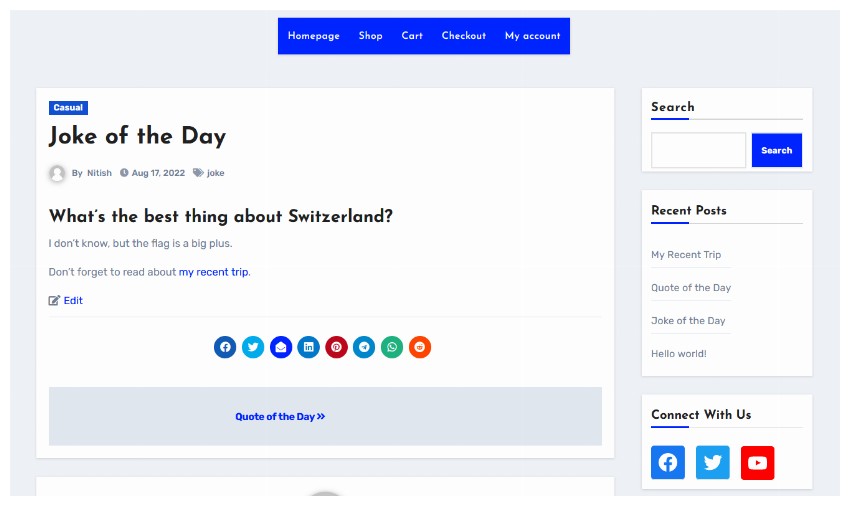
Your sidebar should now look like the image below.


Styling Different Elements
Our sidebar now has all the content that we want it to have. However, some sections of the sidebar look a bit off. For example, there is no spacing between the search input field and the search button. Also, the social media icons that we added are not completely round.
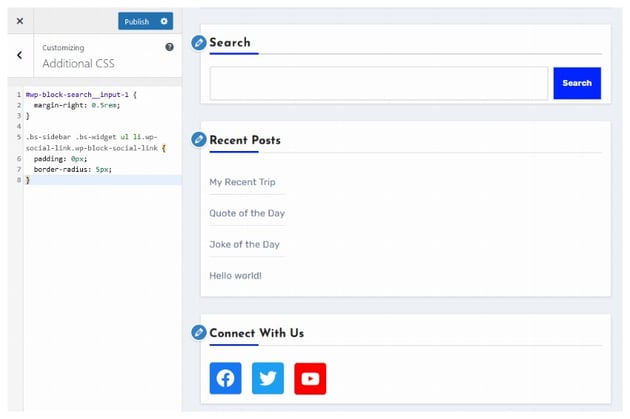
Luckily, both these issues can be solved with a little bit of CSS that we can add to our website by heading over to Appearance > Customize > Additional CSS. All we need to do is find the right selector to target our elements.

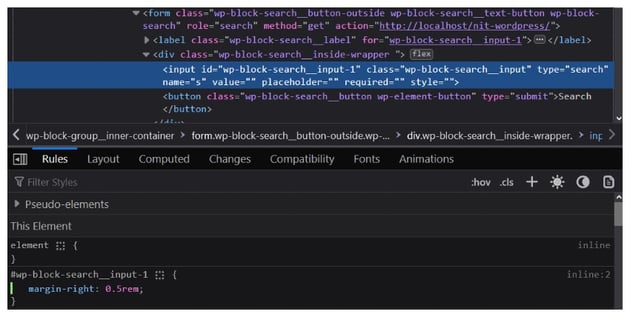

You can see the CSS rules applied to an element by simply right-clicking on it and selecting Inspect. Click the + icon beside .cls, and the browser will automatically provide a unique selector for you to use. You can now apply any style rules you want to this selector. I have applied a right margin of 0.5rem.
1 |
#wp-block-search__input-1 { |
2 |
margin-right: 0.5rem; |
3 |
}
|
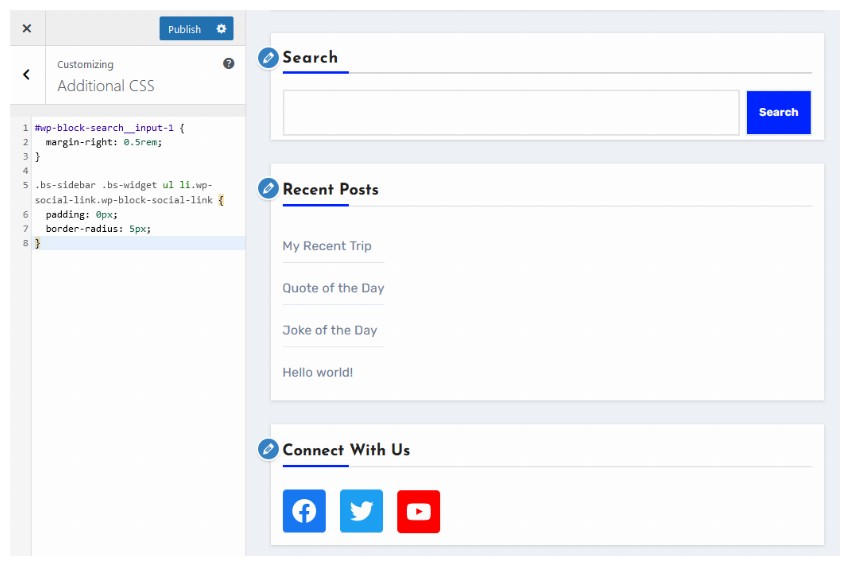
Similarly, inspect the social media icons, and you will see that their extra height is due to some padding. Get rid of the padding and the round shape of the icon with the following CSS:
1 |
.bs-sidebar .bs-widget ul li.wp-social-link.wp-block-social-link { |
2 |
padding: 0px; |
3 |
border-radius: 5px; |
4 |
}
|
We now need to place these style rules inside our Customizer, as shown below.
You can hit the Publish button now, and the changes will be reflected on the website.


Final Thoughts
In this tutorial, I have shown you how to add a sidebar to your own WordPress website for free. You can customize the content that appears within the sidebar by using a bunch of widgets and other UI blocks. It is also possible for you to change the styling applied to the sidebar with the help of the theme customizer.
You can now try adding another widget to display the latest comments on the website in the sidebar for practice.