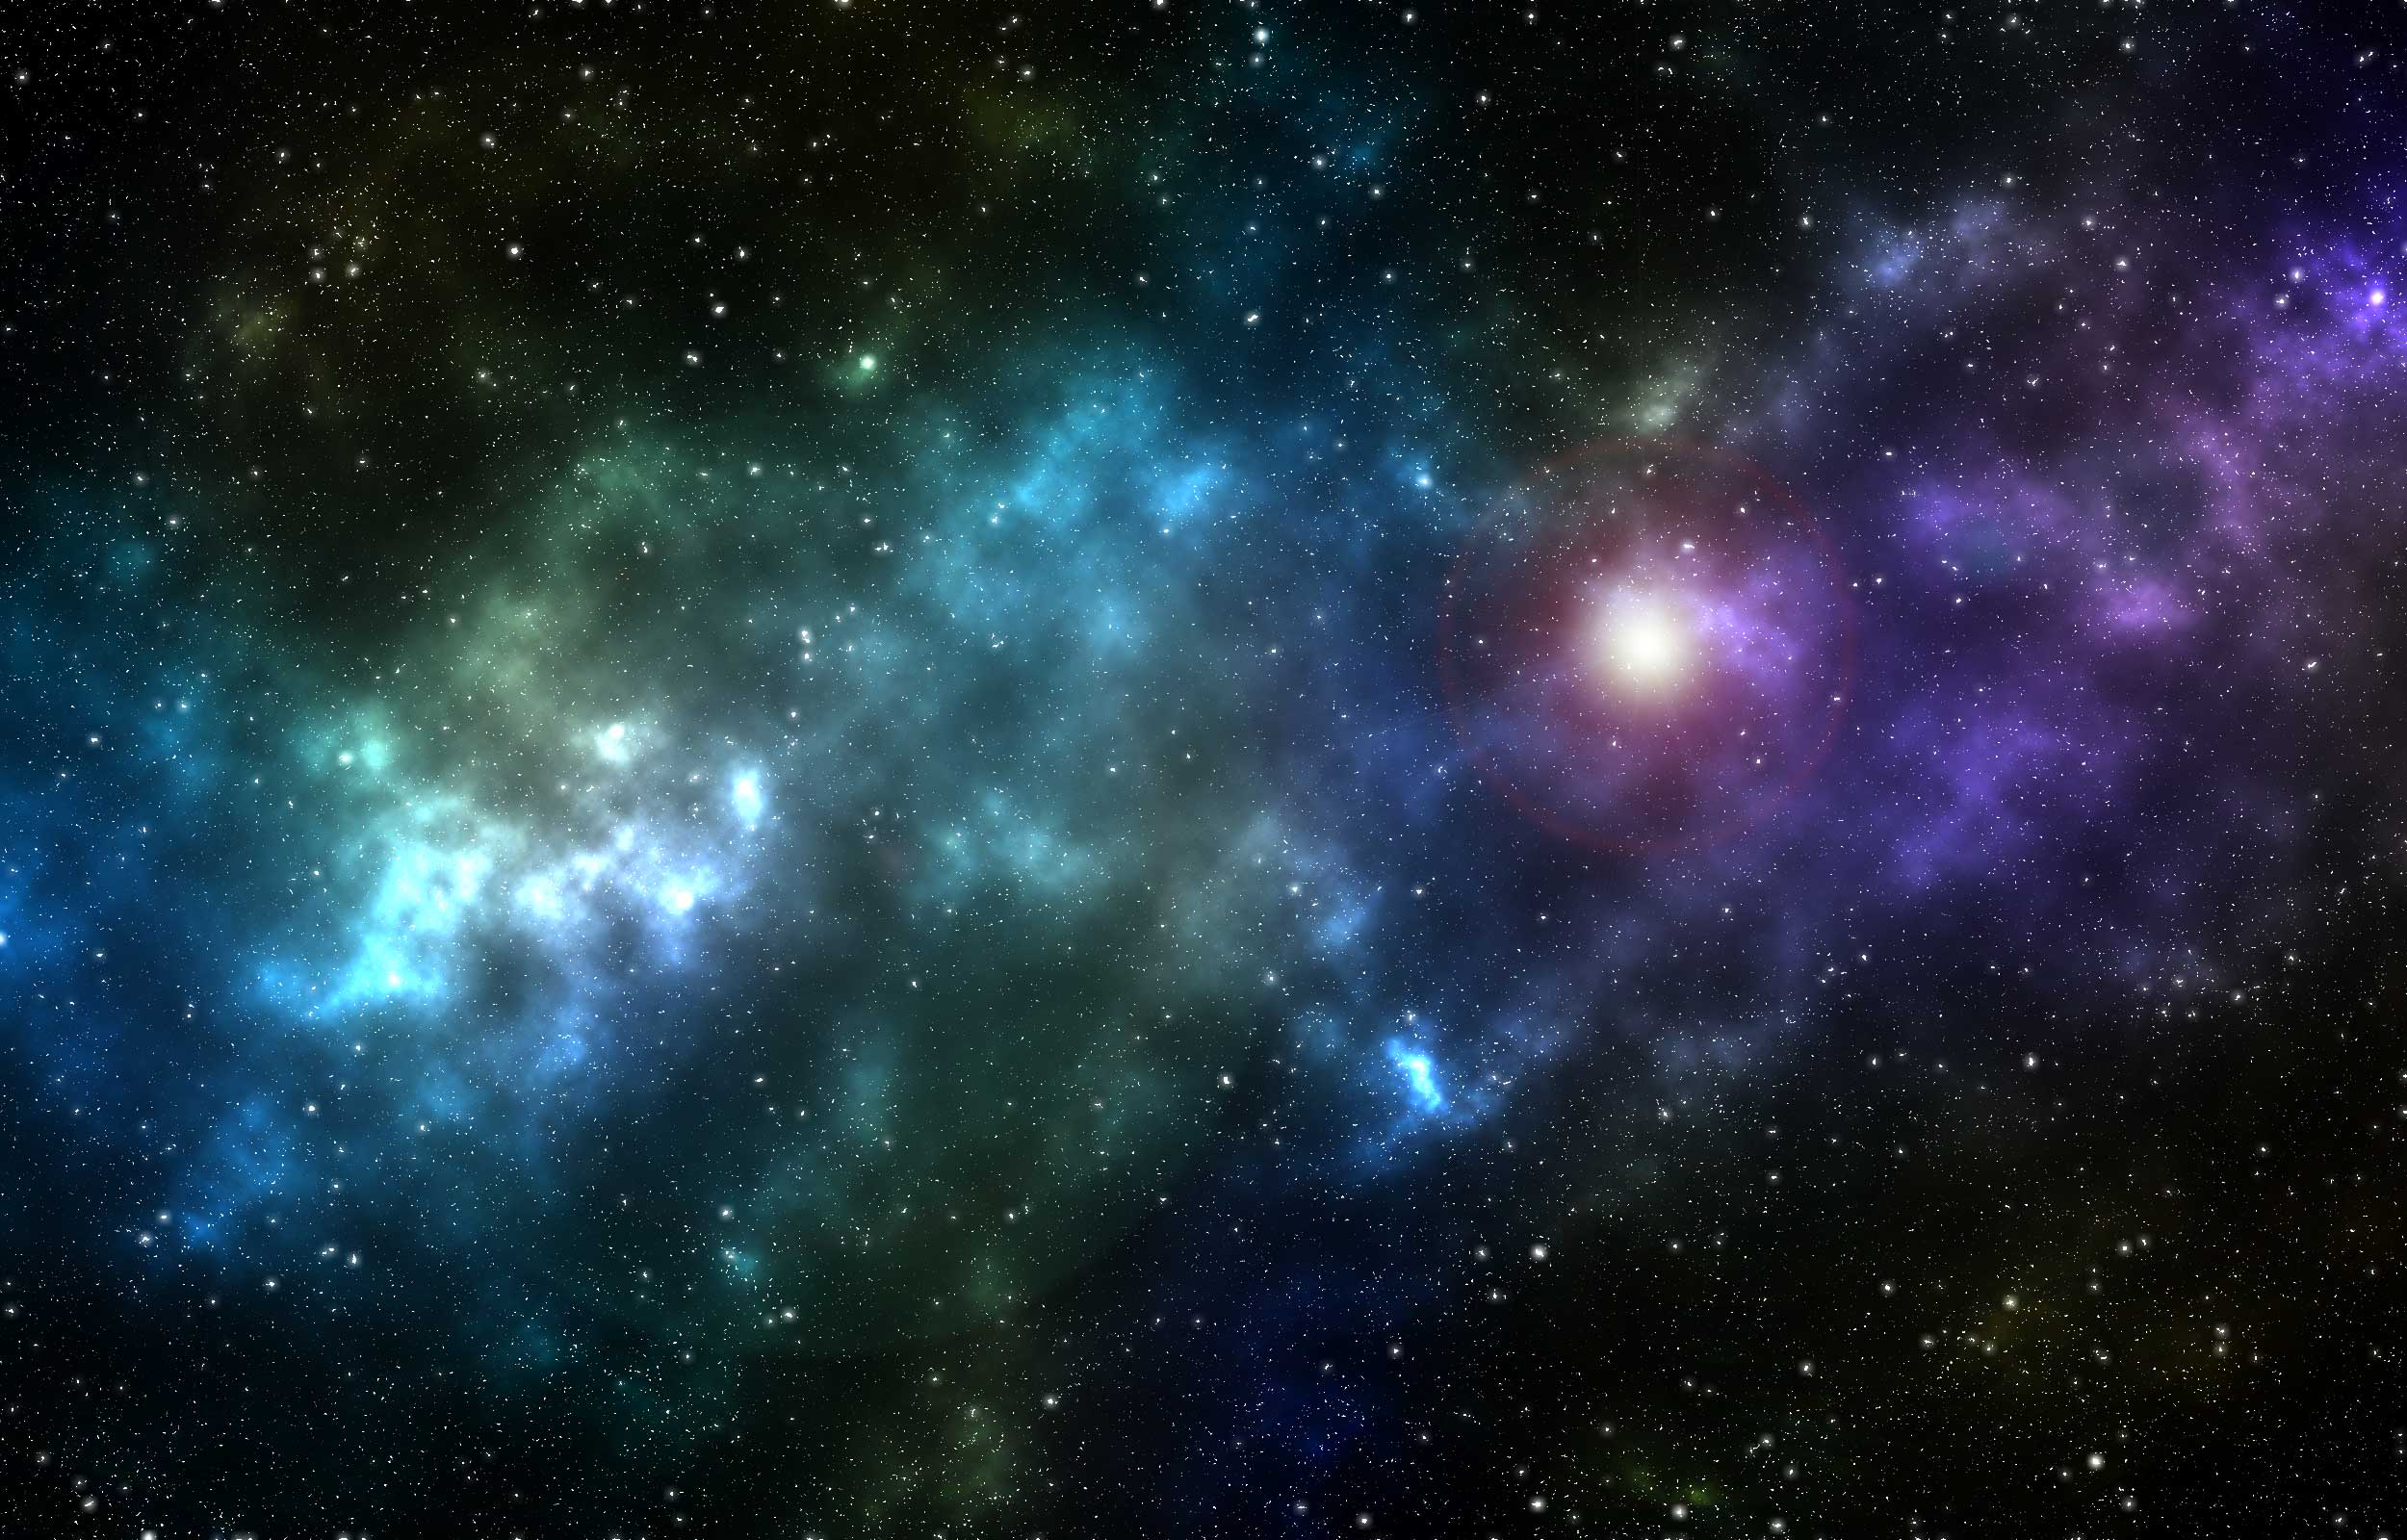
Star fields are a great way of adding an interesting element to your photo manipulations or digital paintings and they are surprisingly easy to create from scratch in Photoshop. Although most of the steps are repetitive and can be easily added into a Photoshop action (see below for download), I’ll go through each of them here so that you understand what is going on.
Final Image
Getting Started
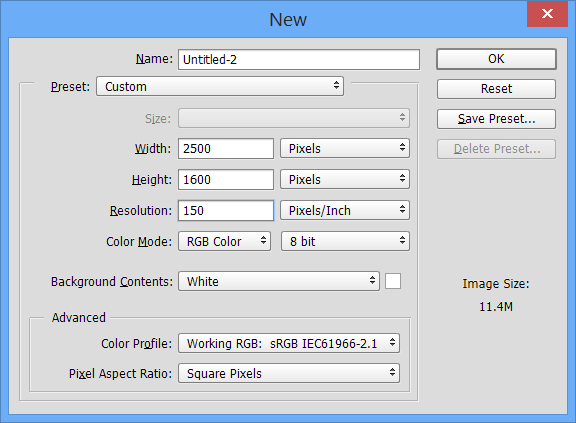
Open up Photoshop and create a new document with a size of 2500px by 1600px and resolution of 150 pixels per inch. Set the background to White.
Fill with Black
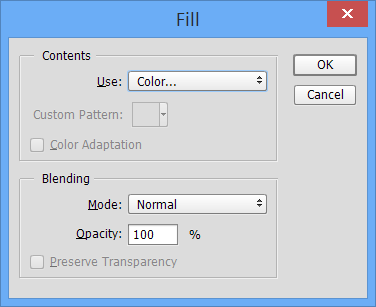
- From the Edit menu choose Fill
- Select Color from the Use combo box
- Select pure black (html #000000)
- Press OK
Make some noise!
- From the Filter menu select Noise -> Add Noise
- Enter an amount of 100%
- Select Gaussian
- Check ‘Monochrome‘
- Press OK
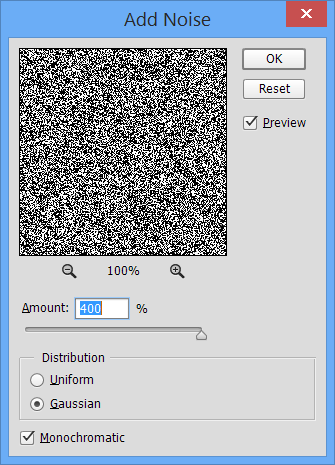
Duplicate the layer
- Select the background layer in the layers panel
- Duplicate the layer (Right click -> Duplicate Layer or Ctrl/Cmd+J)
- Hide the new layer (click the eye)
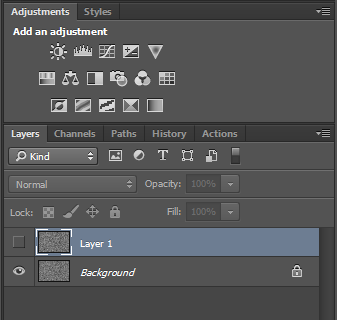
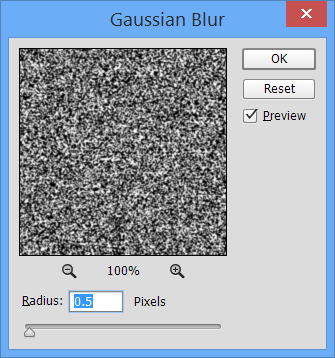
Blur the first (background) layer
- Select the first (background) layer
- From the Filter menu select Blur -> Gaussian Blur
- Enter an amount of 0.5 pixels
- Press OK
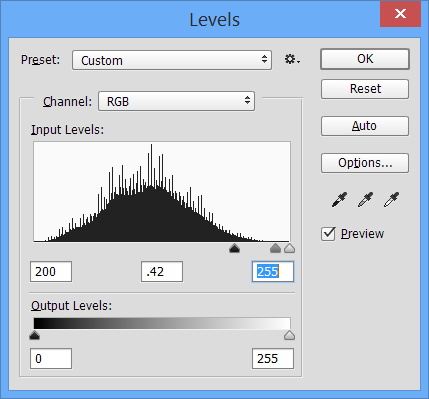
Create small stars
- From the Image menu select Adjustments -> Levels
- In the Input Levels area enter the values 200, 0.42, 255
- Press OK
Create large stars
- Select and enable/show the first (top) layer
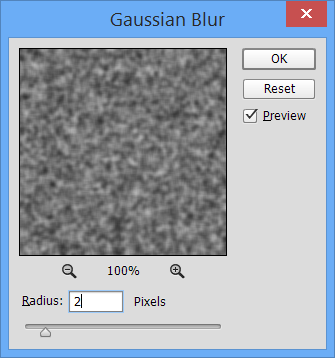
- From the Filter menu select Blur -> Gaussian Blur
- Enter a value of 2 pixels
- Press OK
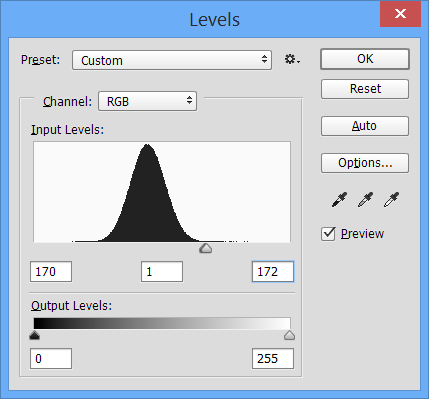
Adjust the levels of the large stars
- From the Image menu select Adjustments -> Levels
- In the Input Levels area enter the values 170, 1, 172
- Press OK
Add some more blur
At this point we will add a little more blur to the large stars
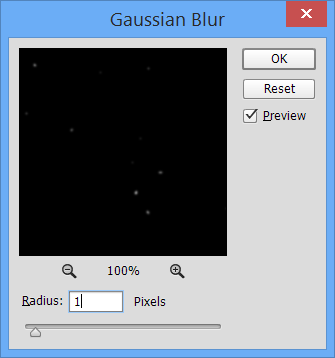
- From the Filter menu select Blur -> Gaussian Blur
- Enter an radius of 1px
- Press OK
