In the first article of this series, we covered the fundamentals of AJAX. In the second, we looked at a working example using vanilla JavaScript.
In this tutorial, we’ll walk through a few of jQuery’s AJAX-related functions and methods. More specifically, we’ll take a closer look at the shorthand load method and the generic ajax function.
Using the load Method
jQuery’s load method is a simple, yet powerful method for fetching remote data. Below you can see its syntax:
$(selector).load(url[, data][, complete])
The following table shows its possible parameters:
| Parameter | Description | Required |
|---|---|---|
| url | A string containing the URL to which the request is sent. | Yes |
| data | The data (as a string or plain object) that are sent to the server with the request. | No |
| complete | A callback function which is executed when the request completes, either successfully or unsuccessfully. | No |
Here are the parameters of the callback function:
| Parameter | Description |
|---|---|
| responseText | The data retrieved from the request. |
| textStatus | A string categorizing the status of the request. |
| jqXHR | The jQuery XMLHttpRequest (jqXHR) object, which is a superset of the browser’s native XMLHttpRequest (XHR) object. |
The next list summarizes the possible values of the textStatus parameter:
  - success
  - notmodified
  - nocontent
  - error
  - timeout
  - abort
  - parsererror
To better understand how the load method works, let’s revisit the example discussed in the previous tutorial.
Once again, look at this straightforward HTML structure:
      <div>
        <img src="http://webdesign.tutsplus.com/Einstein.jpg" alt="Einstein">
        <button id="request">Learn more about Einstein</button>
        <div id="bio"></div>
      </div>
Here’s how that looks:

Remember that we want to update the content of the #bio element with the response data, as soon as the button is clicked.
Here’s the required jQuery code:
      var $btn = $('#request');
      var $bio = $('#bio');

      $btn.on('click', function() {
      	$(this).hide();
      	$bio.load('Bio.txt', completeFunction);
      });

      function completeFunction(responseText, textStatus, request) {
      	$bio.css('border', '1px solid #e8e8e8');
      	if(textStatus == 'error') {
      		$bio.text('An error occurred during your request: ' +  request.status + ' ' + request.statusText);
      	}
      }
Assuming that the request is successful (i.e. when textStatus is success or notmodified), the final result would look like this:

Also, consider the following visualization which describes a successful request:

The left part of this visualization shows the XHR object as it is printed in the browser’s console if we use pure JavaScript (see previous tutorial) to make the request. On the other hand, the right part displays the respective jqXHR object as it is printed if we use the load method.
In case of an unsuccessful request, however, a corresponding message should appear. To do so, we monitor the value of the textStatus parameter and display an error message:
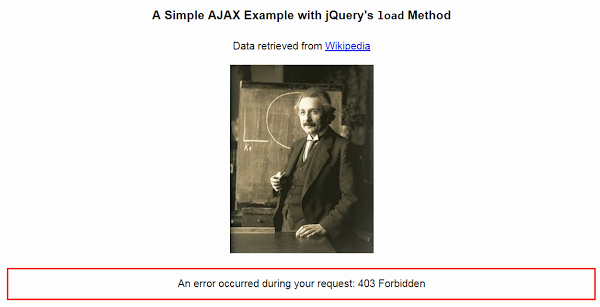
Note: If you run the example from your local environment (and store the Bio.txt file in it), the error message will probably be different. For instance, you might see the following result:
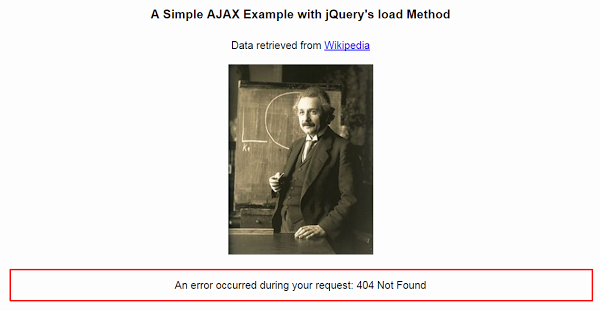
Lastly, it‘s worth mentioning that, by default, the load method uses the HTTP GET method, unless we send data as an object to the server. Only then, the POST method is invoked.
See the relevant Codepen demo below:
Now, let’s modify the format of the file that we request from the server. Specifically, for this example, the desired data is included in the Bio.html file instead of the Bio.txt file. Also worth noting: the target file contains two paragraphs.
Assuming that we only want to load the first paragraph, we’ll have to update the initial code as follows:
      $btn.on('click', function() {
          // this line only changes
          $bio.load('Bio.html p:first-child', completeFunction);
      });
Here’s how that looks:
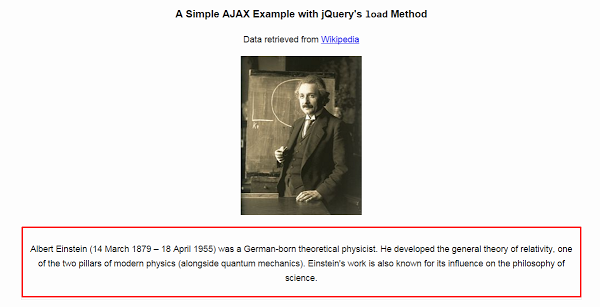
And here’s the Codepen demo:
Conclusion
In this tutorial, I demonstrated how you can use AJAX with jQuery. To make things more interesting, we also worked with a couple of practical examples. In the last remaining tutorial of this series we’ll wrap things up by working with a more involved example.