1. How to Bypass the Default Import Window
The first tip I’m going to give you is one you’re going to want to use every time you’re importing images into Lightroom. I’m willing to bet the way you currently import your images is to click on the Import button in the main Lightroom workspace, and then click through to track down the folder that your images are in. If so, I’m going to save you working through that clunky workspace.

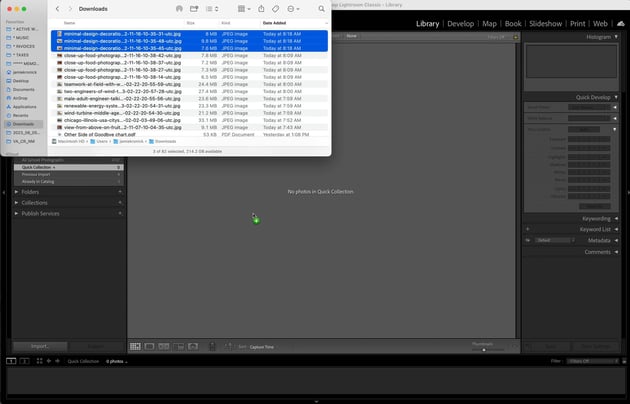

All you need to do is to locate the photos on your computer, and then simply click and drag the photos into the Lightroom workspace, and Lightroom will automatically populate the import prompt window with your images! Click Import from there, and you’re off to the races.
2. How to Rate Images Using Stars
My absolute favorite way to organize images inside of a shoot is the starring method.
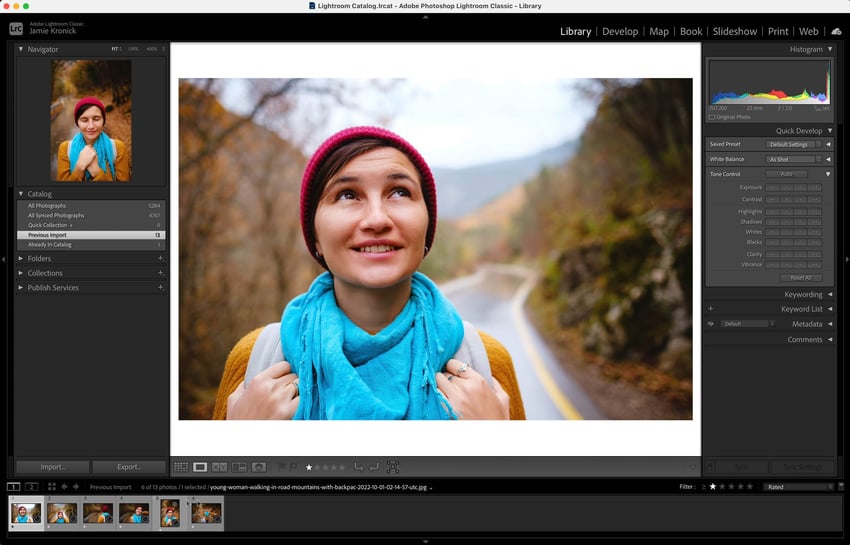
After I import my images into Lightroom, I’ll quickly go through each photo and tap the number ‘1’ on my keyboard for any and all images that I like. This applies a 1-star rating to all of the ‘good’ images from a shoot.
Next, tap the Filter button in the bottom right corner, and then select Rated for the filter, and select 1-star. This will now only show us the images that I’ve applied a 1-star rating to. You can continue to refine this further by pressing 2 to apply a 2-star rating, all the way up to 5. Or click 0 to remove the rating and reset the image back to zero stars.


3. How to Match Total Exposure
One of the best features of Lightroom is how quickly it can make edits. By showing you a setting called ‘Match Total Exposure’, I’m going to speed up your post-production workflow even more!
If you have a set of images where the sun was changing throughout the shoot, or you were changing your exposure setting on your camera, your images in Lightroom will all look slightly different.
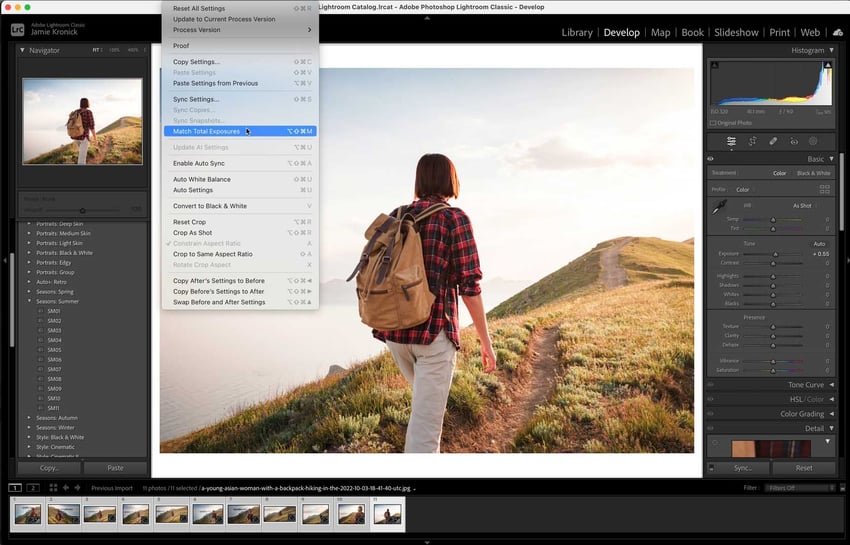
Typically, you would change the exposure one by one to get them to match—but instead, set the correct exposure for just one image.
Next, hold down Shift and click to the end of the set of images you want to match. Then go to Settings > Match Total Exposure, and it will correctly adjust every image’s exposure setting to match the tonal value of your first photo.


4. How to Minimize Lightroom Clutter
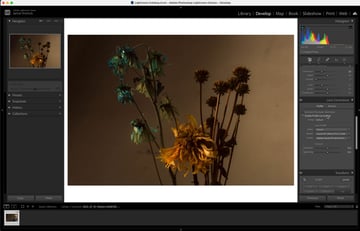
While the Lightroom workspace is incredible, it is busy, and it has a lot of different things that pull your attention away from the photo itself. While moving through a photo edit, it can be extremely useful to hide all of that clutter, so you can consider the photo and the edits you’ve made.
There are two really quick and easy ways to do this. The first is the Lights Out view. Tap L on your keyboard, and Lightroom will dim the workspace, while keeping your photo front and center. Tap L one more time, and Lightroom will fully black out the workspace. Tap L a third time to return back to normal.

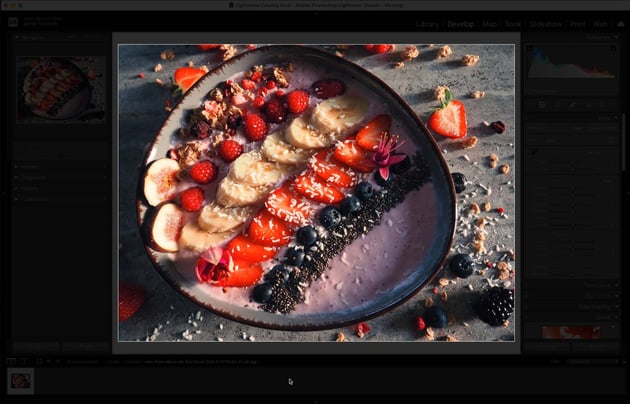
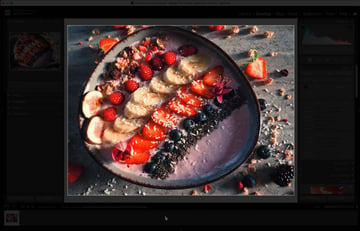
The second way to approach this is to use the Full Screen view. Tap the letter F, and Lightroom will make your image full screen, while also dimming the background. And then tap F again to return to the workspace.


5. How to Use Virtual Copies
Using Virtual Copies is a really great way to try out different editing styles on a single image and then be able to quickly and easily compare the different versions.
Creating a Virtual Copy of an image is really simple: just select the image or images you want to duplicate, and Control-click on the thumbnail. Then select Create Virtual Copy. Now you’ll have two versions in your menu, with the ‘Virtual Copy’ thumbnail displaying a little folded-over corner.


I like to use Virtual Copies to help me experiment with editing styles while also chasing a more ‘traditional’ edit.
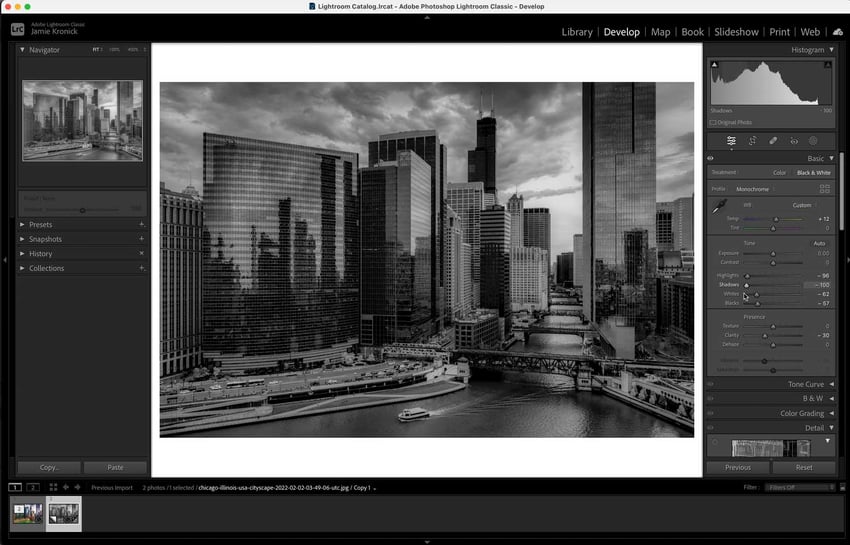
Similarly, it can be a really useful tool if you want to create both color and black and white edits of the same image. By using a virtual copy, you can make a black and white conversion, and then have both options ready to go in your Lightroom workspace.
6. How to See a Before & After Comparison
One of the best and easiest ways to quickly check your work as you’re moving through an edit in Lightroom is to use the Before / After toggle. When you’re in the Develop Module, all you need to do is press the Backslash key on your keyboard, and Lightroom will display the image as it was originally imported into Lightroom, without any of your edits.
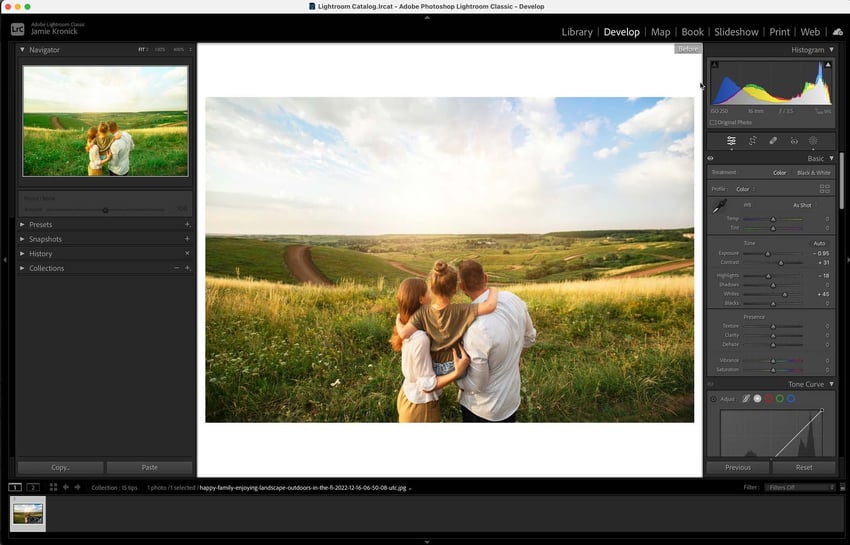
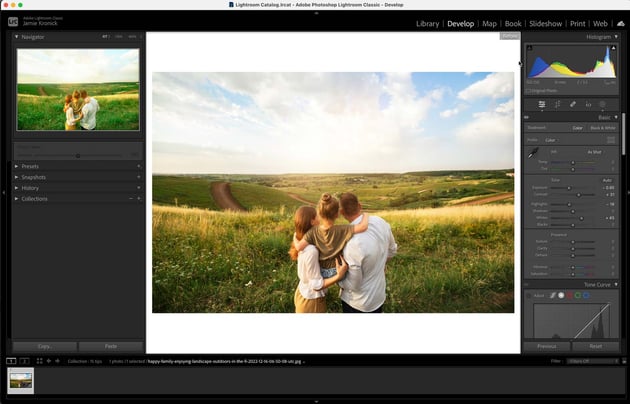

Press Backslash again, and you’ll return to your edited version. This can be a huge help to check the original colors of the image, or as a check-in to see how much or how little you’ve edited your image.
7. How to Use the Eyedropper to Set a Neutral White Balance
Getting a neutral white balance is key to getting accurate colors in your image. We all know you can set the White Balance by using the Lightroom White Balance Presets or manually dragging the Temperature and/or Tint sliders—but did you know about the eyedropper tool?
Located in the top left of the White Balance menu is the Lightroom Eyedropper Tool. Click the Eyedropper to select it, and then move your cursor to a neutral part of your image, meaning where the RGB values are nearly the same. Lightroom will show you an overlay of the RGB values as you move your mouse around.
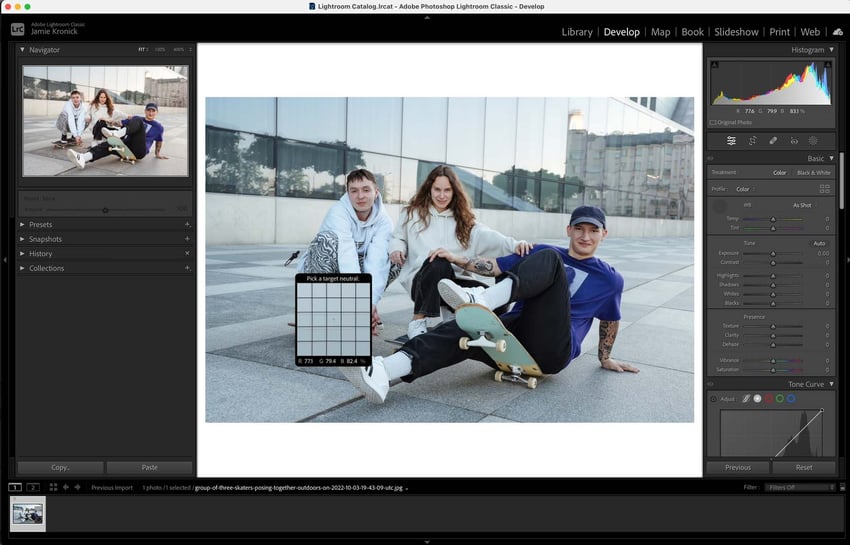

A good place to find neutral values would be something gray in the image, like clothing or cement on the ground. Try something white as well, like the subject’s teeth or eyes. Once the RGB values are closely aligned, click that spot, and Lightroom will set the white balance based on that point. You can always try another point by clicking the eyedropper tool again and clicking another area.
8. How to Manipulate Specific Color Values
The HSL/Color menu is very intuitive with its individual sliders for each color, but sometimes it can be difficult to tell the difference between similar tones, such as Blue and Aqua or Orange and Red.
Rather than guessing, try clicking the little Target beside either Hue, Saturation, or Luminance. Then go over to the area in your image you wanted to affect and click to slide up or down, which will increase or decrease those specific values. This will affect any color values associated with the section of image that you’re choosing.

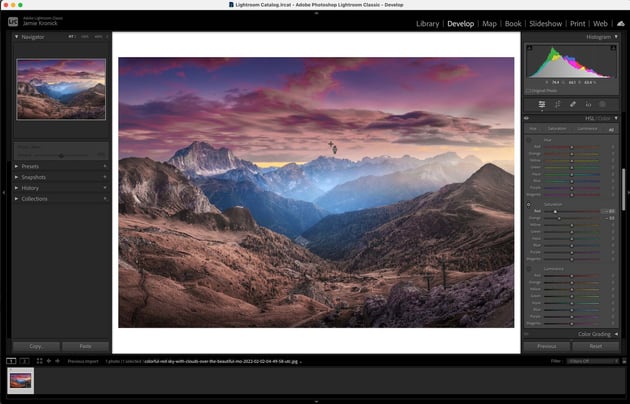
Repeat this as many times as needed, and watch as the values change.
9. How to Use Hidden Features of the Option Key
The Option key on a Mac, or Alt on a PC, has a whole layer of hidden features that most Lightroom users don’t know about.
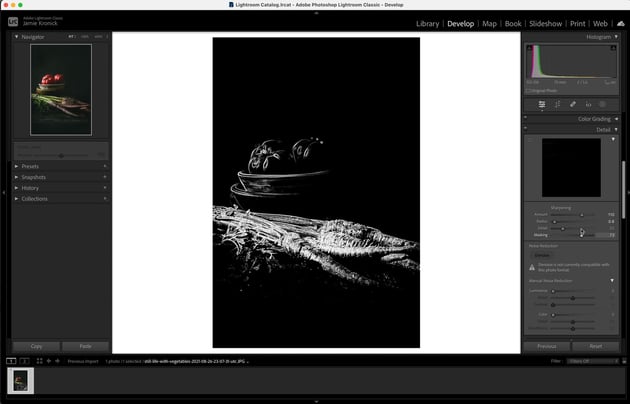
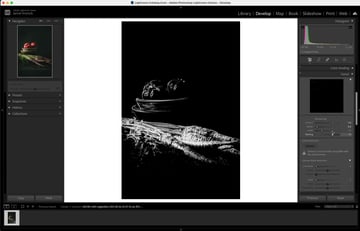
My favorite hidden feature is its function in the Sharpening tab as it relates to Masking. Masking controls what part of the image is having the Sharpening applied, but it can be really difficult to see what is or isn’t being affected.
If you hold down the Option key and drag the Masking slider, you’ll now see a black and white preview of the image, where the white represents the portion of the image that is going to be sharpened! Incredibly handy.

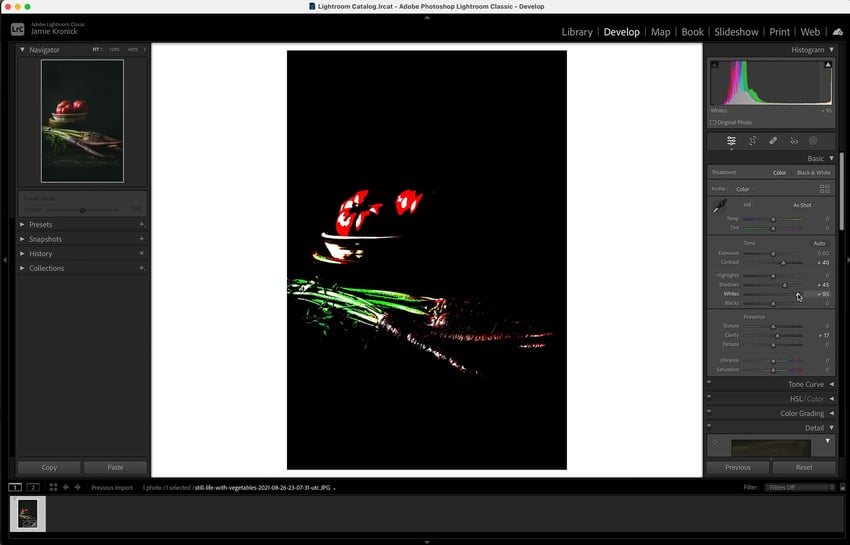
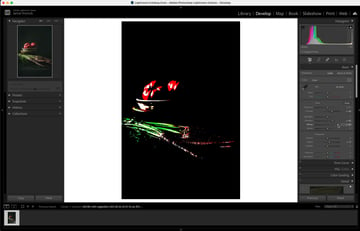
Another great hidden use of the Option key is as a clipping visualiser. If you hold down the Option key and drag the Exposure or Whites sliders, Lightroom will only display any values that are clipping—as you drag the sliders up, you’ll notice the clipping alerts appear. This is really helpful to make sure you’re not blowing out any highlights.

10. How to Use Different Grid Overlays
Cropping your image is often an essential part of a photo edit, and Lightroom has a whole number of grid overlays that can help you to get way more accuracy when you’re making your crops. When you click the Crop & Straighten button in the Develop module, it’ll bring up a crop overlay on top of your image. This is what helps you to preview the section that will remain and see what section will be cropped out.
The Default Overlay gives you a ‘rule of thirds’ overlay, which is a great starting place—but by simply pressing the letter O, you’ll be able to cycle through a whole number of different overlays.
I particularly like the overlay that has the different crop ratios all in one so I can easily visualize a crop for Instagram or to print.
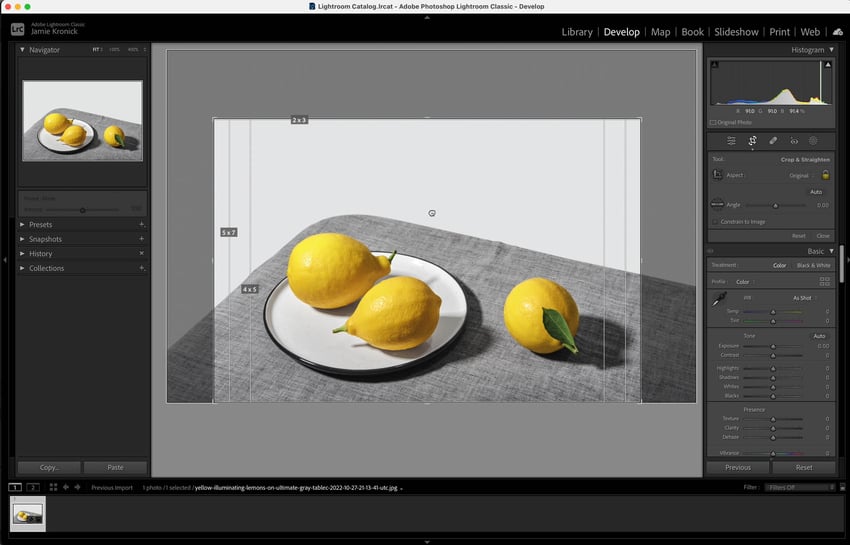
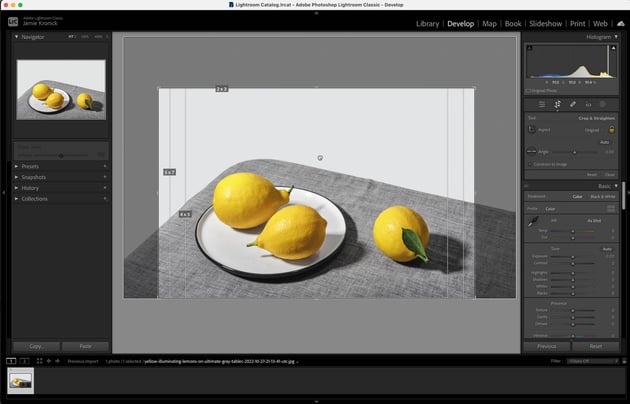
Be sure to cycle through these different overlay options and try them out if you’re looking to try out some new crops.
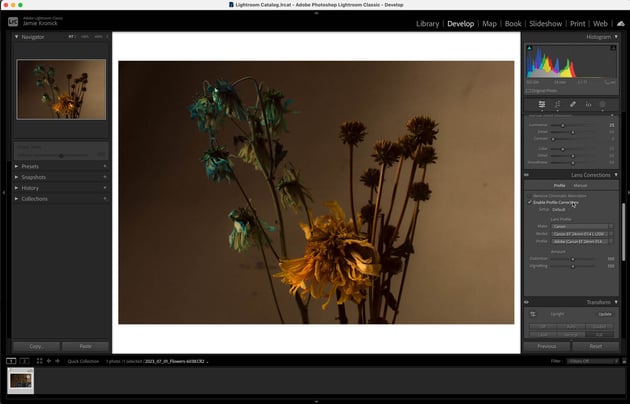
11. How to Enable Profile Corrections
One of my favorite tools in Lightroom, and in my opinion an absolute must for every photo edit, is found in the Lens Corrections Menu—and it’s the Enable Profile Corrections button. One tap of this button, and Lightroom will auto-detect the camera and lens that were used to make the image, and then provide corrections for Lens Distortion and Vignetting for that specific camera and lens combination.
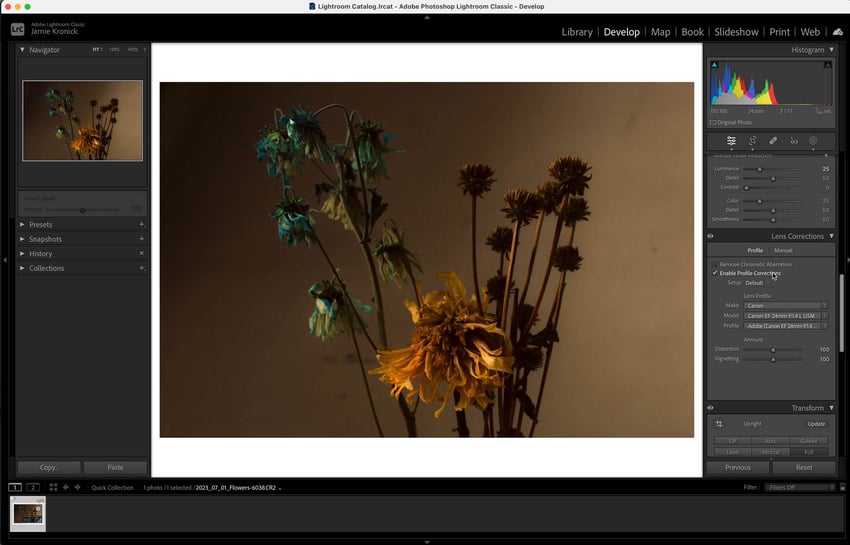
Depending on the camera and lens you used, this could have a major or minor change on your image, but I highly recommend integrating this into your editing workflow.
12. How to Select Subject Masking
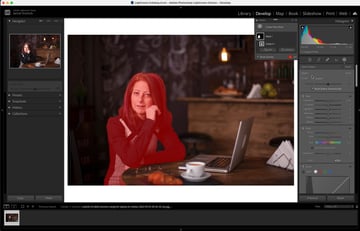
Lightroom has some newer AI masking features that can really speed up your workflow. By far and away my favorite of these tools is the Select Subject Mask. In the Develop module, click the Masking thumbnail above the Basics menu. Then choose Create New Mask, and Select Subject.
Lightroom will then quickly analyze the image and mask out the subject. The subject will appear with a red overlay, showing the area that’s been masked. Now make any/all edits to this mask, and only your subject will be affected.


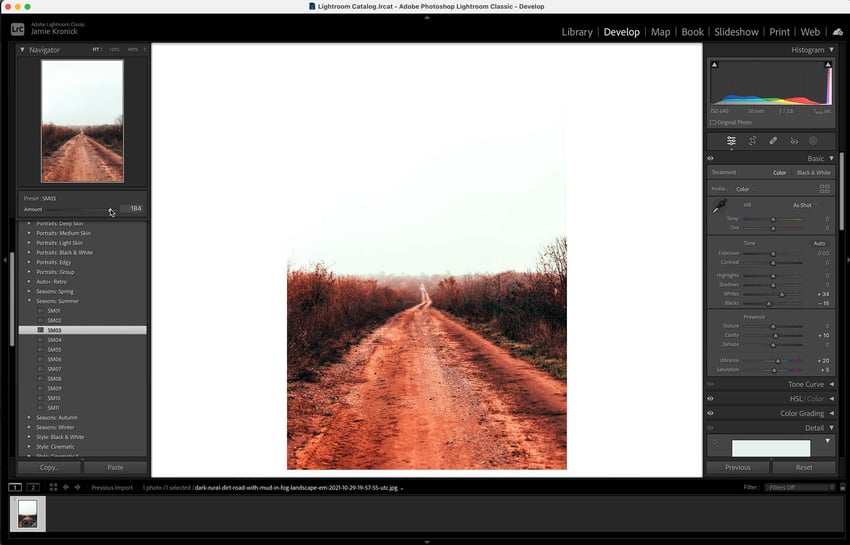
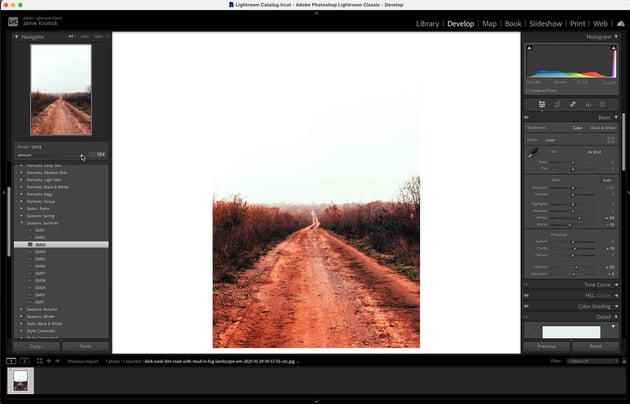
13. How to Preset the ‘Amount’ Slider
Whether you’re working with the built-in Lightroom presets or you’ve created your own custom user presets, did you know you can affect the amount of that preset that is applied?
Tucked in just above the Presets menu is an Amount slider. It will be grayed out until you apply a preset. Once you apply a preset, it will display a slider range from 0 to 200. By default, every preset is applied at 100%, but by using this Amount slider, you can double the intensity by sliding it all the way up to 200%, or decrease it by sliding it back down to below 100% if you want to back the adjustments off.

14. How to Sync Edit Settings
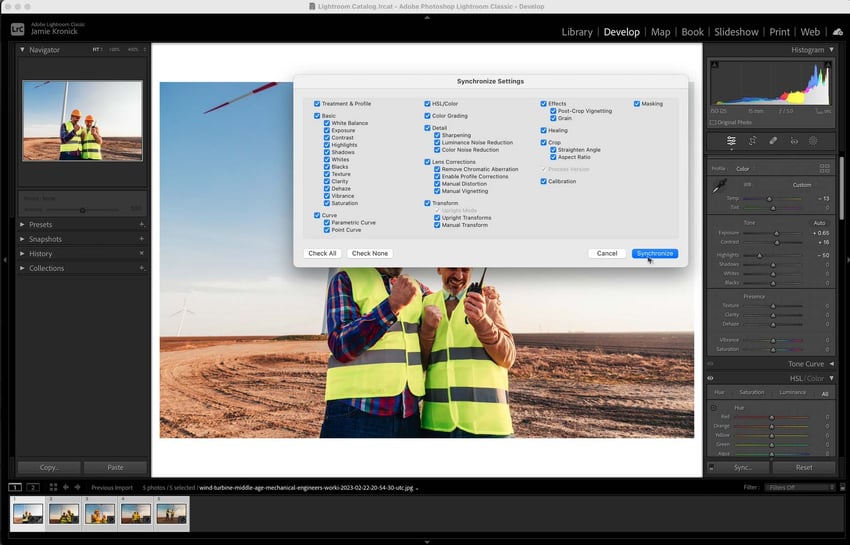
Perhaps the best feature in all of Lightroom is its ability to quickly edit numerous images at once. If you have a set of images that were all shot at a similar time, with similar light and similar camera settings, then syncing your Lightroom settings is a gigantic time-saver.
Go ahead and make your edits to only one of the images in the set. Then press Command-C to bring up the Copy Settings prompt. Click Check All to copy all of the editing parameters you made to the original image. Then click Copy. Now, hold Shift and click on the last of the photos in the set, and then press the Sync button at the bottom of the workspace. Click Synchronize, and just like that, the edits you made are now applied to all of these images!


15. How to Export for Web or Instagram
This last tip I’m going to share with you is the quickest way to export your finished images so you can easily post them to Instagram or send them in an email.
First, select the image or the group of images you want to export. Then, go to File > Export to bring up the Lightroom Export window. After you’ve chosen your desired exporting folder and done any necessary file renaming, scroll down a bit more to the File Settings and Image Sizing menus. In the File Settings menu, be sure to select JPG from the dropdown menu. Then, in the Image Sizing menu, tick the Resize to Fit box and then select Long Edge from the dropdown menu. Instagram’s maximum size is 1080 pixels wide, so let’s set the Long Edge to 1080 pixels. Now click Export, and you’ll have perfectly sized web-resolution photos ready to go!
Download Unlimited Stock Photos, Lightroom Presets, and More With Envato Elements
If you need to source stock images or are seeking out some new Lightroom presets, look no further than Envato Elements. For a low monthly fee, you get access to an unlimited number of downloads, and with thousands of items being added every week, you’re bound to find what you’re looking for.
Discover More Lightroom Tips, Tricks, and Tutorials
I hope at least a few of these tips and tricks have shown you a better or quicker way to edit your images in Adobe Lightroom. If you’re looking to learn more about how to get the most of out Lightroom, be sure to watch this Lightroom Classic for Beginners Course:

And for even more learning opportunities, here are a few more tutorials that might be helpful for you.