A pocket folder professionally organizes your documents. When customized with a design to match your brand, it can be the cherry on top of your marketing collateral.
However, it can be a long road to that perfect presentation folder if your design isn’t print-ready. What type of file do you have? Is it the correct size and resolution? Do you need a specific color for your logo? These are just some of the things you need to consider when preparing to send your folder to the printer.
Luckily, we’re here to help. We reached out to the experts at CompanyFolders.com, an online folder boutique that’s printed more than 20 million products, to help us craft this guide to creating a print-ready folder.
Start by assessing your needs and selecting a folder that will accurately meet them. For example, do you need a letter or legal-sized folder? How many pockets? Are the pockets horizontal, vertical, or both? All of these elements will impact your design and making it print-ready.
Once you’ve decided on the type of folder and its options, it’s time for the real work to begin. For our purposes, we’ll focus on this slash pocket folder to explain the process.
Imprint Methods
Typically, you can choose from four imprint methods—Four Color Process, PMS Printing, Foil Stamping, and Embossing/Debossing—depending on your design.
Four Color Process is best for designs with three or more colors, as well as, high-quality photos. PMS Printing is great when your design features less than three colors and/or you need to match a specific color.
Just as the name suggests, foil stamping actually stamps foil onto your product. Metallic foil provides a shiny element to the design, while non-metallic foil is more subtle. Both add a smooth texture to the design. Embossing provides a raised textural effect by lifting the design from the stock. Debossing is the opposite and depresses the design in the stock.
The requirements to make your design print-ready vary based on the imprint method you select. Here’s the breakdown:
– Four Color Process
– Design file and all images should be in CMYK mode or colors will not accurately print.
– All RGB or spot colors must be converted to CMYK.
– PMS Printing
– Make sure all graphics are in vector format.
– Ensure all colors are PMS colors or colors will not accurately print.
– Foil Stamping
– Make sure all graphics are in vector format.
– All elements should be at least 1 point thick and spaced at least 1 point apart to ensure they will be legible and prevent them from bleeding together. For example, it would be tough to make out the law firm’s name or website URL if they were smaller.
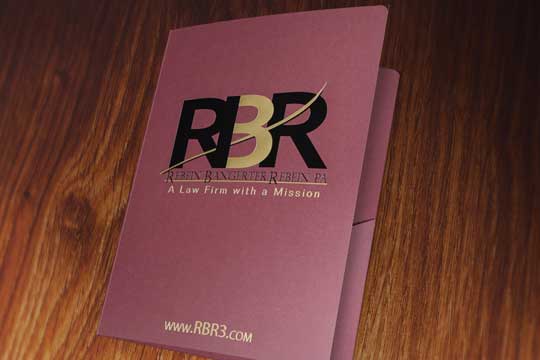
– Apply at spot color at 100% to represent each foil color to prevent mix-ups when printing.
– Don’t place elements on the fold or cut lines because it could make the foil peel and damage the design.
– Put each foil color on its own labeled, color-coded layer to avoid confusion and make sure your design looks how you want it.
– Embossing/Debossing
– Make sure all graphics are in vector format.
– All elements should be at least 2 points thick and spaced at least 2 points apart to ensure they will be legible and prevent them from bleeding together.
– Apply at spot color at 100% to represent each foil color to prevent mix-ups when printing.
– Don’t place elements on the fold or cut lines.
– Each emboss or deboss should have its own labeled, color-coded layer when using multiple imprint methods to reduce confusion at printing time.
Images/Writing
Now that you’ve selected an imprint method, there are a few things to consider when it comes to your images and writing. Let’s start with your images.
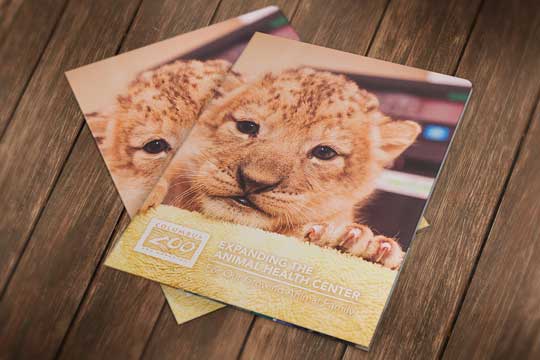
All images must have a resolution of at least 300 DPI for its size. This means you do not take an image that is 300 DPI at a size of 2” x 2” and double or triple the size for your design. If you need the image to be double or triple the size, it needs to be at least 300 DPI at the size you need. Otherwise, your image will not print clearly.
The adorable baby leopard wouldn’t make as big of an impact if it were pixelated or blurry because the image was not the correct resolution.
Once your image is ready, save it as a .PSD, .TIF, or .JPG because these files are the most universal and easiest to work with. Then, embed it in the design or package it in a zip file when you send your design file.
Fonts also should be included in your design file in .PSD format. This ensures the printer has the exact font you want to use. Before saving, convert fonts to outlines so that it’s easier for printers to work with them.
Lastly, proofread, proofread, proofread! Don’t forget, your folder is a representation of you and your brand. Incorrect grammar and spelling won’t look good. Also, taking a few extra minutes to look at everything over again could save you money if you have reprint because of a mistake.
Layout
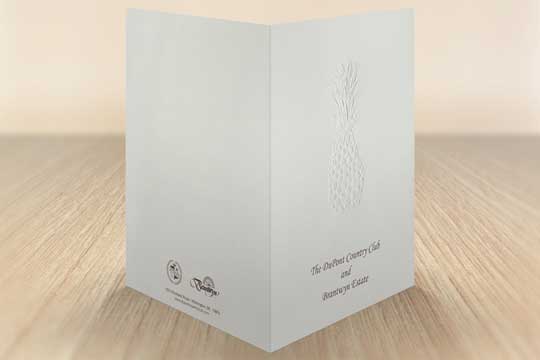
It’s important to pay attention to the placement of your design elements on your folder to ensure your design won’t be obscured by folder components such as folds, pockets, or slits. Along those lines, put logos, text and other elements on the right 2/3 of the covers to increase visibility. This makes sense because most people hold folders with their left hands, so you don’t want them to miss something in your design because their hands are covering it up.
Sometimes products can shift during printing or other small mechanical variations can occur. This is why all four color process, PMS printed, foil stamped, or spot coated elements that touch the die-cut line should extend to the 1/8” bleed zone. If the elements are not extended to the bleed zone, you could end up with a small white border around the edge of your design because of the shift.
Notice how there is plenty of room between elements on the cover of this folder. This allows each to make a statement. Information on the back is 1/8” from the bottom of the folder with a 1/8” space between them to ensure nothing gets cut off or blurred together.
Final Steps
You’re almost ready, but there are just a few more things you need to check.
You’ll likely use a template from the printer when preparing your design. If this is the case, do not delete, alter, or move the template layer of your project, double-check that slits are where you want them on the final product, and only work in the specified layer based on the template.
Perform one final check of everything. The best way to do this is to print a copy of your design on regular paper and fold it into a mini folder. This is a great way to make sure none of your elements will be cut off when your product is assembled.
Once everything is ready to go, be sure to save it as a .AI, .EPS, .PDF, .PSD, .INDD, or .TIF file. Send it to the printer and give yourself a pat on the back, knowing your file is print-ready and you’re going to get a great folder.