At FHOKE we’ve managed hundreds of projects in many ways. With our team’s industry experience, running, or working within studios, we’ve seen it all; ways that have worked and others that have failed. Over the years we’ve refined our process and found a great staged approach that works well for all our clients. It saves us time and puts more control in the designers’ hands.
The key is to always maintain a great relationship with the client, leaving them feeling satisfied at the end of a project but saving you the heartache, pain and tears that running a project can bring. So if you’re struggling to deal with clients and losing the passion to design because of this then why not give our approach a go?
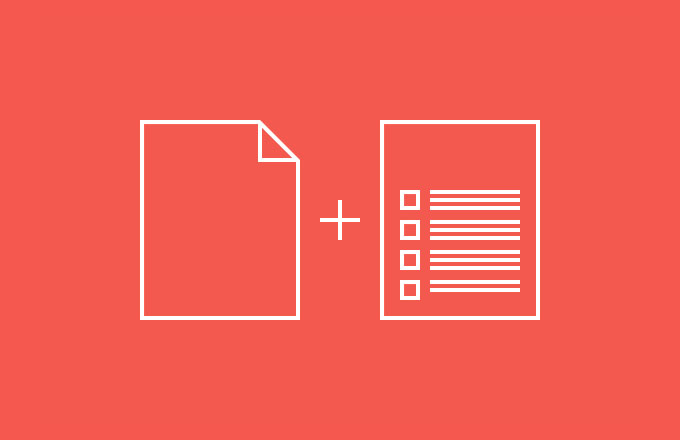
Brief and Spec The Work
Embrace a Clients Vision & Stop Feature Creeps
It might appear obvious, but all too often we hear of freelancers and even agencies jumping into a project without thinking of all scenarios first. Make sure you plan well, ask the right questions and educate your client on what they should expect to be delivered at the end of a project. Above all set reasonable payment stages and terms so that neither of you is left with nothing.
Creating an Effective Design Brief
If you’ve found your first round of visuals being rejected and you’re being questioned as to why you took a given approach, then maybe you haven’t taken the right brief (perhaps you shouldn’t even have taken one at all.)
An effective design brief is the single most critical factor in ensuring that a project starts successfully. It will provide the client with the right questions that as a designer, you need answered. Get the questions right and the first stage of the project has been a success.
If you don’t have a brief prepared, why not use one such as this to give to clients. Not all clients understand what a good design brief is and won’t always give you the answers you want – feel free to use our template as you please. By having this ready, it shows clients your professionalism and ultimately saves them (and you) a lot of time and money. Remember: encourage them to have fun with this and get them to give you as much information as possible. If you still have questions don’t be afraid to ask for more.
Stop Feeling Snubbed
Now you have a great brief to hand you need to spec the work. This may be a detailed listing of the functionality or a simple list of pages and files the client should expect upon completion. Try and detail as much information as possible within the proposal, as this outlines exactly what the client will receive. It also forms a contract between yourself and the client and will prevent you feeling mistreated if a client starts to add in new features or elements that were never discussed.
Why not use these as headings in your spec:
- Project Overview
- Project Aim
- Project Team Members
- Your Process
- High Level Site Flow / Map
- Project Features and Functionality – Break these down into easy to follow chunks such as design, development and deployment
- Quotation – With your payment stages
- Signed Agreement – Client signature, dated
- Your Terms
One of the most important agreements for new projects is payment stages. Choose terms that work in your favor but are fair to the client. Remember never start or hand over a project without initial or final payment, you will have no leverage at this point. Make it clear, ensure clients know the terms up front and make sure they understand that the IP/Copyright for All/Part of the project (if you transfer it) is only theirs upon that payment. Don’t be afraid to stand your ground or, if questioned, come to a mutually beneficial agreement. For example, if you take 50% upfront and 50% on completion you might consider taking 35% upfront and 65% on completion.
It’s also not uncommon for an agreed midway payment that can be clearly defined e.g after planning, scoping, and design before the build starts. There are many ways to stage payments but make sure you decide terms that you are comfortable with.
There will always be some level of manoeuvrability at play once a project is underway, after all you will have built a relationship with the client by that point and will want to please them. Hoever, learn when to say no, explain why a change will affect the project and refer back to the signed proposal. Being able to limit irritation on both sides will make for a more enjoyable project for you and the client.
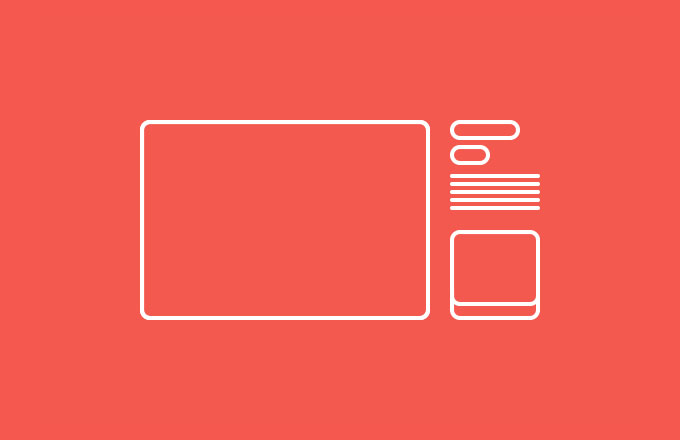
Wireframing

Working on Usability, Layout and Navigation
We’ve worked on projects designing visuals straight from the brief to designing in the browser, but none of these approaches have worked as well when wireframing first.
Set Expectations
Wireframing sets a client’s expectations for the layout of the site before you’ve even considered introducing color, typography and graphics. It will ultimately save you time and prevent the dreaded pixel pushing process. It’s also a great way to strip back a site and focus on its usability, functionality and flow without distracting the client with design. Design first then the client will almost certainly focus on that and not on what a great layout you have presented. Making this mistake can lead to important features and decisions on the site’s usability being compromised.
Don’t be afraid to experiment when wireframing. It’s a great way to quickly create layouts and just as quick to amend. But don’t be experimental for experiments sake, it might look pretty but the site needs to be usable and meet the goals of the client.
Why not try Mockflow or Balsamiq for a cost effective solution to creating and sharing your wireframes.
Where To Start
Start by deciding on a grid system to use (look to CSS Grid or 978 gs). With the changes in resolution these can vary and will depend on the client, the audience and devices the site should work on. Make sure you have discussed the options with the client when speccing the site. This will save you time and prevent any requests to change resolutions later when the majority of the work has been done. Remember continue to communicate and educate the client in everything you do.
Because you have the functionality of the site in place from the spec and understand what the client likes and dislikes from their brief, this should be a relatively quick stage of the project. Your job starts now, so impress them and choose a well thought through layout, style of navigation and decide on the best way to make those functional areas of the site work well for the client and the user.
Be inspired by others and look around at what functions may benefit your client’s users. See what similar sites are doing, look at sites on web galleries and see if the features that they use are being put to good use.
As the professional you have the ability to create and use the latest techniques, but continue to ask yourself if it’s needed? Will it impact on your time and your costs? Does it enhance the user experience? Does it benefit the client? Does it make best use of the available space? And most of all, does it answer the brief? If the answer to all these questions is yes, then go ahead. If no, then what is the point?
Once your client is happy with the layout of the site, make sure they sign off either in writing or on email that they are satisfied with the work completed to date and are happy for you to move to the next stage of the project. This puts control back in your hands if they decide to dramatically change anything later in the project. Remain flexible to a certain level. Adjustments to the layout of the site do happen and you will almost certainly find that when you design the site certain areas may be better placed elsewhere. Communicate this clearly with the client.
Design
Injecting a Brand With Color, Textures and Typography
Having wireframes as a part of your process now, you will find that designing a site will be a much easier and a more enjoyable experience. The thinking has been done so it’s time to let the creative juices flow.
Prepare to Save Time
Preparing your files before designing will save you time later on, you’ll have everything in place and assets can be found easily. With a grid system decided start by creating a hidden layer of guides (you’ll find most of the grid sites have files ready for you) or use a plugin such as GuideGuide for Photoshop.
Prep your layers by creating a logical folder structure and continue to name each layer of your file as you design. It’s great etiquette especially if another designer or developer picks up your files. It will not only help them but help you find assets within that file quickly when you need them. Try to use Smart Objects or Shape Layers for Icons and Logos so these can be scaled later, especially when designing for retina displays.
Making Design Decisions
Where to start is down to each designer, but typically (because wireframes are in place) you will already have an idea from looking at best practices elsewhere and from the client’s brief as to the style you will be taking. Be inspired, but remember to make it your own. Over time you will find you will create your own style and clients will want to work with you because of it.
Style comes from the treatment of textures, the fonts you use and the small details such as buttons, icons, divides and interaction states. For fonts use repositories such as Google Fonts or TypeKit to get the latest typefaces that work online. For buttons play with ideas and styles; it’s very quick to switch a style up, changing the site’s whole appearance with a few layer effects. Take for example this flat button:
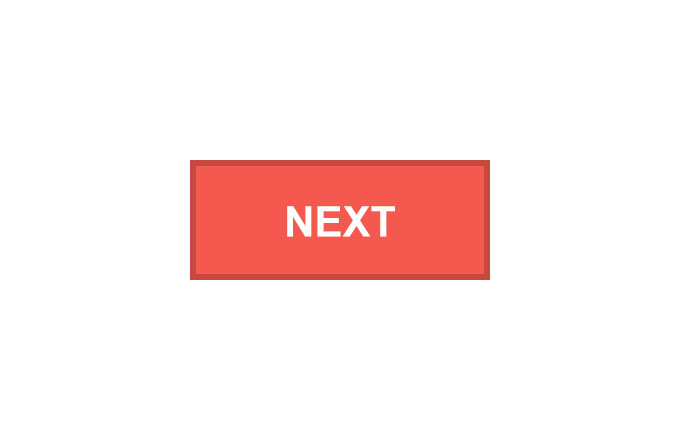
Created using the (Shape) ‘Rectangle Tool’ (U) to a size of 100 x 40 pixels the layer has had several layer effects applied to it. First with a flat, deep red color, using the ‘Color Overlay’ set-up with a ‘Normal’ Blend Mode at 100%. Then applied with a ‘Stroke’ using a darker red at 100% with a 2 pixel inside stroke. This creates a very flat, generic, yet stylish button that would compliment many sites.
It’s just as quick to swap the layer effects to create a site with more depth, using soft gradients and shadows to build depth. Simply changing from a ‘Color Overlay’ to a ‘Gradient Overlay’ will give you the ability to add a soft gradient to the color of the button. Adding a ‘Drop Shadow’ with a low opacity will give you a soft shadow and instantly change the button’s appearance.
Find both these buttons here.
What About Branding?
If it’s a part of your project and you struggle to make a logo or site fit the other, then why not brand and design them in parallel? With many companies based online it makes perfect sense. We took this approach four years ago and haven’t looked back since. It’s not always possible, but it has always helped our clients build a vision of the whole brand (which includes a site) rather than asking them to trust you and hope they envisage how a logo works across all media.
It will dramatically reduce your time trying to make one fit the other when possibly the style of the site hasn’t been considered at the point of designing a logo. Of course, still sketch your ideas out and use a similar process to what you use now but playing with the two ideas at the same time really does work. It’s also far quicker and easier to pull a brand offline than to make an offline brand work online.
Handover
Don’t Leave Your Developer in the Dark
Remember never hand over a project or files without final payment and a sign off from the client, you will have no come back at this point if you do without either of these.
If you aren’t developing the site yourself then don’t leave your developer or client guessing.
If you’ve taken time to layer your files correctly you won’t have a backlash of a disgruntled developer or client. It’s professional courtesy to hand over well prepared files and will not only keep your client or developer happy it will save you time with very little questioning on the set-up of the files.
Make sure to package up fonts and any assets or documentation that is requested. Keeping all the files in one place such as Dropbox will allow access for everyone involved in the project.
Conclusion
Enjoy Your Role as a Designer
We aren’t suggesting this is the way everyone should work, rather it comes from our experience of the industry.
Design is very subjective and if you can streamline a process there will be less pixel pushing and painting by numbers as dictated by a client. The more control you have over a design the more you will feel inspired to better each project.
And remember, learning to say no at the right time can save you and your company time, effort and a lot of pain. Said at the wrong time and it’ll bring you all of those and more. So consider your responses to changes the client asks, always give good reason and be clear as to why you think their idea might not work. Lastly, be prepared to take a step back; sometimes clients’ ideas can ignite a better one.