
In this tutorial you’ll learn how to create a laser-cut pop up card, perfect for showcasing retail offers or adapting for events. We’ll break down into simple steps some of the essential techniques for preparing your artwork for post-print processes, including laser-cutting and accommodating for folds.
Suitable for beginner-to-intermediate users of Adobe Illustrator and Adobe InDesign, this tutorial will show you how simple it can be to create a 2D design that’s perfectly prepared for a 3D transformation.

Ready to go? Great, let’s get started!
1. Prepare the Dieline for your Card
Step 1
We need to keep in mind that the dimensions of the card once printed and folded will be 5 inches by 7 inches (127 mm by 177.8 mm), a standard greetings card size. The card will be double-folded, which will ensure that the card is mail-friendly.
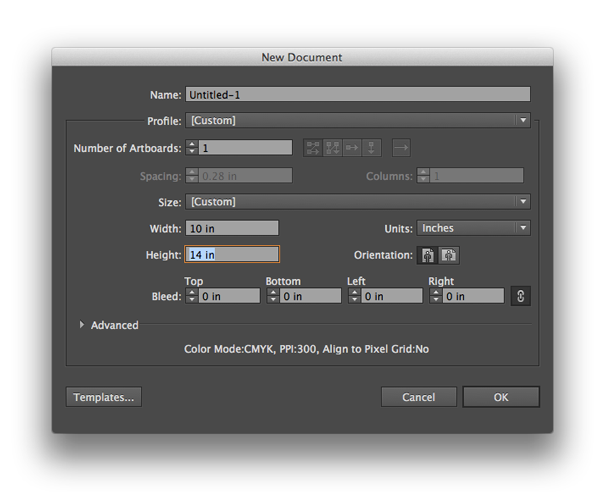
To start, we’ll be using Adobe Illustrator. Open it up and go to File > New to create a new document.
Set the Width of the artboard to 10 in and the Height to 14 in. Click OK to create your new artboard.

Step 2
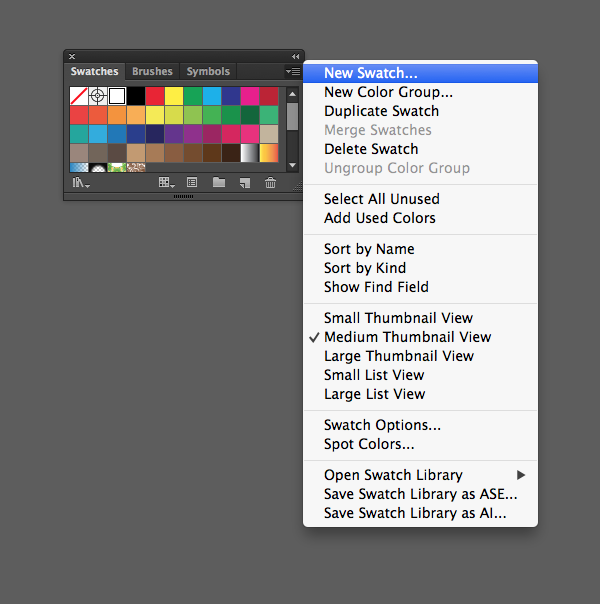
Expand the Swatches panel (Window > Swatches) and select New Swatch from the panel’s drop-down menu.
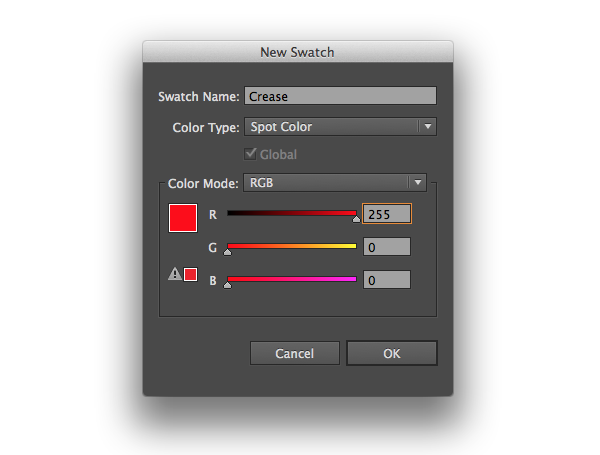
Name the new swatch Crease, and choose Spot color from the Color Type menu. Set the Color Mode to RGB, and the values to R=255 G=0 B=0. Click OK.

You’ll need to create Spot Color swatches both for the dieline and for scoring (for folding). Your printer can advise you on whether one spot color is sufficient for both or whether you will need to create two different colors for each. If the latter, repeat the process above, perhaps setting the RGB values to R=0 G=255 B=0.
Step 3
Ensure that the rulers are visible (View > Rulers > Show Rulers), and then click and drag a guide out from the left-hand ruler, dropping it at the center point of the artboard. Drag down a second guide, from the top ruler, dropping it at the horizontal center point.
Select the Line Segment Tool (), hold down Shift and drag across both guides to create two straight crease lines across the entire breadth of the artboard. Set the Stroke Weight of the lines to 0.25 pt, and set the Stroke Color to your Crease spot color.
2. Create Your Pop-Up Artwork
Step 1
Remaining on your Illustrator artboard, go to File > Place.
Now you can choose an image which you’d like to ‘pop up’ on your card. Make sure that the image has a distinctive, simple outline and doesn’t have any white elements towards the edge of the image (or a white outline). If this isn’t the case, you may need to adjust your image in Adobe Photoshop before continuing to the next step.
Step 2
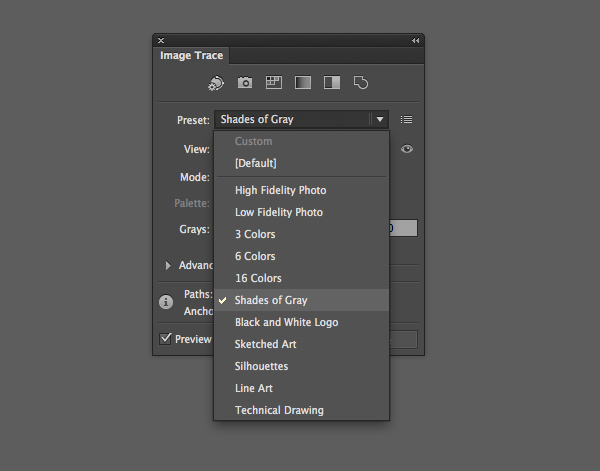
Go to Window > Image Trace to open up the Image Trace panel.
Select the image, and Trace with the Preset set to Shades of Gray.
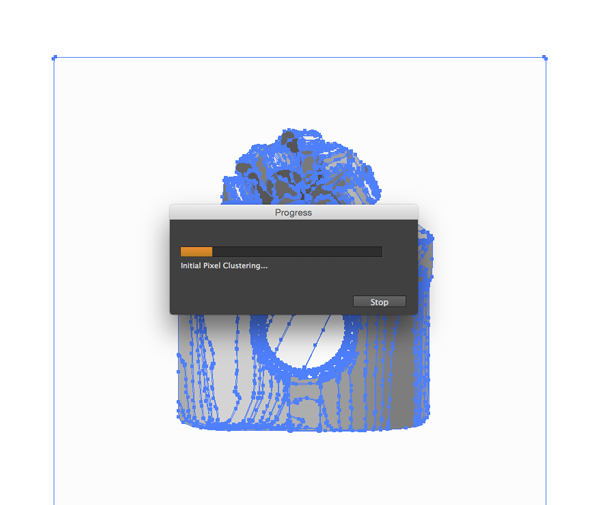
Go to Object > Image Trace > Expand. Then select and Delete the white background of the traced image.
Step 3
Go to Window > Pathfinder. Drag across the image to select all its elements, and then choose Unite from the Shape Modes selection in the Pathfinder panel.
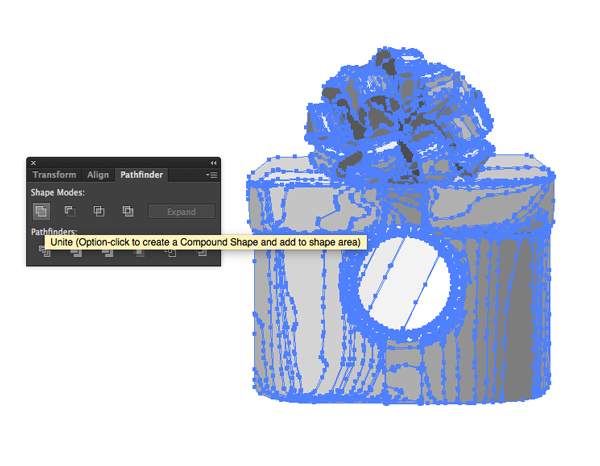
Swap the colors of your Fill and Stroke, and increase the Stroke Weight to 0.25 pt. The Fill Color for the inside of your image should now be set to [None].
Step 4
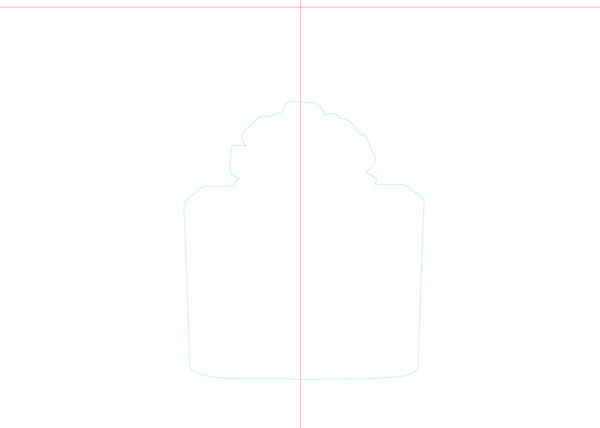
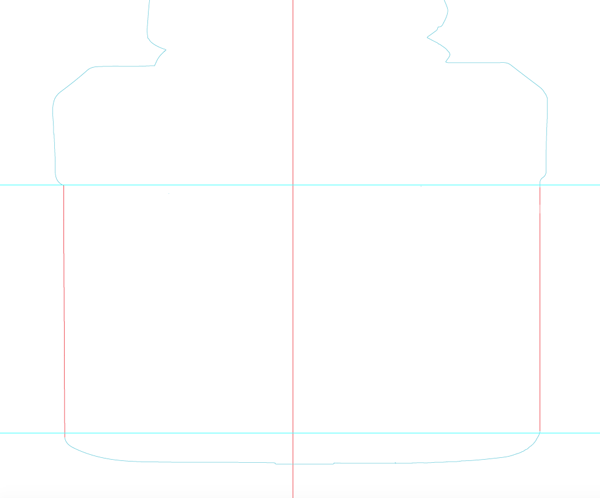
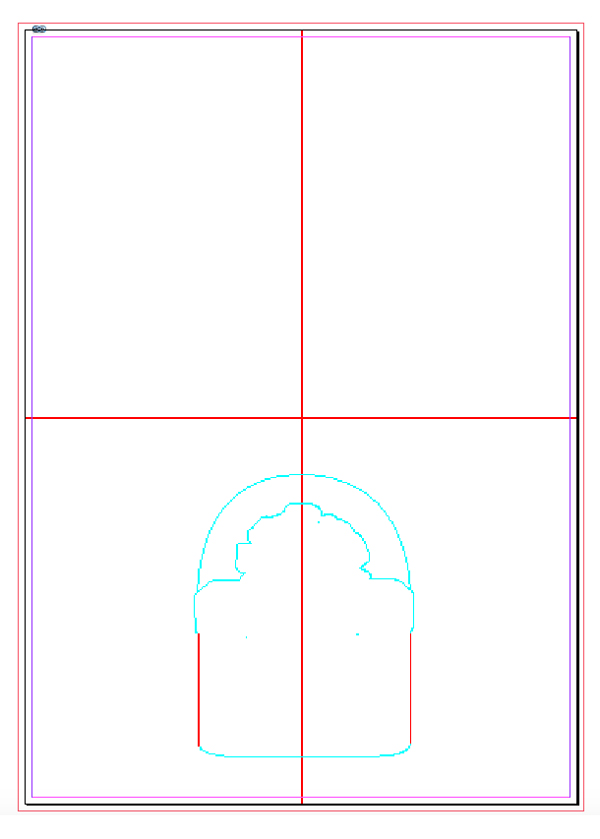
Center this shape horizontally onto the pasteboard, and then center vertically on the bottom half of the document, as shown below.
Step 5
Change the Stroke Color of the shape to your Crease swatch. Using the Direct Selection Tool (A), delete the points on the dieline of the shape where the paper will remain intact, as shown below.
This will keep the pop-up portion connected to the card.
Step 6
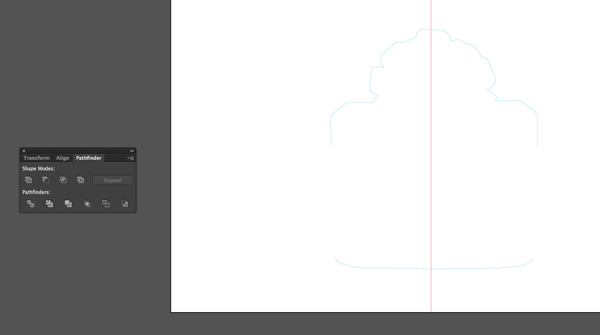
Replace the deleted line with a new line in the Crease spot color. This will allow this part of the image to pop up and away from the sheet.
Step 7
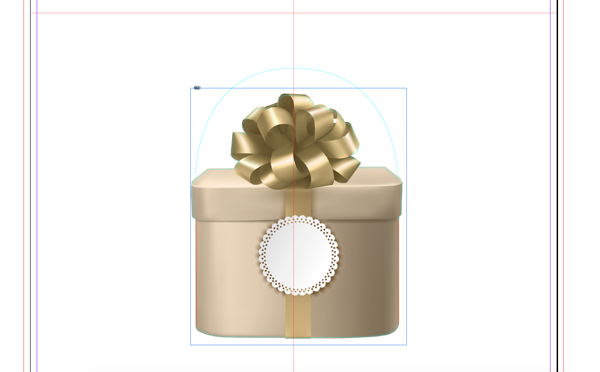
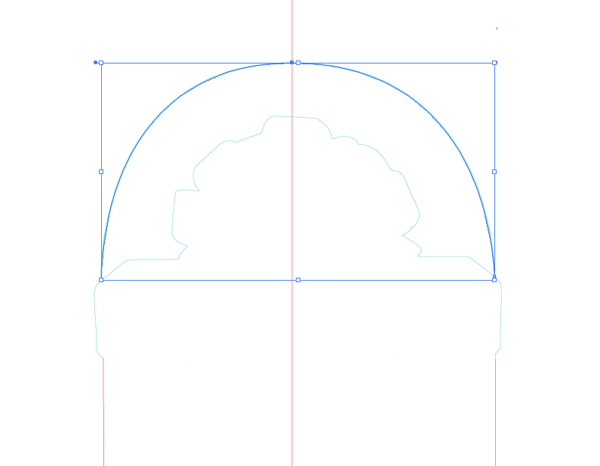
Draw another dieline using the Arc Tool, creating a perfect rounded arc above the image, connecting to the top of the dieline.
This will help the gift box shape pop up more easily, and it will also show a glimpse of the artwork on the inside of the card when folded.
File > Save As your dieline artwork as an Illustrator (AI) file.
3. Set Up the Design of Your Card
Step 1
Minimize Illustrator for now, and open up Adobe InDesign.
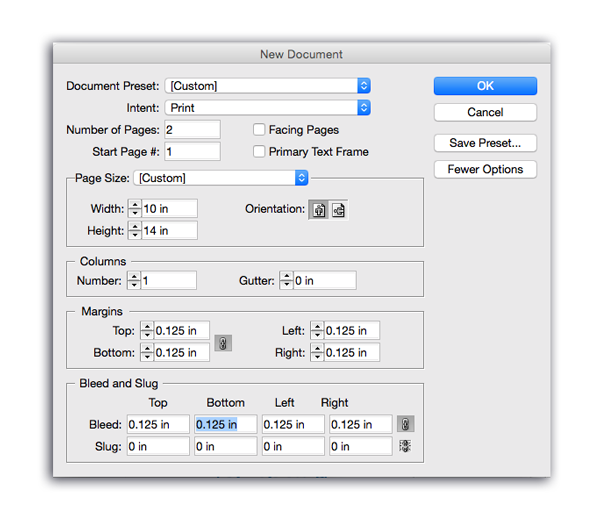
Go to File > New > Document.
Set the Number of Pages to 2, deselect Facing Pages, and set the Width to 10 in and the Height to 14 in.
Add a Margin width of 0.125 in, and add a Bleed of 0.125 in around all edges of the page. Click OK to create the new document.
Step 2
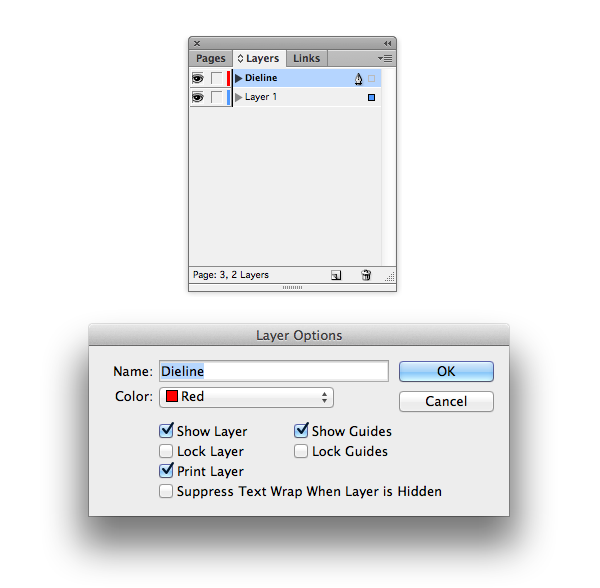
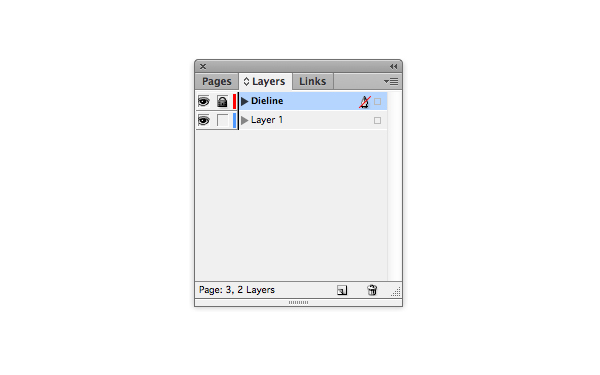
Expand the Layers panel (Window > Layers) and click on the Create New Layer button at the bottom of the panel.
Double-click the new layer and rename it Dieline. Click on the Dieline layer to make it active.
Step 3
Go to File > Place. Navigate to your dieline AI image and click Open to drop it onto the Dieline layer at its original scale.
Ensure the image is centered perfectly on the page.
Then select the image and Edit > Copy.
Scroll down to Page 2 of your InDesign document, and go to File > Paste in Place.
Step 4
Then, with your Reference Point set to the center, Right-Click (Windows) or Control-Click (Mac OS) > Transform > Flip Horizontal. Ensure the flipped image is perfectly centered on the page—this will form the reverse side of the card design.
Return to the Layers panel and Lock the Dieline layer. This will allow you to see where the dieline is on top of your card artwork without the risk of moving it about.
Step 5
Make sure that Layer 1 is selected and active. Scroll back up to Page 1 of your document.
Now you can design the inside of your card! Try to visualize how the card will be folded once printed—the top half of the page’s content should be reversed (Right-Click (Windows) or Control-Click (Mac OS) > Transform > Flip Vertical), to ensure that it all looks the right way up once folded.
When placing the image for the pop-up portion of the card, try your best to line up the edge of the image as closely as possible to your dieline above.

4. Export Your Card for Professional Printing
Fantastic work! Your card artwork is complete, and it’s looking great.

All that’s left for you to do is to export it ready for sending to a professional printer…
Step 1
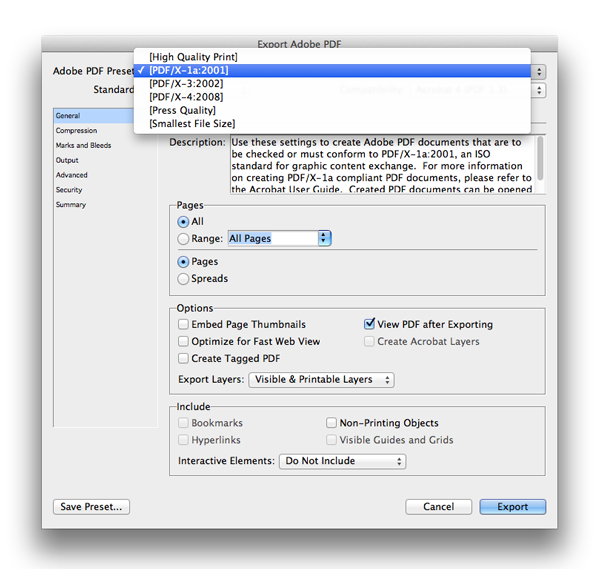
Go to File > Export, and choose Adobe PDF (Print) from the Format menu.
Give the file a clear, distinctive name, like ‘Card Artwork_FINAL FOR PRINT’. Click Save.
In the Export Adobe PDF window that opens, choose [PDF/X-1a:2001] from the Adobe PDF Preset drop-down menu at the top.
Step 2
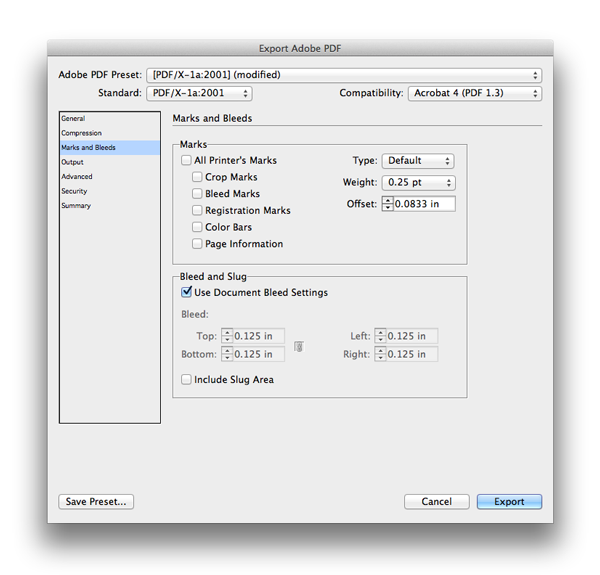
Click on the Marks and Bleeds option on the left-hand side of the panel.
Under the Bleed and Slug section, check Use Document Bleed Settings (this will include your 0.125 in bleed in the exported document). Then click Export.
You’ll end up with a press-ready PDF file, which is set up for laser-cutting and folding. Awesome work!
A Note on Printing
Because of the double fold and the pop-up feature on this card, using a text weight stock is recommended, i.e. 100# text. Stock that is too thick will not fold down as well or pop up as easily.

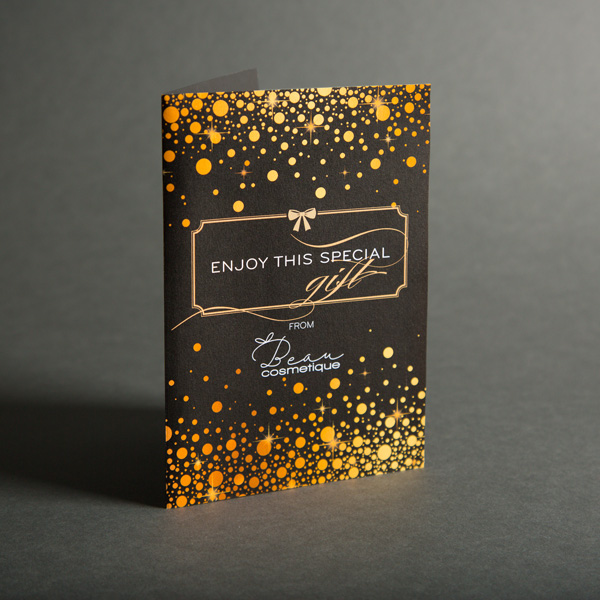
For this printed piece, I chose a metallic stock to highlight the glitter and shine in the images used in the design.

Conclusion
In this tutorial you’ve picked up some really useful skills for preparing digital artwork for post-print processes. You now know how to:
- Create spot color swatches for creating dielines in Adobe Illustrator
- Set up dieline vectors for laser-cutting and scoring
- Prepare a card template complete with a quirky 3D pop-up feature
- Place your dieline into Adobe InDesign and build a card design onto the document
- Set your dieline to overprint prior to exporting
- Export your finished artwork as a high-quality press-ready PDF file, ready to be sent to a professional printer.
Superb work today—feel free to share your own card designs in the comments below!
This tutorial has been brought to you compliments of Smartpress.com. Find out how Smartpress.com can be your partner in all your digital printing projects. Select a product and get an instant quote today.