Creating a cloud icon
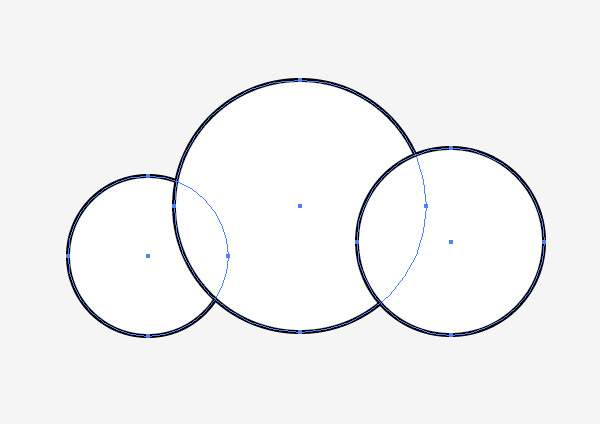
Let’s begin with a basic cloud. Open up Adobe Illustrator and draw three circles on the artboard. Overlap each one but pay attention to its outline along the top edge.
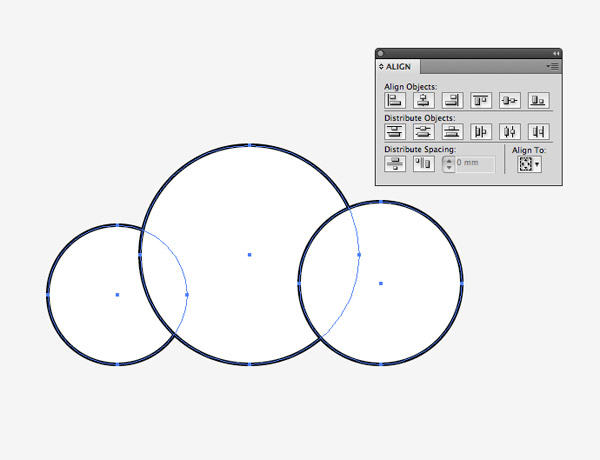
Drag a selection around all three objects and use the Align palette to make sure they all sit along the same baseline.
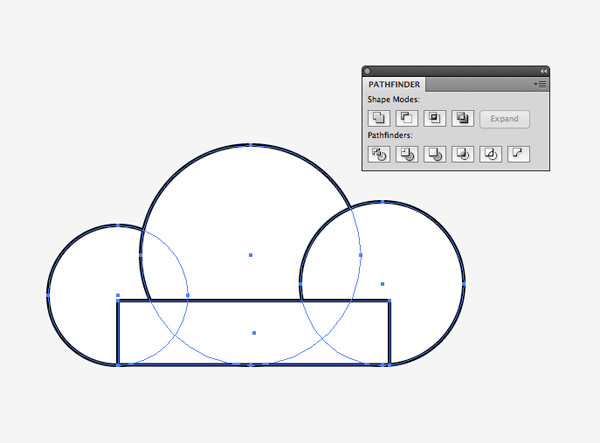
Draw a rectangle to fill in the gaps on the lower edge. Turn on Smart Guides (CMD+U) to help align the rectangle to the circles then hit the Unite option from the Pathfinder tool to merge everything together.
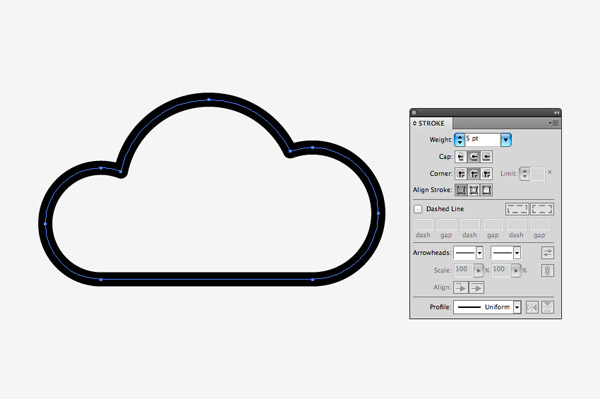
Clear out the fill colour and increase the stroke weight to around 5pt. Turn on the round cap and round corner options to create a smooth outline.
Creating a sun icon
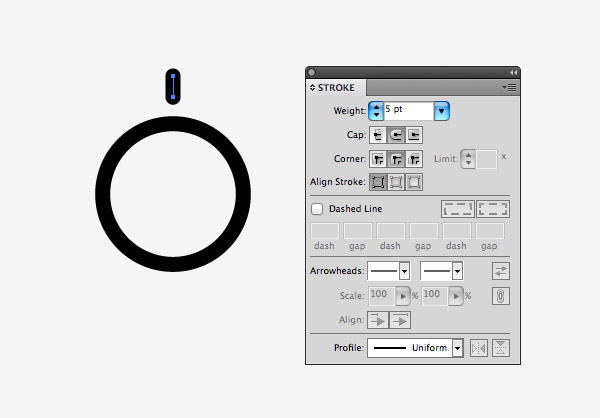
Elsewhere on the artboard draw a circle using the same stroke configuration options, then add a short line above it.
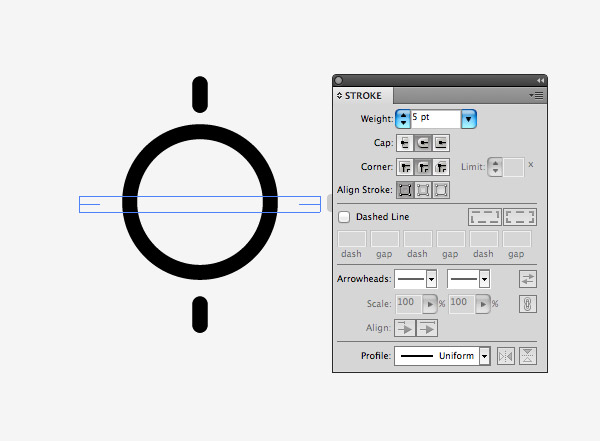
Copy (CMD+C) and Paste in Place (CMD+Shift+V) a duplicate then move it vertically to sit underneath the circle. Copy/Paste the two lines then rotate the duplicate by 90° (hold Shift to constrain the angle).
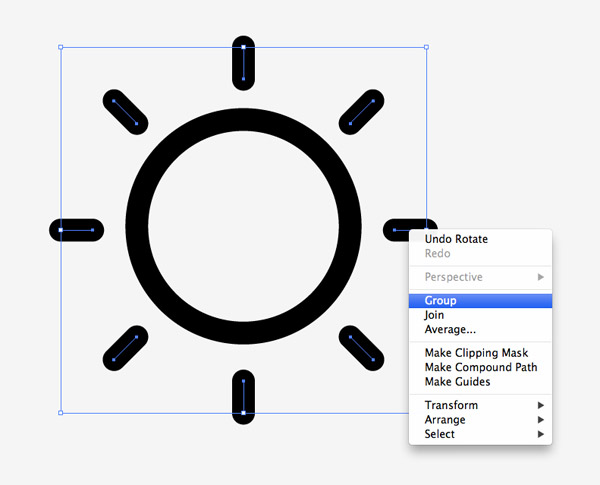
Paste in two more duplicates and rotate these shapes by 45° to form a set of evenly spaced ray lines. Group all these individual lines together.
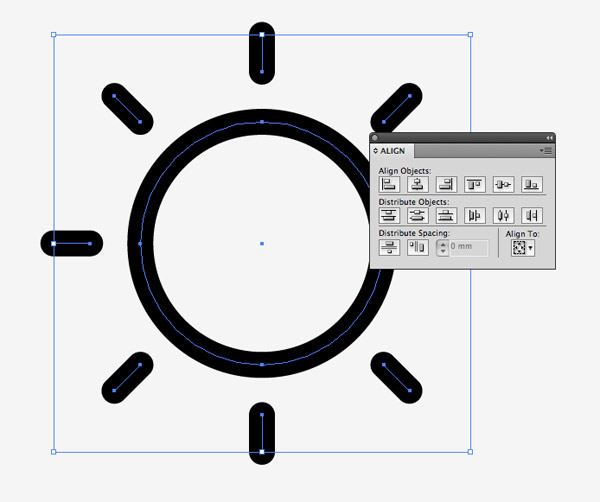
Select both the group of lines and the inner circle and align the objects along the horizontal and vertical axis to centre them up.
Combining the icons

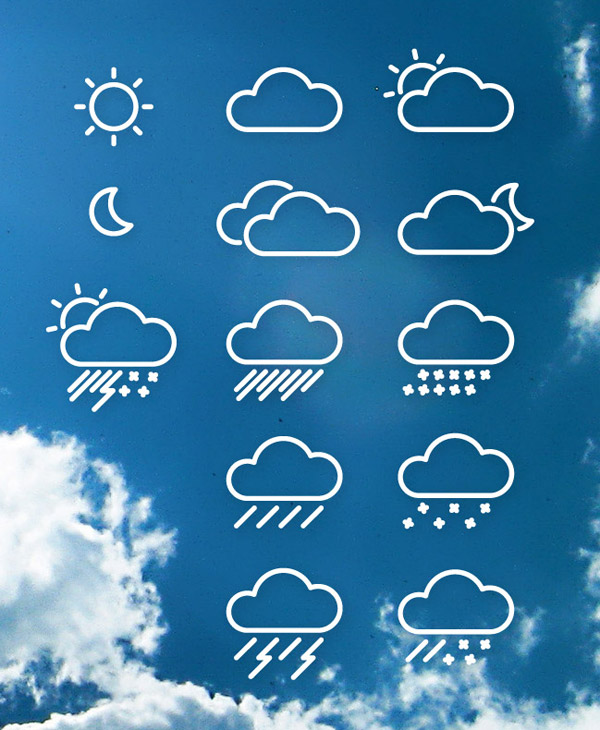
One advantage of working with basic style icons is elements can be reused to aid consistency between the icons. A “sunny spells” icon can be created by combining the cloud with the sun. Rotate the sun slightly to balance the gaps between the ray lines.
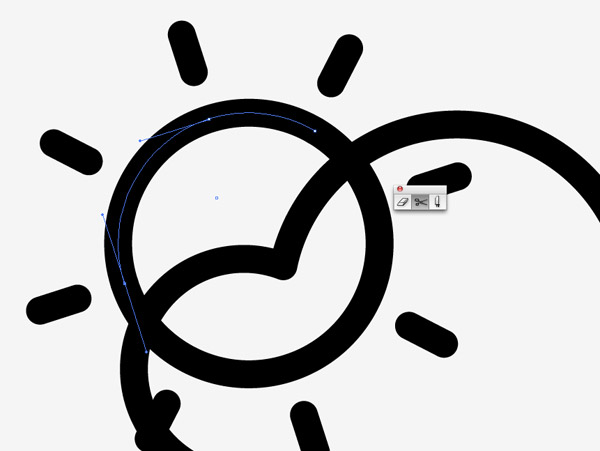
Use the Scissors tool to clip the path of the sun’s circle, leaving a small gap between each element. Select and delete the unwanted portion.
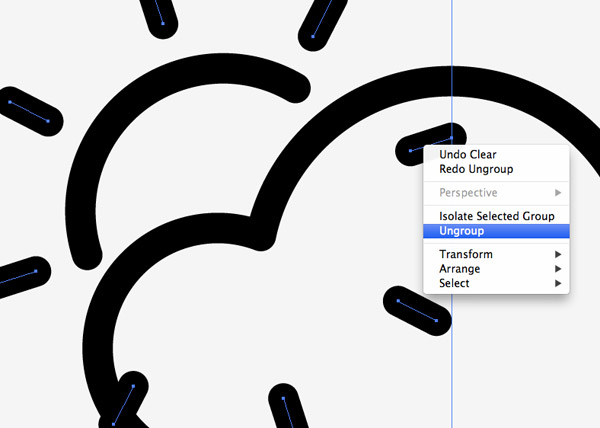
Ungroup the set of sun ray lines then delete any unwanted copies.
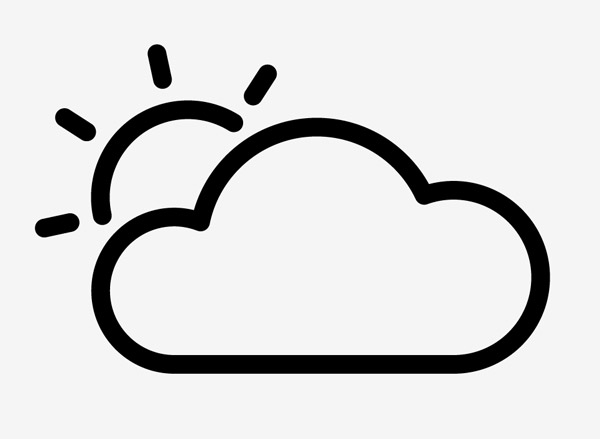
The combination of the two separate icons creates consistency between the icons.
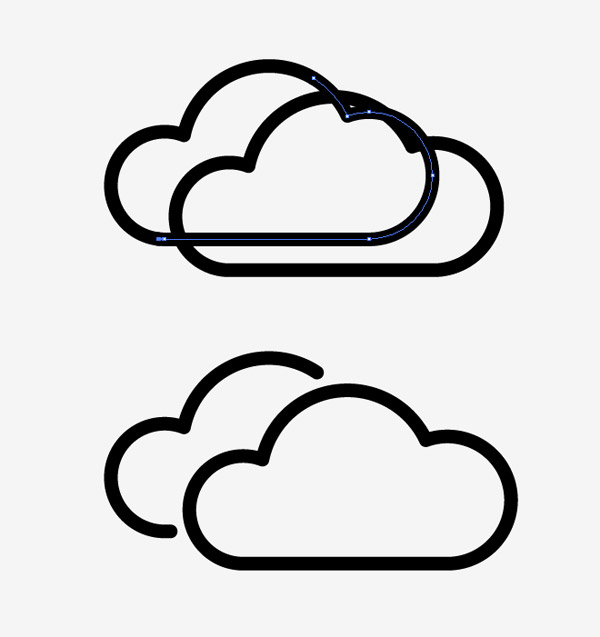
The same principle can be used to create other icons based on existing elements, such as a “heavy cloud” icon.
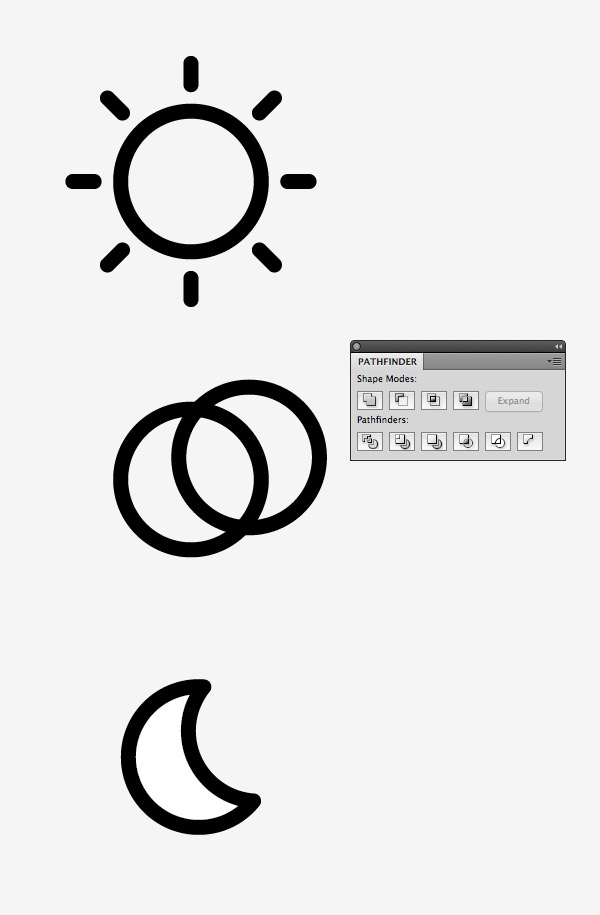
A moon icon is often used to represent “clear skies” at night. Use duplicates of the sun circle to create a crescent moon shape with the help of the Minus Front Pathfinder option.
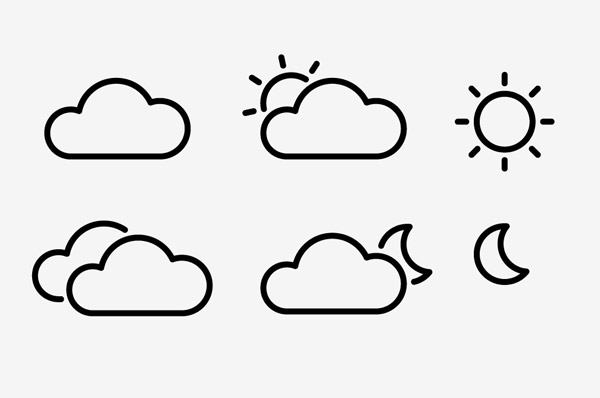
Variations of the weather icons using the moon create nighttime alternatives for the cloudy icons. The rounded edges and the even spacing continues the consistent style of the set.
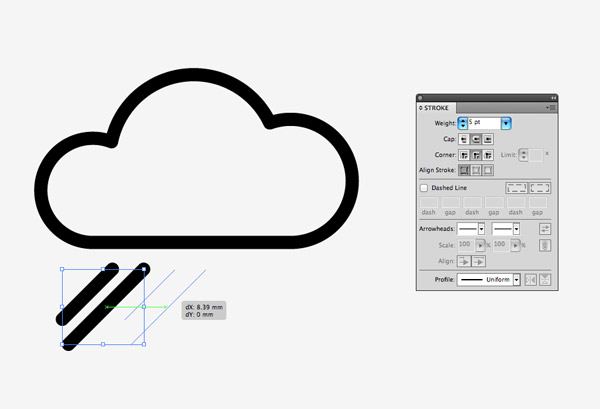
Draw one short and one long line at 45° underneath a copy of a cloud to represent “heavy rain”. Select and drag out a duplicate of these lines while holding the ALT key, then repeated press CMD+D to repeat the transformation.
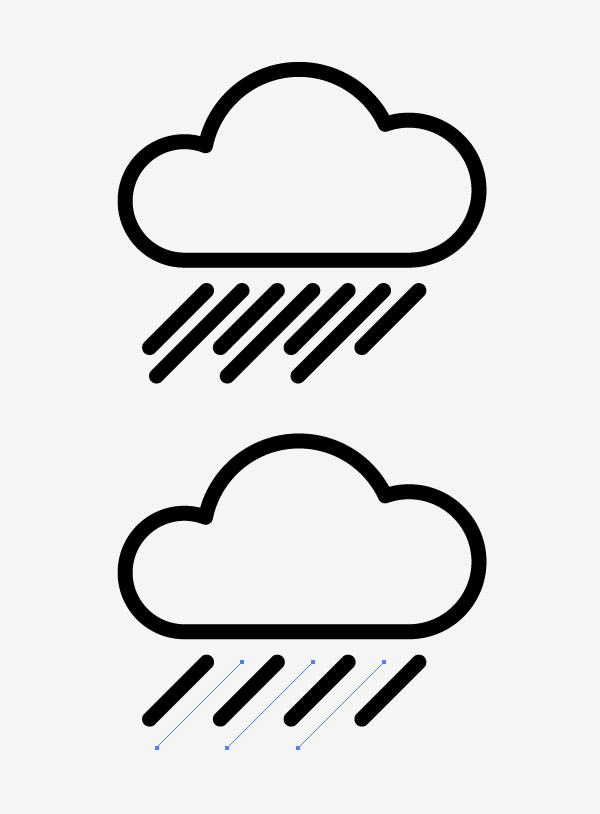
A “light rain” variation of this icon can be created by deleting some of the rain symbol lines.
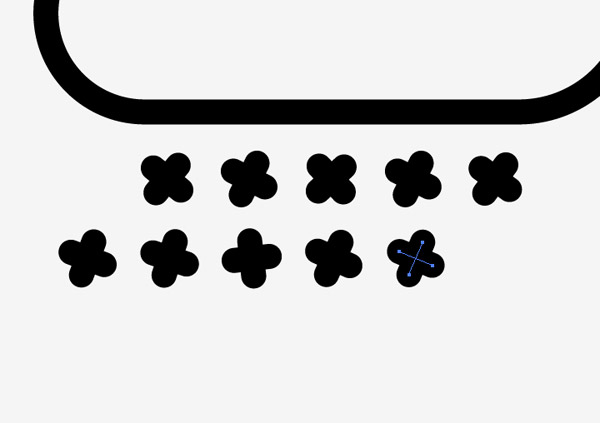
Create a small stylised snowflake by crossing two short lines. Duplicate the flake symbols into a 45° pattern, then select and rotate each flake randomly to reduce the uniform appearance.
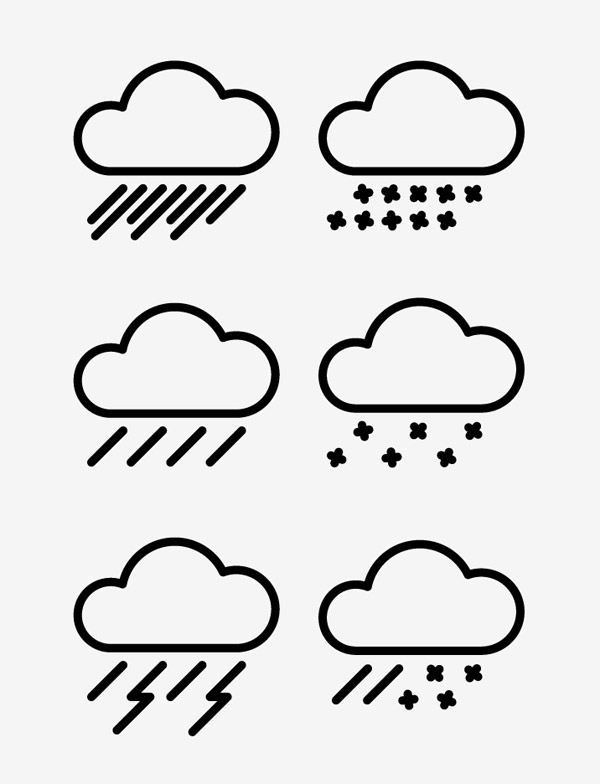
“Light Snow”, “Thunder Storms” and “Sleet” variations can also be created by altering and combining existing icons.
The final icon pack
