Google Nano Banana is the codename for Gemini 2.5 Flash Image, the latest image generation & editing model from Google. This model has a few notable features that make it stand out, such as advanced image editing with natural language, character consistency, and easy style transfer (very easy to apply the artistic style, color, or texture from one image to an object in another). If you want to play with this model too, you can do it for free in Google AI Studio.
In this article, I will show you five great examples of how you can edit images using Google Nano Banana (spoiler alert: Nano Banana won’t replace Photoshop, but can save you a lot of time in routine image editing).
https://medium.com/media/e9f8c23b4e2df4ffe6cf374f160f88f0/href
1. Removing objects from image
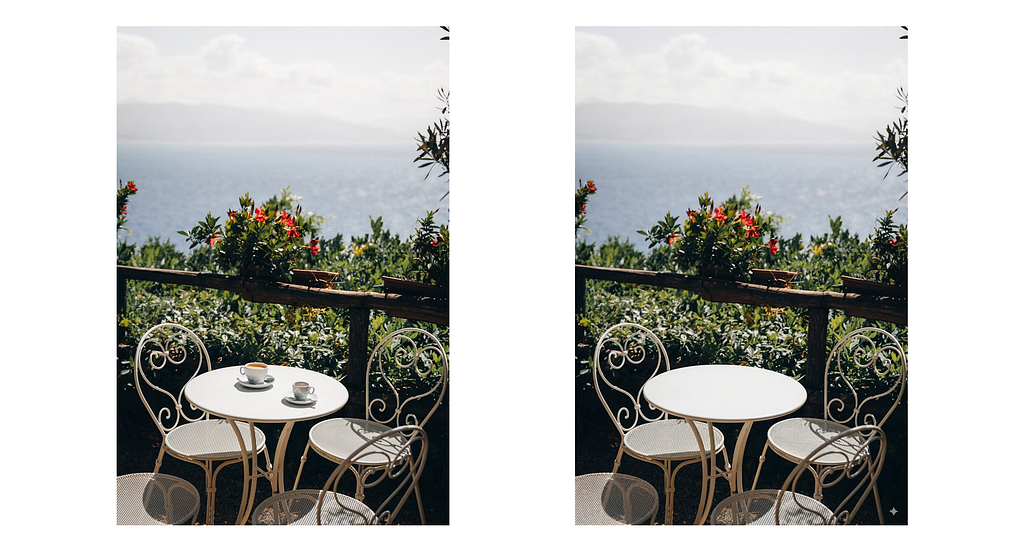
You can attach a photo and ask Nano Banana to remove a certain object from it. For simple compositions like the one I’ve provided below, Nano Banana does the job perfectly from the first attempt.
Prompt: remove coffee cups from the table
For scenes where an object is hidden in context (like graffiti in the bottom right corner in the image I’ve provided below), you might need to follow a different approach and highlight the area you want to modify.
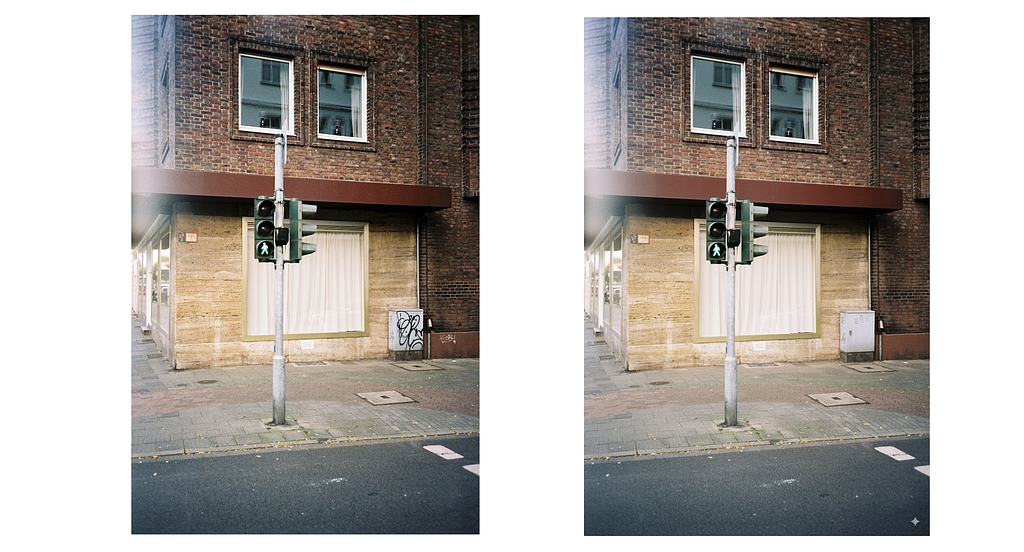
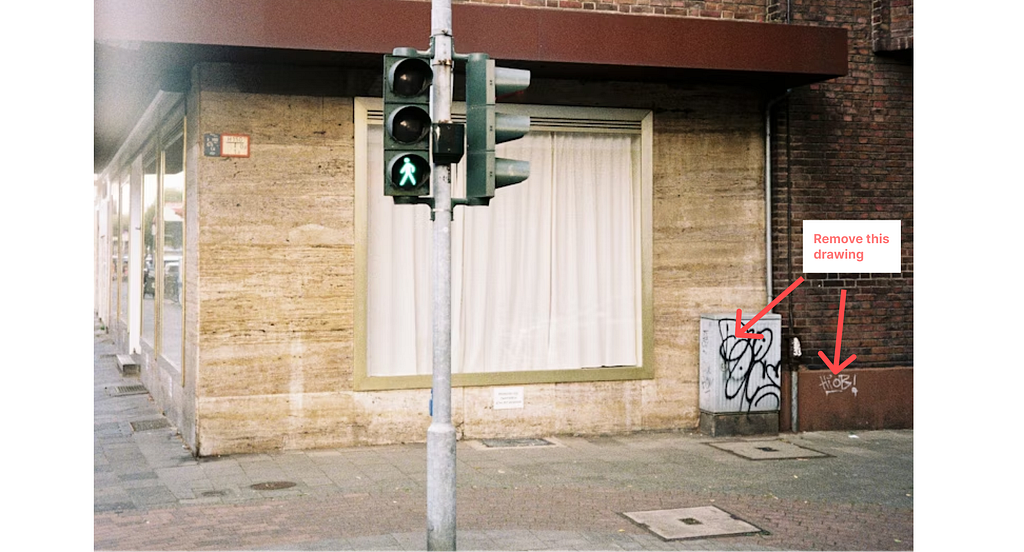
You can create such highlight in a few different ways, but the one that I’ve used is an arrow paired with a text description (aka contextual prompt). Below is a zoom-in of the image I’ve attached to the Google Nano Banana. I’ve attached this image to Google Nano Banana along with the prompt “Complete the prompt in the image.”
Prompt: Complete the prompt in the image
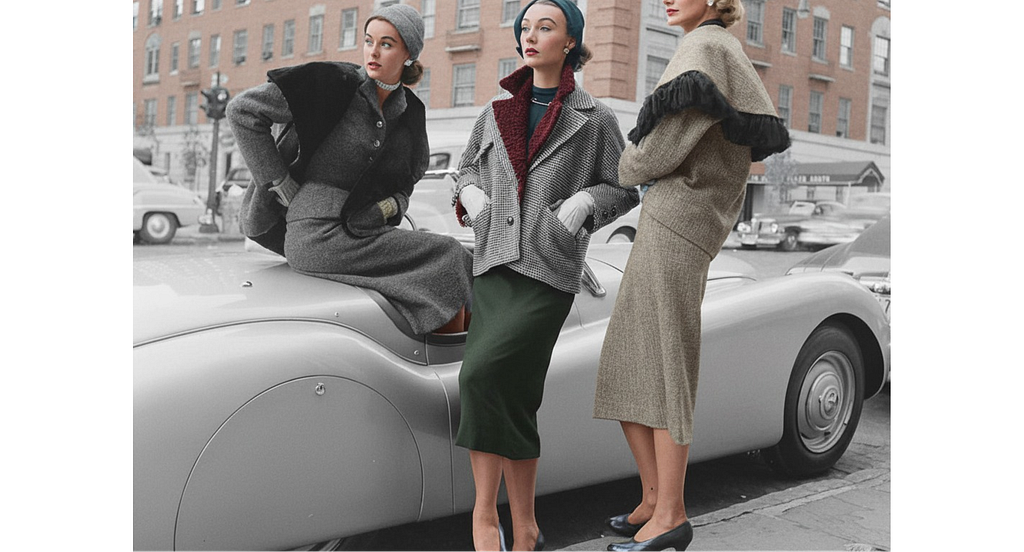
2. Colorizing photos
Turning black and white to colored photos is something I still find very impressive, as it previously required hours of manual work. Nowadays, you can do it almost instantly.
Prompt: Colorize this image
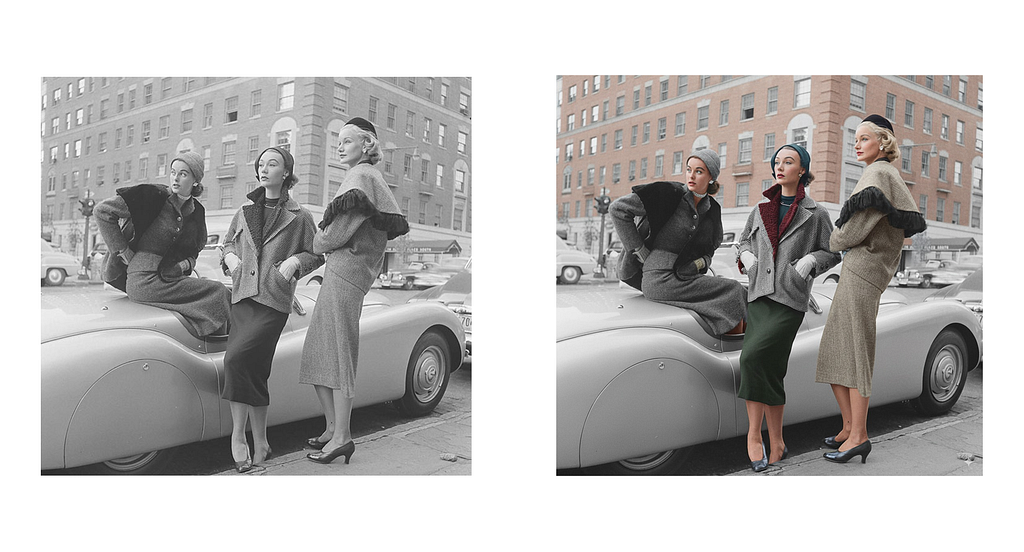
It’s important to mention that the colorization of photos that Google Nano Banana does is not perfect. If you zoom in, you will see that some details remain black and white in a colorized photo. I’ve noticed this problem on a complex photo like that one that I’ve used for this example.
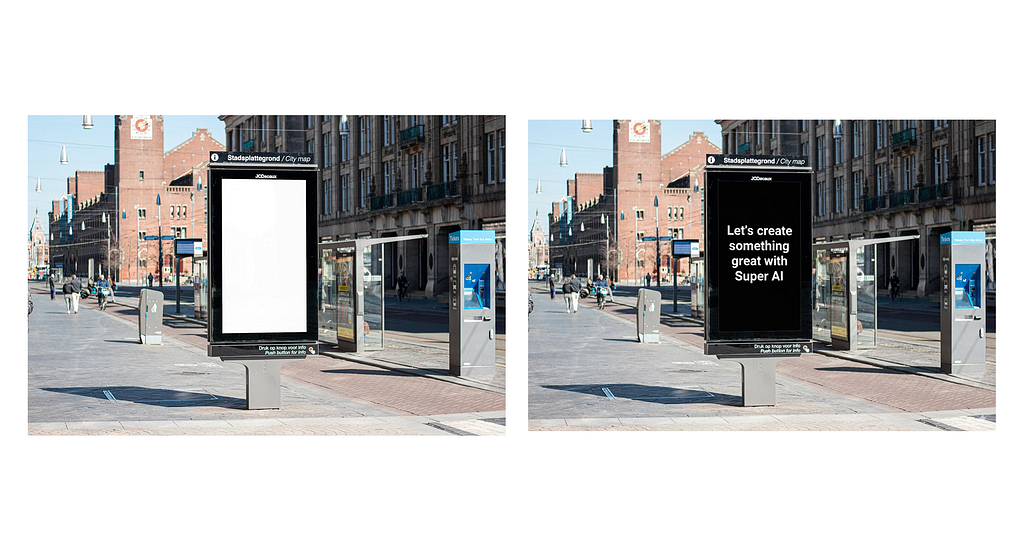
3. Adding text to a billboard
This is a very popular task in marketing and branding, and Google Nano Banana can help with that. Let’s start with a simple scenario where the billboard doesn’t have any text (plain white canvas).
Prompt: add text to the billboard “Let’s create something great with Super AI”
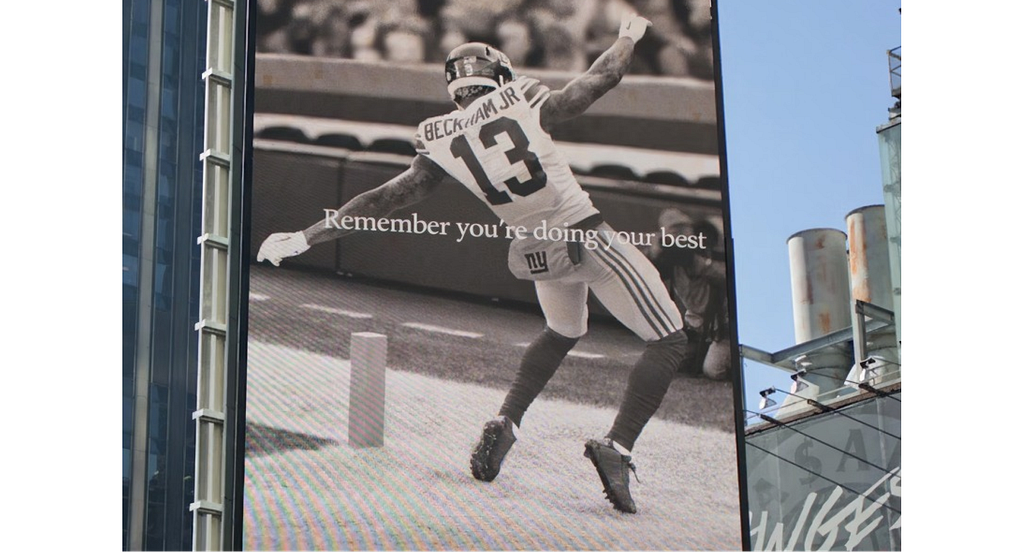
Now let’s do a more complex task and modify existing text on a busy billboard.
Prompt: Change the text on the billboard that says “Don’t stop ’til you get enough” to text that says “Remember you’re doing your best.”
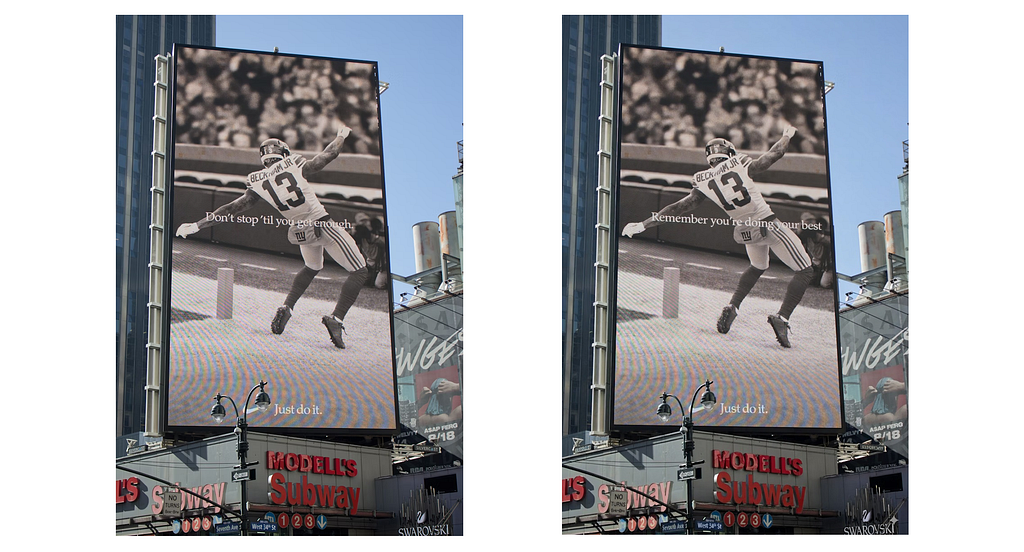
What I really like about Google Nano Banana is that it mimics the original font family for the new text. As a result, the text on a new image looks almost identical to the original image from a styling point of view. The only issue that I’ve noticed is that the new text is not centered (I assume this is due to the fact that AI replaced text from its original position).
4. Character consistency
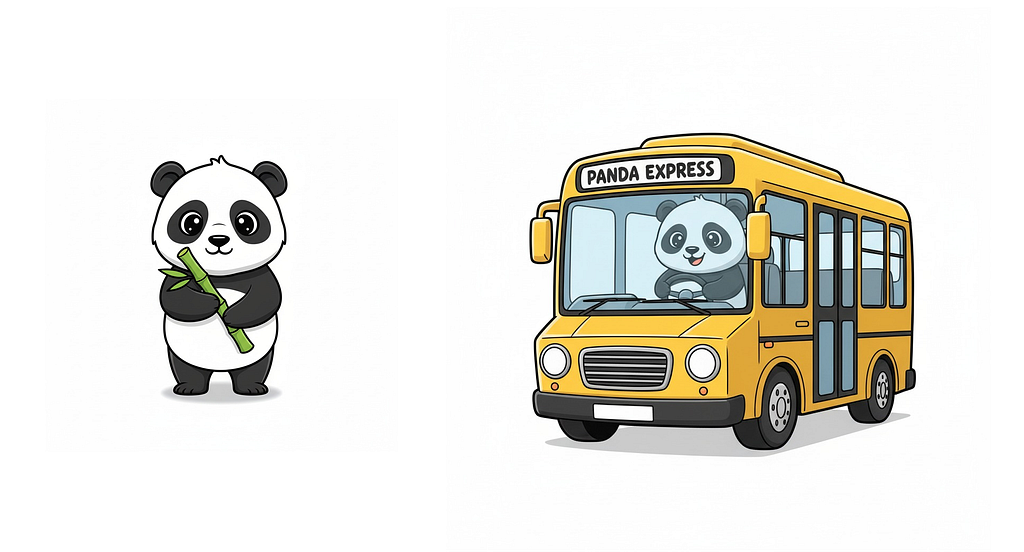
Character consistency is making a character’s appearance the same (or very similar) throughout a design so the audience can always recognize them. When you have a particular character, such as a brand mascot, you want to use it in various settings. For this example, I’ve used a mascot of a panda bear, attached as an image to Google Nano Banana, and added a prompt.
Prompt: make the character in this image drive a bus
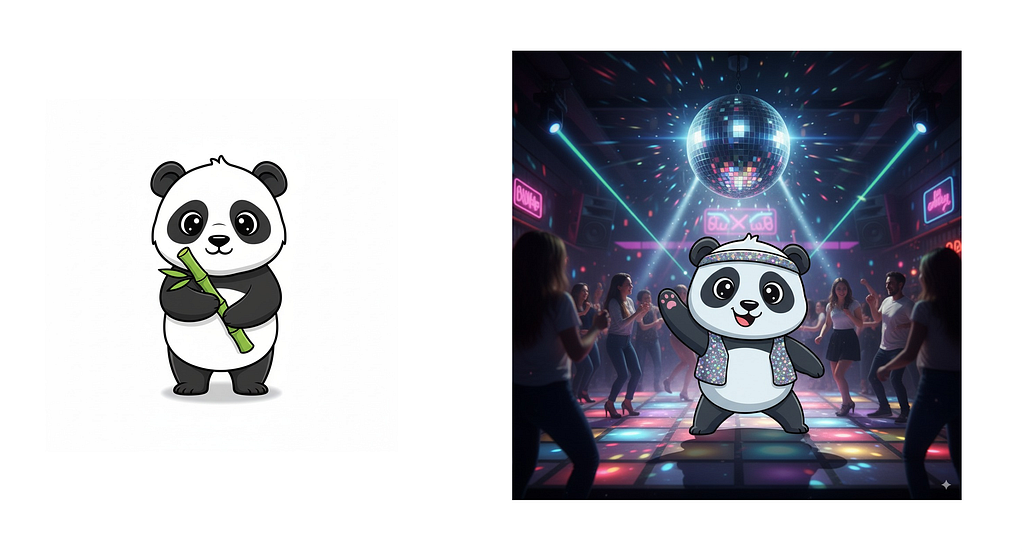
The good thing about Nano Banana is that you play not only with your character’s environment but also with the level of realism of this environment. For example, in the image below, I’ve put my mascot in the realistic disco floor.
Prompt: make the character in this image dance in a club. Make the setting more realistic, keeping the main character.
5. Branding assets
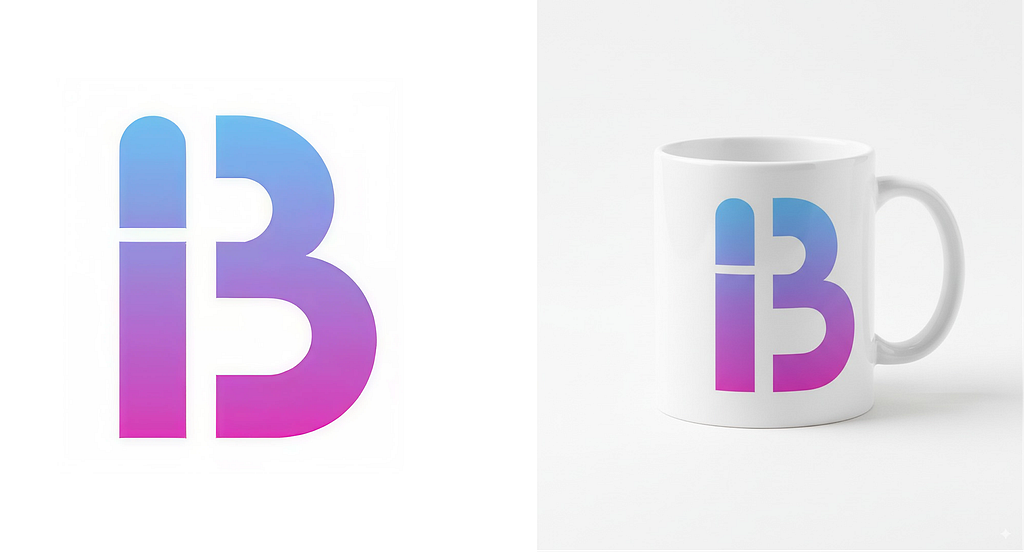
One common task of brand design is showing brand attributes in different contexts. For example, when you craft a new company logo, you might want to see how it will look on the everyday objects like folders, business cards and mugs.
Prompt: mug with this logo on it
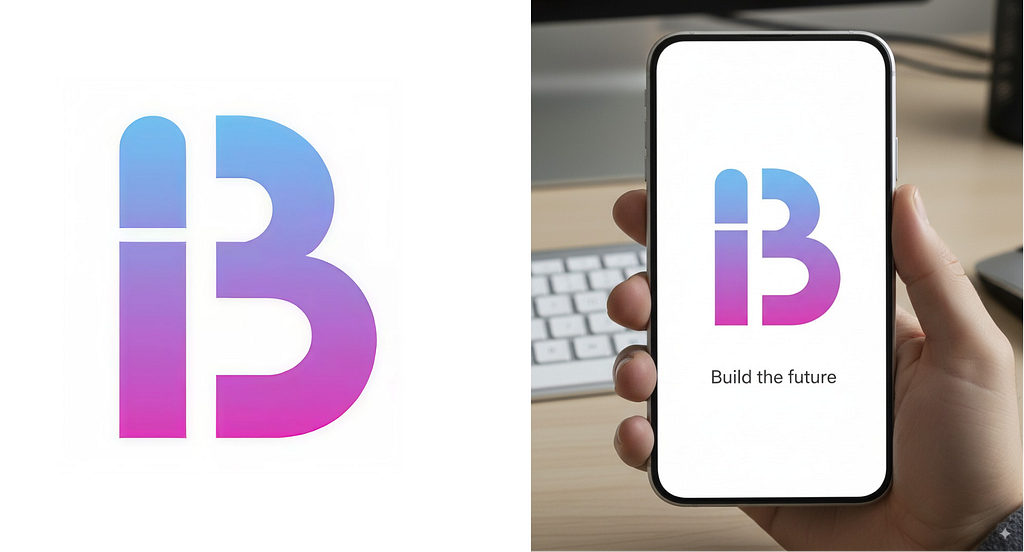
Next, you want to see how it will look in digital products. And you will create a preview screen that shows you new logo and slogan.
Prompt: mobile phone with a screen that shows this logo and text “Build the future”
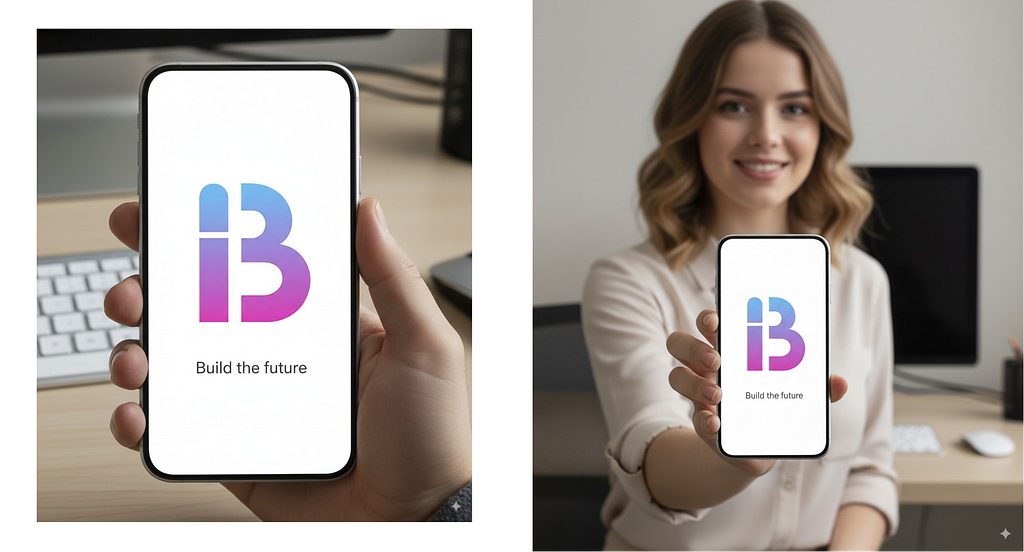
Finally, you can put your product in the hands of a virtual influencer and use it for promo purposes.
Prompt: mobile phone with a screen that shows this logo and text “Build the future”
If you want to know how Google Banana can be used for UI design tasks, check this article:
A Designer’s Guide to Prompting Google Nano Banana
Want To Learn UX?
Try Interaction Design Foundation. It offers online design courses that cover the entire spectrum of UX design, from foundational to advanced level.
This post contains affiliate link(s)
![]()
5 Image Editing Techniques with Google Nano Banana was originally published in UX Planet on Medium, where people are continuing the conversation by highlighting and responding to this story.