Viewer is an incredible tool that brings your 3D projects to life! With its real-time rendering capabilities, you can preview your textures, materials, and models in realistic-looking environments and lighting, making it easier than ever to fine-tune your designs.
Combine that with Photoshop, and you unlock a seamless workflow that blends 2D and 3D design! Whether you’re working on product mockups, creating concept art, or experimenting with new ideas, the integration opens up endless possibilities.


What you’ll learn in this article
In this article, we’ll show you how to make an image in Photoshop using a 3D model and Substance 3D Viewer. We’ll guide you step by step through the process of linking the two tools, customizing your 3D art, and exporting the results. And don’t worry if you’re new to 3D—we’ll keep it simple, fun, and beginner-friendly. Topics we cover will include:
- How to use Adobe Substance 3D Viewer
- Is Adobe Substance part of Creative Cloud?
- How to edit the look of 3D models such as color and materials
- How to change the viewing angle of a 3D model and then import it to Adobe Photoshop
- How to create 3D images using Adobe Photoshop and Substance 3D Viewer
What is Adobe Substance 3D Viewer?

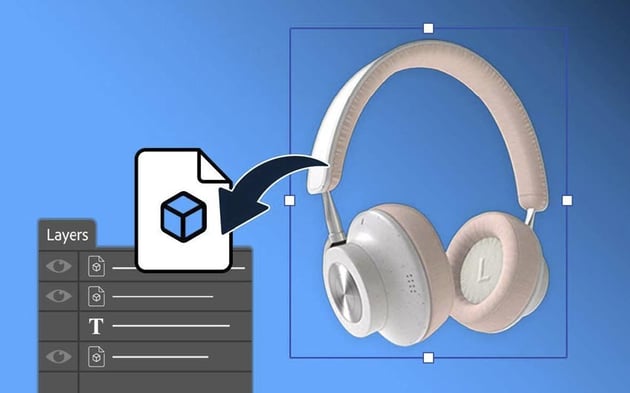
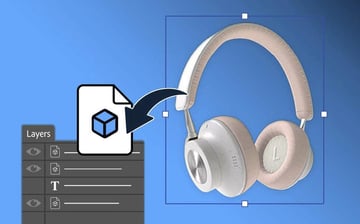
Adobe Substance 3D Viewer is a real-time 3D visualization tool that lets you view and tweak 3D files effortlessly. The best part? It plays perfectly with the Photoshop (beta) app, letting you drop 3D models straight into your 2D designs as editable Smart Objects.
In practice, it makes collaboration between 3D artists and graphic designers a breeze. 2D artists can simply drag and drop 3D models into Photoshop, where they can edit and refine them effortlessly.
What you need


To follow along with this tutorial, you’ll need to download the following apps from your Adobe Creative Cloud, as well as a couple of resources from Envato:
1. How to download Photoshop (Beta) and Substance 3D Viewer (Beta)
Is Adobe Substance part of Creative Cloud? It might be hard to find, because the Beta apps can feel a bit hidden away inside the app. Let’s see how we can find it.
Step 1
Visit the Adobe Creative Cloud website and download the Creative Cloud desktop app if it is not already installed.
Step 2
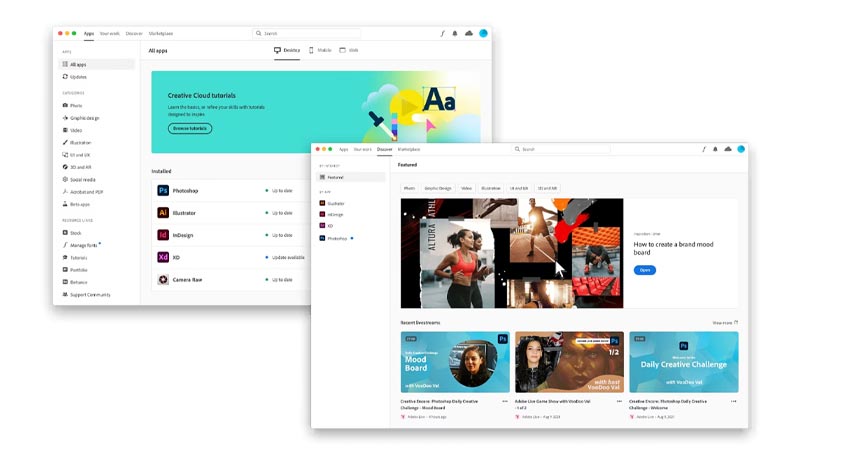
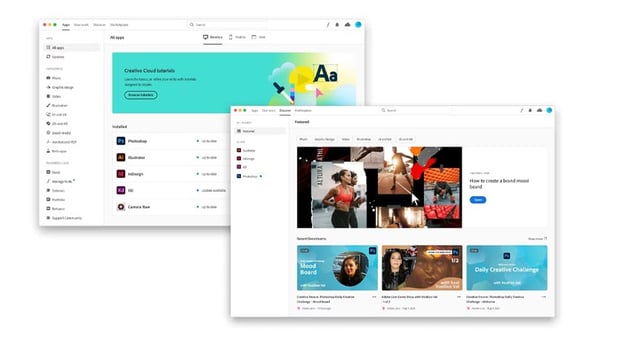
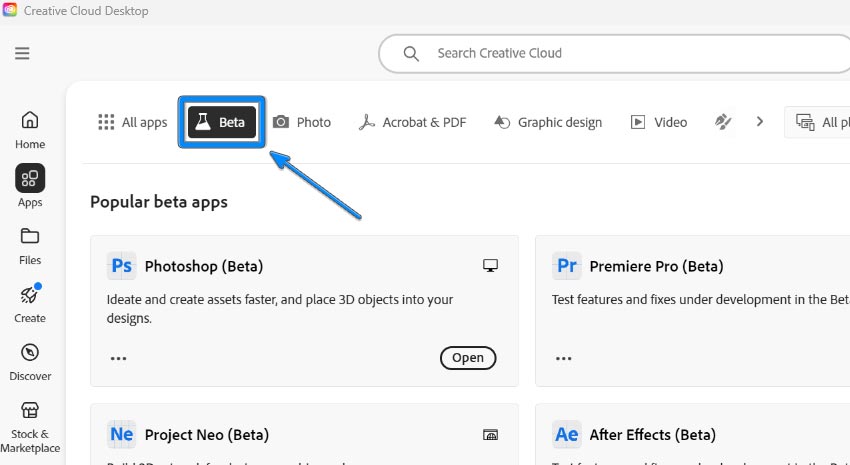
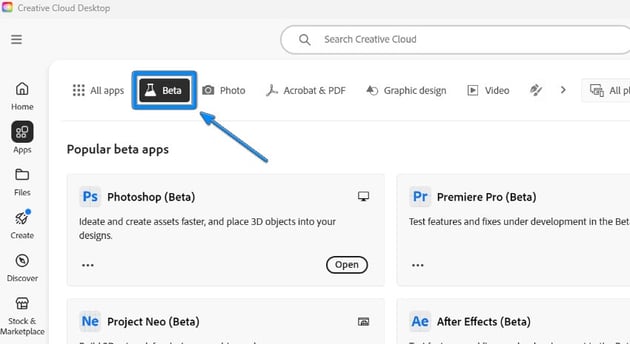
Open the Creative Cloud desktop app and navigate to the Apps tab in the left-hand menu.


Step 3
Click on the Beta button at the top, which will then show you all the available beta apps that are available to you on your account. From there, find and install both Photoshop (Beta) and Substance 3D Viewer (Beta).

2. How to navigate the scene
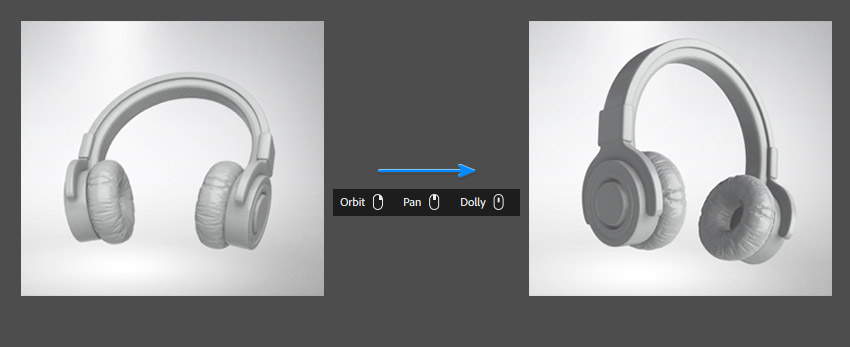
At the bottom of the screen, you’ll find the navigation bar. This will change depending on what type of mouse you have (three-button, two-button, or trackpad), and it will show you what each mouse button does in the middle of the bar.
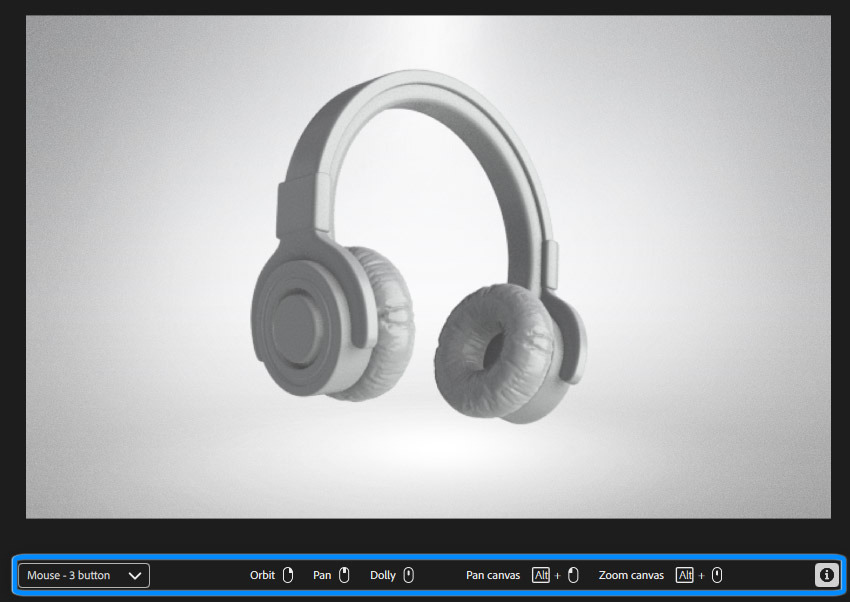
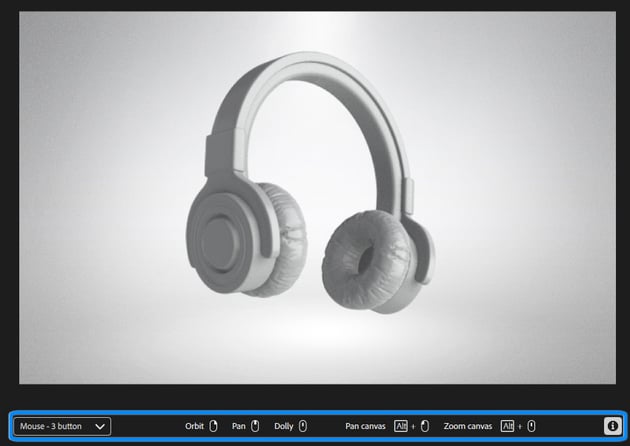
Navigating the scene using a three-button mouse will be as follows:
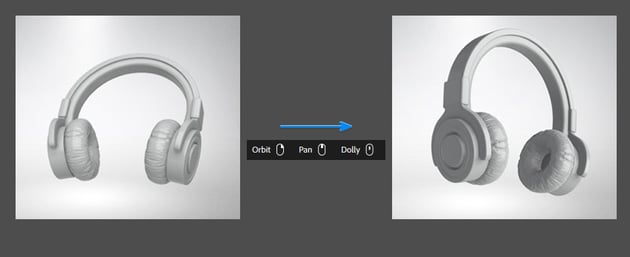
- Orbit (right mouse button): Click and hold the right mouse button, and then drag to rotate around your 3D object. This allows you to view your model from any angle.
- Pan (middle mouse button): Hold the middle mouse button and drag to move the view from side to side or up and down.
- Dolly (scrolling up and down with the mouse wheel): Use the scroll wheel on your mouse to zoom closer to or further away from your model.
3. How to find and download 3D assets (from Envato)
Not sure how to create 3D models yourself? With Envato, there’s no need to learn how to make 3D models. It’s a fantastic resource for high-quality 3D assets, offering a vast library of models, textures, and more!
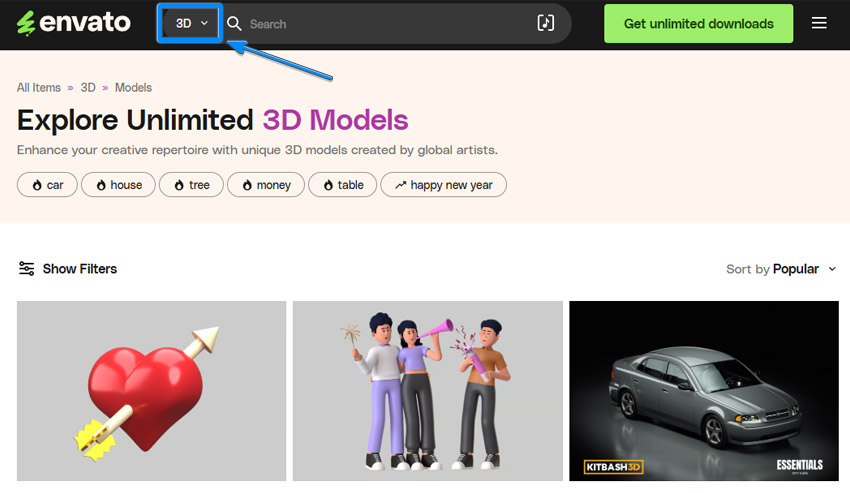
Step 1
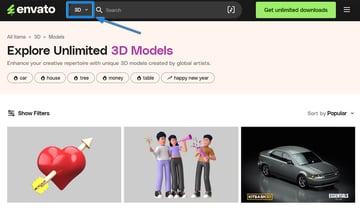
Use the Search Bar at the top of the homepage and select 3D from the dropdown menu. Then you can look for specific assets, such as “3D characters,” “furniture,” or “props”. For this tutorial, we’ll type in “headphones” and see what comes up.
Step 2
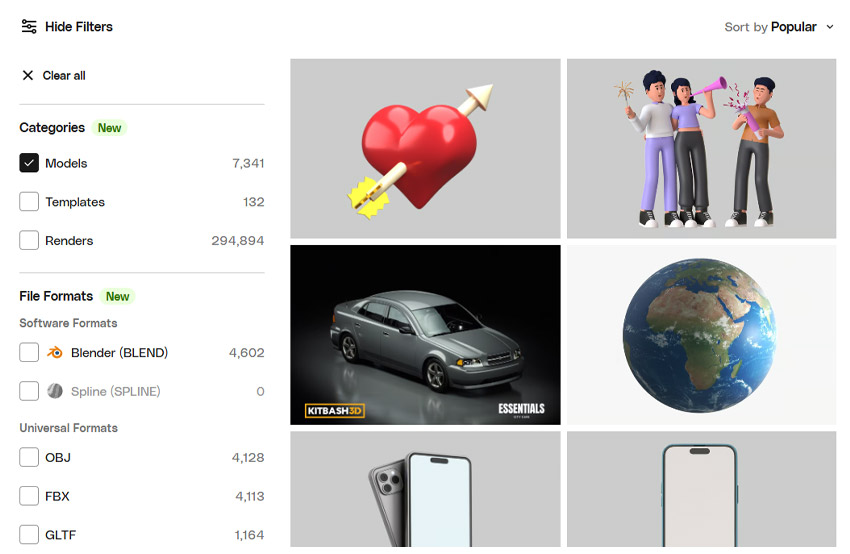
Use the filters on the left-hand side to narrow your results with options such as file formats, themes, and more!

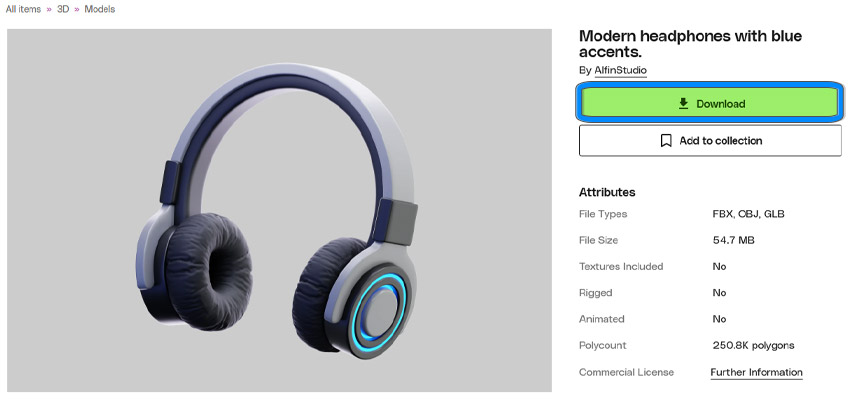
Step 3
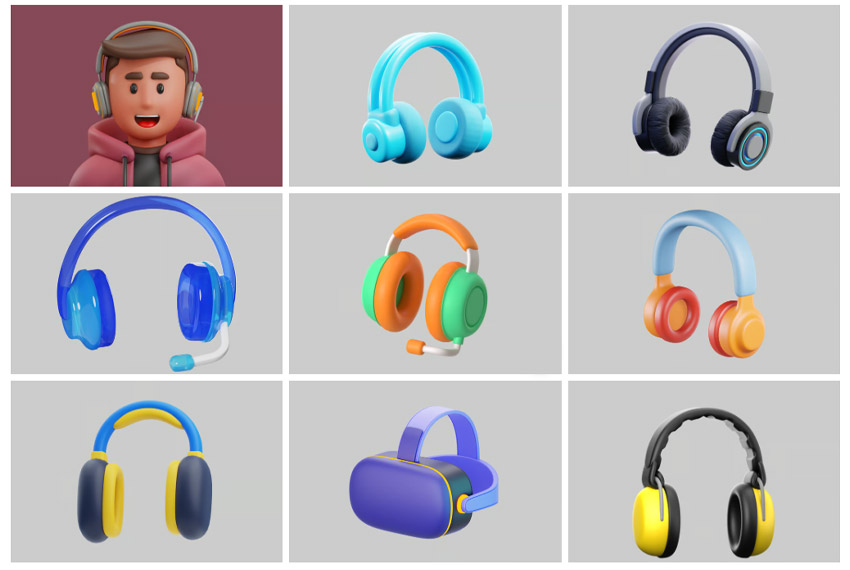
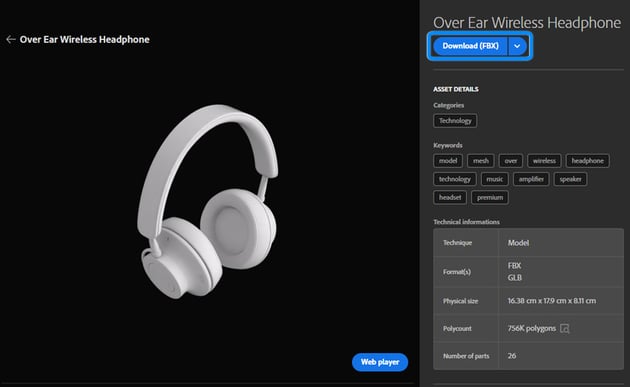
Click on any asset thumbnail to view detailed previews and read a description of the item.


Step 4
Hit the Download button to store it on your computer, ready to be used in Adobe Photoshop and Substance 3D Viewer.


4. How to find and download 3D assets (from Substance 3D Assets)
Not sure how to make 3D models? Then this is the place for you! Substance 3D Assets is another fantastic resource if you haven’t learnt how to make 3D models yourself. You can find high-quality 3D models, materials, and assets to enhance your projects. This is excellent if you’re short on time and need to create 3D models as quickly as possible.
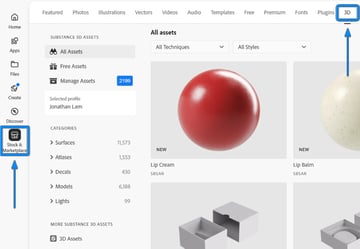
Step 1
If you’re already signed into your Adobe Creative Cloud app, you can access and download 3D assets from the Stock & Marketplace tab in the left-hand menu, and then select 3D from the list of items at the top.


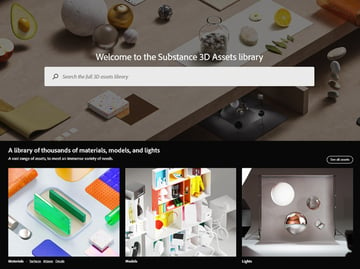
Step 2
Alternatively, you can visit the Substance 3D Assets website, which will give you access to the same 3D models from your web browser. Simply log into the website with your Adobe account to gain access.


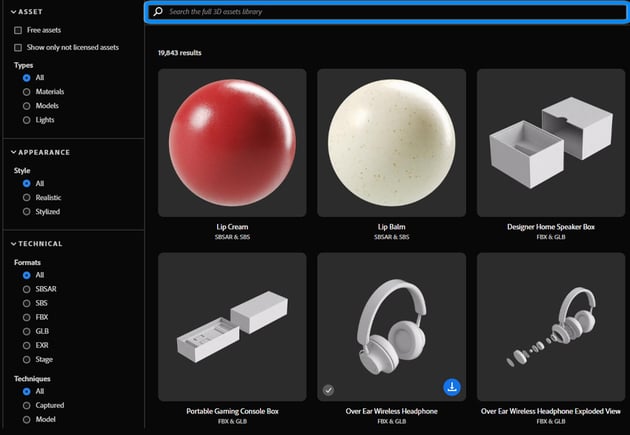
Step 3
Once logged in, you’ll see a wide range of 3D assets, including 3D models, materials, and environment maps. Use the Search Bar at the top to find specific assets or browse by categories such as Architecture, Nature, or Props.


Step 4
Once you’ve found the 3D asset that you want to download, you can click on it to look at a larger preview image and then click on the Download button to download it onto your computer.


5. How to import a 3D model into Photoshop
Now let’s look at the process of importing a 3D model into Photoshop, step by step.
Step 1
This workflow kicks off in Photoshop! We’ll begin opening the design template in Adobe Photoshop that will serve as the backdrop for integrating your 3D model. In this tutorial, we’ll use the Infinite White Floor Spotlight Backgrounds from Envato.


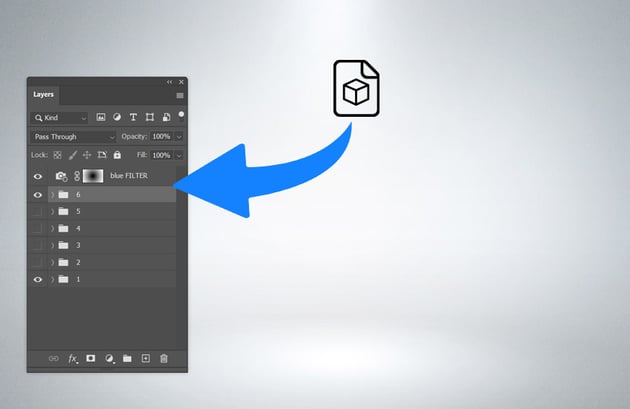
Step 2
Drag and drop your 3D model file directly into the canvas. Supported formats include OBJ, FBX, and other common 3D file types.


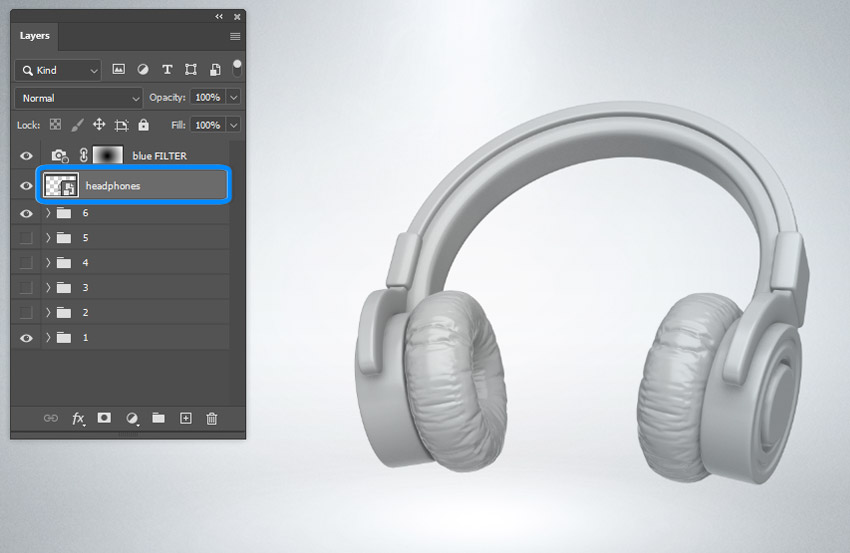
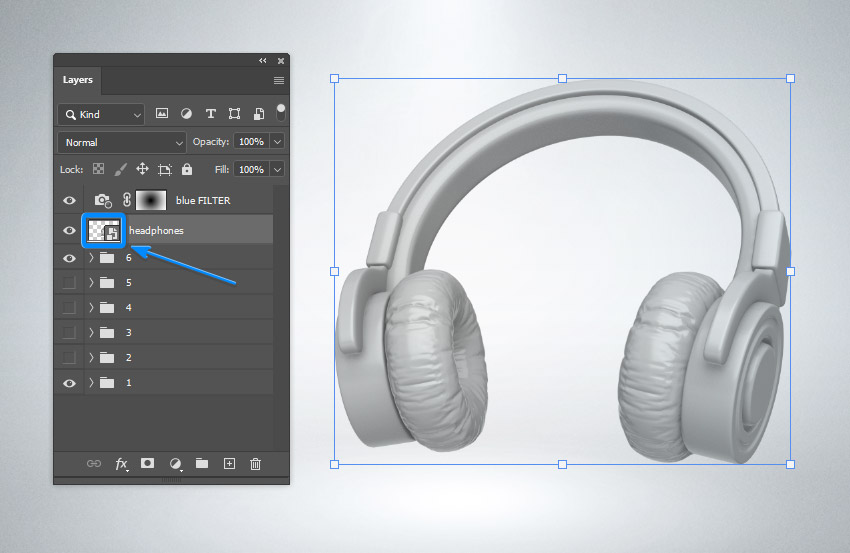
Step 3
Your 3D model will appear as a Smart Object in the Layers panel.

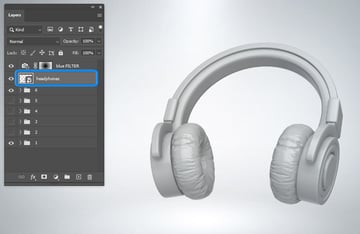
Step 4
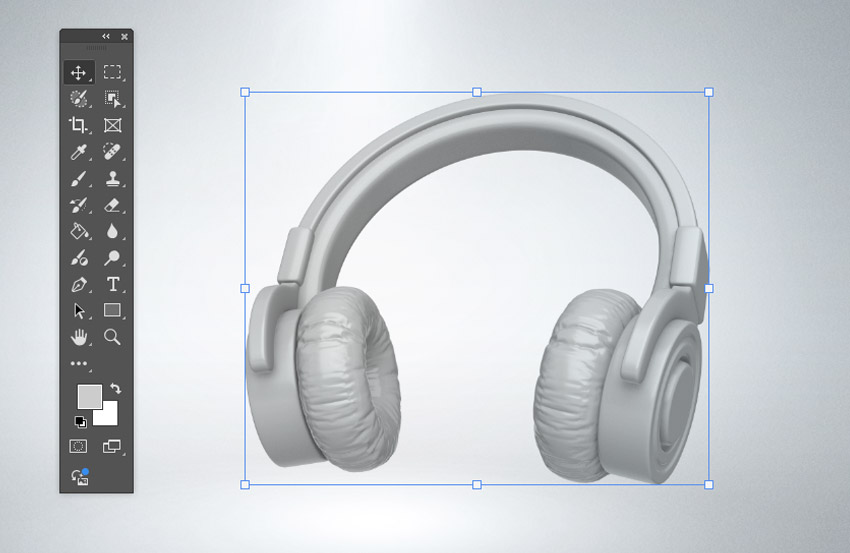
From there, you can select your newly created Smart Object layer and use it as you would normally! Use Photoshop’s standard tools to:
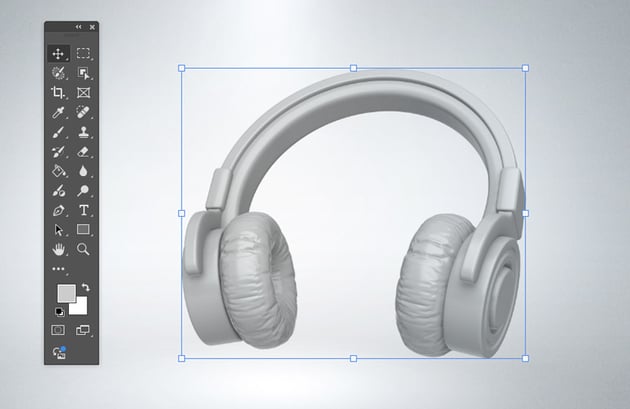
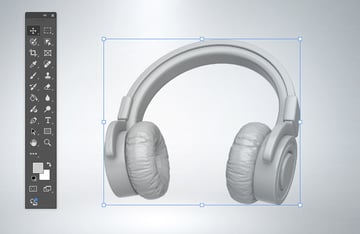
- Move: Adjust the position of the 3D model layer within your design.
- Scale: Resize the model by dragging the handles on the bounding box.
- Rotate: Modify the model’s orientation to fit the composition.
6. How to edit the angle and lighting of a 3D model
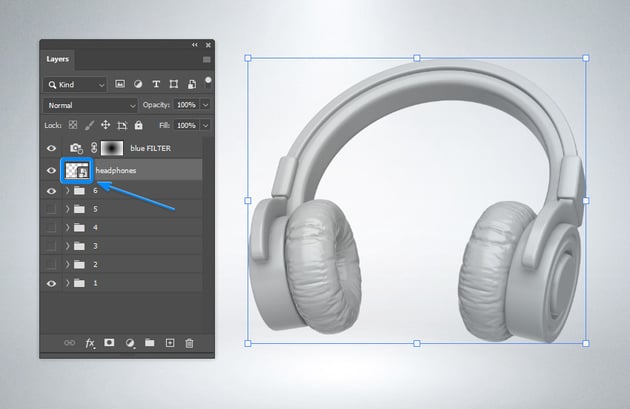
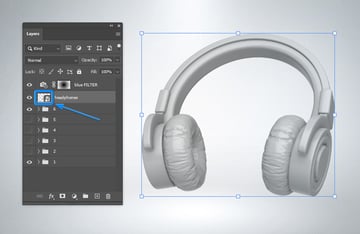
Step 1
To refine your 3D model’s details, you’ll need to open it in Substance 3D Viewer (Beta), which you can do in Photoshop. Here’s how we do this:
- Option 1: Double-click the Smart Object thumbnail in the Layers panel.
- Option 2: Select the layer and click Edit Contents in the Properties panel.
Step 2
Substance 3D Viewer will now open, and your 3D model will appear in view straight away.
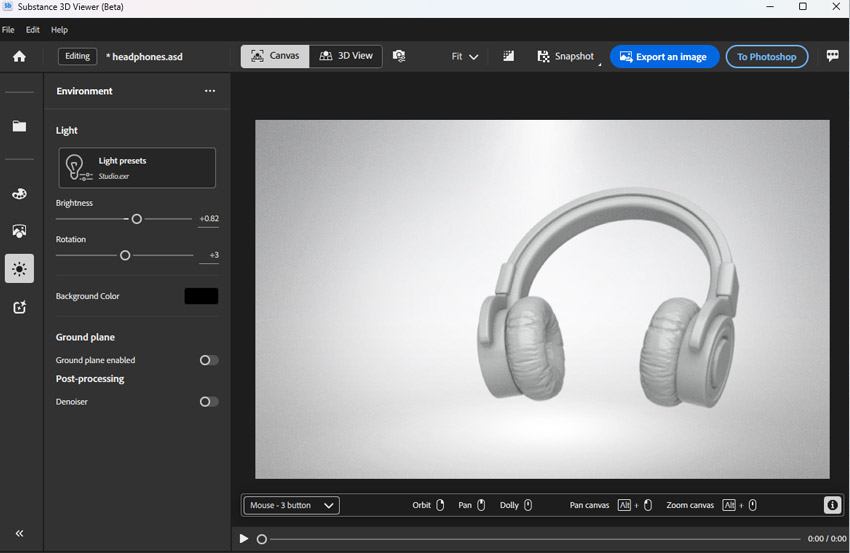

Step 3
Lighting and camera positioning are critical for showcasing your 3D model effectively. Let’s start with the camera! Use the navigation controls to set the ideal viewing angle for your model. Make sure that the 3D model can be seen in full, within the viewport (otherwise it will appear cropped when you send it back into Photoshop).
Step 4
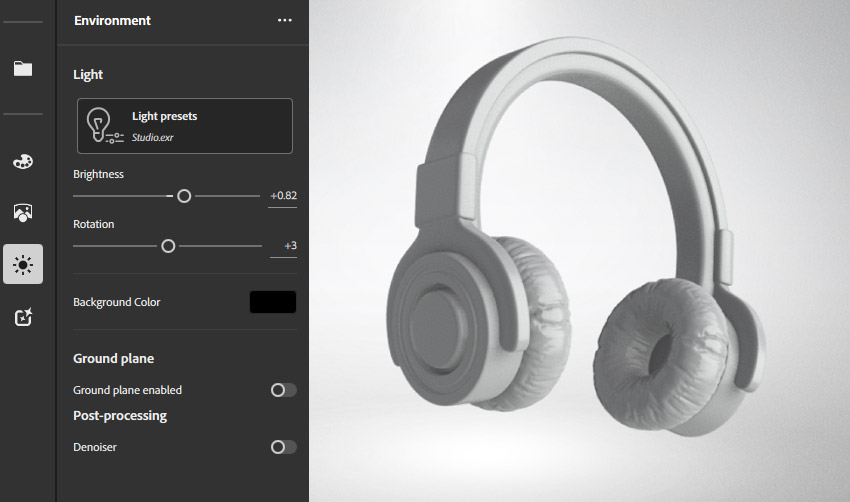
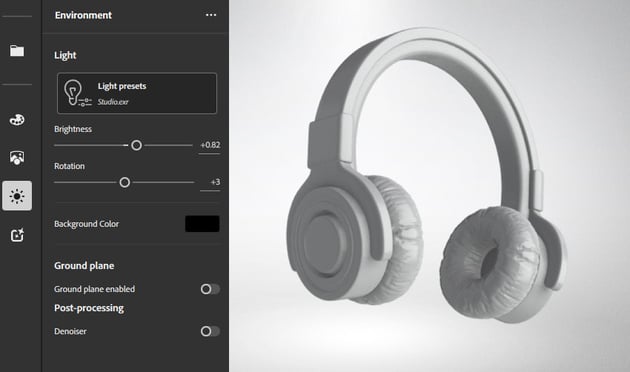
Open the Environment panel located on the right to access the lighting options. Here you can adjust things like the Brightness and Rotation of the light within the scene. For this image, we have adjusted the following:
- Brightness: +0.82
- Rotation: +3

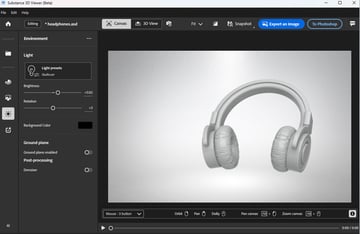
Step 5
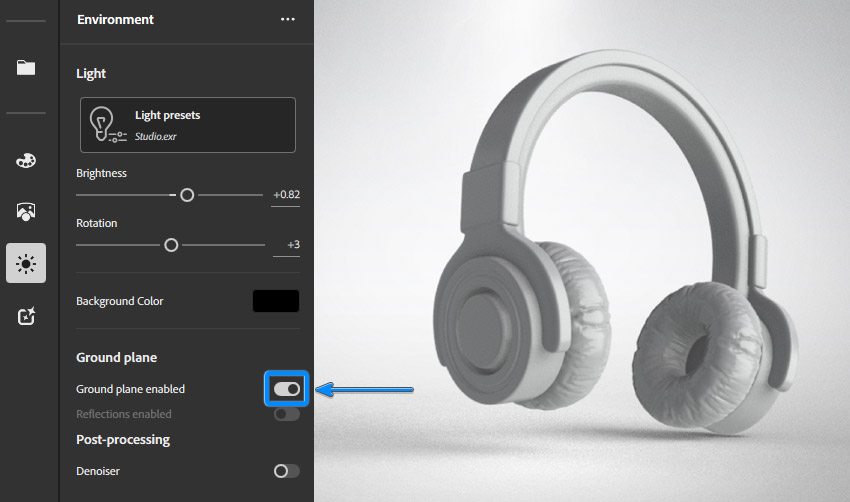
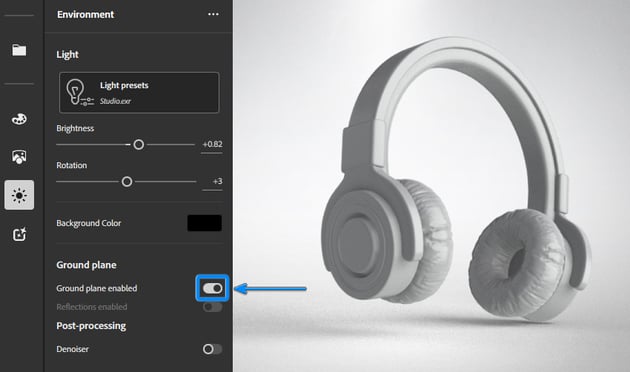
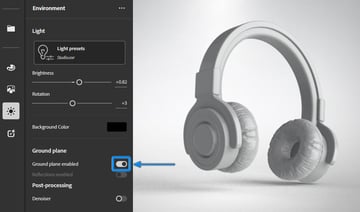
You can also click the Ground plane enabled button to add a shadow to the bottom of the 3D object. This will add that extra flavour of authenticity to the design.
7. How to edit the materials of a 3D model in Substance 3D Viewer
Step 1
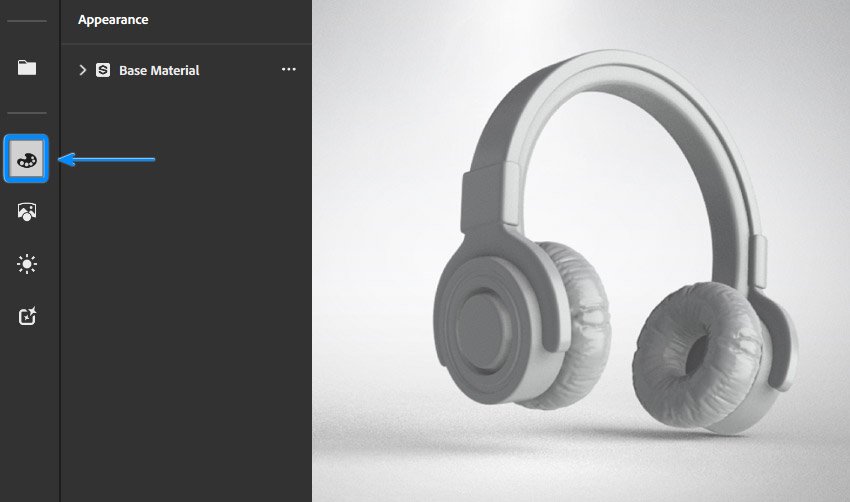
The Appearance panel, which is located on the right, provides powerful tools to modify the materials of your 3D object, allowing you to customize its look and feel.


Step 2
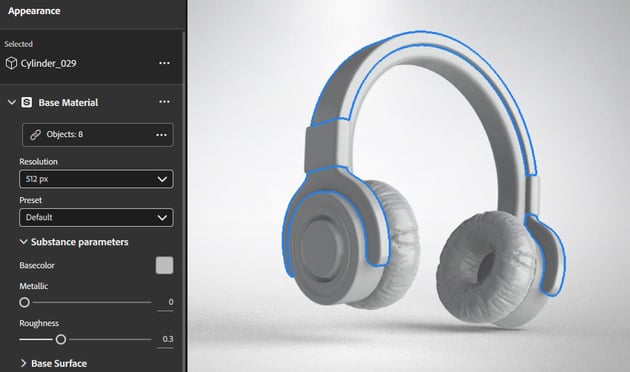
Click on the part of the 3D object where you want to change the material. The selected part will be highlighted in the 3D View, and its corresponding material will be displayed in the Appearance panel.

Step 3
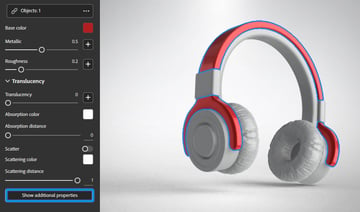
From there, you can work your way down the list of options to change the appearance of the highlighted object. Use the sliders and settings to adjust its properties, including:
- Base Color: Change the primary color of the material.
- Metalness: Adjust the metallic look of the material.
- Roughness: Control how smooth or shiny the surface appears.

Step 4
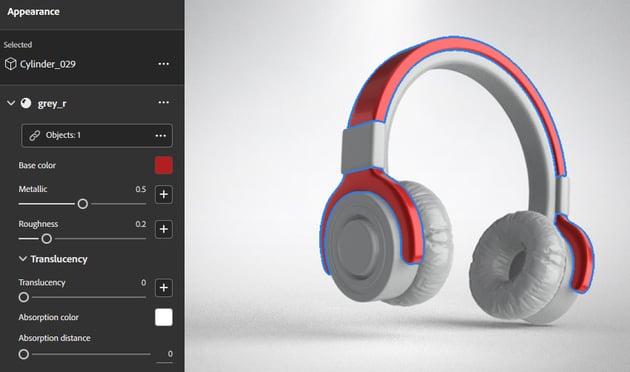
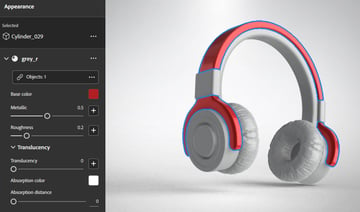
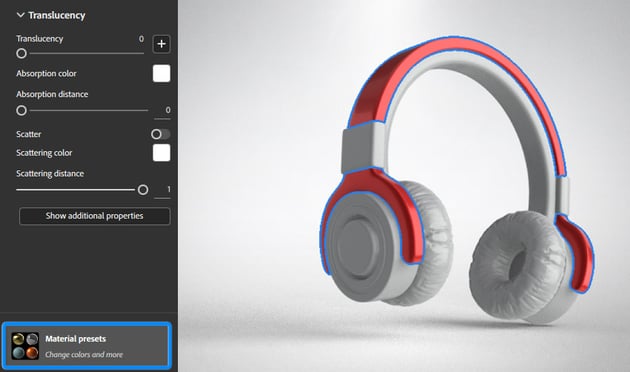
Further down the list of options, you’ll find the Translucency options. This controls how light passes through a material, simulating the effect of semi-transparent or light-absorbing surfaces. You can use this option to create realistic-looking materials such as glass, thin plastic, and ice.
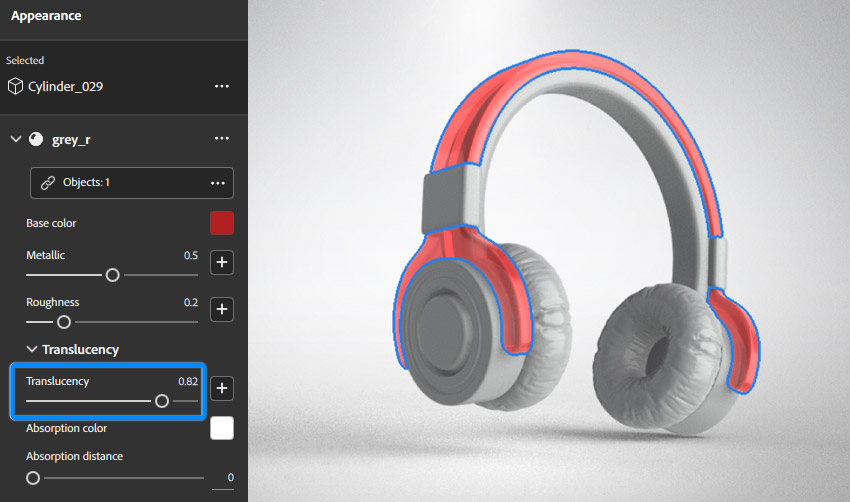
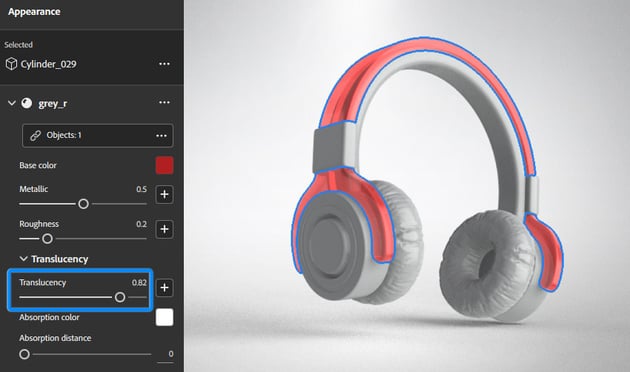
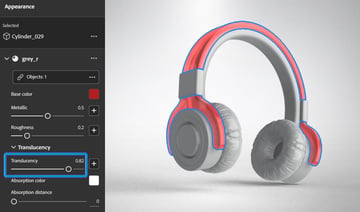
Use the Translucency slider to adjust the strength of translucency. A higher value will increase the light passing through the material, creating a more transparent effect. A lower value will reduce the translucency, making the material appear more solid.
Step 5
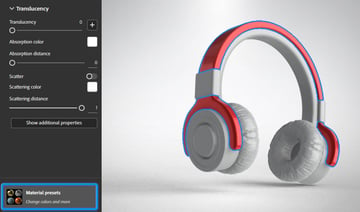
Adjusting these options will cover most materials, but feel free to play with the additional properties to see what you can come up with! The Additional Properties section in the Appearance panel includes advanced settings that allow for finer control over the material’s behavior and appearance, which can help you achieve highly detailed and physically accurate materials for your 3D models.


8. How to use material presets
Step 1
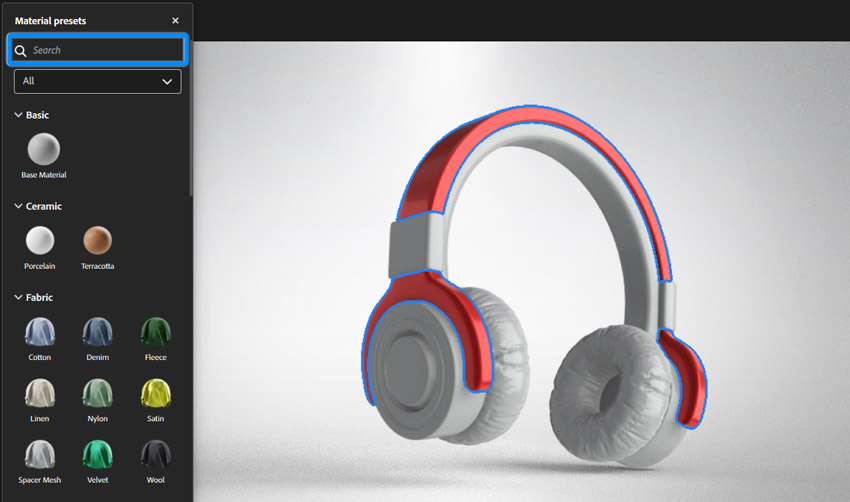
Material presets are pre-configured materials that can be quickly applied to your 3D models, saving time and ensuring high-quality results. This library contains various pre-configured materials like metals, plastics, fabrics, and more.
You can access this by clicking on the Material Presets button, located at the bottom of the Appearance panel.

Step 2
Use the Search Bar at the top of the Material Library to find specific presets, or scroll through the available categories which include things like ceramic, fabric, leather, metal, stone, wood, and more!


Step 3
Select the part of your 3D model where you want to apply the material, and then simply select the material you want applied to the object. Here we’ve added Plastic Textured to part of the 3D model.


Step 4
You can even add metallic materials too! Here we’ve chosen Chrome for part of the 3D headphones object.


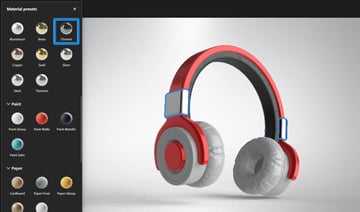
After applying a preset, the material’s settings will appear in the Appearance panel. You can then customize the material to your liking by modifying properties such as colour. Each material may have different settings which are specific to it, so feel free to experiment!
Step 5
Repeat these steps until your whole model is complete!


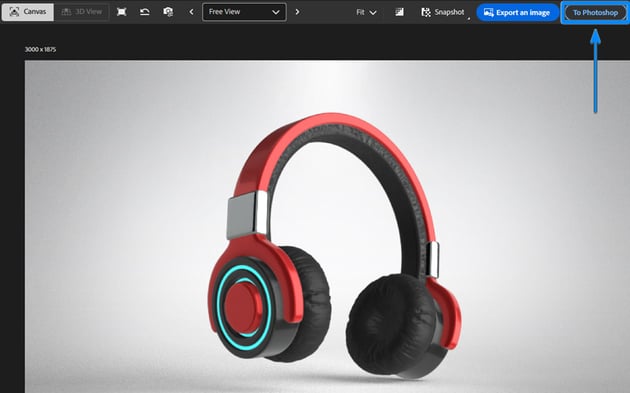
9. How to create 3D images back in Photoshop
Step 1
Once you’re happy with the edits, it’s time to send the updated 3D model back to Photoshop! Click the To Photoshop button in Substance 3D Viewer.


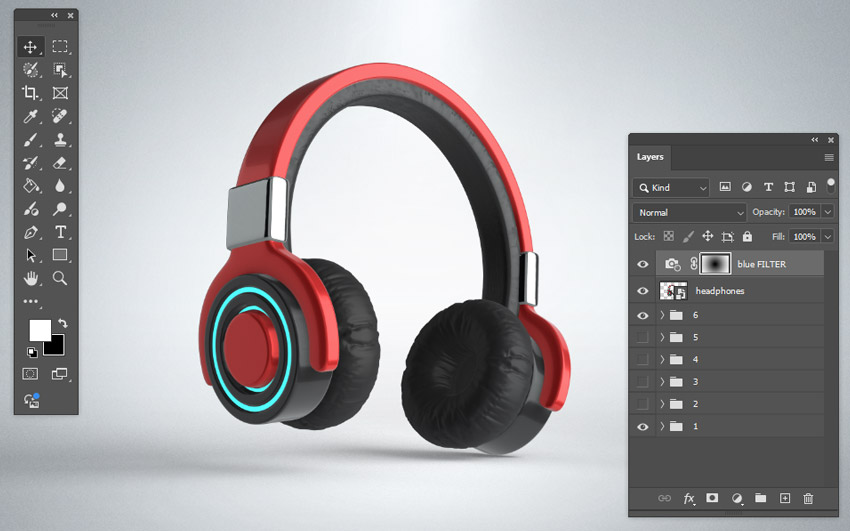
Step 2
The updated 3D model will appear in the Smart Object layer within Photoshop. From there, you can continue editing your Photoshop composition as normal.

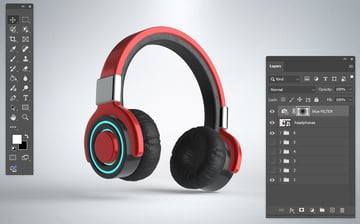
Step 3
If you want to jump back into Substance 3D Viewer, simply double-click the Smart Object layer and repeat the steps. This makes it incredibly easy to adjust things like colours and angles for your 3D object on the fly.


10. And that’s it!
Diving into 3D workflows and learning how to create 3D models can be daunting, but with Photoshop and Substance 3D Viewer, it’s easy! From importing models to tweaking materials and lighting, you’ve got all the tools necessary to bring your ideas to life.


Now that you know how to use Adobe Substance 3D Viewer, it’s time to play around, explore presets, and experiment with customizations. With Adobe’s powerful tools and resources, the possibilities are endless. And if you’re short on time to create 3D models yourself, don’t forget that you can download some from Envato. So go ahead, get creative, and make something amazing!
Discover more 3D tutorials and resources
I hope you’ve enjoyed this tutorial on how to use Adobe Substance 3D Viewer. If you’d like to learn more cool 3D skills, including how to create 3D models for yourself, we’ve got more tutorials for you: