1. Adding a sun flare Photoshop highlight
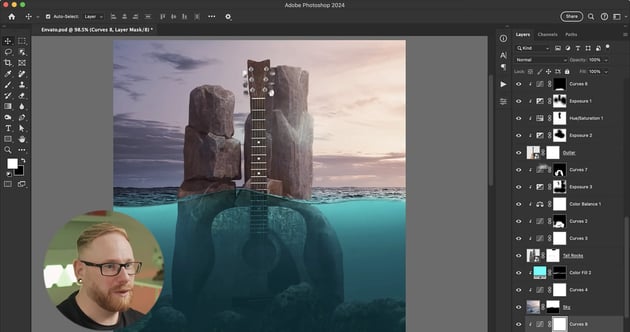
Let’s add a few more visual effects, starting with a sun flare highlight on the rocks.
Step 1
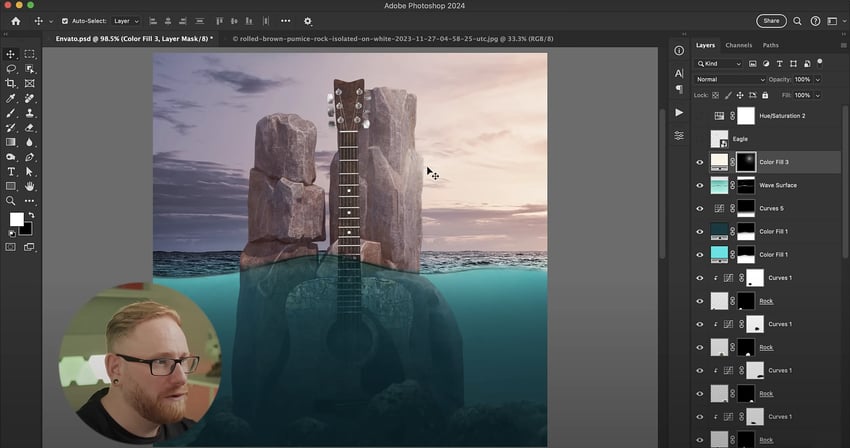
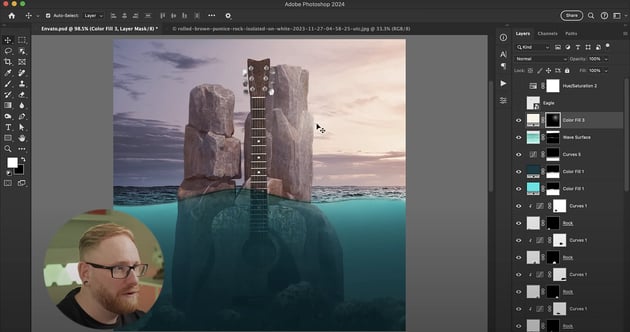
Go to the top of the layer stack and add a Solid Color Adjustment Layer based on a bright part of the sky. Invert it, select the brush tool, and make the brush nice and big.
Reduce the Opacity to 10% and just add a bit of lighting to one side of the rocks to create the effect of the sun peeking around the side. You can also use this technique to add a glow or a flare to your composition.
Step 2
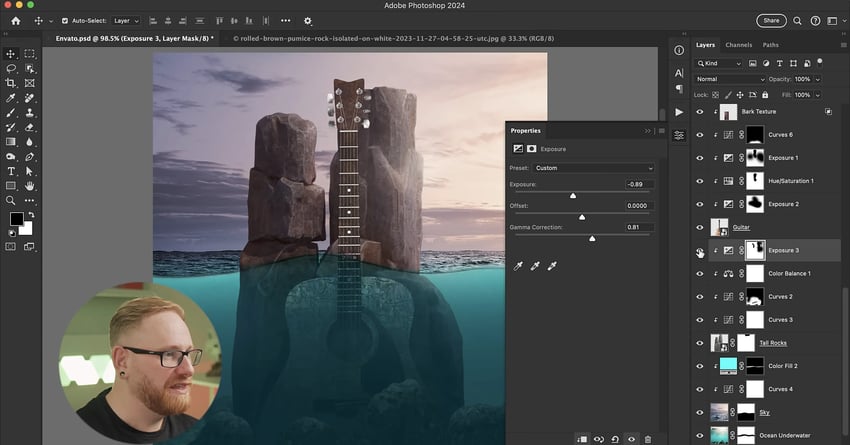
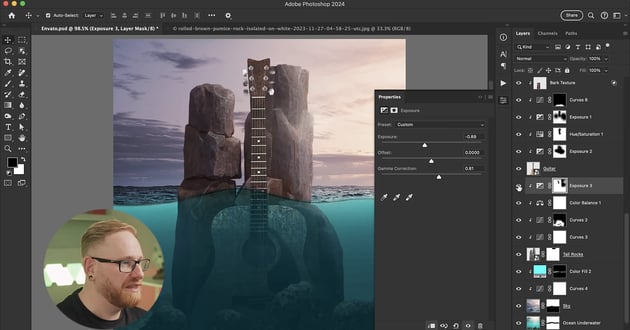
You can refine this even more by creating an exposure adjustment layer on the tall rocks, making them darker. Return the Opacity to 100% and brush the right-hand side of the rocks.
This is where the light is primarily coming from, so just brush in highlights to create a dramatic light effect anywhere that would be affected by the lighting.
Step 3
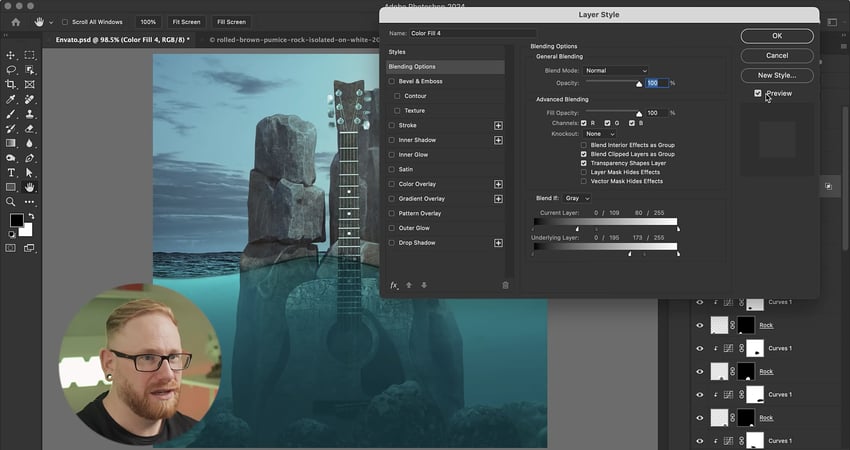
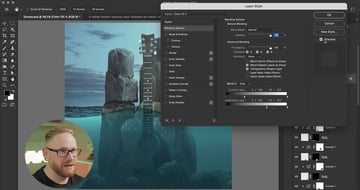
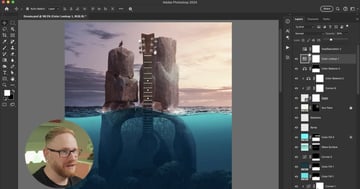
Next, let’s make the underwater area a bit darker. Go to the top of all of the layers and add a Solid Color Adjustment Layer using blue. Play around with the blending options until you get a look that appeals to you.
Step 4
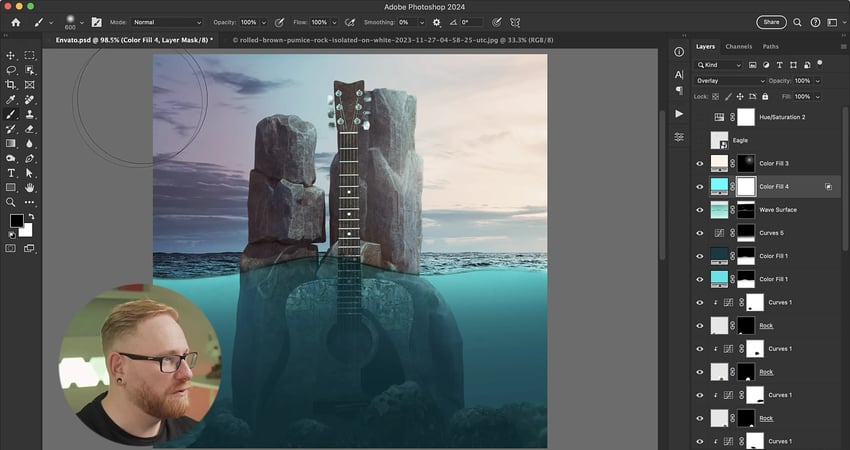
Try a blending mode like Overlay on top, and remember to remove the effects from the sky so they’re only affecting the water. You may also want to add a Levels Adjustment Layer to the wave surface to bring some of the shadows down and accentuate the dividing line.
Step 5
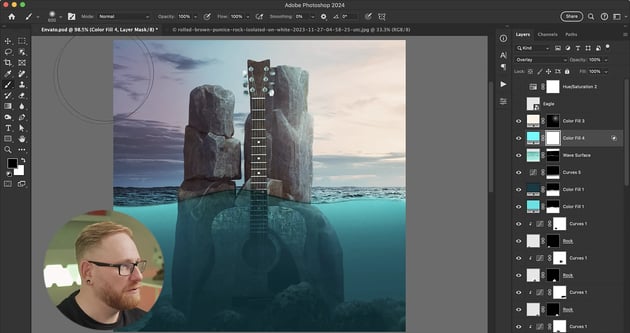
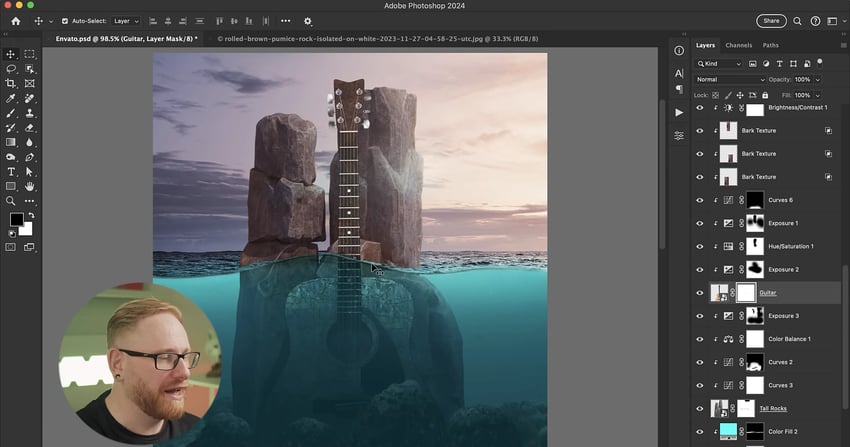
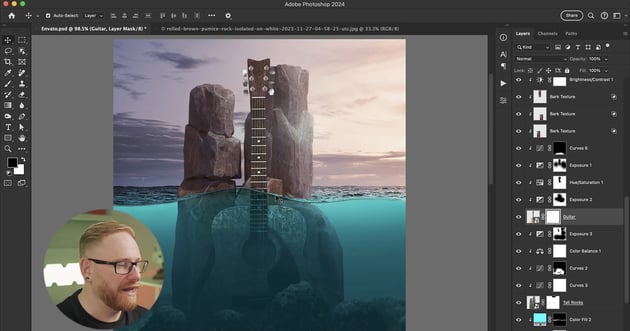
The tall rocks are just blending straight through to the water, and it looks a bit two-dimensional. In reality, the rocks would go into the water and then show underneath, so we need to brush along the water line to create that effect.
Step 6
You can also adjust some of the shadows on the tall and small rocks underwater to increase the contrast.
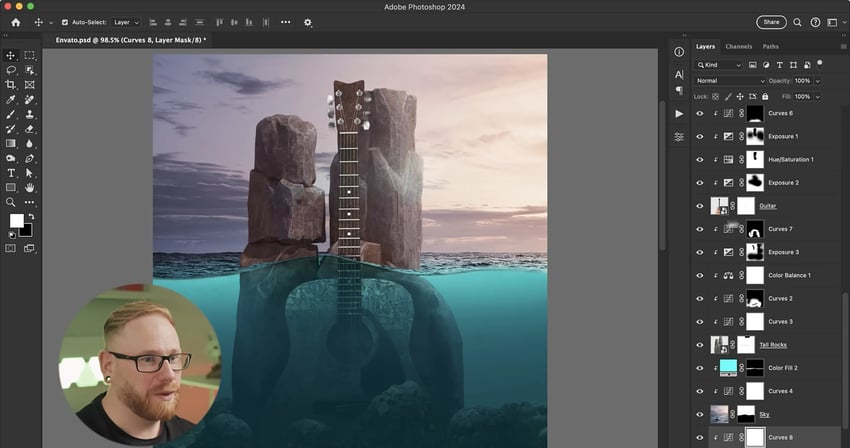
Don’t forget to name your layers to keep things tidy and organised.
3. Using Photoshop LUTs
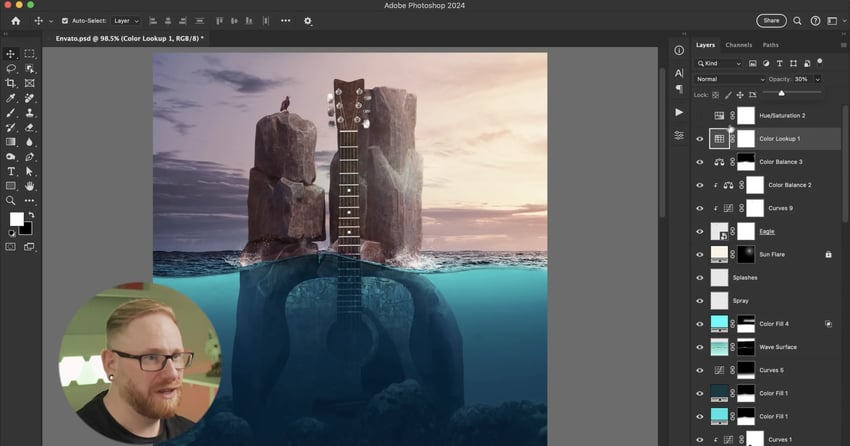
Now you’re going to add Photoshop LUTs to your composition. A LUT (Lookup Table) is like a color profile that’ll give your image a stylised effect.
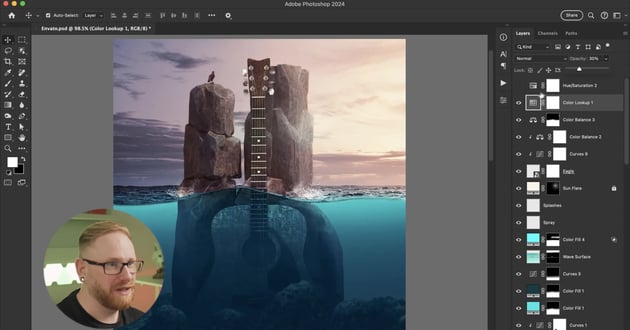
To add a LUT, simply click on the adjustment icon in the Layers panel and add a Color Lookup. Then you can click through the options and see how they affect your composition. For this image, I settled on 2Strip.Lookup. You can reduce the Opacity to about 30% to get the best look.
Discover more Photoshop resources and tutorials
In this tutorial, you learnt how to add visual effects to your music album cover design.
In the next tutorial, you’ll learn how to blend text in your album cover. Be sure to check out other upcoming articles on Envato Tuts+ and the Envato blog to discover more Photoshop tutorials. And for the digital subscription that will cover all your creative Photoshop assets and needs, visit Envato!
Here are some great resources to get you started: