Adding gradient text to your designs is a great way to make them stand out and give them an extra bit of pizzazz. With Photoshop, you can easily create this eye-catching effect in just a few simple steps. Whether you’re looking for something subtle or bold, gradient text can add the perfect touch to any design. Read on to learn how you can make your own gradient text in Photoshop.
What You’ll Learn in This Photoshop Tutorial
- How to make gradient text in Photoshop
- How to add a gradient to text in Photoshop
- How to edit a Photoshop gradient text effect
How to Make Gradient Text in Photoshop
Step 1
Create a new text layer by selecting the Type Tool and typing your desired text.


Step 2
Select the text layer and open the Layer Style window by going to Layer > Layer Style > Blending Options or double-clicking the text layer.
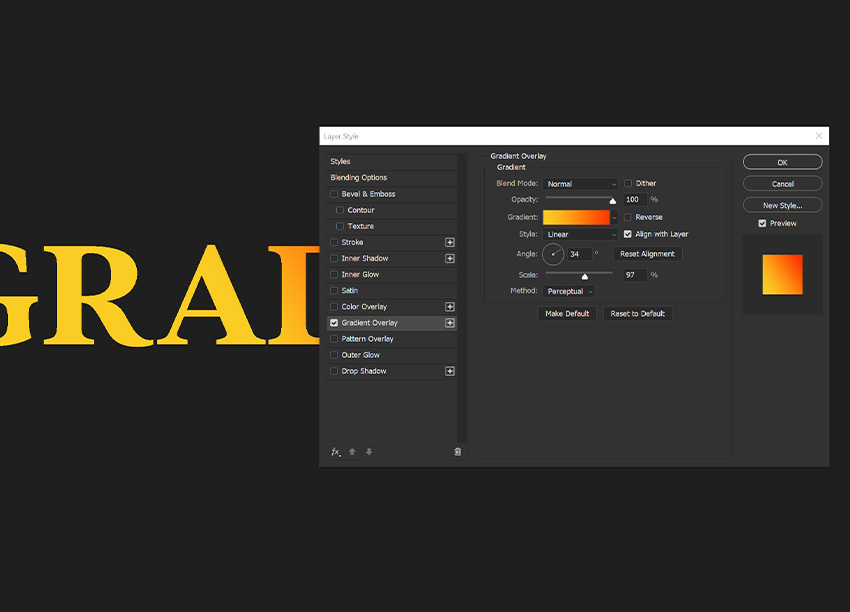
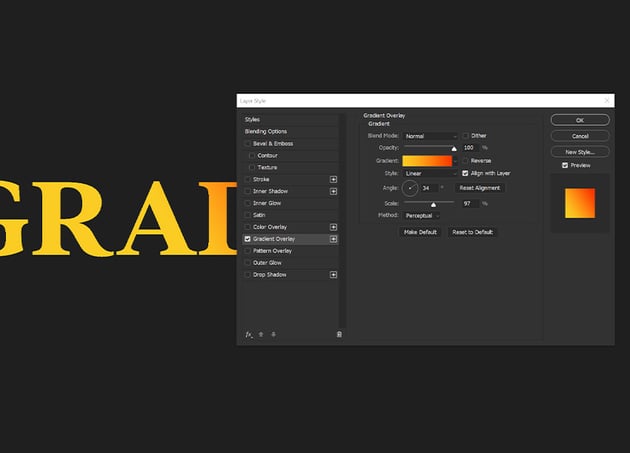
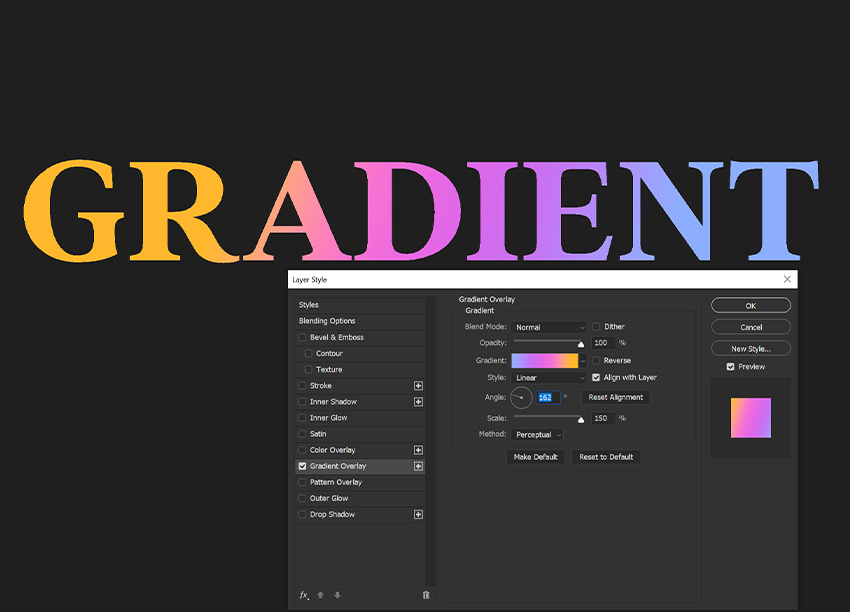
In the Layer Style window, select the Gradient Overlay tab and click the checkbox.

Step 3
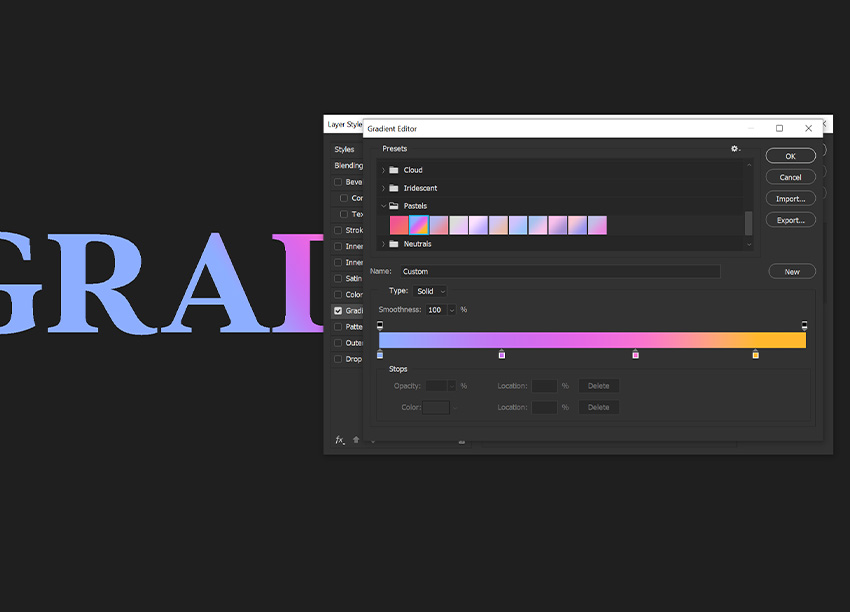
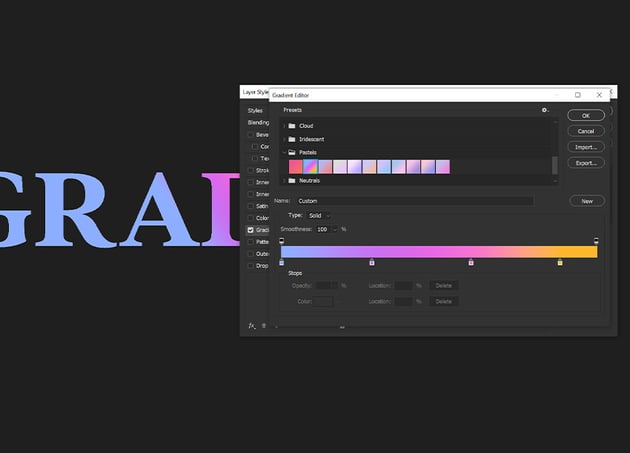
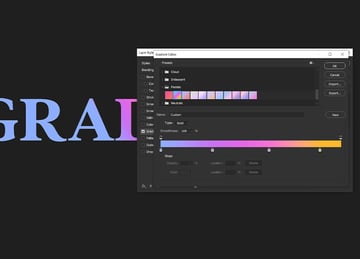
Choose the colors for your gradient by clicking the color swatches in the Gradient Editor. You can also select a premade gradient by clicking the drop-down menu.
Step 4
Adjust the gradient’s Angle, Scale, and Opacity using the sliders in the Layer Style window.
Click OK to apply the gradient to your text.


That’s It!
Making gradient type in Photoshop is a great way to add a unique and eye-catching element to your designs. With just a few simple steps, you can easily create beautiful, colorful text that stands out from the rest. Try experimenting with different colors and settings to create even more interesting results. Now that you know how to add gradients to text in Photoshop, it’s time for you to get creative!
Looking to learn more? Check out these Photoshop tutorials.
Note: This tutorial was written with the aid of an artificial intelligence tool. It has been thoroughly edited and checked for accuracy by the Envato Tuts+ editorial team.


